🌟
Raspberry Pi 5をヘッドレスでセットアップ
使用ハードウェア
- Raspberry Pi 5(8GB)
- Raspberry Pi 5用電源アダプター
- マイクロSDカード 64GB
- Ubuntu 22.04をインストール済みPC(Raspberry Piと同一のサブネットに接続してある事)
マイクロSDカードにRaspberry Pi OSを書き込む
SDカードの接続
- SDカードをPCに接続します。
Raspberry Pi Imagerのインストール
- Raspberry Pi ImagerのWebページからImagerをダウンロードしてインストールします。
OSイメージのSDカードへの書き込み
- Imagerを起動して「デバイスを選択」をクリックします。
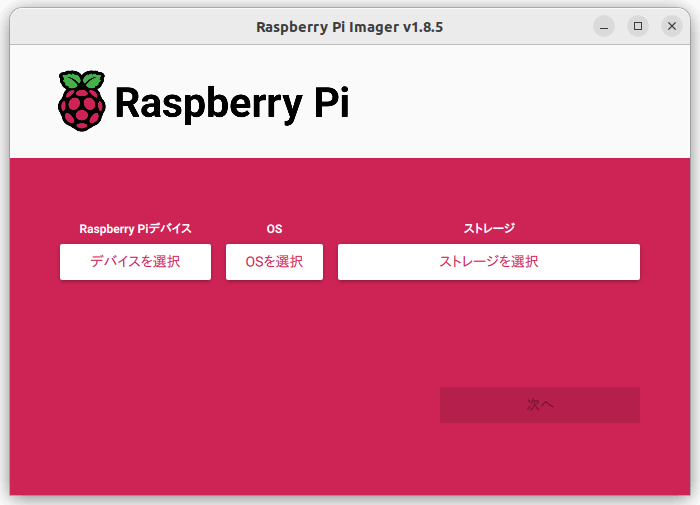
- 「Raspberry Pi 5」をクリックします。
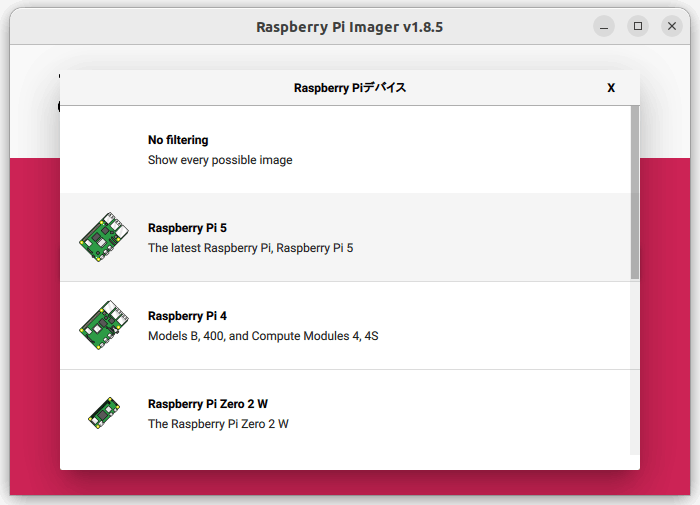
- 「OSを選択」をクリックして「Raspberry Pi OS(64-bit)」をクリックします。
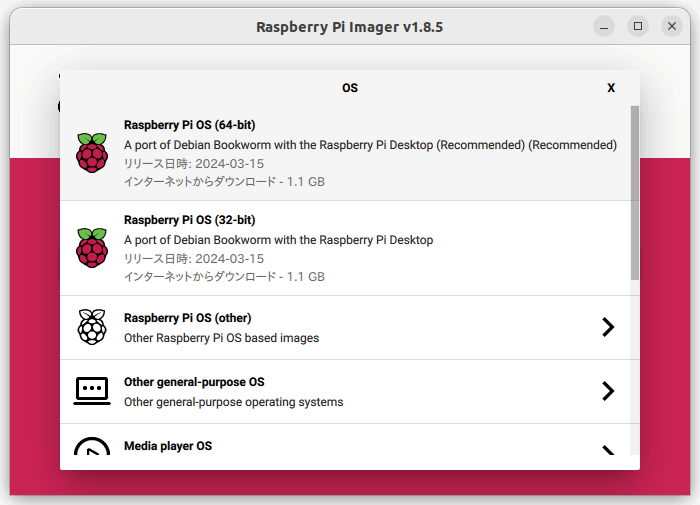
- 「ストレージを選択」をクリックしてSDカードを選択します。

- 以下のように選択結果が表示されるので「次へ」をクリックします。
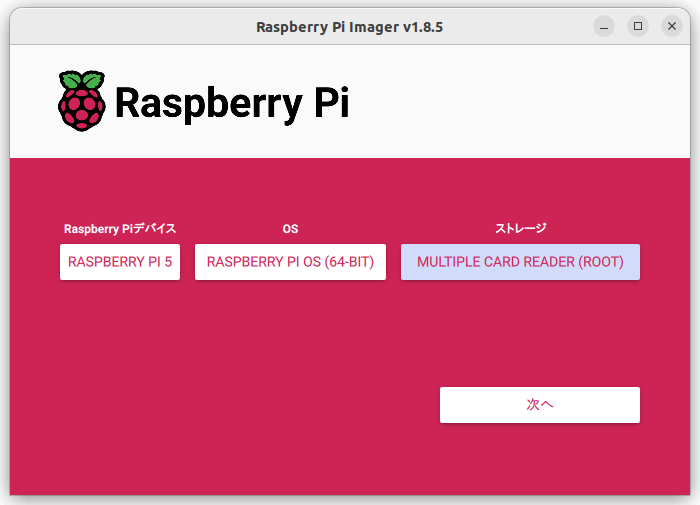
- カスタマイズの選択画面で「設定を編集する」をクリックします。
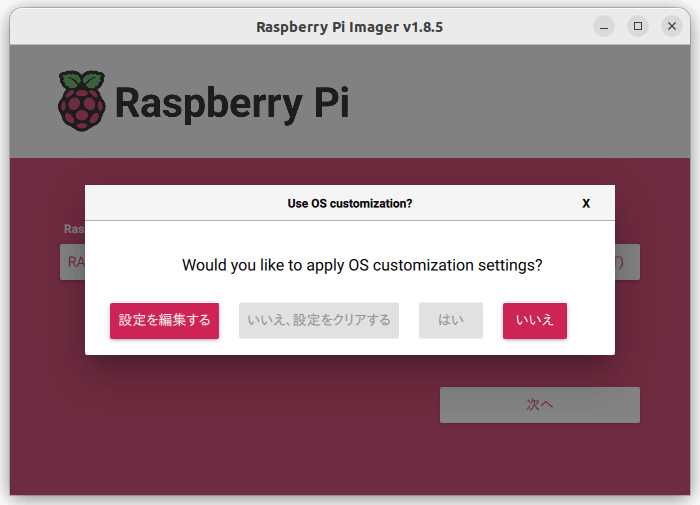
- カスタマイズ画面の「一般」タブで、チェックボックスにチェックをして、値を入力します。
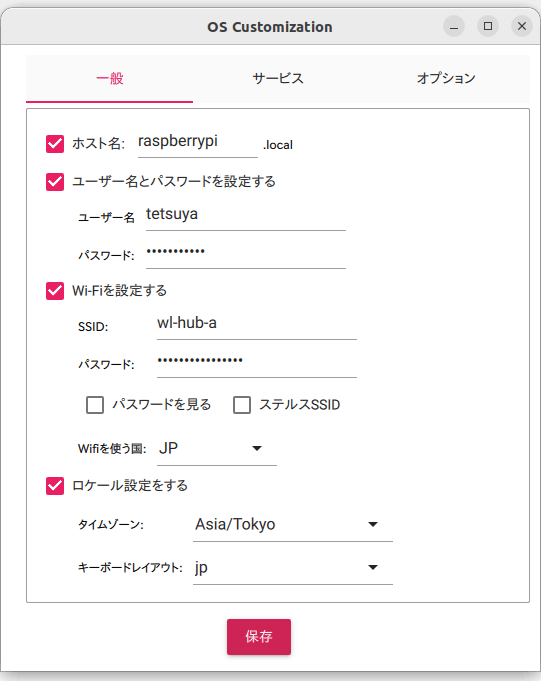
- 「サービス」タブで、チェックボックスにチェックをしてSSHを有効化し、「保存」をクリックします。
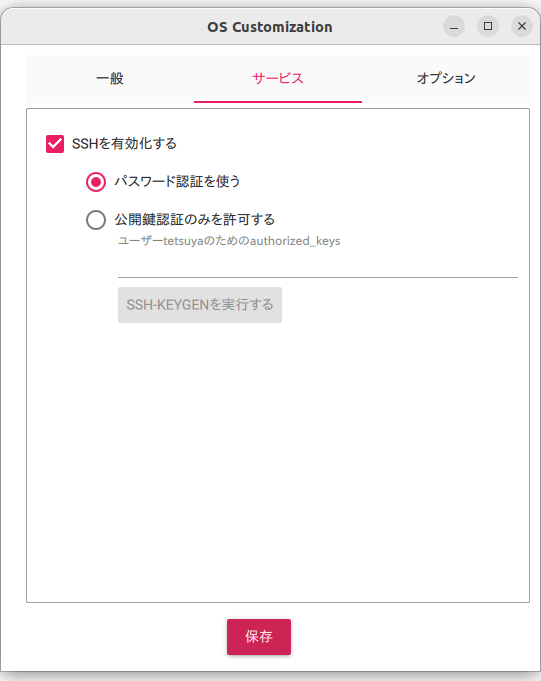
- カスタマイズの選択画面で「はい」をクリックします。
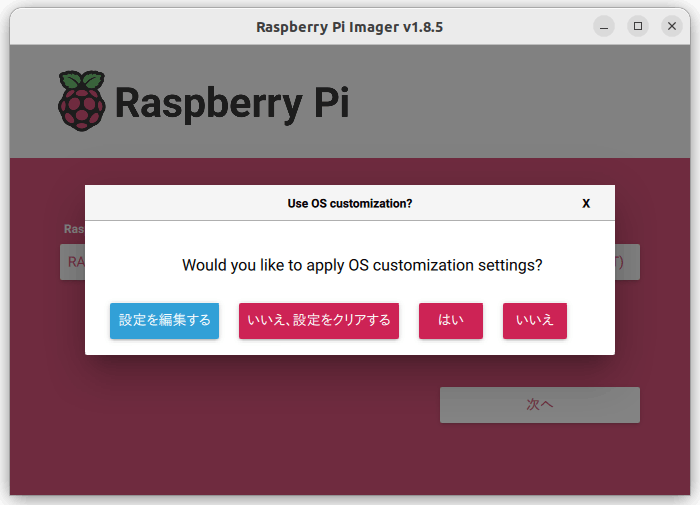
- 「警告」画面で「はい」をクリックします。

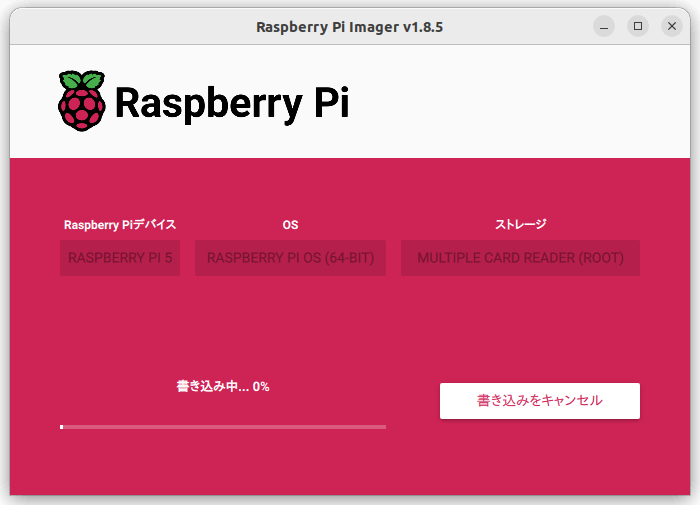
- 以下のように、書き込み中画面が表示されます。
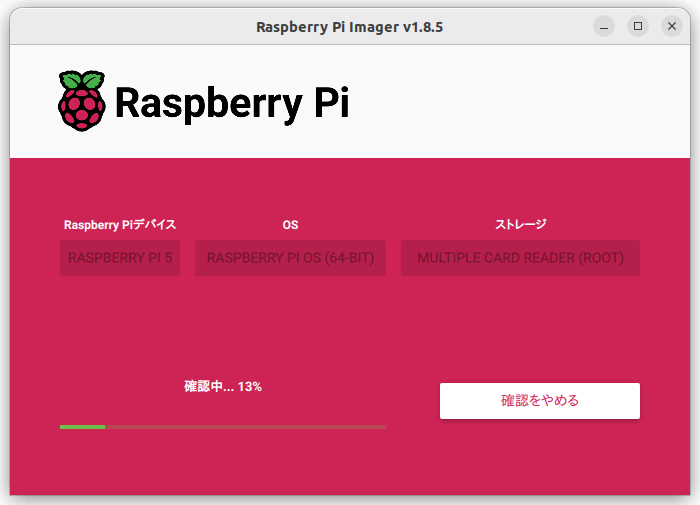
- 書き込みが終わると確認中画面が表示されます。
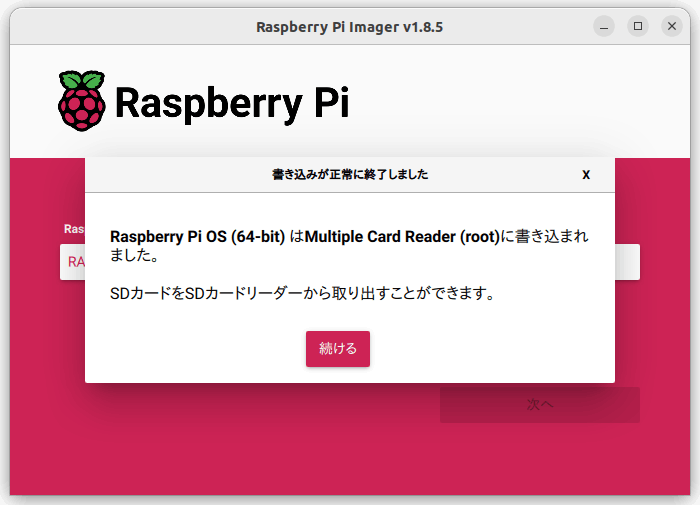
- 確認が完了すると正常終了画面が表示されます。
SDカードの取り外し
- SDカードをPCから取り外します。
Raspberry Piの起動とログイン
- SDカードをRaspberry Piに挿入します。
- 電源アダプターをRaspberry Piに接続します。
- 数分待ちます。(OSの初期設定も行われるため時間がかかります)
- PCからSSHで接続します。(ユーザー名はOSイメージ作成時のものに合わせます)
tetsuya@vanadium:~$ ssh tetsuya@raspberrypi.local
The authenticity of host 'raspberrypi.local (192.168.1.32)' can't be established.
ED25519 key fingerprint is SHA256:hdGO5F5tPTMadZijcrCnYV4kn1A+aXXayDZZJjZF54I.
This key is not known by any other names
Are you sure you want to continue connecting (yes/no/[fingerprint])? yes
Warning: Permanently added 'raspberrypi.local' (ED25519) to the list of known hosts.
tetsuya@raspberrypi.local's password:
Linux raspberrypi 6.6.20+rpt-rpi-2712 #1 SMP PREEMPT Debian 1:6.6.20-1+rpt1 (2024-03-07) aarch64

The programs included with the Debian GNU/Linux system are free software;
the exact distribution terms for each program are described in the
individual files in /usr/share/doc/*/copyright.

Debian GNU/Linux comes with ABSOLUTELY NO WARRANTY, to the extent
permitted by applicable law.
Last login: Sat Mar 16 00:12:26 2024
tetsuya@raspberrypi:~ $
VNCのセットアップ
- Raspberry Piにログインした状態で以下のコマンドを実行します。
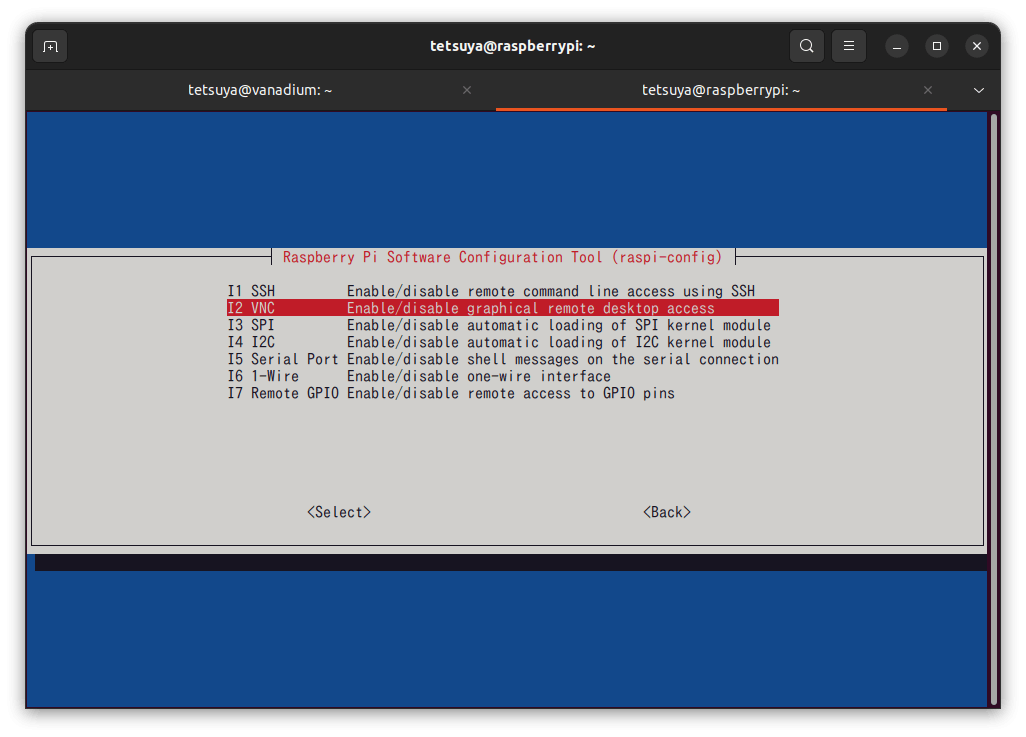
sudo raspi-config - 「3 Interface Options」を選択します。
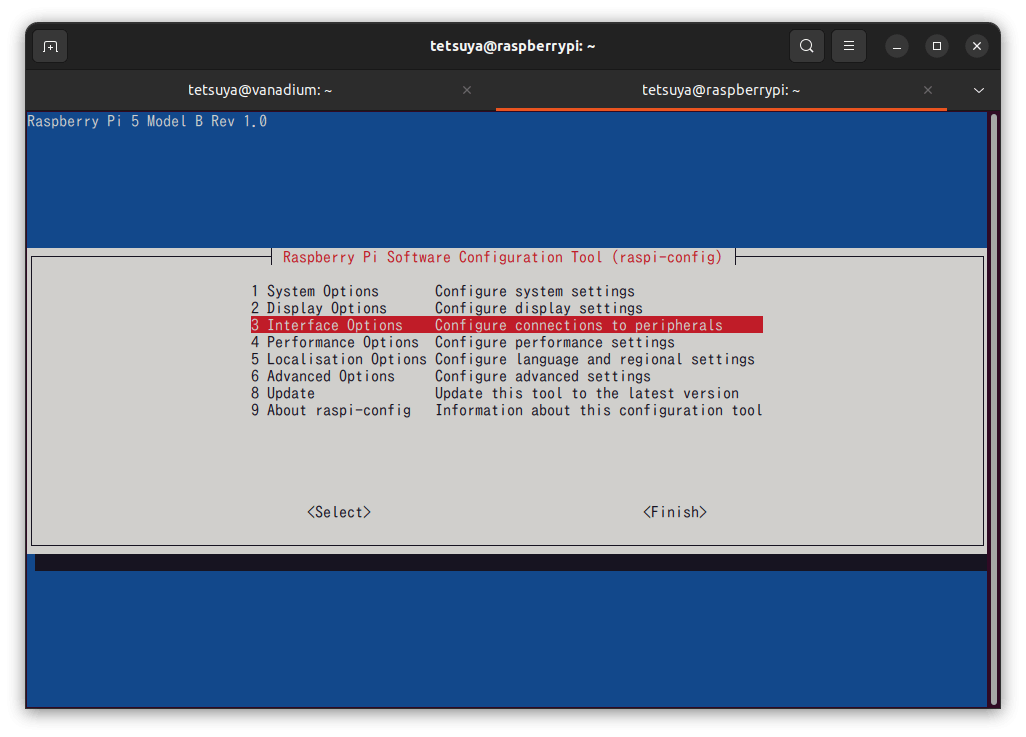
- 「I2 VNC」を選択します。
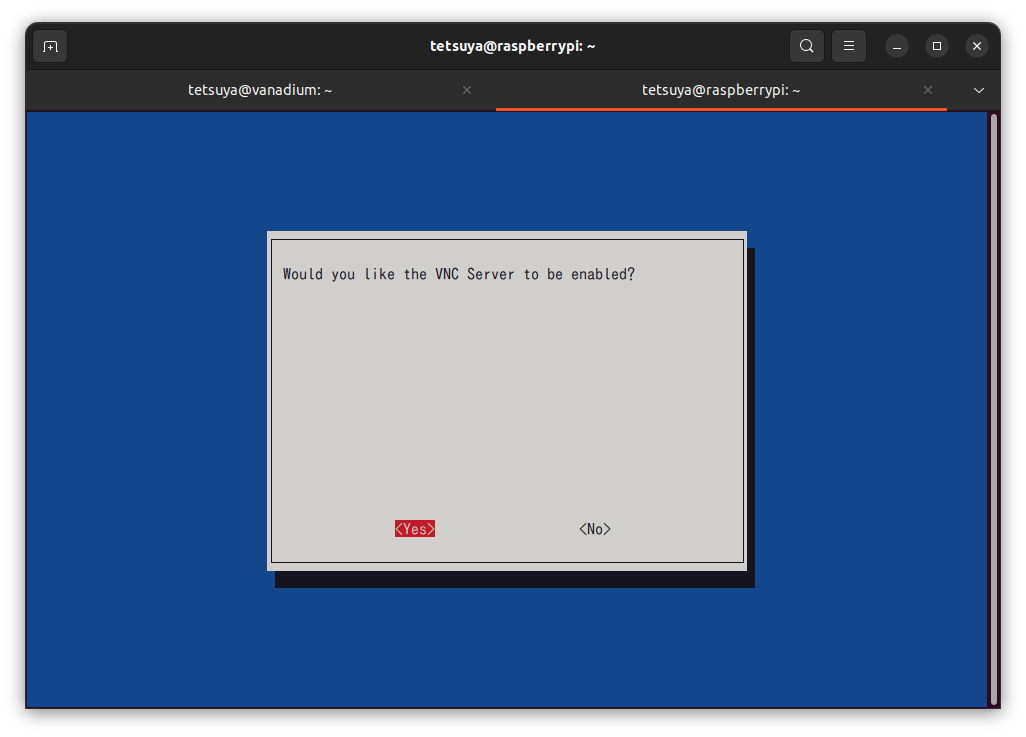
- 「Yes」を選択します。
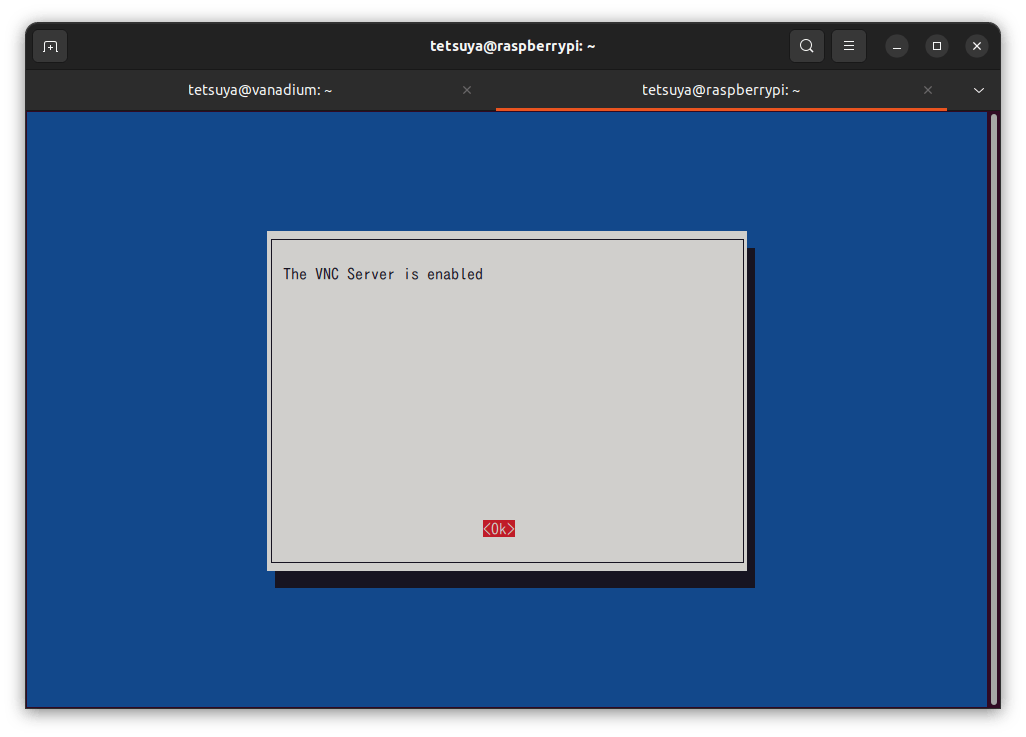
- 「Ok」を選択します。
- PC側のターミナルで以下のコマンドを実行して「TigerVNC」のViewerをインストールします。(BookwormベースのRaspberry Pi OSは
ディスプレイサーバがWaylandに変更になっているのでRealVNCのViewer等ではなくTigerVNCのViewerをインストールする必要があります)sudo apt-get -y install tigervnc-viewer - TigerVNCのViewerを起動します。
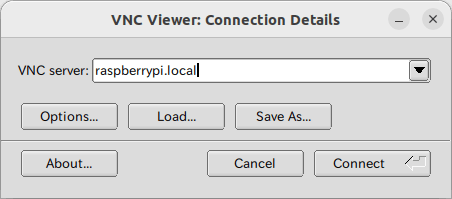
vncviewer - 「VNC Server」にRaspberry Piのホスト名を入力し「Connect」をクリックします。
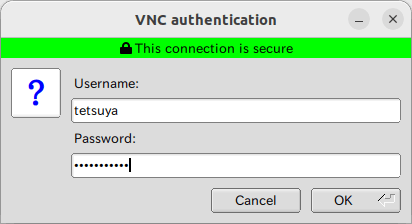
- 「Username」、「Password」を入力して「OK」をクリックします。
- Raspberry Piのデスクトップ画面が表示されます。

Discussion