CloudFront(CloudFront Functions)にセキュリティヘッダを追加する
CloudFrontでセキュリティ対策した際のメモです。
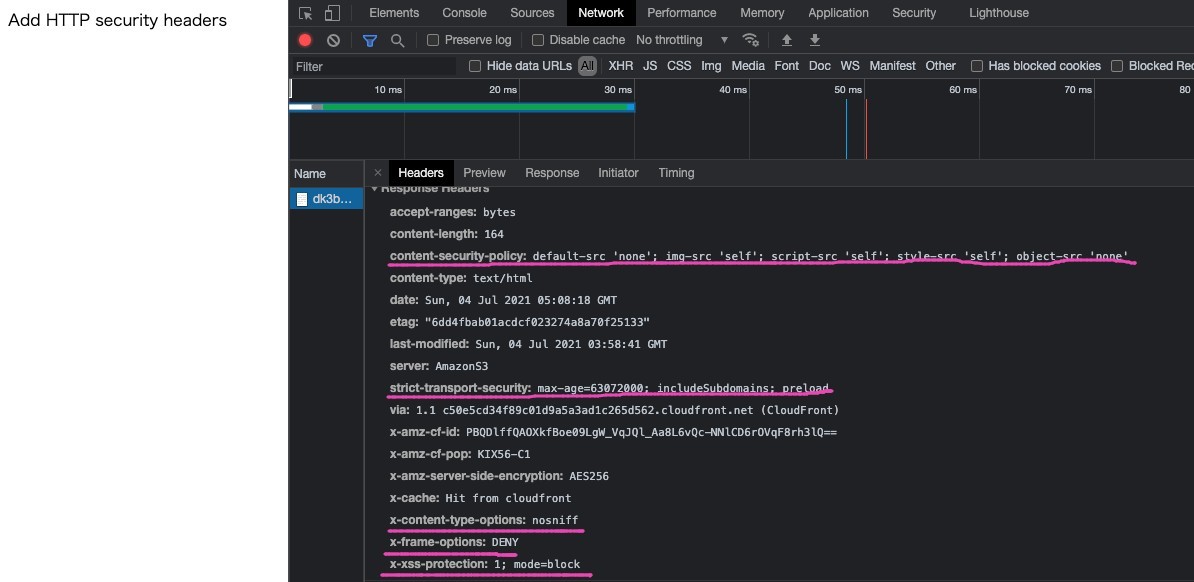
具体的には、セキュリティヘッダ(Strict-Transport-Security, X-Frame-Options, X-XSS-Protection, X-Content-Type-Options, Content-Security-Policy)を追加する作業を実施します。
CloudFrontでは、Amplify、Lambda@Edgeでも適応できましたが、Lambda@Edgeを利用すると、1秒あたりのリクエスト上限(秒間10000リクエスト)があったり、地理的に最適なエッジで実行してないためパフォーマンスの考慮が必要だったりと、本番環境へ適応するには考慮が必要でした。
CloudFront Functionsがローンチされたため、この問題への対処のハードルが下がりました。
前提
CloudFront + S3でのホスティングが完了している状態とします
方法
AWSマネジメントコンソールで「CloudFront」と入力し、CloudFrontのページに移動します。
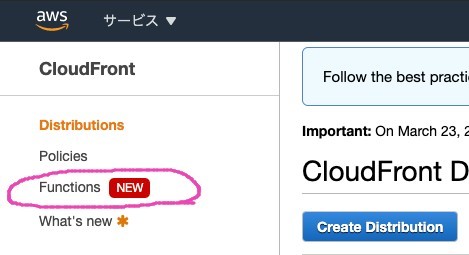
左ペインの 「Functions」 をクリックします。
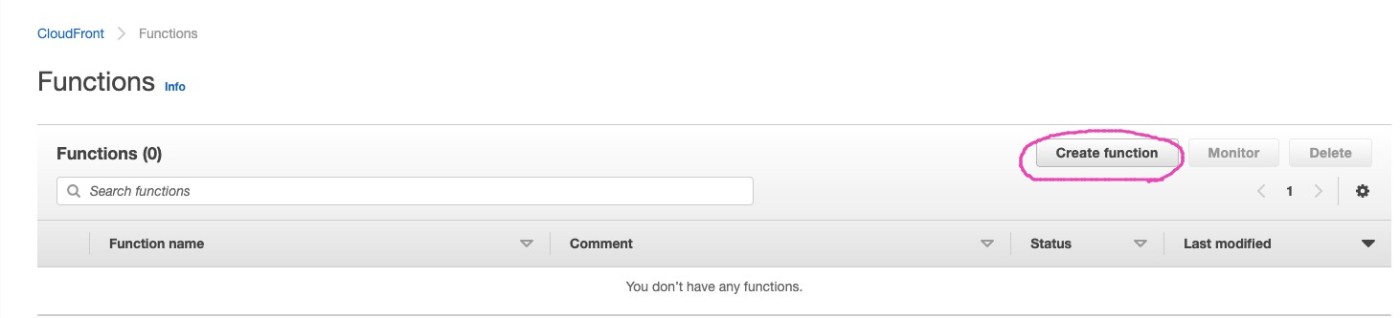
つぎに、「Create Functions」ボタンをクリックします。
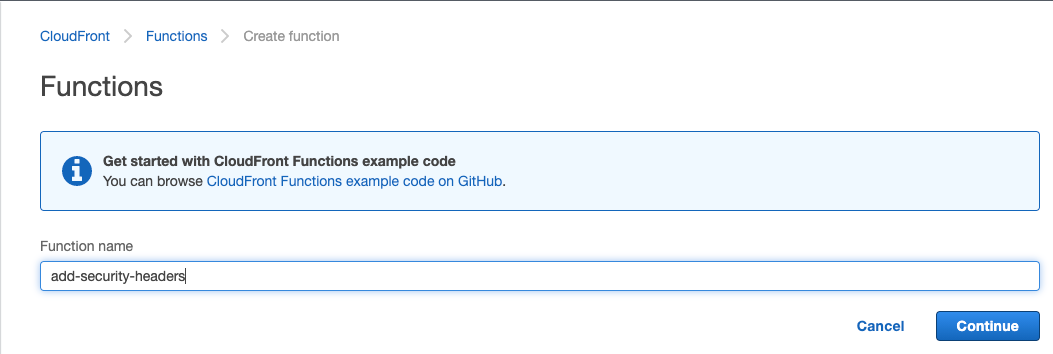
つぎに、任意の名前を入力します。
ここでは、「add-security-headers」としています。
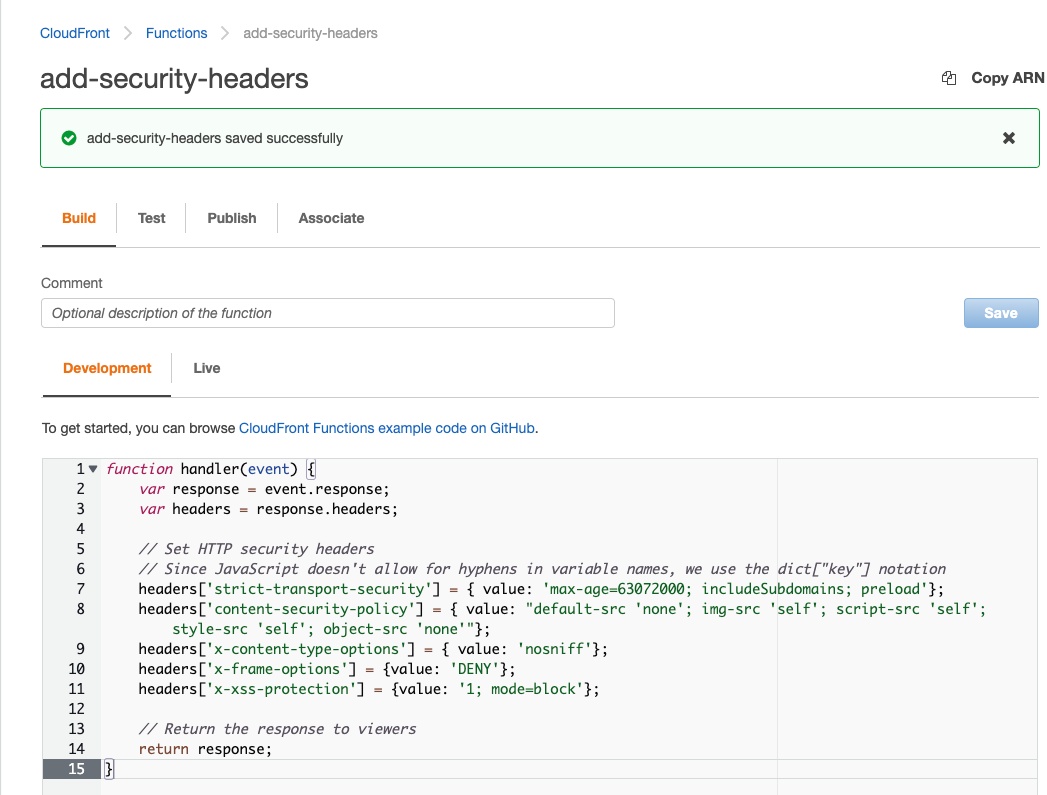
つぎに関数の内容を編集していきます。
AWSにて、サンプルコードを用意してくれているので、そのまま利用します。
必要に応じて、CSPコンテンツセキュリティポリシー (CSP) の内容など調整してください。
function handler(event) {
    var response = event.response;
    var headers = response.headers;

    // Set HTTP security headers
    // Since JavaScript doesn't allow for hyphens in variable names, we use the dict["key"] notation
    headers['strict-transport-security'] = { value: 'max-age=63072000; includeSubdomains; preload'};
    headers['content-security-policy'] = { value: "default-src 'none'; img-src 'self'; script-src 'self'; style-src 'self'; object-src 'none'"};
    headers['x-content-type-options'] = { value: 'nosniff'};
    headers['x-frame-options'] = {value: 'DENY'};
    headers['x-xss-protection'] = {value: '1; mode=block'};

    // Return the response to viewers
    return response;
}
入力後、「Save」して、変更内容を反映します。
作成した関数をテストしていきます。
CloudFront Functionsは、最大実行時間に厳しい制限(1ミリ秒未満)があるため、必ずテストを実施し、制限をパスしているか確認しましょう。
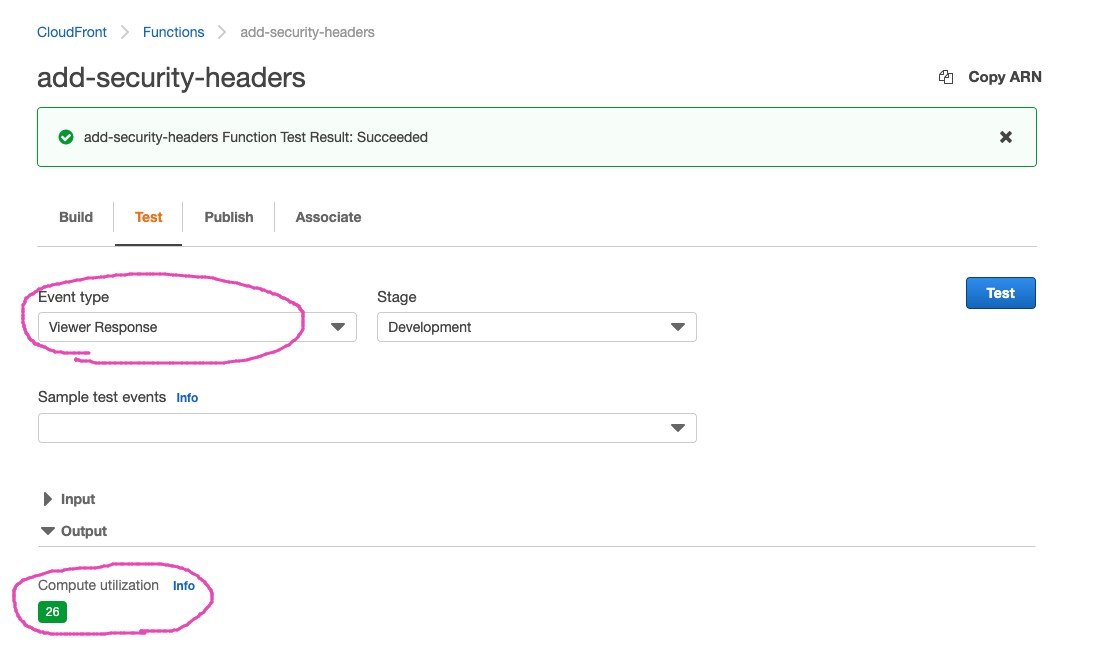
今回作成した関数は、HTTPの返戻時にヘッダを付与するので、Event Typeを「Viewer Response」に変更して、テストを実施しましょう。
ここで表示されているCompute utilizationは100を最大とした場合の実行時間を数値化した物となり、今回の関数は26だったので、制限の範囲内であることを確認できました。
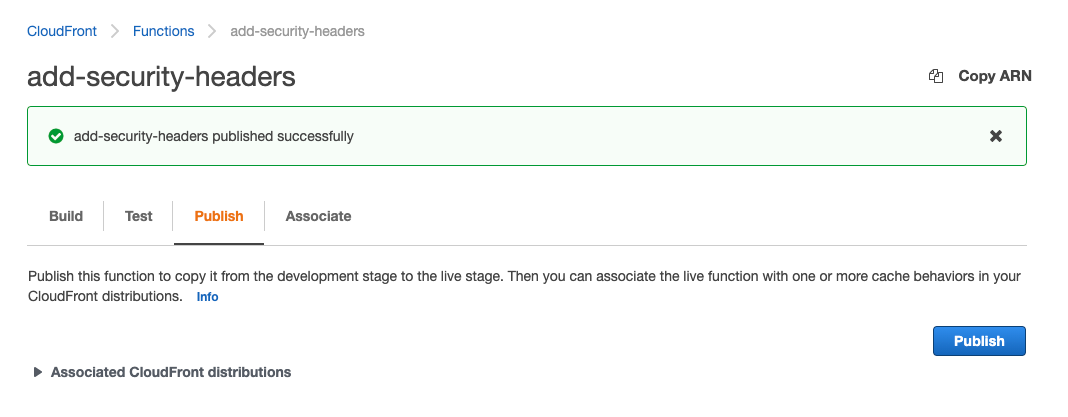
テストが問題なかったため、Publisタブに移動して、公開(「Publish」ボタン押下)しましょう。
最後は、Associateタブに移動して、CloudFrontに適応します。
適応するCloudFrontを選択し、Event Typeを「Viewer Response」に変更して、適応するbehaviorを選択して、CloudFrontに適応します。

適応後、CloudFrontにアクセスして、セキュリティヘッダが追加されていることを確認します。
終わりに
AWS公式から様々なユースケースが紹介されているので、今後活用していくシーンが出てきそうです。
参考
-
Amplifyでセキュリティヘッダ(Strict-Transport-Security, X-Frame-Options, X-XSS-Protection, X-Content-Type-Options, Content-Security-Policy)を追加する
https://qiita.com/takeshi_hirosue/items/c914fe0cc394f8ac7004 -
[CloudFront] Lambda@EdgeでHTTPセキュリティヘッダーを追加する方法
https://dev.classmethod.jp/articles/cloudfront-lambd-edge-http-security-header/ -
Lambda@Edgeのクォータ
https://docs.aws.amazon.com/ja_jp/AmazonCloudFront/latest/DeveloperGuide/cloudfront-limits.html#limits-lambda-at-edge -
EgdeロケーションとRegional Egdeロケーション
https://aws.amazon.com/jp/cloudfront/features/?whats-new-cloudfront.sort-by=item.additionalFields.postDateTime&whats-new-cloudfront.sort-order=desc#Global_Edge_Network -
Cloudflare WorkersとLambda@Edge
https://www.cloudflare.com/ja-jp/learning/serverless/serverless-performance/
Discussion