🖼️
【CSS】アイコン切り抜きプレビューの作り方
はじめに
アイコンをアップロードする機能を作る際に、丸く切り取られることがあります。
ユーザーが意図しない切り抜き方がされないように、アップロード前のプレビュー(どのように切り抜かれるか)をCSSだけで作ります。
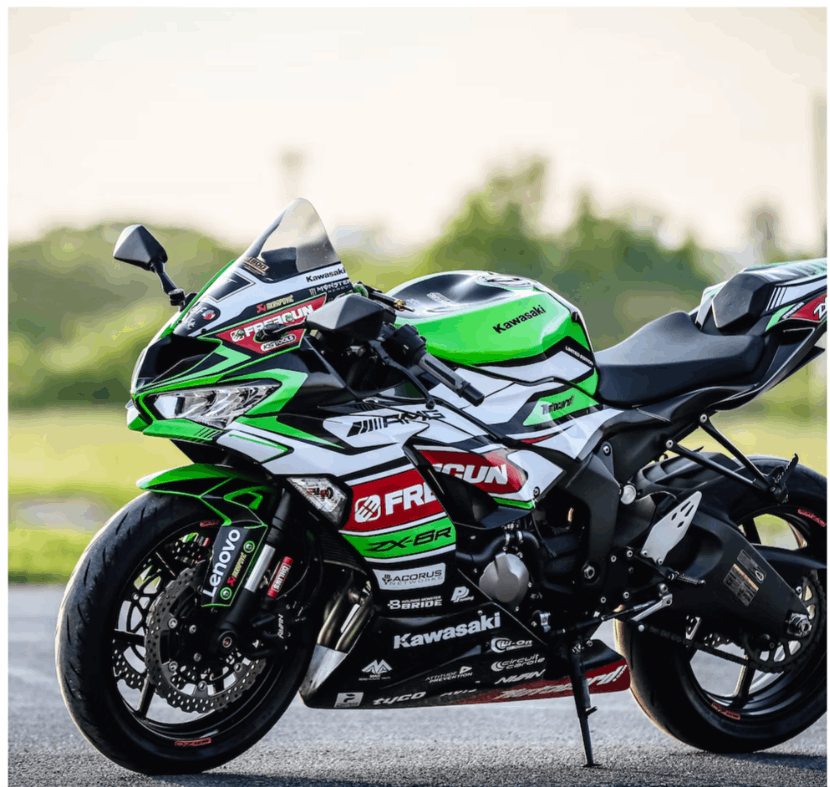
今回作成するものは以下のようなイメージです。

結論
作り方
HTML
HTMLの構造はシンプルです。
imgタグをdivタグでラップするだけでOKです。
<div class="icon-preview">
  <img src="画像URL" alt="画像説明文"/>
</div>
CSS
外枠を作る
まずはimgをラップするdivを正方形にするために、aspect-ratio: 1を指定します。
次に、imgをdivの高さと幅いっぱいに埋めます。
.icon-preview {
  display: flex;
  position: relative;
  width: 100%;
  aspect-ratio: 1;
}

.icon-preview img {
  width: 100%;
  object-fit: cover;
}

全体を暗くする
疑似要素の::beforeを用いて、切り捨てられる部分を暗めのオーバーレイで表現します。
オーバーレイの暗さや色はbackground-colorを適宜調整してください。
.icon-preview {
  display: flex;
  position: relative;
  width: 100%;
  aspect-ratio: 1;
}

+ .icon-preview::before {
+   content: "";
+   position: absolute;
+   width: 100%;
+   height: 100%;
+   background-color: rgba(0, 0, 0, 0.2);
+ }

.icon-preview img {
  width: 100%;
  object-fit: cover;
}

切り抜かれる部分を明るくする
最後に、疑似要素の::afterを用いて、アイコンとして切り抜かれる部分をbackdrop-filterで明るくします。
.icon-preview {
  display: flex;
  position: relative;
  width: 100%;
  aspect-ratio: 1;
}

.icon-preview::before {
  content: "";
  position: absolute;
  width: 100%;
  height: 100%;
  background-color: rgba(0, 0, 0, 0.2);
}

+ .icon-preview::after {
+   content: "";
+   position: absolute;
+   width: 100%;
+   height: 100%;
+   backdrop-filter: brightness(130%);
+   border-radius: 50%;
+ }

.icon-preview img {
  width: 100%;
  object-fit: cover;
}

以上でアイコンプレビューの完成です。


Discussion