GCP の Identity Platform / Firebase Auth の色々な機能を試してみる
試したいこと
- ログアウト → 完了
- サインアップ → 完了
- ユーザー削除 → 完了
- API 側でのアクセストークンの検証 → 完了
- メール到達確認 → 完了
- パスワード再設定 → 完了
- パスワード変更 → 完了
- Google ログイン → 完了
- LINE ログイン → 完了
- メールリンクログイン → 完了
- 匿名ログイン → 完了
- メールアドレス変更 → 完了
- リダイレクト再認証 → 完了
- 複数プロバイダの単一アカウントへのリンク → 完了
- UserProvider → 完了
Git リポジトリ
このスクラップで作成したソースコードをまとめました。
お役に立つようであればご利用くださいませ。
このスクラップについて
Identity Platform は Auth0 の GCP 版のようなものと思われ、このサービスを使うことで面倒な認証機能を簡単に実装できるというイメージを持っている。
ベースは Firebase Authentication のようだが OIDC 対応などの機能強化がなされており、Firebae Authentication では難しい LINE ログインにも簡単に対応できるそうだ。
このスクラップでは Identity Platform を使って実際にログイン機能を実装してみて使い勝手などを検証してみようと思う。
クイックスタート
まずは https://console.cloud.google.com/marketplace/details/google-cloud-platform/customer-identity にアクセスして API を有効化する。
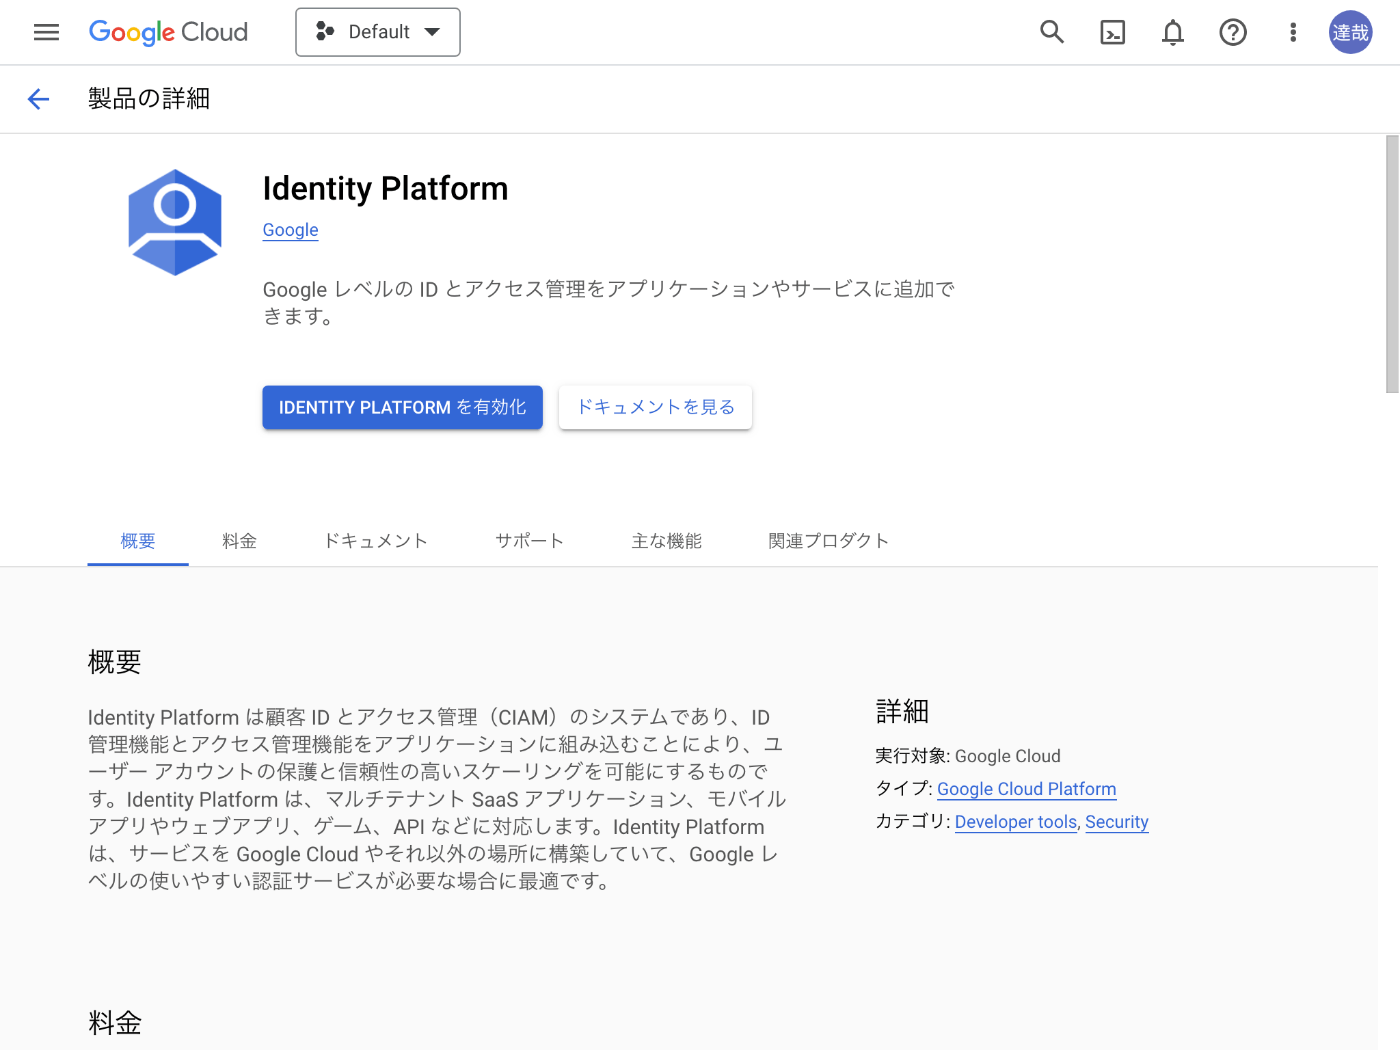
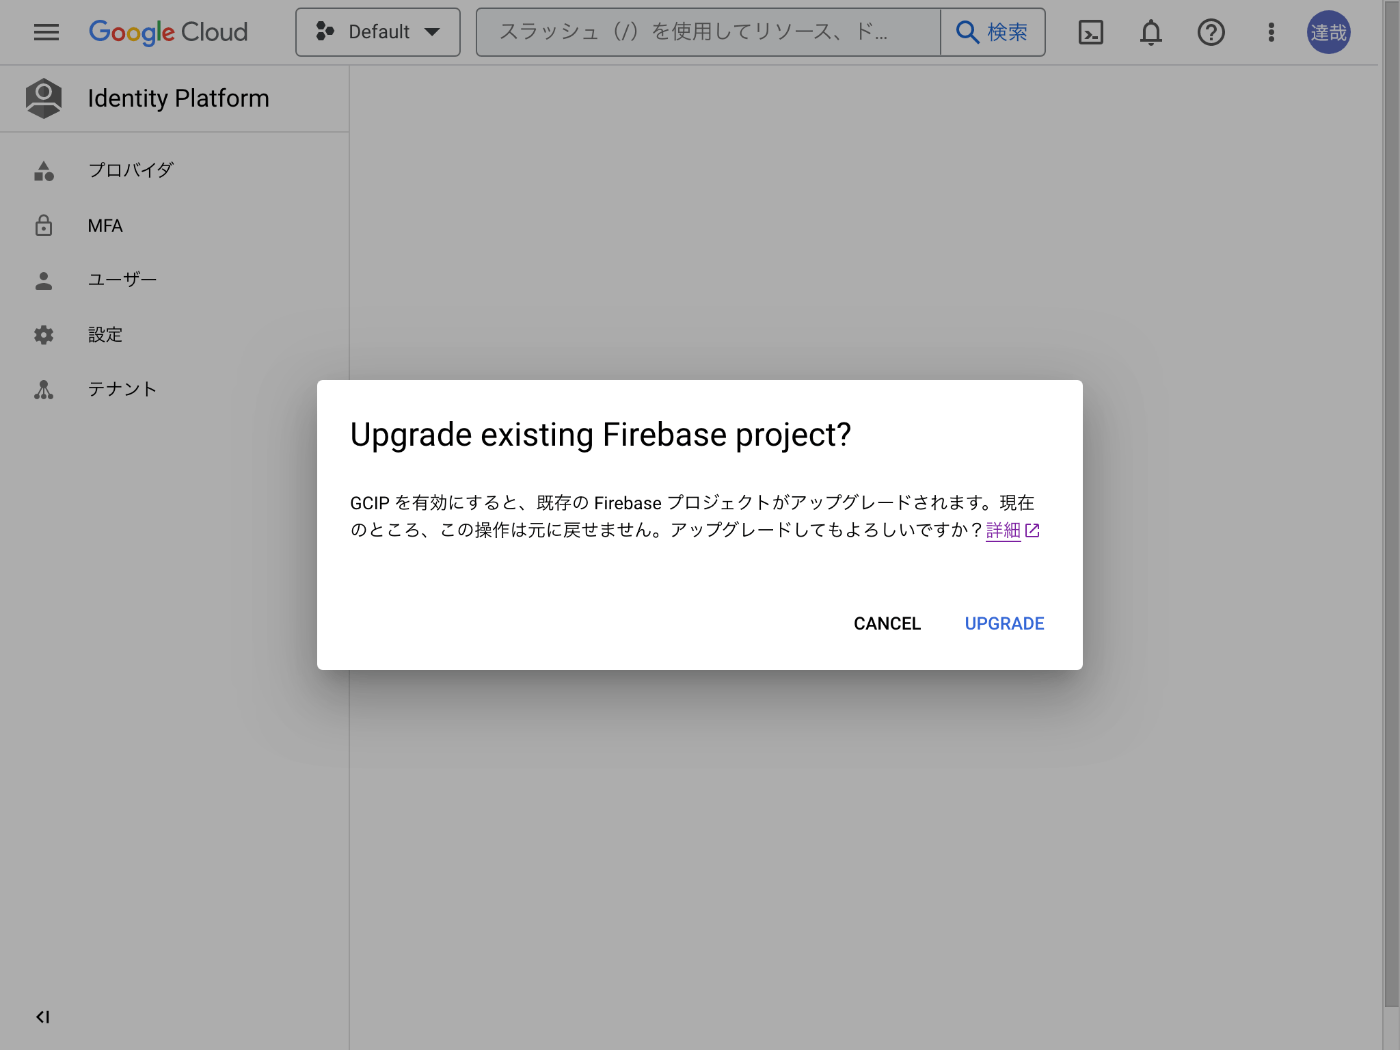
Firebase プロジェクトをアップグレードしても良いかと尋ねられる。
特に問題なければアップグレードする。
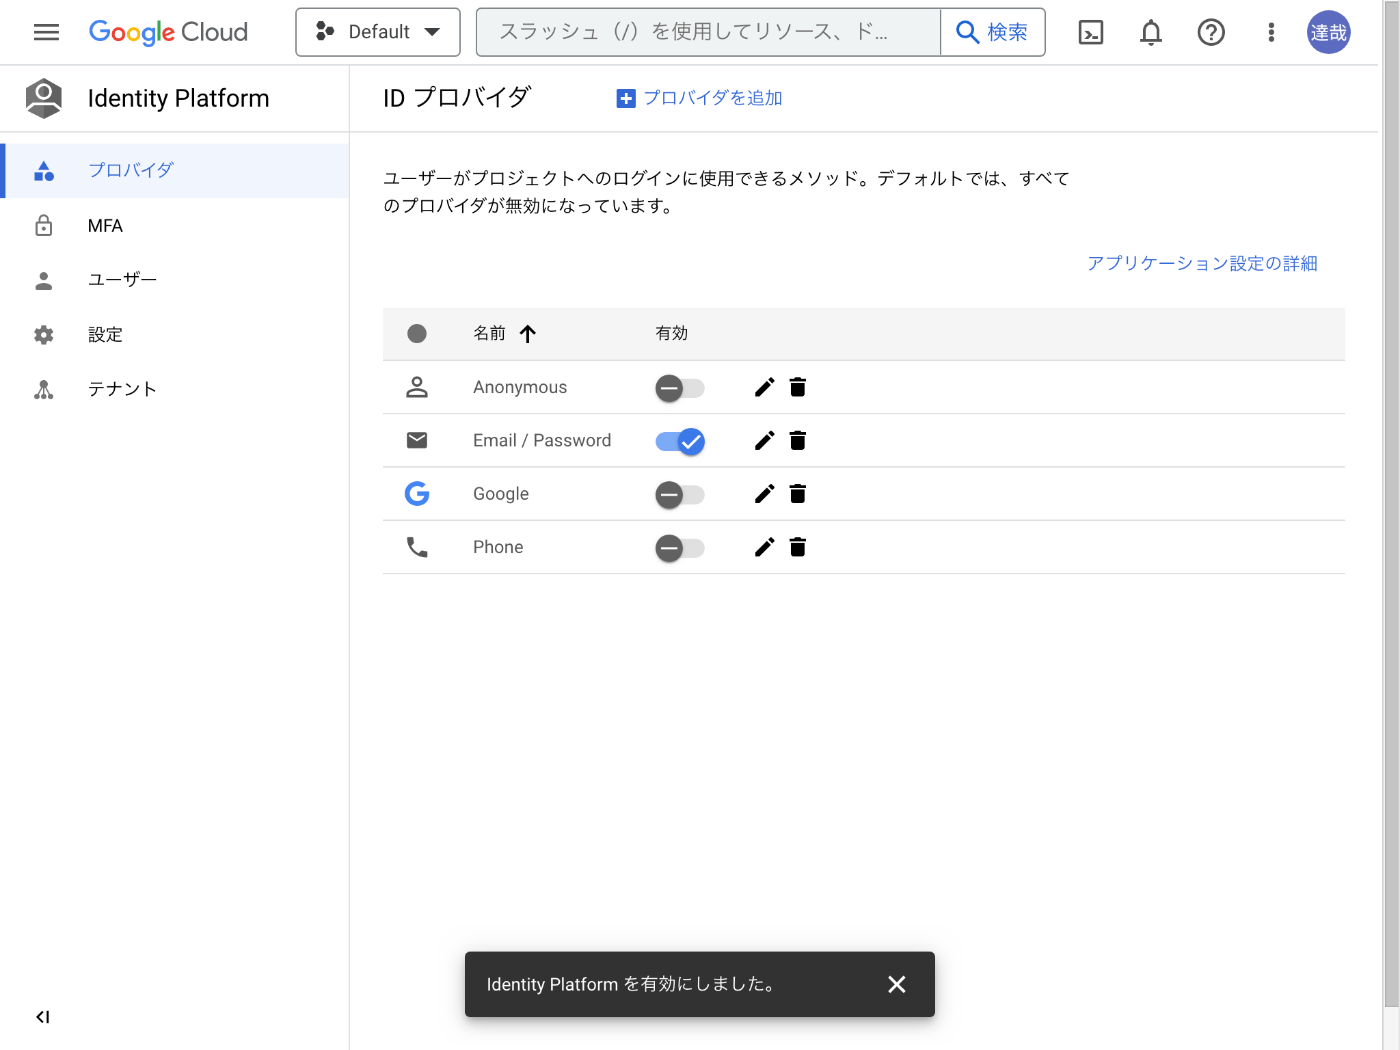
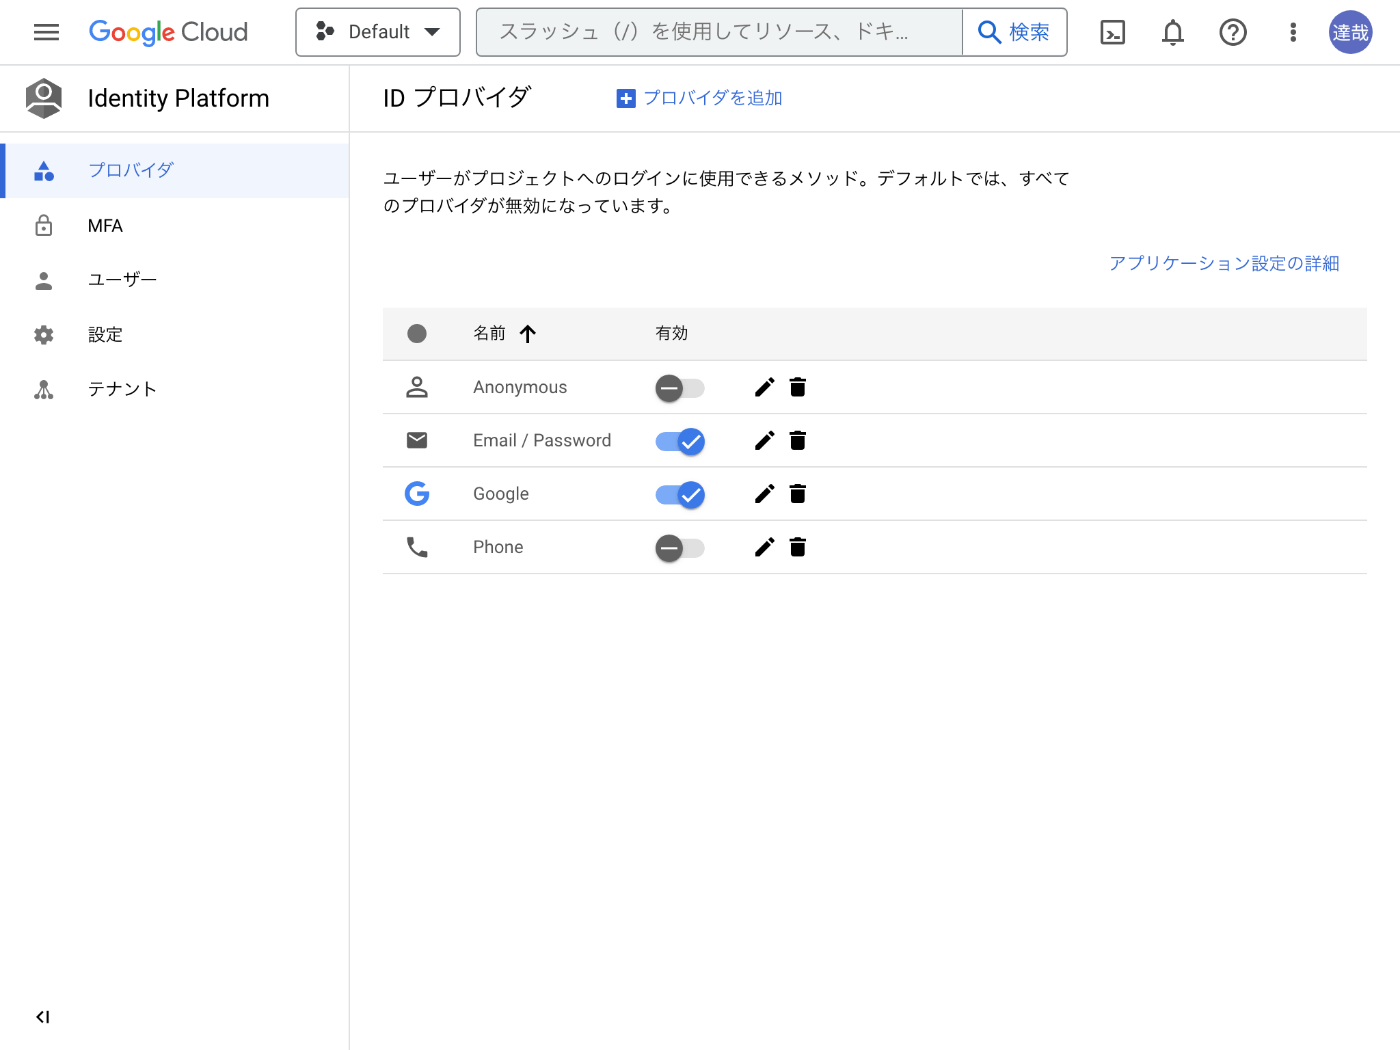
アップグレードが完了したら Email / Passowrd のプロバイダを有効にする。
続いてユーザーページへ移動し、ユーザーを追加ボタンを押してユーザーを追加する。
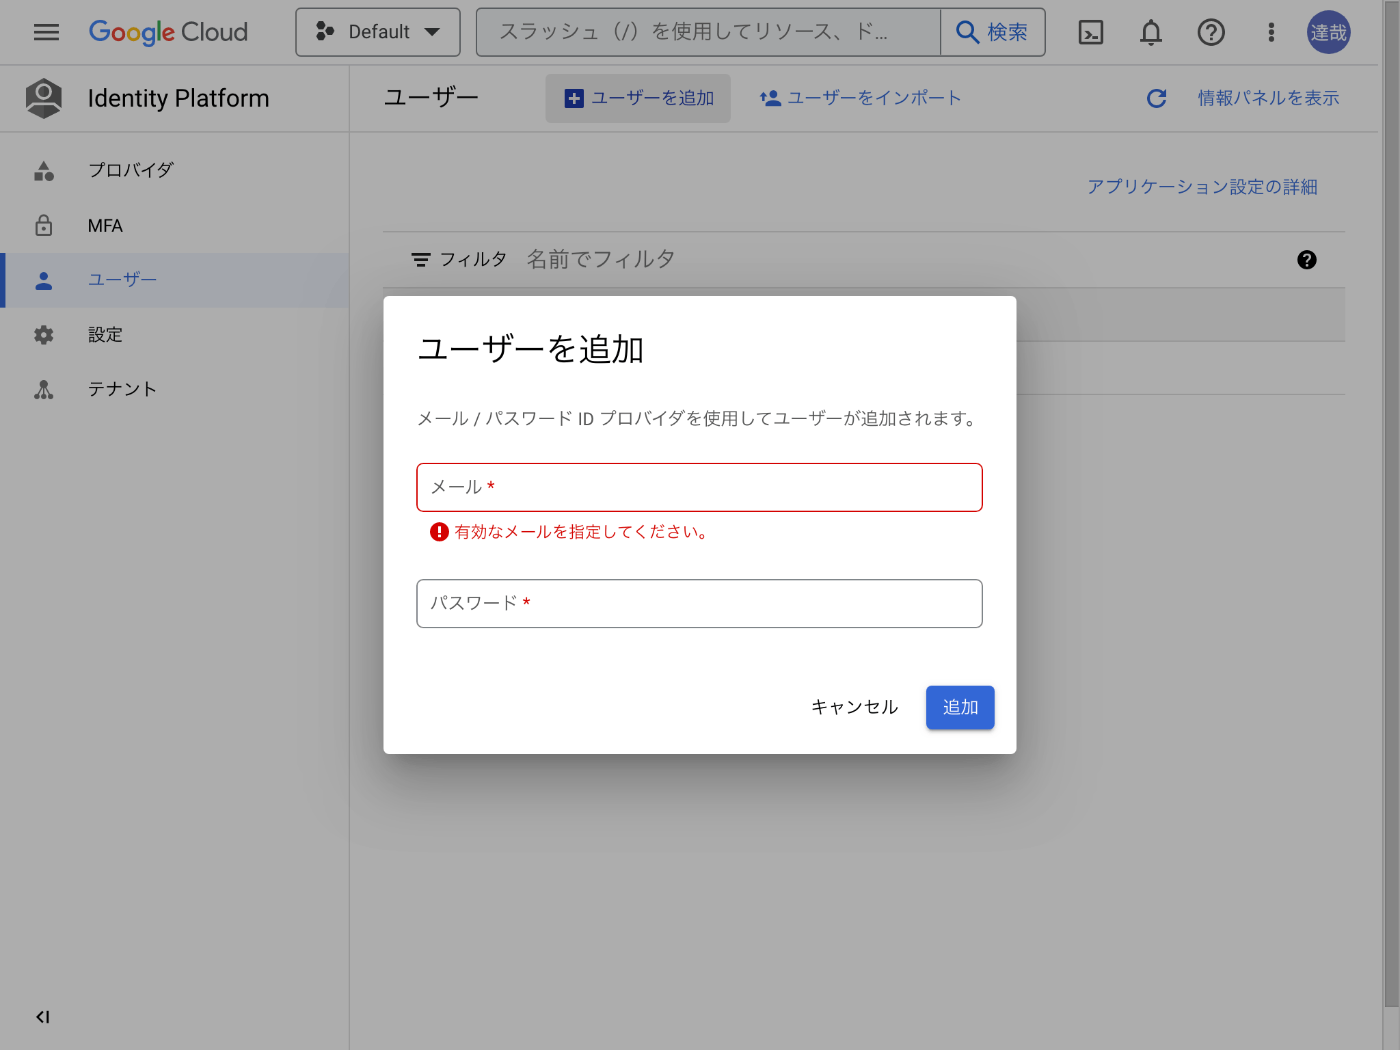
これでコーディング前の準備は終わり。
ワークスペースの準備
せっかくだから Next.js を使ってみよう。
npx create-next-app --typescript --eslint --src-dir --import-alias "@/*" --use-npm hello-id-platform
cd hello-id-platform
npm install --save firebase
touch .env.local
npm run dev
コーディング
// import '@/styles/globals.css' // この行をコメントアウトしました。
import type { AppProps } from "next/app";

export default function App({ Component, pageProps }: AppProps) {
  return <Component {...pageProps} />;
}
import { initializeApp } from "firebase/app";
import { getAuth, signInWithEmailAndPassword } from "firebase/auth";
import { MouseEvent, useState } from "react";

const app = initializeApp({
  apiKey: process.env.NEXT_PUBLIC_FIREBASE_API_KEY!,
  authDomain: process.env.NEXT_PUBLIC_FIREBASE_AUTH_DOMAIN!,
});

const auth = getAuth(app);

export default function Home() {
  const [email, setEmail] = useState("");
  const [password, setPassword] = useState("");
  const onSubmit = async (event: MouseEvent) => {
    event.preventDefault();

    try {
      const credentials = await signInWithEmailAndPassword(
        auth,
        email,
        password
      );

      console.log(credentials);
    } catch (err) {
      console.error(err);
    }
  };

  return (
    <>
      <h1>Hello Identity Platform</h1>
      <form>
        <div>
          <label htmlFor="email">Email</label>
          <input
            type="email"
            name="email"
            id="email"
            value={email}
            onChange={(event) => setEmail(event.target.value)}
          />
        </div>
        <div>
          <label htmlFor="password">Password</label>
          <input
            type="password"
            name="password"
            id="password"
            value={password}
            onChange={(event) => setPassword(event.target.value)}
          />
        </div>
        <button type="submit" onClick={onSubmit}>
          Signin
        </button>
      </form>
    </>
  );
}
NEXT_PUBLIC_FIREBASE_API_KEY="xxxx"
NEXT_PUBLIC_FIREBASE_AUTH_DOMAIN="xxxx.firebaseapp.com"

実行結果
先ほど登録したメールアドレスとパスワードでログインするとコンソールにユーザー認証情報が表示される。
環境変数に NEXT_PUBLIC_ をつけ忘れて無駄に時間を浪費してしまった。
認証状態の永続性
Firebae Authentication のドキュメントによるとデフォルトでログインユーザーが永続化される。
下記の記事によると IndexedDB に保存されているようだ。
ソースコードを下記のように変更して確認できる。
import { initializeApp } from "firebase/app";
import {
  getAuth,
  getIdToken,
  onAuthStateChanged,
  signInWithEmailAndPassword,
} from "firebase/auth";
import { MouseEvent, useEffect, useState } from "react";

const app = initializeApp({
  apiKey: process.env.NEXT_PUBLIC_FIREBASE_API_KEY!,
  authDomain: process.env.NEXT_PUBLIC_FIREBASE_AUTH_DOMAIN!,
});

const auth = getAuth(app);

export default function Home() {
  const [email, setEmail] = useState("");
  const [password, setPassword] = useState("");
  const onSubmit = async (event: MouseEvent) => {
    event.preventDefault();

    try {
      const user = await signInWithEmailAndPassword(auth, email, password);

      console.log(user);
    } catch (err) {
      console.error(err);
    }
  };

  useEffect(() => {
    const unsubscribe = onAuthStateChanged(auth, (user) => {
      console.log(user);
    });

    return () => {
      unsubscribe();
    };
  }, []);

  return (
    <>
      <h1>Hello Identity Platform</h1>
      <form>
        <div>
          <label htmlFor="email">Email</label>
          <input
            type="email"
            name="email"
            id="email"
            value={email}
            onChange={(event) => setEmail(event.target.value)}
          />
        </div>
        <div>
          <label htmlFor="password">Password</label>
          <input
            type="password"
            name="password"
            id="password"
            value={password}
            onChange={(event) => setPassword(event.target.value)}
          />
        </div>
        <button type="submit" onClick={onSubmit}>
          Signin
        </button>
      </form>
    </>
  );
}
リロードすると特にログインしていなくてもコンソールに UserImple オブジェクトが出力される。
onAuthStateChanged() 関数を忘れていて currentUser が null になる現象に遭遇したが下記の記事のおかげで助かった、ありがとう。
Firebase React SDK
AngularFire のように React に特化した Firebase SDK は無いのだろうか?
ログアウト
touch src/pages/signout.tsx
import { initializeApp } from "firebase/app";
import { getAuth, signOut } from "firebase/auth";
import { MouseEvent } from "react";

const app = initializeApp({
  apiKey: process.env.NEXT_PUBLIC_FIREBASE_API_KEY!,
  authDomain: process.env.NEXT_PUBLIC_FIREBASE_AUTH_DOMAIN!,
});

const auth = getAuth(app);

export default function Home() {
  const onSubmit = async (event: MouseEvent) => {
    event.preventDefault();

    try {
      await signOut(auth);
    } catch (err) {
      console.error(err);
    }
  };

  return (
    <>
      <h1>Signout</h1>
      <button type="button" onClick={onSubmit}>
        Signout
      </button>
    </>
  );
}

実行結果
これでは動作確認ができないので別のページを作成する。
touch src/pages/current-user.tsx
import { initializeApp } from "firebase/app";
import { User, getAuth, onAuthStateChanged } from "firebase/auth";
import { useEffect, useState } from "react";

const app = initializeApp({
  apiKey: process.env.NEXT_PUBLIC_FIREBASE_API_KEY!,
  authDomain: process.env.NEXT_PUBLIC_FIREBASE_AUTH_DOMAIN!,
});

const auth = getAuth(app);

export default function Home() {
  const [loading, setLoading] = useState<boolean>(true);
  const [user, setUser] = useState<User | null>(null);

  useEffect(() => {
    const unsubscribe = onAuthStateChanged(auth, (user) => {
      setLoading(false);
      setUser(user);
    });

    return () => {
      unsubscribe();
    };
  }, []);

  return (
    <>
      <h1>Current User</h1>
      {loading && <p>Loading...</p>}
      {!loading && user === null && <p>Sign out</p>}
      {!loading && user !== null && (
        <dl>
          <dt>User Id</dt>
          <dd>{user !== null ? user.uid : "-"}</dd>
        </dl>
      )}
    </>
  );
}
ログアウトしていることがわかる。
ログインのリファクタリング
mv src/pages/index.tsx src/pages/signin.tsx
import { initializeApp } from "firebase/app";
import { getAuth, signInWithEmailAndPassword } from "firebase/auth";
import { MouseEvent, useEffect, useState } from "react";

const app = initializeApp({
  apiKey: process.env.NEXT_PUBLIC_FIREBASE_API_KEY!,
  authDomain: process.env.NEXT_PUBLIC_FIREBASE_AUTH_DOMAIN!,
});

const auth = getAuth(app);

export default function Home() {
  const [email, setEmail] = useState("");
  const [password, setPassword] = useState("");
  const onSubmit = async (event: MouseEvent) => {
    event.preventDefault();

    try {
      const user = await signInWithEmailAndPassword(auth, email, password);

      console.log(user);
    } catch (err) {
      console.error(err);
    }
  };

  return (
    <>
      <h1>Signin</h1>
      <form>
        <div>
          <label htmlFor="email">Email</label>
          <input
            type="email"
            name="email"
            id="email"
            value={email}
            onChange={(event) => setEmail(event.target.value)}
          />
        </div>
        <div>
          <label htmlFor="password">Password</label>
          <input
            type="password"
            name="password"
            id="password"
            value={password}
            onChange={(event) => setPassword(event.target.value)}
          />
        </div>
        <button type="submit" onClick={onSubmit}>
          Signin
        </button>
      </form>
    </>
  );
}
参考になりそう
サインアップ
touch src/pages/signup.tsx
import { initializeApp } from "firebase/app";
import {
  createUserWithEmailAndPassword,
  getAuth,
  signInWithEmailAndPassword,
} from "firebase/auth";
import { MouseEvent, useEffect, useState } from "react";

const app = initializeApp({
  apiKey: process.env.NEXT_PUBLIC_FIREBASE_API_KEY!,
  authDomain: process.env.NEXT_PUBLIC_FIREBASE_AUTH_DOMAIN!,
});

const auth = getAuth(app);

export default function Signup() {
  const [email, setEmail] = useState("");
  const [password, setPassword] = useState("");
  const onSubmit = async (event: MouseEvent) => {
    event.preventDefault();

    try {
      const user = await createUserWithEmailAndPassword(auth, email, password);

      console.log(user);
    } catch (err) {
      console.error(err);
    }
  };

  return (
    <>
      <h1>Signup</h1>
      <form>
        <div>
          <label htmlFor="email">Email</label>
          <input
            type="email"
            name="email"
            id="email"
            value={email}
            onChange={(event) => setEmail(event.target.value)}
          />
        </div>
        <div>
          <label htmlFor="password">Password</label>
          <input
            type="password"
            name="password"
            id="password"
            value={password}
            onChange={(event) => setPassword(event.target.value)}
          />
        </div>
        <button type="submit" onClick={onSubmit}>
          Signin
        </button>
      </form>
    </>
  );
}
実行結果
メールアドレスが不正だったり、既に同じメールアドレスが登録されているとエラーになる。
作成したユーザーは Identity Platform のユーザーページから確認できる。
ユーザー削除の失敗例
touch src/pages/delete-user.tsx
import { initializeApp } from "firebase/app";
import { User, deleteUser, getAuth, onAuthStateChanged } from "firebase/auth";
import { MouseEvent, useEffect, useState } from "react";

const app = initializeApp({
  apiKey: process.env.NEXT_PUBLIC_FIREBASE_API_KEY!,
  authDomain: process.env.NEXT_PUBLIC_FIREBASE_AUTH_DOMAIN!,
});

const auth = getAuth(app);

export default function DeleteUser() {
  const [loading, setLoading] = useState<boolean>(true);
  const [user, setUser] = useState<User | null>(null);

  useEffect(() => {
    const unsubscribe = onAuthStateChanged(auth, (user) => {
      setLoading(false);
      setUser(user);
    });

    return () => {
      unsubscribe();
    };
  }, []);

  const onSubmit = async (event: MouseEvent) => {
    event.preventDefault();

    try {
      if (user !== null) {
        await deleteUser(user);
      }
    } catch (err) {
      console.error(err);
    }
  };

  return (
    <>
      <h1>Delete User</h1>
      {loading && <p>Loading...</p>}
      {!loading && user === null && <p>Sign out</p>}
      {!loading && user !== null && (
        <button type="button" onClick={onSubmit}>
          Delete
        </button>
      )}
    </>
  );
}
実行結果
この状態で Delete ボタンを押すと下記のエラーメッセージが表示される。
FirebaseError: Firebase: Error (auth/requires-recent-login).
    at createErrorInternal (index-680e2b70.js?3240:476:1)
    at _fail (index-680e2b70.js?3240:447:1)
    at _performFetchWithErrorHandling (index-680e2b70.js?3240:978:1)
    at async _logoutIfInvalidated (index-680e2b70.js?3240:1218:1)
    at async UserImpl.delete (index-680e2b70.js?3240:1707:1)
    at async onSubmit (delete-user.tsx?098e:32:9)
どうやら直前にログインし直す必要があるようだ。
参考になりそう
ユーザー削除の成功例
import { initializeApp } from "firebase/app";
import {
  EmailAuthProvider,
  User,
  deleteUser,
  getAuth,
  onAuthStateChanged,
  reauthenticateWithCredential,
} from "firebase/auth";
import { MouseEvent, useEffect, useState } from "react";

const app = initializeApp({
  apiKey: process.env.NEXT_PUBLIC_FIREBASE_API_KEY!,
  authDomain: process.env.NEXT_PUBLIC_FIREBASE_AUTH_DOMAIN!,
});

const auth = getAuth(app);

export default function DeleteUser() {
  const [loading, setLoading] = useState<boolean>(true);
  const [user, setUser] = useState<User | null>(null);
  const [password, setPassword] = useState("");

  useEffect(() => {
    const unsubscribe = onAuthStateChanged(auth, (user) => {
      setLoading(false);
      setUser(user);
    });

    return () => {
      unsubscribe();
    };
  }, []);

  const onSubmit = async (event: MouseEvent) => {
    event.preventDefault();

    try {
      if (user !== null && user.email !== null) {
        const credential = EmailAuthProvider.credential(user.email, password);
        await reauthenticateWithCredential(user, credential);
        await deleteUser(user);
      }
    } catch (err) {
      console.error(err);
    }
  };

  return (
    <>
      <h1>Delete User</h1>
      {loading && <p>Loading...</p>}
      {!loading && user === null && <p>Sign out</p>}
      {!loading && user !== null && (
        <form>
          <div>
            <label htmlFor="password">Password</label>
            <input
              type="password"
              name="password"
              id="password"
              value={password}
              onChange={(event) => setPassword(event.target.value)}
            />
          </div>
          <button type="button" onClick={onSubmit}>
            Delete
          </button>
        </form>
      )}
    </>
  );
}
ユーザーが削除されたことは Web コンソールから確認できる。
API 側でのアクセストークンの検証
公式ドキュメントの関連箇所は下記の通り。
npm install --save firebase-admin
touch src/pages/verify.tsx src/pages/api/verify.ts
API 側でどうやって Firebase Admin を初期化すれば良いのかわからない。
今日はこの辺りでやめておこう。
参考になりそう
サービスアカウントの作成
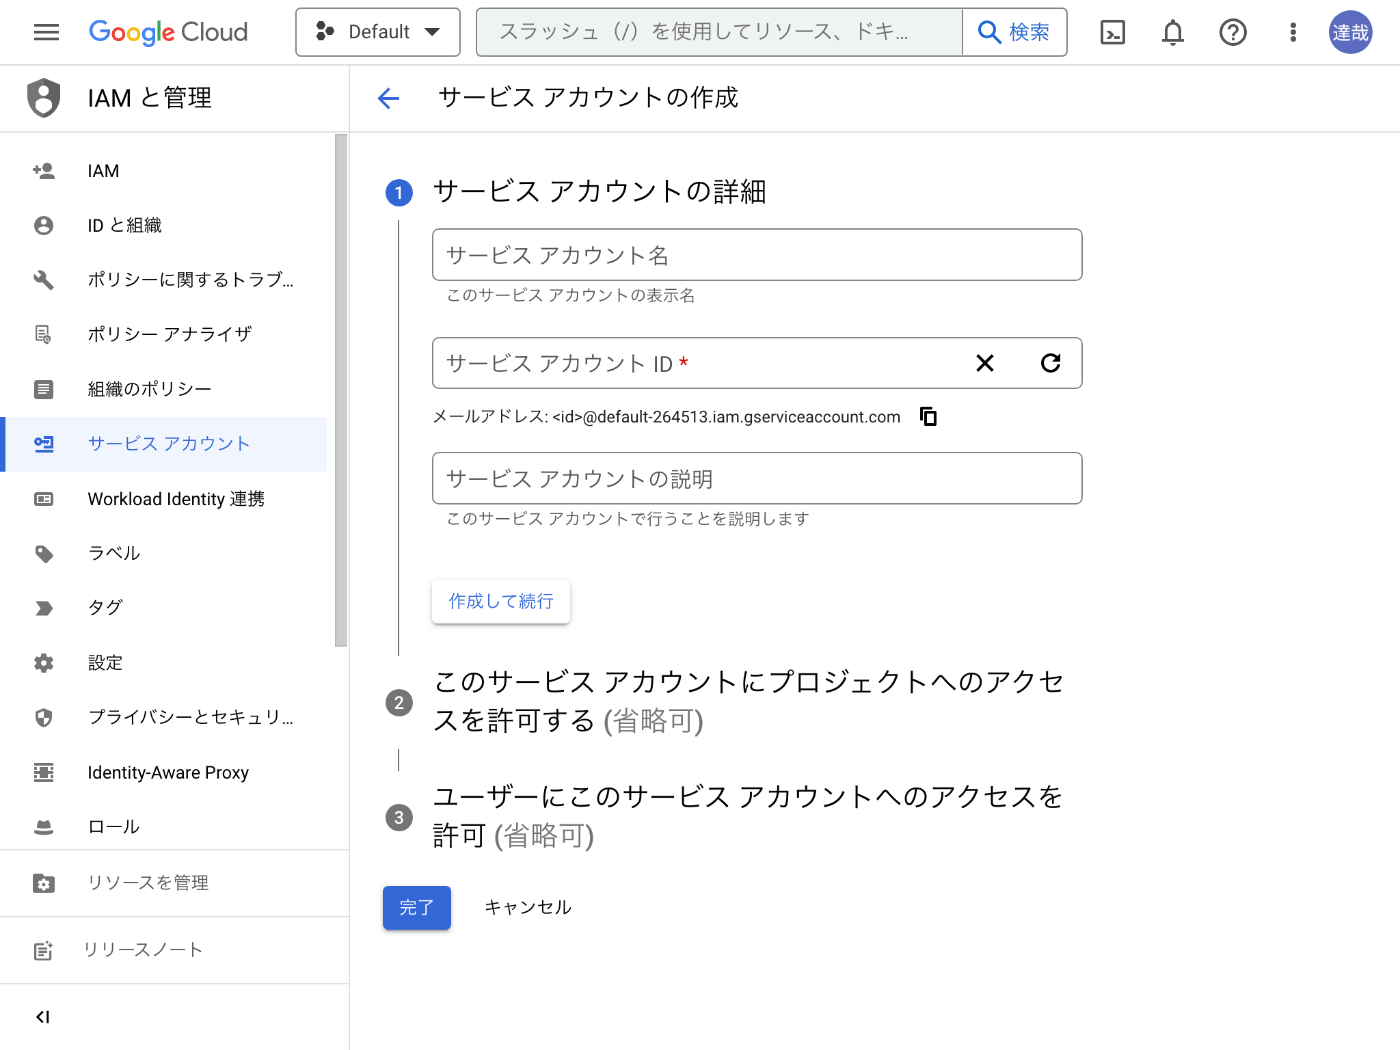
公式ドキュメントに記載されている通りサービスアカウントを作ってみる。
まずはサービスアカウント作成ページへ移動してプロジェクトを選択する。
続いてサービスアカウント名を入力する、今回は hello-id-platform とした。
続いてロールを選択を押して Identity Toolkit 管理者を選んでから続行ボタンを押す。

最後に完了ボタンを押す。

サービスアカウントキーの作成
作成したサービスアカウントの詳細ページへ移動してキータブを選ぶ。
鍵を追加ボタン > 新しい鍵を作成ボタンを押す。

キーのタイプとして JSON を選ぶ。

作成ボタンを押すと JSON キーファイルがダウンロードされる。
環境変数の追加
ダウンロードした JSON キーファイルから下記 3 点を使用する。
- project_id
- private_key
- client_email
.env.local に追記する。
FIREBASE_CLIENT_EMAIL="hello-id-platform@xxxx.iam.gserviceaccount.com"
FIREBASE_PRIVATE_KEY="-----BEGIN PRIVATE KEY-----\nyyyy\n-----END PRIVATE KEY-----\n"
FIREBASE_PROJECT_ID="xxxx"
コーディング
import { initializeApp } from "firebase/app";
import { User, getAuth, getIdToken, onAuthStateChanged } from "firebase/auth";
import { MouseEvent, useEffect, useState } from "react";

const app = initializeApp({
  apiKey: process.env.NEXT_PUBLIC_FIREBASE_API_KEY!,
  authDomain: process.env.NEXT_PUBLIC_FIREBASE_AUTH_DOMAIN!,
});

const auth = getAuth(app);

export default function Verify() {
  const [loading, setLoading] = useState<boolean>(true);
  const [user, setUser] = useState<User | null>(null);
  const [password, setPassword] = useState("");

  useEffect(() => {
    const unsubscribe = onAuthStateChanged(auth, (user) => {
      setLoading(false);
      setUser(user);
    });

    return () => {
      unsubscribe();
    };
  }, []);

  const onClick = async (event: MouseEvent) => {
    event.preventDefault();

    try {
      if (user !== null) {
        const idToken = await getIdToken(user);
        const response = await fetch("/api/verify", {
          headers: {
            Authorization: `Bearer ${idToken}`,
          },
        });

        console.log(response.status);
      }
    } catch (err) {
      console.error(err);
    }
  };

  return (
    <>
      <h1>Delete User</h1>
      {loading && <p>Loading...</p>}
      {!loading && user === null && <p>Sign out</p>}
      {!loading && user !== null && (
        <button type="button" onClick={onClick}>
          Verify
        </button>
      )}
    </>
  );
}
import { apps, auth, credential } from "firebase-admin";
import { initializeApp } from "firebase-admin/app";
import type { NextApiRequest, NextApiResponse } from "next";

if (apps.length === 0) {
  initializeApp({
    credential: credential.cert({
      clientEmail: process.env.FIREBASE_CLIENT_EMAIL,
      privateKey: process.env.FIREBASE_PRIVATE_KEY,
      projectId: process.env.FIREBASE_PROJECT_ID,
    }),
  });
}

type Data = {
  ok: boolean;
};

export default async function handler(
  req: NextApiRequest,
  res: NextApiResponse<Data>
) {
  if (typeof req.headers.authorization == "undefined") {
    res.status(401).end();
    return;
  }

  const idToken = req.headers.authorization.split(" ")[1];

  try {
    const user = await auth().verifyIdToken(idToken);
    console.log(user);
  } catch (err) {
    console.error(err);
  }

  res.send({ ok: true });
}

実行結果
Verify ボタンを押すとサーバー側のコンソールに ID トークンの内容が表示される。
この中に含まれる user_id や sub を使うことでユーザーが特定できる。
メール到達確認
touch src/pages/verify-email.tsx
import { initializeApp } from "firebase/app";
import {
  User,
  getAuth,
  onAuthStateChanged,
  sendEmailVerification,
} from "firebase/auth";
import { MouseEvent, useEffect, useState } from "react";

const app = initializeApp({
  apiKey: process.env.NEXT_PUBLIC_FIREBASE_API_KEY!,
  authDomain: process.env.NEXT_PUBLIC_FIREBASE_AUTH_DOMAIN!,
});

const auth = getAuth(app);

export default function VerifyEmail() {
  const [loading, setLoading] = useState<boolean>(true);
  const [user, setUser] = useState<User | null>(null);

  useEffect(() => {
    const unsubscribe = onAuthStateChanged(auth, (user) => {
      setLoading(false);
      setUser(user);
    });

    return () => {
      unsubscribe();
    };
  }, []);

  const onClick = async (event: MouseEvent) => {
    event.preventDefault();

    try {
      if (user !== null) {
        await sendEmailVerification(user);
      }
    } catch (err) {
      console.error(err);
    }
  };

  return (
    <>
      <h1>Delete User</h1>
      {loading && <p>Loading...</p>}
      {!loading && user === null && <p>Sign out</p>}
      {!loading && user !== null && (
        <button type="button" onClick={onClick}>
          Verify Email
        </button>
      )}
    </>
  );
}
http://localhost:3000/verify-email にアクセスして Verify ボタンを押すと下記のメールが送信される。
Hello,
Follow this link to verify your email address.
https://xxxx.firebaseapp.com/__/auth/action?mode=verifyEmail&oobCode=yyyy&apiKey=zzzz&lang=en
If you didn’t ask to verify this address, you can ignore this email.
Thanks,
Your Google Drive OAuth2 team
カスタムドメインでメールを送信できるようだ。
メールに含まれる URL にアクセスするとメール確認完了ページが表示される。
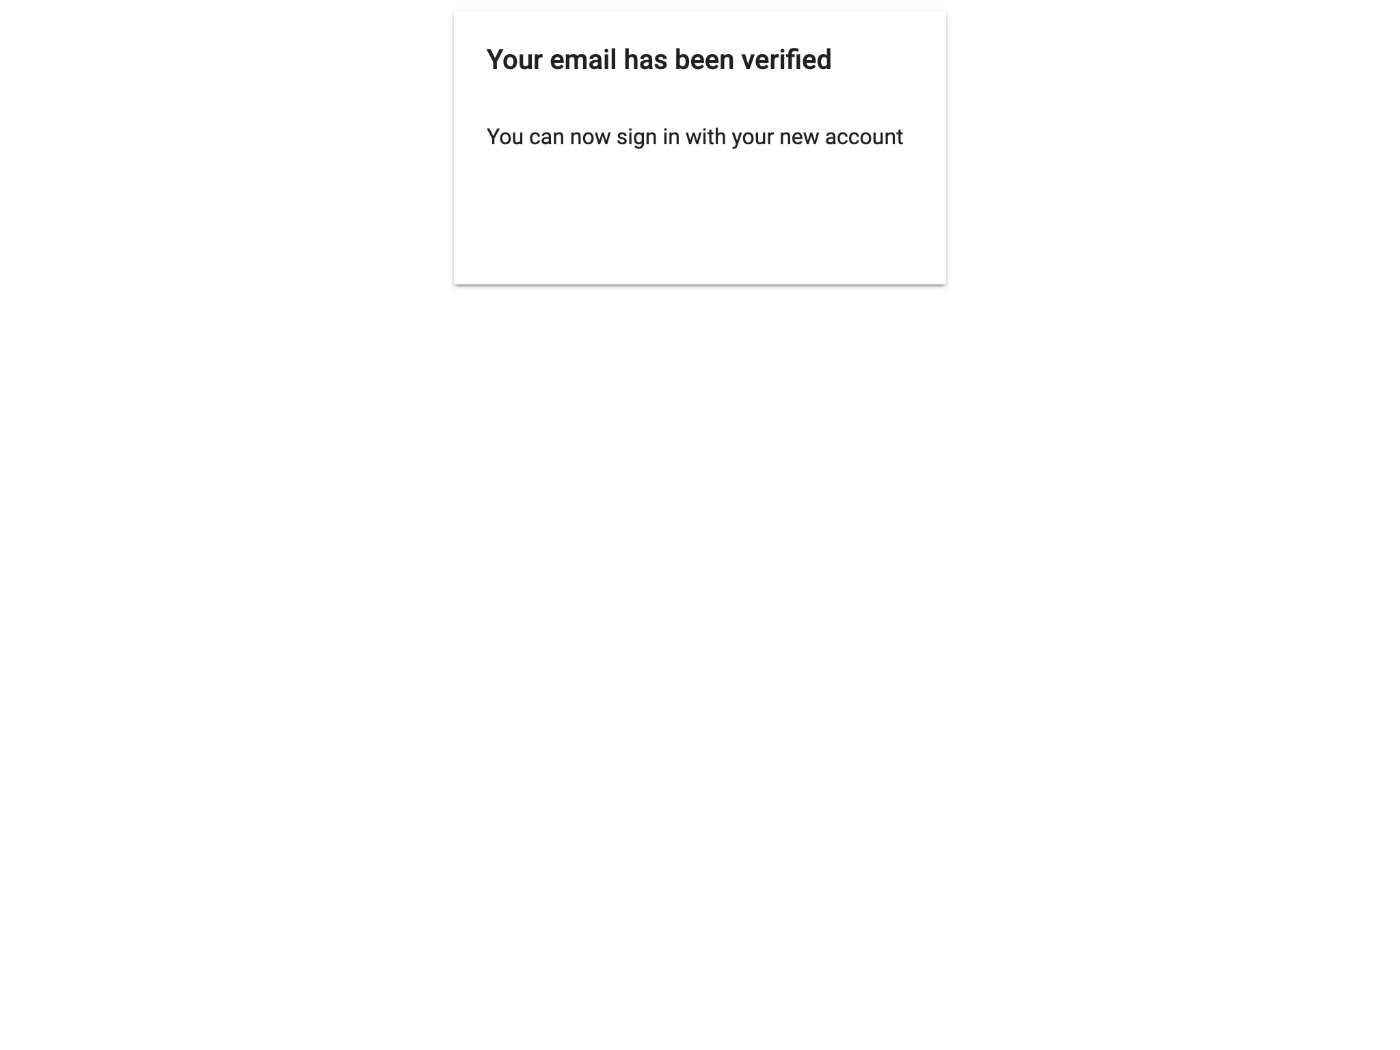
メール確認完了ページ
動作を確認するには src/pages/current-user.tsx に手を加える。
import { initializeApp } from "firebase/app";
import { User, getAuth, onAuthStateChanged } from "firebase/auth";
import { useEffect, useState } from "react";

const app = initializeApp({
  apiKey: process.env.NEXT_PUBLIC_FIREBASE_API_KEY!,
  authDomain: process.env.NEXT_PUBLIC_FIREBASE_AUTH_DOMAIN!,
});

const auth = getAuth(app);

export default function Home() {
  const [loading, setLoading] = useState<boolean>(true);
  const [user, setUser] = useState<User | null>(null);

  useEffect(() => {
    const unsubscribe = onAuthStateChanged(auth, (user) => {
      setLoading(false);
      setUser(user);
    });

    return () => {
      unsubscribe();
    };
  }, []);

  return (
    <>
      <h1>Current User</h1>
      {loading && <p>Loading...</p>}
      {!loading && user === null && <p>Sign out</p>}
      {!loading && user !== null && (
        <dl>
          <dt>User Id</dt>
          <dd>{user !== null ? user.uid : "-"}</dd>

          <dt>Email Verified</dt>
          <dd>
            {user !== null
              ? user.emailVerified
                ? "Verified"
                : "Not verified"
              : "-"}
          </dd>
        </dl>
      )}
    </>
  );
}
http://localhost:3000/verify-email にアクセスすると "Verified" と表示される。

言語を日本語にしたい場合は Firebase Authentication の Templates タブの左下にある言語を変更する。
メール本文の変更
デフォルトだとほぼできないが下記の記事にあるように Firebase Admin を使うことでリンクを発行することができる。
ざっと見た感じだと下記 4 点のリンクを生成できるようだ。
- generateEmailVerificationLink
- generatePasswordResetLink
- generateSignInWithEmailLink
- generateVerifyAndChangeEmailLink
パスワード再設定
touch src/pages/password-reset.tsx
import { initializeApp } from "firebase/app";
import {
  User,
  getAuth,
  onAuthStateChanged,
  sendEmailVerification,
  sendPasswordResetEmail,
} from "firebase/auth";
import { MouseEvent, useEffect, useState } from "react";

const app = initializeApp({
  apiKey: process.env.NEXT_PUBLIC_FIREBASE_API_KEY!,
  authDomain: process.env.NEXT_PUBLIC_FIREBASE_AUTH_DOMAIN!,
});

const auth = getAuth(app);

export default function VerifyEmail() {
  const [loading, setLoading] = useState<boolean>(true);
  const [user, setUser] = useState<User | null>(null);
  const [email, setEmail] = useState("");

  useEffect(() => {
    const unsubscribe = onAuthStateChanged(auth, (user) => {
      setLoading(false);
      setUser(user);
    });

    return () => {
      unsubscribe();
    };
  }, []);

  const onSubmit = async (event: MouseEvent) => {
    event.preventDefault();

    try {
      if (user !== null) {
        await sendPasswordResetEmail(auth, email);
      }
    } catch (err) {
      console.error(err);
    }
  };

  return (
    <>
      <h1>Delete User</h1>
      {loading && <p>Loading...</p>}
      {!loading && user === null && <p>Sign out</p>}
      {!loading && user !== null && (
        <form>
          <div>
            <label htmlFor="email">Email</label>
            <input
              type="email"
              name="email"
              id="email"
              value={email}
              onChange={(event) => setEmail(event.target.value)}
            />
          </div>

          <button type="submit" onClick={onSubmit}>
            Send Password Reset Email
          </button>
        </form>
      )}
    </>
  );
}
メールアドレスの内容によって missing-email / invalid-email / user-not-found などのエラーが表示される。
成功すると下記のような内容のメールが送信される。
お客様
Google Drive OAuth2 の susukida@example.com アカウントのパスワードをリセットするには、次のリンクをクリックしてください。
https://xxxx.firebaseapp.com/__/auth/action?mode=resetPassword&oobCode=yyyy&apiKey=zzzz&lang=ja
パスワードのリセットを依頼していない場合は、このメールを無視してください。
よろしくお願いいたします。
Google Drive OAuth2 チーム
リンクにアクセスするとパスワード入力部が表示されて再設定できる。
再設定が完了すると下記ページが表示される。

パスワード再設定完了ページ
パスワード変更
touch src/pages/update-password.tsx
import { credential } from "firebase-admin";
import { initializeApp } from "firebase/app";
import {
  EmailAuthProvider,
  User,
  getAuth,
  onAuthStateChanged,
  reauthenticateWithCredential,
  updatePassword,
} from "firebase/auth";
import { MouseEvent, useEffect, useState } from "react";

const app = initializeApp({
  apiKey: process.env.NEXT_PUBLIC_FIREBASE_API_KEY!,
  authDomain: process.env.NEXT_PUBLIC_FIREBASE_AUTH_DOMAIN!,
});

const auth = getAuth(app);

export default function UpdatePassword() {
  const [loading, setLoading] = useState<boolean>(true);
  const [user, setUser] = useState<User | null>(null);
  const [currentPassword, setCurrentPassword] = useState("");
  const [newPassword, setNewPassword] = useState("");

  useEffect(() => {
    const unsubscribe = onAuthStateChanged(auth, (user) => {
      setLoading(false);
      setUser(user);
    });

    return () => {
      unsubscribe();
    };
  }, []);

  const onSubmit = async (event: MouseEvent) => {
    event.preventDefault();

    try {
      if (user !== null && user.email !== null) {
        const credential = EmailAuthProvider.credential(
          user.email,
          currentPassword
        );

        await reauthenticateWithCredential(user, credential);
        await updatePassword(user, newPassword);

        console.log("OK");
      }
    } catch (err) {
      console.error(err);
    }
  };

  return (
    <>
      <h1>Update Password</h1>
      {loading && <p>Loading...</p>}
      {!loading && user === null && <p>Sign out</p>}
      {!loading && user !== null && (
        <form>
          <div>
            <label htmlFor="currentPassword">Current password</label>
            <input
              type="password"
              name="currentPassword"
              id="currentPassword"
              value={currentPassword}
              onChange={(event) => setCurrentPassword(event.target.value)}
            />
          </div>
          <div>
            <label htmlFor="newPassword">New password</label>
            <input
              type="password"
              name="newPassword"
              id="newPassword"
              value={newPassword}
              onChange={(event) => setNewPassword(event.target.value)}
            />
          </div>
          <button type="submit" onClick={onSubmit}>
            Send Password Reset Email
          </button>
        </form>
      )}
    </>
  );
}

実行結果
パスワード更新後は signout ページや signin ページを利用して動作を確認する。
リダイレクトログインで参考になりそう
Google ログインの有効化
参考になりそうな公式ドキュメントは 2 つある。
まずは ID プロバイダのページで Google を有効化する。
GCP の API とサービスのページへ行って OAuth 2.0 クライアント ID を追加する必要があるようだが自分の場合は既に設定が完了していた。
Google ログインのコーディング
touch src/pages/google-popup.tsx
import { FirebaseError, initializeApp } from "firebase/app";
import { GoogleAuthProvider, getAuth, signInWithPopup } from "firebase/auth";
import { MouseEvent } from "react";

const app = initializeApp({
  apiKey: process.env.NEXT_PUBLIC_FIREBASE_API_KEY!,
  authDomain: process.env.NEXT_PUBLIC_FIREBASE_AUTH_DOMAIN!,
});

const auth = getAuth(app);

export default function GooglePopup() {
  const onClick = async (event: MouseEvent) => {
    event.preventDefault();

    try {
      const provider = new GoogleAuthProvider();
      const userCredential = await signInWithPopup(auth, provider);

      console.log(userCredential);
    } catch (err) {
      if (err instanceof FirebaseError) {
        console.error(err.code);
      } else {
        console.error(err);
      }
    }
  };

  return (
    <>
      <h1>Google Popup</h1>
      <button type="button" onClick={onClick}>
        Continue with Google
      </button>
    </>
  );
}

実行結果
Continue with Google ボタンを押すとポップアップが表示されログインするとコンソールにユーザー情報が表示される。
ポップアップを閉じると例外が発生する、コードは auth/popup-closed-by-user となる。
Google リダイレクト
touch src/pages/google-redirect.tsx
import { FirebaseError, initializeApp } from "firebase/app";
import {
  GoogleAuthProvider,
  getAuth,
  getRedirectResult,
  signInWithRedirect,
} from "firebase/auth";
import { MouseEvent, useEffect } from "react";

const app = initializeApp({
  apiKey: process.env.NEXT_PUBLIC_FIREBASE_API_KEY!,
  authDomain: process.env.NEXT_PUBLIC_FIREBASE_AUTH_DOMAIN!,
});

const auth = getAuth(app);

export default function GoogleRedirect() {
  useEffect(() => {
    (async () => {
      const userCredential = await getRedirectResult(auth);
      console.log(userCredential);
    })();
  }, []);

  const onClick = async (event: MouseEvent) => {
    event.preventDefault();

    try {
      const provider = new GoogleAuthProvider();
      await signInWithRedirect(auth, provider);
    } catch (err) {
      if (err instanceof FirebaseError) {
        console.error(err.code);
      } else {
        console.error(err);
      }
    }
  };

  return (
    <>
      <h1>Google Redirect</h1>
      <button type="button" onClick={onClick}>
        Continue with Google
      </button>
    </>
  );
}

実行結果
とりあえずやりたいことはできたけどこのやり方で正しいのかが気になる。
開発時は useEffect() が 2 回実行されるが 1 回目の getRedirectResult() の結果が null なので心配になる。
とても興味深い記述を見つけた。
signInWithRedirect や linkWithRedirect でリダイレクト経由の認証をするとき、コールバックを明示的に指定することはできず、signInWithRedirect や linkWithRedirect を呼んだ時のページにコールバックします。各認証プロバイダに渡す redirect_uri は Firebase が提供するコールバックページになり、それを挟んで戻ってくるからです。
だから URL に code などのクエリ文字列が含まれていないのか、納得。
しかしドキュメントのどこに書いてあるんだろう。
次は LINE ログイン
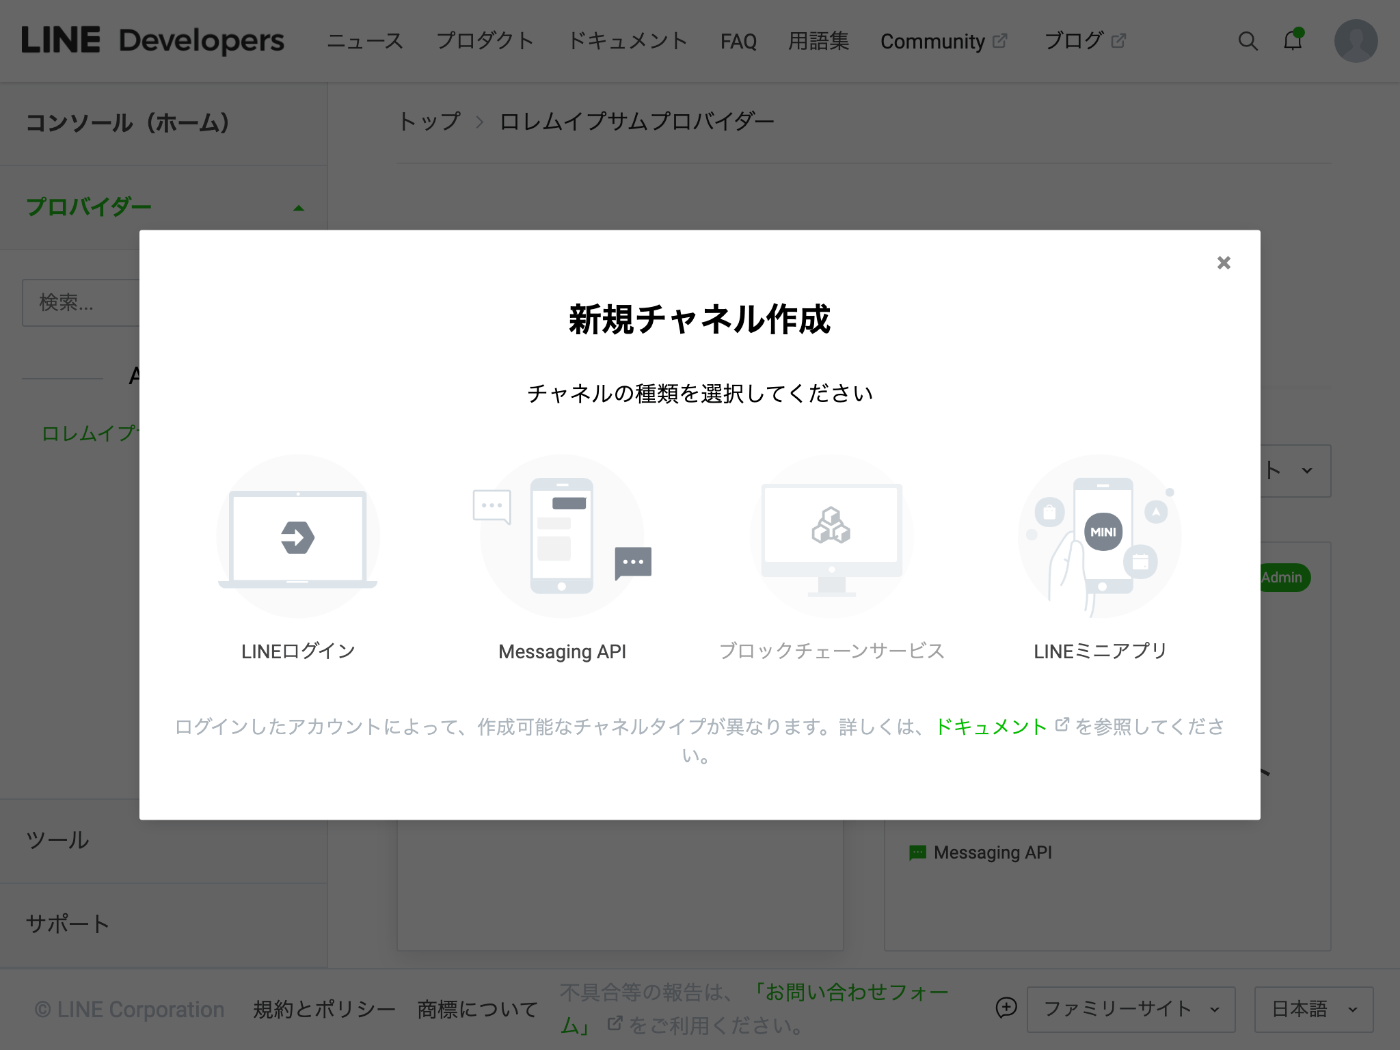
LINE ログインの準備
LINE Developers に登録したりプロバイダーを作成したりと色々とあるが自分の場合は LINE Messagin API を試す時に済ませてしまったのでチャネル作成から始める。

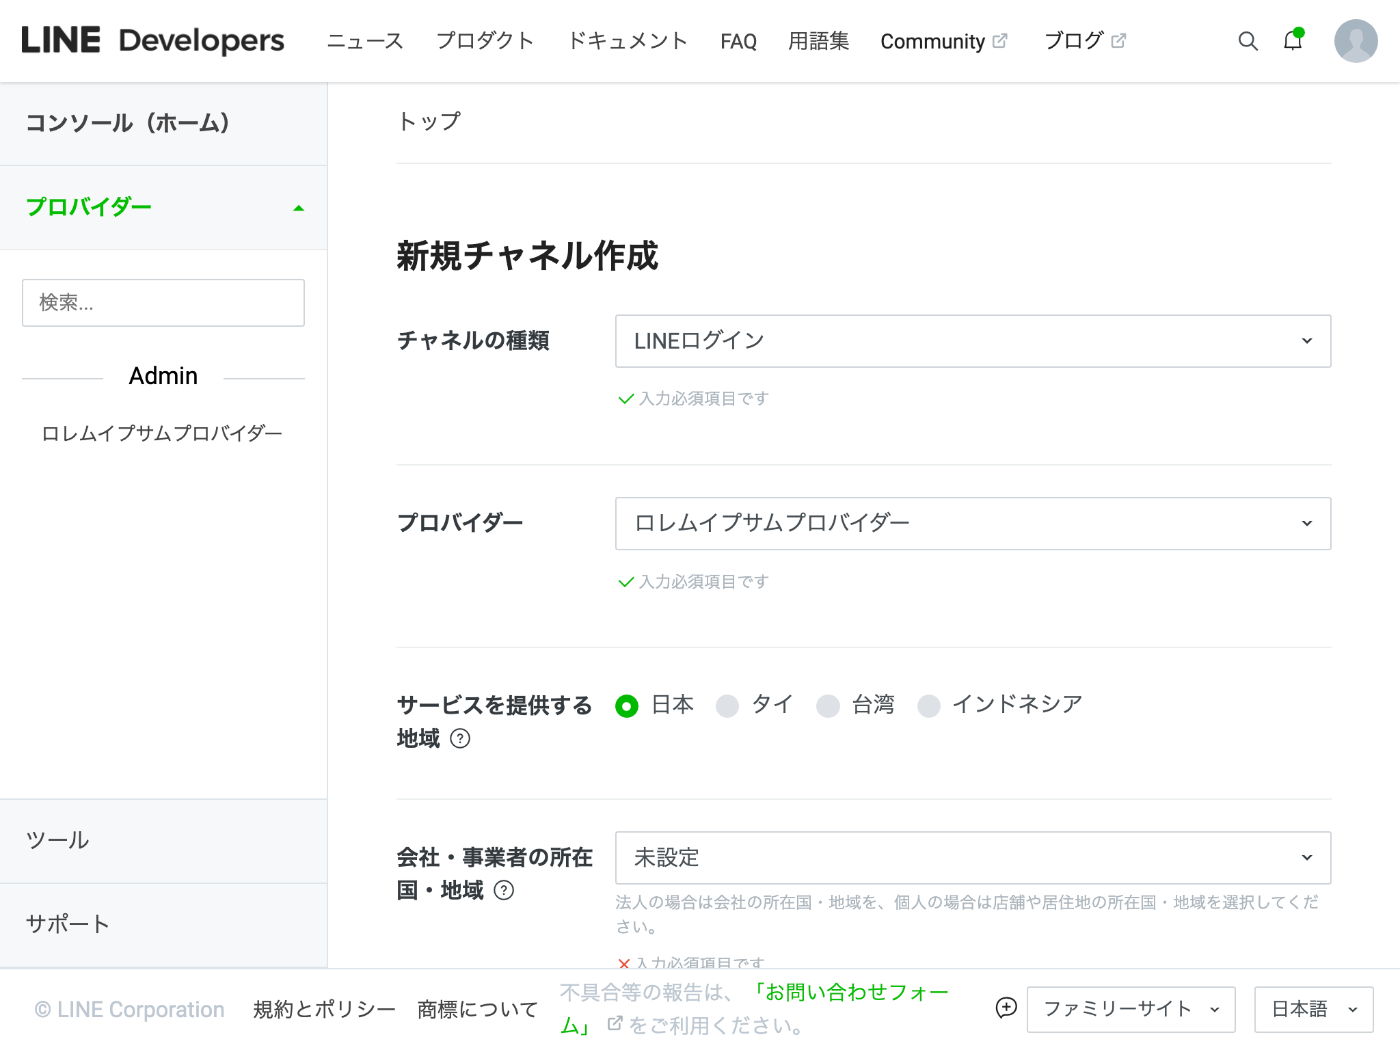

下記 2 点を控える。
- チャネルID
- チャネルシークレット
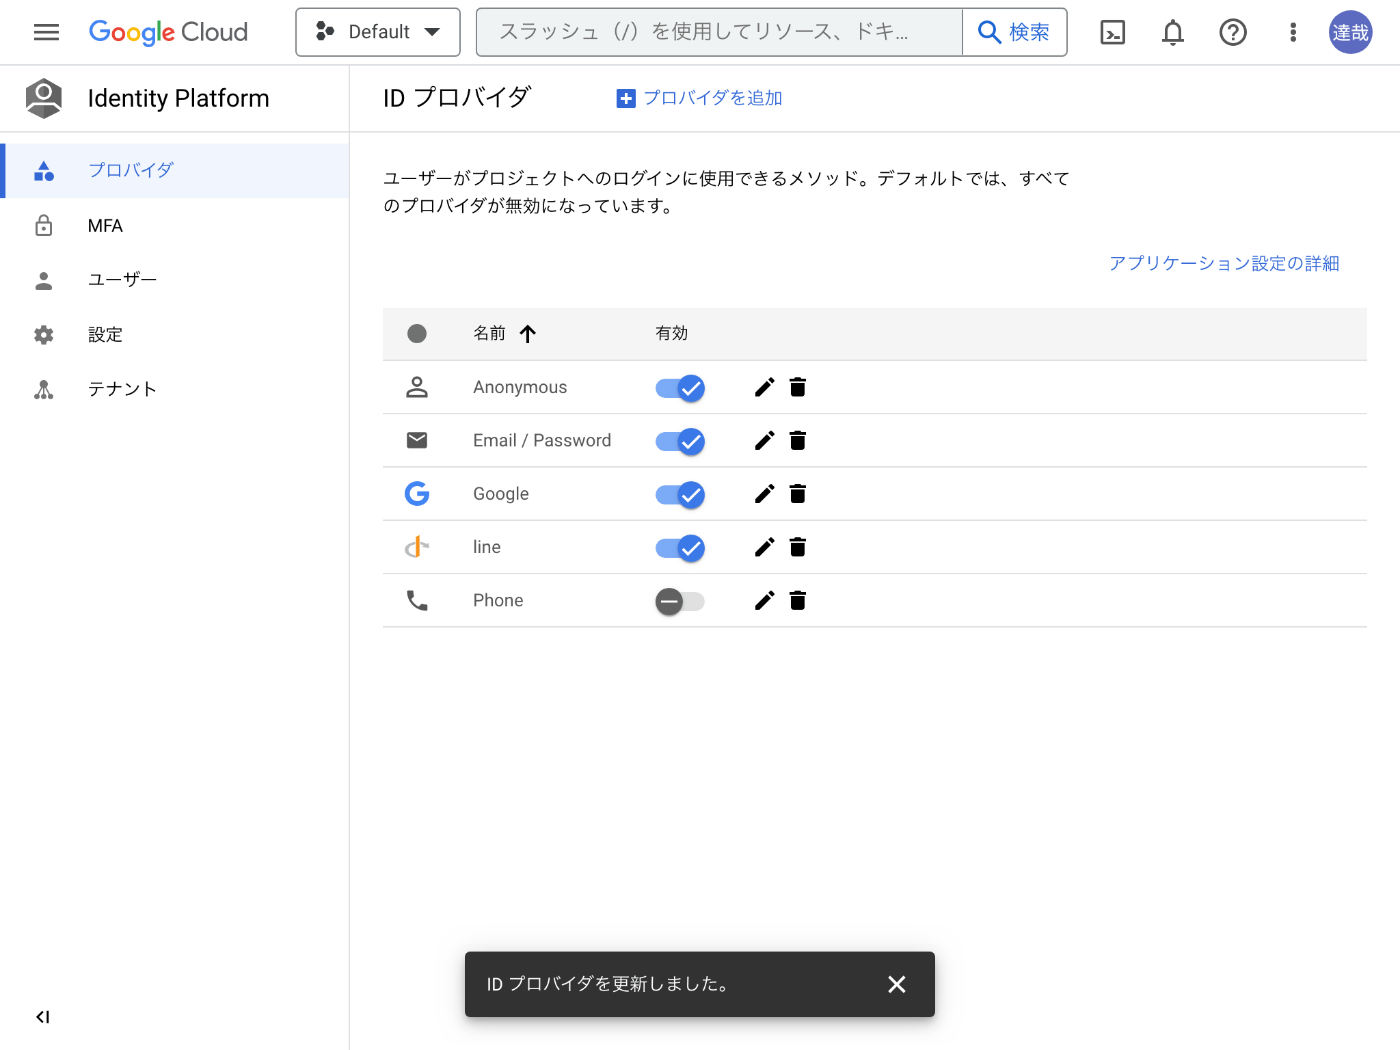
OIDC プロバイダー設定
Identity Platform のプロバイダページでプロバイダを追加ボタンを押す。

下記を入力する。
- 名前: line
- クライアント ID: チャネル ID
- 発行元(URL): https://access.line.me/
- クライアントシークレット: チャネルシークレット
なぜこれらを入力するのかについては LINE ログイン公式ドキュメントが参考になりそう。
コールバック URL 設定
チャネルの LINE ログイン設定タブでコールバック URL を設定する。

LINE ログインのコーディング
関連する公式ドキュメントは下記のとおり。
Firebase の方はどうやったら辿り着くのだろうか?
touch src/pages/line-redirect.tsx
import { FirebaseError, initializeApp } from "firebase/app";
import {
  OAuthProvider,
  getAuth,
  getRedirectResult,
  signInWithRedirect,
} from "firebase/auth";
import { MouseEvent, useEffect } from "react";

const app = initializeApp({
  apiKey: process.env.NEXT_PUBLIC_FIREBASE_API_KEY!,
  authDomain: process.env.NEXT_PUBLIC_FIREBASE_AUTH_DOMAIN!,
});

const auth = getAuth(app);

export default function LINERedirect() {
  useEffect(() => {
    (async () => {
      const userCredential = await getRedirectResult(auth);
      console.log(userCredential);
    })();
  }, []);

  const onClick = async (event: MouseEvent) => {
    event.preventDefault();

    try {
      const provider = new OAuthProvider("oidc.line");
      await signInWithRedirect(auth, provider);
    } catch (err) {
      if (err instanceof FirebaseError) {
        console.error(err.code);
      } else {
        console.error(err);
      }
    }
  };

  return (
    <>
      <h1>LINE Redirect</h1>
      <button type="button" onClick={onClick}>
        Continue with LINE
      </button>
    </>
  );
}
ソースコードは Google の場合とほとんど同じ。


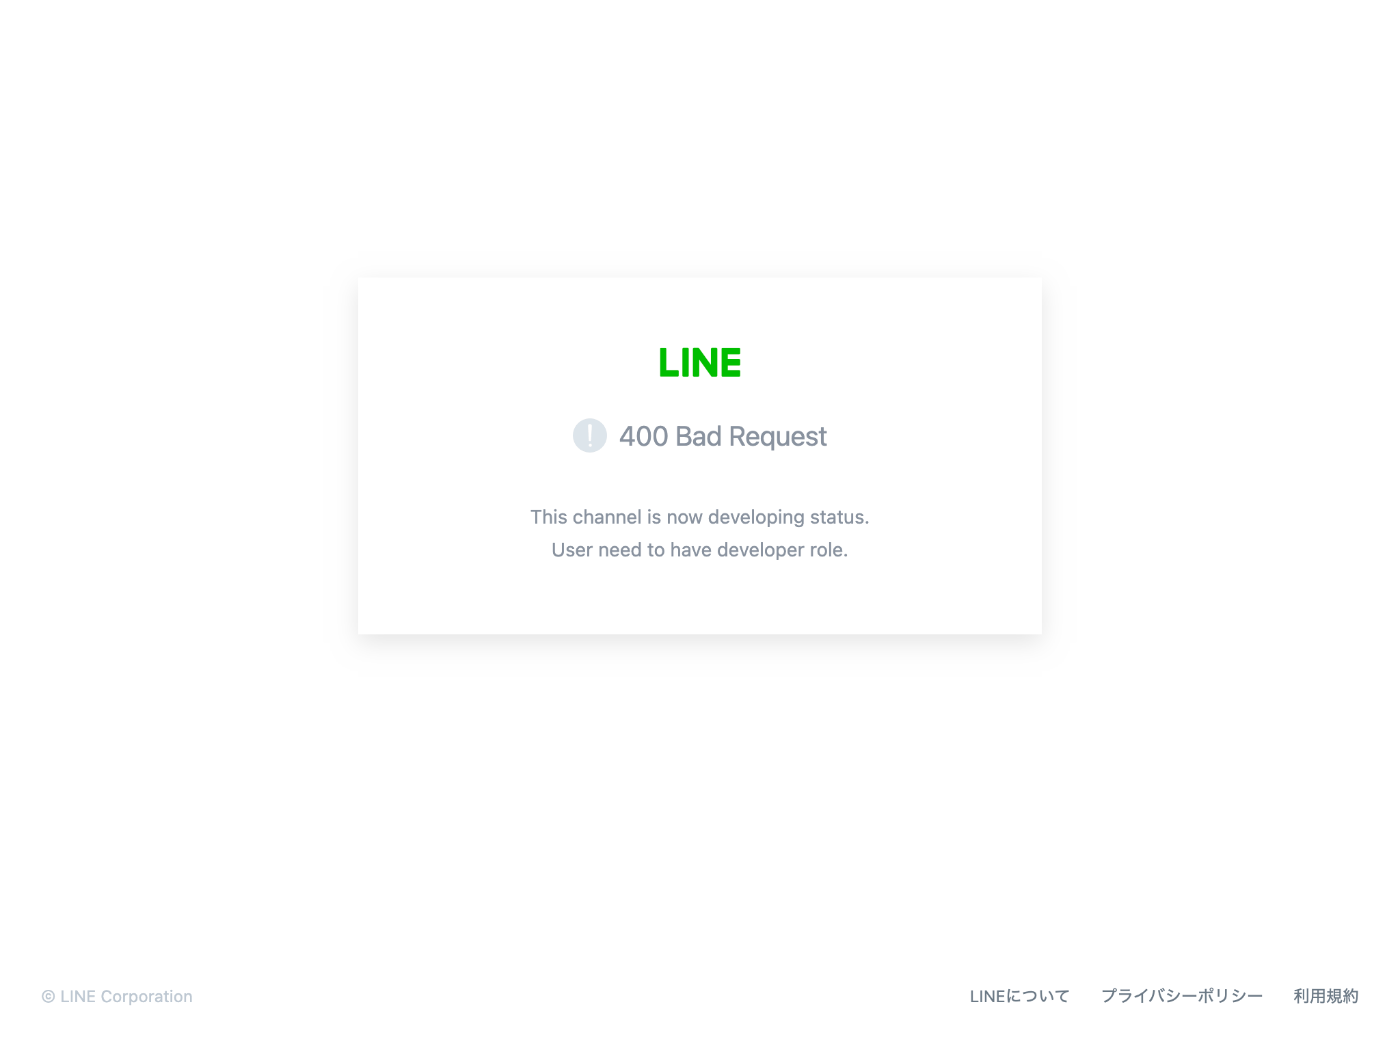
400 Bad Request が表示されてしまった。
公開すると成功しそうだがデベロッパーロールを設定した方が良さそう。
デベロッパーロールの追加については下記ドキュメントが参考になりそう。
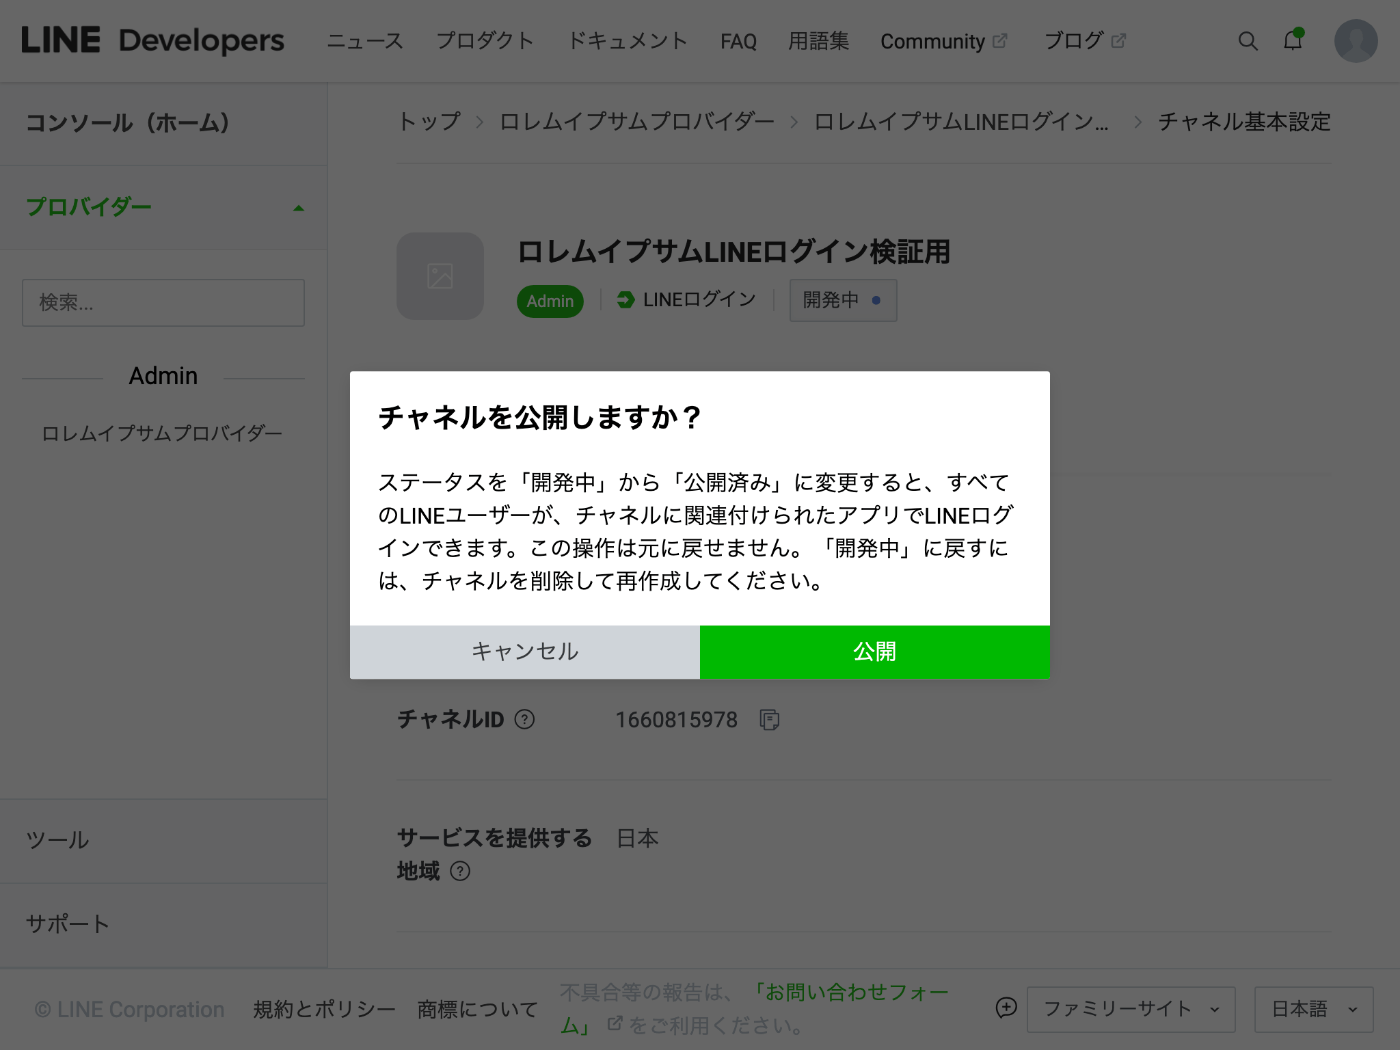
デベロッパーロールの追加は色々と面倒があったのでやっぱり公開することにしよう。
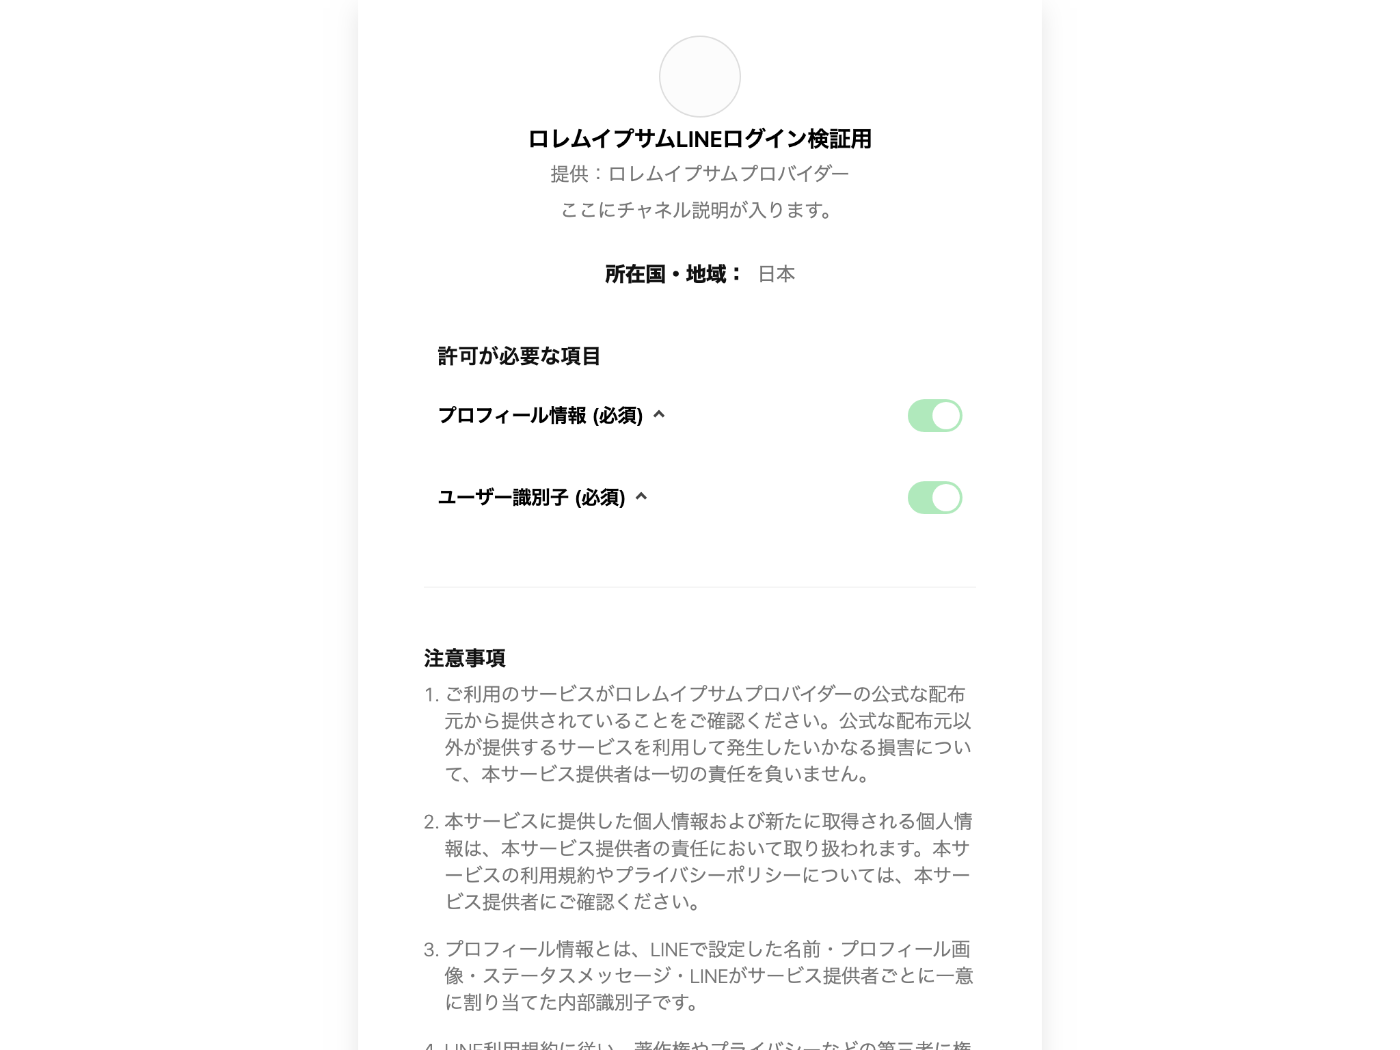
無事にログインができるようになった。
LINE ユーザー ID の取得
せっかく LINE でログインできるようになったのでユーザー ID を取得してみたい。
フロントエンドでは user.providerData 配列から providerId が oidc.line であるものを探して uid を取得すれば良さそう。
バックエンドでは verifyIdToken() 関数を呼び出して user.firebase.identities['oidc-line'] にアクセスすれば良さそう。
メールリンクログイン
Web コンソールでチェックを入れる必要がありそう。
実際になしで試したところ例外(コード:auth/operation-not-allowed)が発生した。

touch src/pages/email-link-auth.tsx
import { initializeApp } from "firebase/app";
import { getAuth, sendSignInLinkToEmail } from "firebase/auth";
import { MouseEvent, useEffect, useState } from "react";

const app = initializeApp({
  apiKey: process.env.NEXT_PUBLIC_FIREBASE_API_KEY!,
  authDomain: process.env.NEXT_PUBLIC_FIREBASE_AUTH_DOMAIN!,
});

const auth = getAuth(app);

export default function VerifyEmail() {
  const [email, setEmail] = useState("");

  const onSubmit = async (event: MouseEvent) => {
    event.preventDefault();

    try {
      await sendSignInLinkToEmail(auth, email, {
        url: "http://localhost:3000/current-user",
        handleCodeInApp: true,
      });
    } catch (err) {
      console.error(err);
    }
  };

  return (
    <>
      <h1>Email Link</h1>
      <form>
        <div>
          <label htmlFor="email">Email</label>
          <input
            type="email"
            name="email"
            id="email"
            value={email}
            onChange={(event) => setEmail(event.target.value)}
          />
        </div>
        <button type="submit" onClick={onSubmit}>
          Send signin link
        </button>
      </form>
    </>
  );
}
Send signin link ボタンを押すと下記のような内容のメールが送信される。
お客様
このメールアドレスでの Google Drive OAuth2 へのログインのリクエストを受け付けました。susukida@example.com のアカウントでログインするには、こちらのリンクをクリックしてください。
Google Drive OAuth2 にログイン
このリンクをリクエストしていない場合は、このメールを無視してください。
よろしくお願いいたします。
Google Drive OAuth2 チーム
リンクをクリックするとサインインが行われる。
匿名ログイン
まずは Identity Platform のプロバイダページで Anonymous を有効化する。
touch src/pages/anonymous-auth.tsx
import { initializeApp } from "firebase/app";
import { getAuth, signInAnonymously } from "firebase/auth";
import { MouseEvent } from "react";

const app = initializeApp({
  apiKey: process.env.NEXT_PUBLIC_FIREBASE_API_KEY!,
  authDomain: process.env.NEXT_PUBLIC_FIREBASE_AUTH_DOMAIN!,
});

const auth = getAuth(app);

export default function AnonymousAuth() {
  const onClick = async (event: MouseEvent) => {
    event.preventDefault();

    try {
      const userCredential = await signInAnonymously(auth);
      console.log(userCredential);
    } catch (err) {
      console.error(err);
    }
  };

  return (
    <>
      <h1>Anonymous auth</h1>
      <button type="button" onClick={onClick}>
        Signin anonymously
      </button>
    </>
  );
}
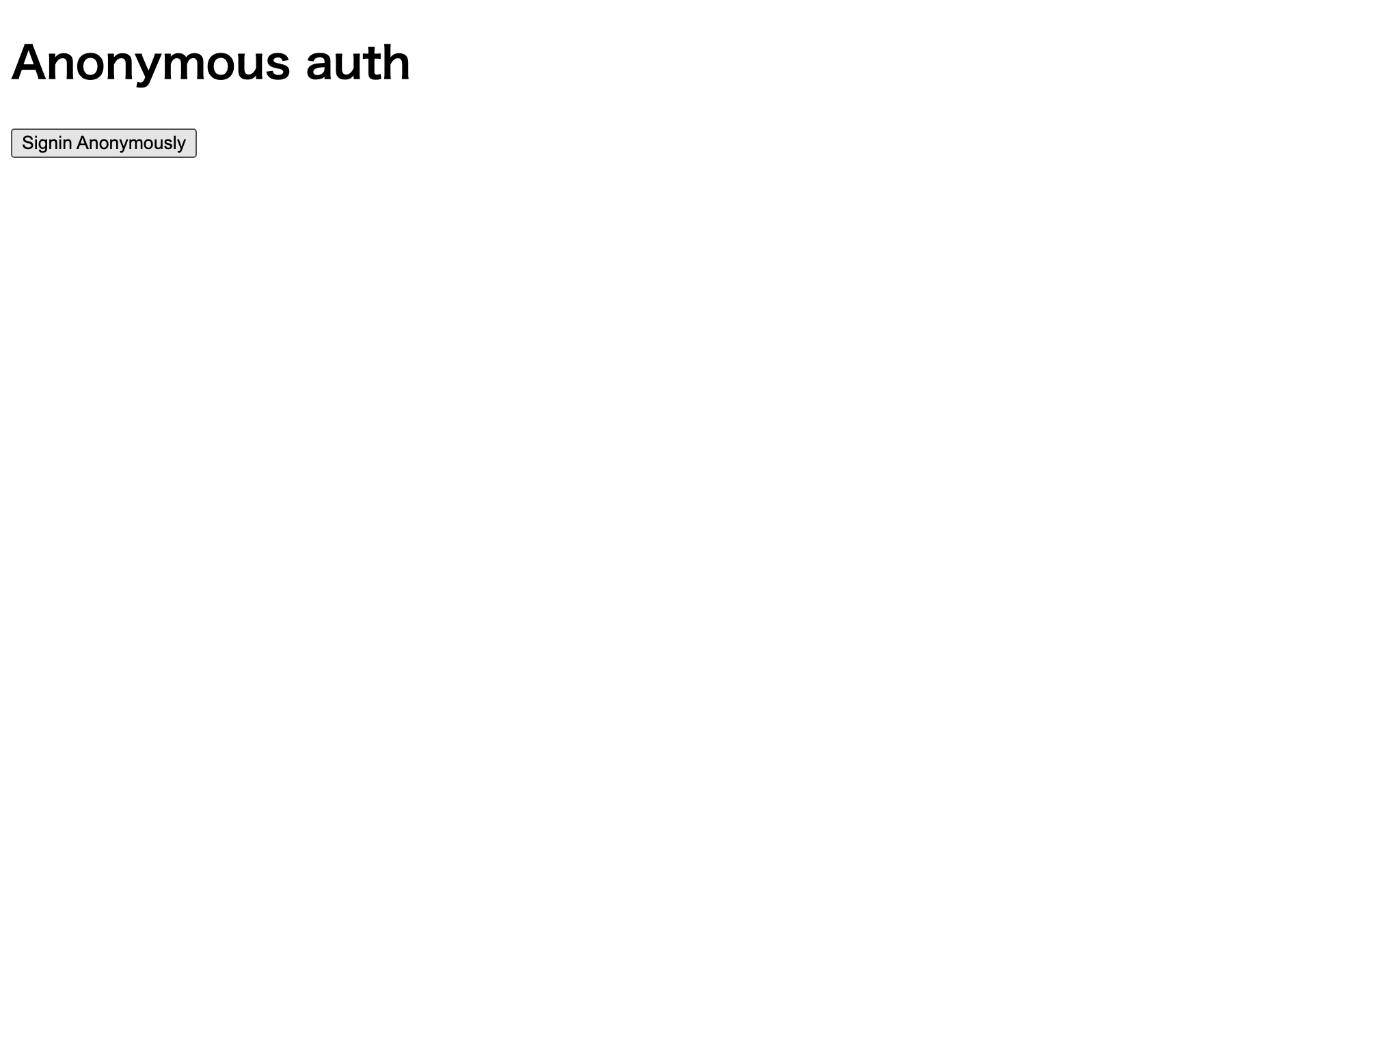
実行結果
Signin anonymously ボタンを押すとコンソールにユーザーが出力される。
Identity Platform ユーザーページから anonymous ユーザーが追加されたことがわかる。
永久アカウントへの変換
永久アカウントとは匿名アカウントで始めた後にサインアップするケースを意味しているのかな?
touch src/pages/anonymous-link.tsx
import { initializeApp } from "firebase/app";
import { EmailAuthProvider, getAuth, linkWithCredential } from "firebase/auth";
import { MouseEvent, useState } from "react";

const app = initializeApp({
  apiKey: process.env.NEXT_PUBLIC_FIREBASE_API_KEY!,
  authDomain: process.env.NEXT_PUBLIC_FIREBASE_AUTH_DOMAIN!,
});

const auth = getAuth(app);

export default function AnonymousLink() {
  const [email, setEmail] = useState("");
  const [password, setPassword] = useState("");

  const onClick = async (event: MouseEvent) => {
    event.preventDefault();

    try {
      if (auth.currentUser !== null) {
        const credential = EmailAuthProvider.credential(email, password);
        linkWithCredential(auth.currentUser, credential);
      }
    } catch (err) {
      console.error(err);
    }
  };

  return (
    <>
      <h1>Anonymous link</h1>
      <form>
        <div>
          <label htmlFor="email">Email</label>]
          <input
            type="email"
            name="email"
            id="email"
            value={email}
            onChange={(event) => setEmail(event.target.value)}
          />
        </div>
        <div>
          <label htmlFor="password">Password</label>]
          <input
            type="password"
            name="password"
            id="password"
            value={password}
            onChange={(event) => setPassword(event.target.value)}
          />
        </div>
        <button type="submit" onClick={onClick}>
          Link
        </button>
      </form>
    </>
  );
}
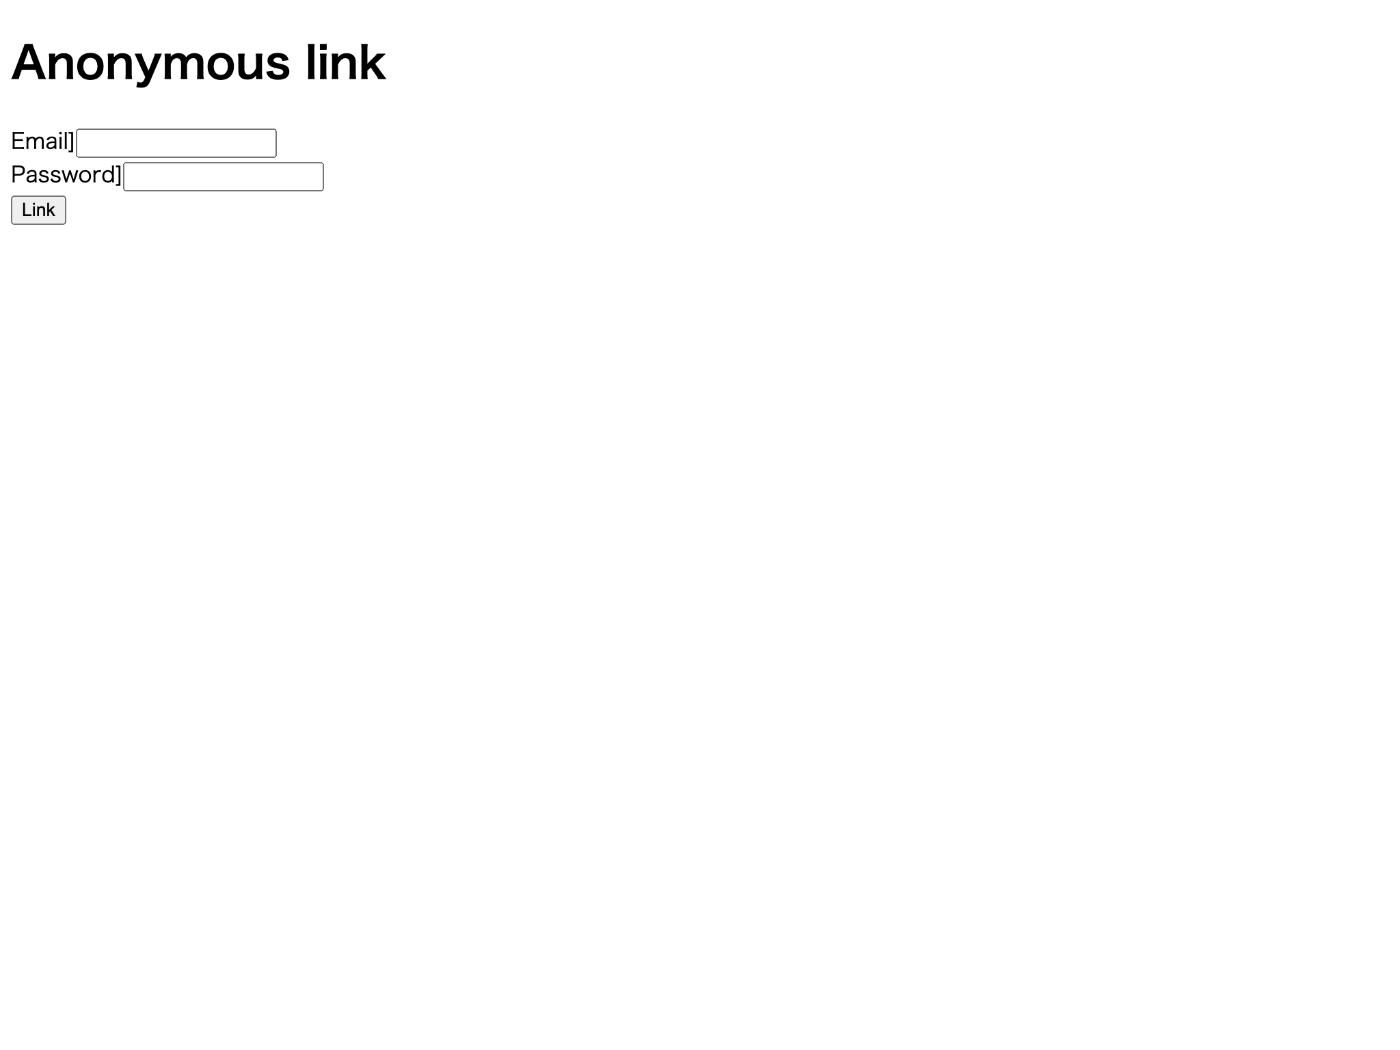
実行結果
リンクに成功すると匿名アカウントにメールアドレスとパスワードが設定される。
その様子は Identity Platform のユーザーページから確認できる。
既に使用されているメールアドレスを登録しようとすると失敗する。
linkWithCredential() の他に linkWithPopup() や linkWithRedirect() もあり、これらを利用することで Google ログインや OIDC ログインにも対応できそう。
メールアドレスの変更
touch src/pages/update-email.tsx
メールアドレスの変更には再認証が必要なのでパスワードを入力してもらう。
import { initializeApp } from "firebase/app";
import {
  EmailAuthProvider,
  User,
  getAuth,
  onAuthStateChanged,
  reauthenticateWithCredential,
  updateEmail,
} from "firebase/auth";
import { MouseEvent, MouseEventHandler, useEffect, useState } from "react";

const app = initializeApp({
  apiKey: process.env.NEXT_PUBLIC_FIREBASE_API_KEY,
  authDomain: process.env.NEXT_PUBLIC_FIREBASE_AUTH_DOMAIN,
});

const auth = getAuth();

export default function UpdateEmail() {
  const [user, setUser] = useState<User | null>(null);
  const [error, setError] = useState<Error | null>(null);
  const [loading, setLoading] = useState<boolean>(true);

  const [password, setPassword] = useState<string>("");
  const [newEmail, setNewEmail] = useState<string>("");

  useEffect(() => {
    const unsubscribe = onAuthStateChanged(
      auth,
      (user) => {
        setUser(user);
        setError(null);
        setLoading(false);
      },
      (err) => {
        setUser(null);
        setError(err);
        setLoading(false);
      }
    );

    return unsubscribe;
  }, []);

  const onSubmit = async (event: MouseEvent) => {
    try {
      event.preventDefault();

      if (user?.email) {
        const credential = EmailAuthProvider.credential(user.email, password);
        await reauthenticateWithCredential(user, credential);
        await updateEmail(user, newEmail);

        console.log("OK");
      }
    } catch (err) {
      console.error(err);
    }
  };

  return (
    <>
      <h1>Update email</h1>
      {loading && <p>Loading...</p>}
      {!loading && error !== null && <p>Error: {error.message}</p>}
      {!loading && user !== null && (
        <>
          <dl>
            <dt>User ID</dt>
            <dd>{user.uid}</dd>
          </dl>
          <form>
            <div>
              <label htmlFor="password">Password</label>
              <input
                type="password"
                name="password"
                id="password"
                value={password}
                onChange={(event) => setPassword(event.target.value)}
              />
            </div>
            <div>
              <label htmlFor="newEmail">New email</label>
              <input
                type="email"
                name="newEmail"
                id="newEmail"
                value={newEmail}
                onChange={(event) => setNewEmail(event.target.value)}
              />
            </div>
            <button type="submit" onClick={onSubmit}>
              Update email
            </button>
          </form>
        </>
      )}
    </>
  );
}
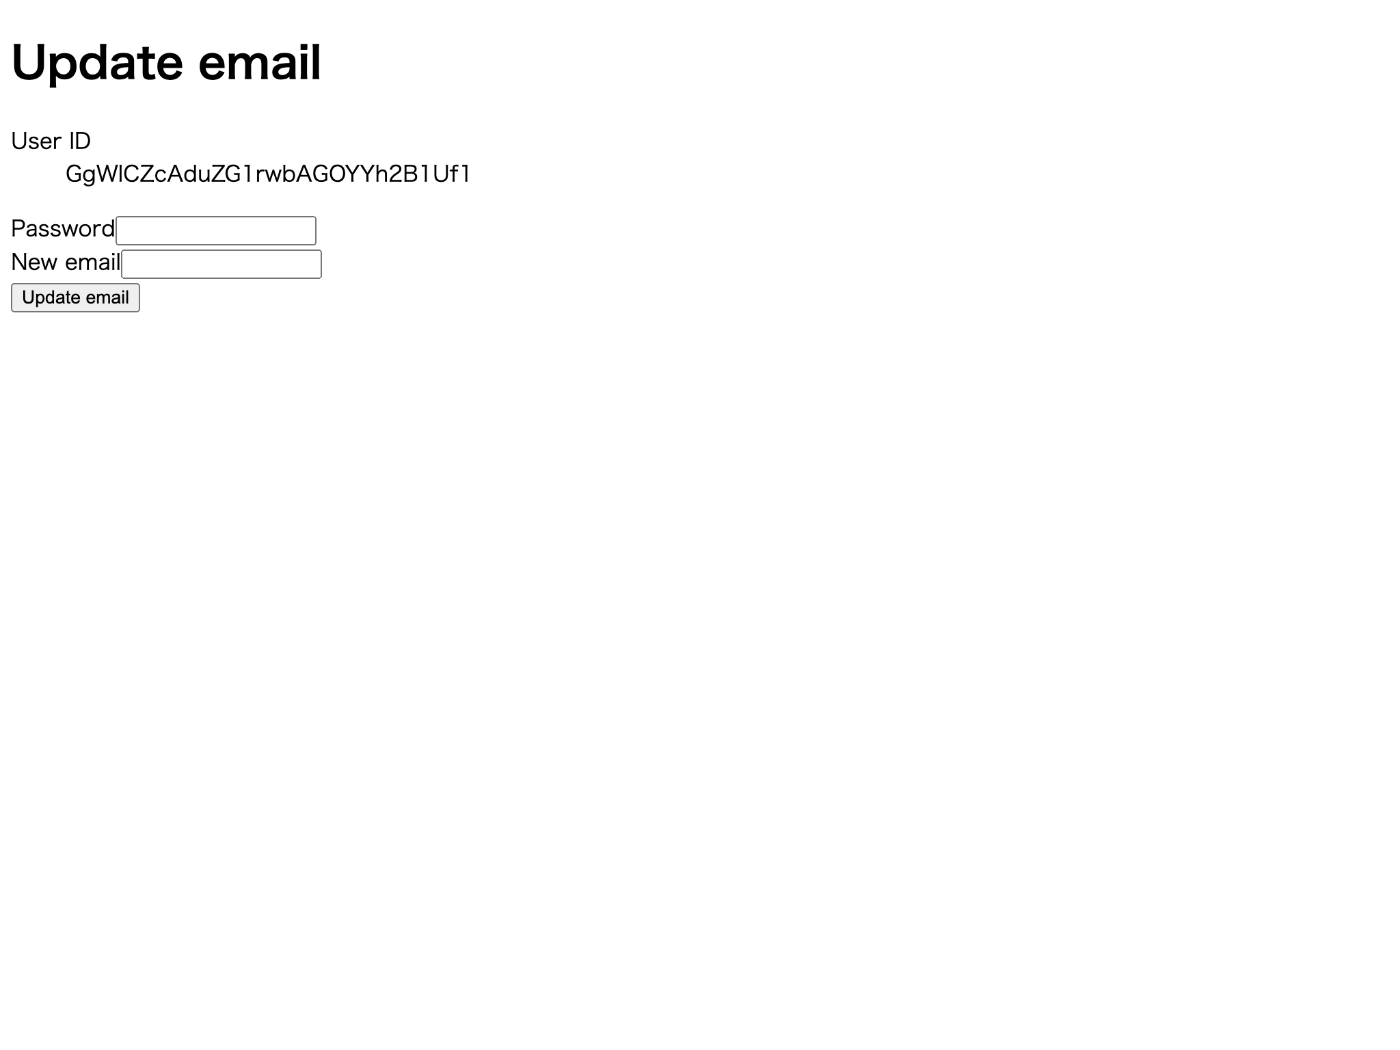
実行結果
メールアドレスを変更するとメール到達確認が false にリセットされる。
メールアドレスを変更してもアカウントに紐づいている Google アカウントなどはリセットされない。
ついでに下記のような内容のメールが送信される。
薄田達哉 様
Google Drive OAuth2 のログイン用メールアドレスが new@example.com に変更されました。
メールの変更を依頼していない場合は、次のリンクをクリックして、ログイン用メールアドレスをリセットしてください。
よろしくお願いいたします。
Google Drive OAuth2 チーム
メール記載の URL をクリックするとメールが元に戻される。
リダイレクト再認証
Google や LINE でログインしている状態でアカウント削除などの重要な操作を行うケース。
touch src/pages/google-reauthenticate.tsx
import { initializeApp } from "firebase/app";
import {
  GoogleAuthProvider,
  User,
  getAuth,
  getRedirectResult,
  onAuthStateChanged,
  reauthenticateWithRedirect,
} from "firebase/auth";
import { MouseEvent, useEffect, useState } from "react";

const app = initializeApp({
  apiKey: process.env.NEXT_PUBLIC_FIREBASE_API_KEY,
  authDomain: process.env.NEXT_PUBLIC_FIREBASE_AUTH_DOMAIN,
});

const auth = getAuth();

export default function GoogleDelete() {
  const [user, setUser] = useState<User | null>(null);
  const [error, setError] = useState<Error | null>(null);
  const [loading, setLoading] = useState<boolean>(true);

  useEffect(() => {
    const unsubscribe = onAuthStateChanged(
      auth,
      (user) => {
        setUser(user);
        setError(null);
        setLoading(false);
      },
      (err) => {
        setUser(null);
        setError(err);
        setLoading(false);
      }
    );

    return unsubscribe;
  }, []);

  useEffect(() => {
    (async () => {
      try {
        const credential = await getRedirectResult(auth);
        console.log(credential);
      } catch (err) {
        console.error(err);
      }
    })();
  }, []);

  const onSubmit = async (event: MouseEvent) => {
    try {
      event.preventDefault();

      if (user !== null) {
        const provider = new GoogleAuthProvider();
        await reauthenticateWithRedirect(user, provider);
      }
    } catch (err) {
      console.error(err);
    }
  };

  return (
    <>
      <h1>Google delete</h1>
      {loading && <p>Loading...</p>}
      {!loading && error !== null && <p>Error: {error.message}</p>}
      {!loading && user === null && <p>Signed out</p>}
      {!loading && user !== null && (
        <>
          <dl>
            <dt>User ID</dt>
            <dd>{user.uid}</dd>
          </dl>
          <button type="submit" onClick={onSubmit}>
            Reauthenticate
          </button>
        </>
      )}
    </>
  );
}
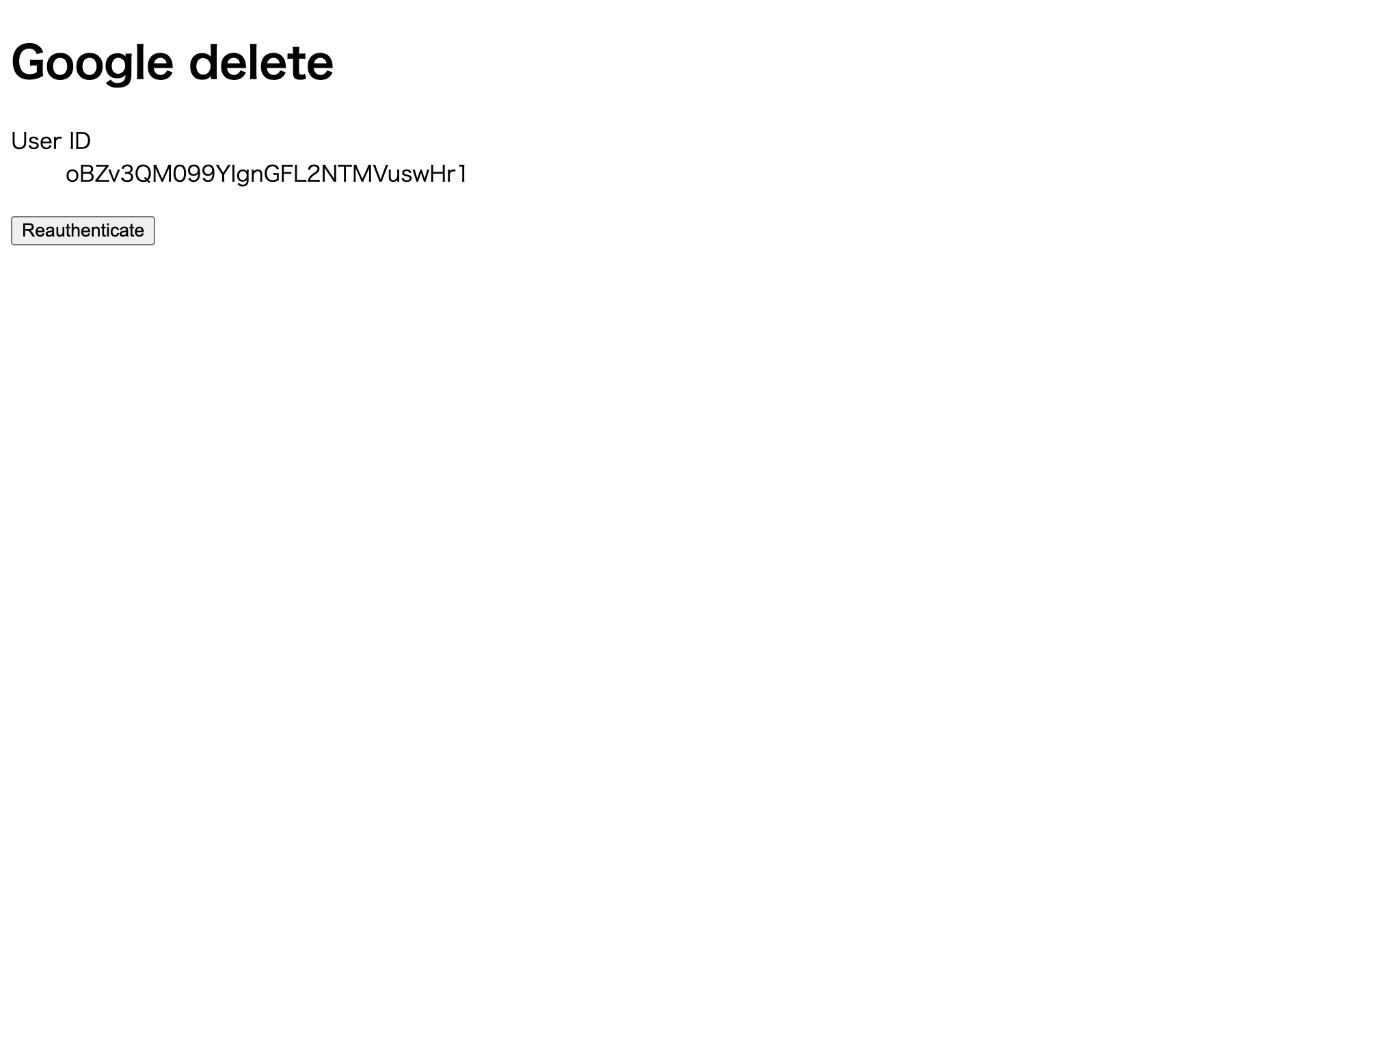
実行結果
ログインしているユーザーと再認証するユーザーが異なる場合は例外(コード:auth/user-mismatch)が発生する。
React の Context を使ってみる
単調で飽きてきたので React のコンテキスト機能を使って現在のユーザーを取得する処理を再利用できるようにしたいと思う。
下記の記事が参考になりそう。
React の Context を自分で作るのは初めてなので React 公式ドキュメントを読みながら練習してみる。
touch src/pages/react-context.tsx
import { createContext } from "react";

const MyFirstContext = createContext<string>("defaultValue");

export default function ReactContext() {
  return (
    <>
      <MyFirstContext.Provider value="passedValue">
        <h1>React Context</h1>
        <MyFirstContext.Consumer>
          {(value) => <p>{value}</p>}
        </MyFirstContext.Consumer>
      </MyFirstContext.Provider>
    </>
  );
}
createContext() の defaultValue って何に使うんだろうって思ってたら Stack Overflow に答えがあった。
Provider で括っていない場合に useContext() とかを使うと defaultValue になるようだ。
新しいドキュメント
AuthContext を作ってみる
touch src/pages/user-context.tsx
import { initializeApp } from "firebase/app";
import { User, getAuth, onAuthStateChanged } from "firebase/auth";
import { FC, ReactNode, useContext, useEffect, useState } from "react";
import { createContext } from "react";

initializeApp({
  apiKey: process.env.NEXT_PUBLIC_FIREBASE_API_KEY!,
  authDomain: process.env.NEXT_PUBLIC_FIREBASE_AUTH_DOMAIN!,
});

type AuthContextProps = {
  loading: boolean;
  user: User | null;
  error: Error | null;
};

const AuthContext = createContext<AuthContextProps | null>(null);

type AuthProviderProps = {
  children: ReactNode;
};

const AuthProvider: FC<AuthProviderProps> = ({ children }) => {
  const [value, setValue] = useState<AuthContextProps>({
    loading: true,
    user: null,
    error: null,
  });

  useEffect(() => {
    const unsubscribe = onAuthStateChanged(
      getAuth(),
      (user) => setValue({ loading: false, user, error: null }),
      (error) => setValue({ loading: false, user: null, error })
    );

    return unsubscribe;
  });

  return <AuthContext.Provider value={value}>{children}</AuthContext.Provider>;
};

function useAuth() {
  const auth = useContext(AuthContext);

  if (auth === null) {
    throw new Error("auth === null");
  }

  return auth;
}

export default function UserContext() {
  return (
    <AuthProvider>
      <UserContextChild></UserContextChild>
    </AuthProvider>
  );
}

const UserContextChild: FC = () => {
  const auth = useAuth();

  return (
    <>
      <h1>User Context</h1>
      {auth.loading && <p>Loading...</p>}
      {!auth.loading && auth.user === null && <p>Signed out</p>}
      {!auth.loading && auth.user !== null && <p>User ID = {auth.user.uid}</p>}
    </>
  );
};
ApolloProvider を参考にさせてもらった。
複数プロバイダの単一アカウントへのリンク
touch src/pages/link.tsx
import { FirebaseError, initializeApp } from "firebase/app";
import {
  EmailAuthProvider,
  GoogleAuthProvider,
  User,
  getAuth,
  linkWithCredential,
  onAuthStateChanged,
  reauthenticateWithRedirect,
} from "firebase/auth";
import { MouseEvent, ReactNode, useEffect, useState } from "react";

const app = initializeApp({
  apiKey: process.env.NEXT_PUBLIC_FIREBASE_API_KEY!,
  authDomain: process.env.NEXT_PUBLIC_FIREBASE_AUTH_DOMAIN!,
});

const auth = getAuth(app);

export default function Link() {
  const [user, setUser] = useState<User | null>(null);
  const [error, setError] = useState<Error | null>(null);
  const [isLoading, setIsLoading] = useState<boolean>(true);
  const [password, setPassword] = useState<string>("");

  useEffect(() => {
    const unsubscrbie = onAuthStateChanged(
      auth,
      (user) => {
        setUser(user);
        setIsLoading(false);
      },
      (err) => {
        setError(err);
        setIsLoading(false);
      }
    );

    return unsubscrbie;
  }, []);

  const onClick = async (event: MouseEvent) => {
    try {
      event.preventDefault();

      if (user !== null && user.email !== null) {
        const credential = EmailAuthProvider.credential(user.email, password);
        await linkWithCredential(user, credential);
      }
    } catch (err) {
      if (err instanceof FirebaseError) {
        console.log(err.code);
        if (err.code === "auth/requires-recent-login") {
          if (user !== null) {
            const provider = new GoogleAuthProvider();
            reauthenticateWithRedirect(user, provider);
          }
        }
      }

      console.error(err);
    }
  };

  let main: ReactNode;

  if (isLoading) {
    main = <p>Loading...</p>;
  } else if (error) {
    main = <p>Error: {error.message}</p>;
  } else if (!user) {
    main = <p>Sign out</p>;
  } else {
    main = (
      <>
        <dl>
          <dt>User ID</dt>
          <dd>{user.uid}</dd>

          <dt>Email</dt>
          <dd>{user.email}</dd>
        </dl>
        <form>
          <div>
            <label htmlFor="password">Password</label>
            <input
              type="password"
              name="password"
              id="password"
              value={password}
              onChange={(event) => setPassword(event.target.value)}
            />
          </div>
          <button type="submit" onClick={onClick}>
            Link
          </button>
        </form>
      </>
    );
  }

  return (
    <main>
      <h1>Link</h1>
      {main}
    </main>
  );
}
http://localhost:3000/link にアクセスする。
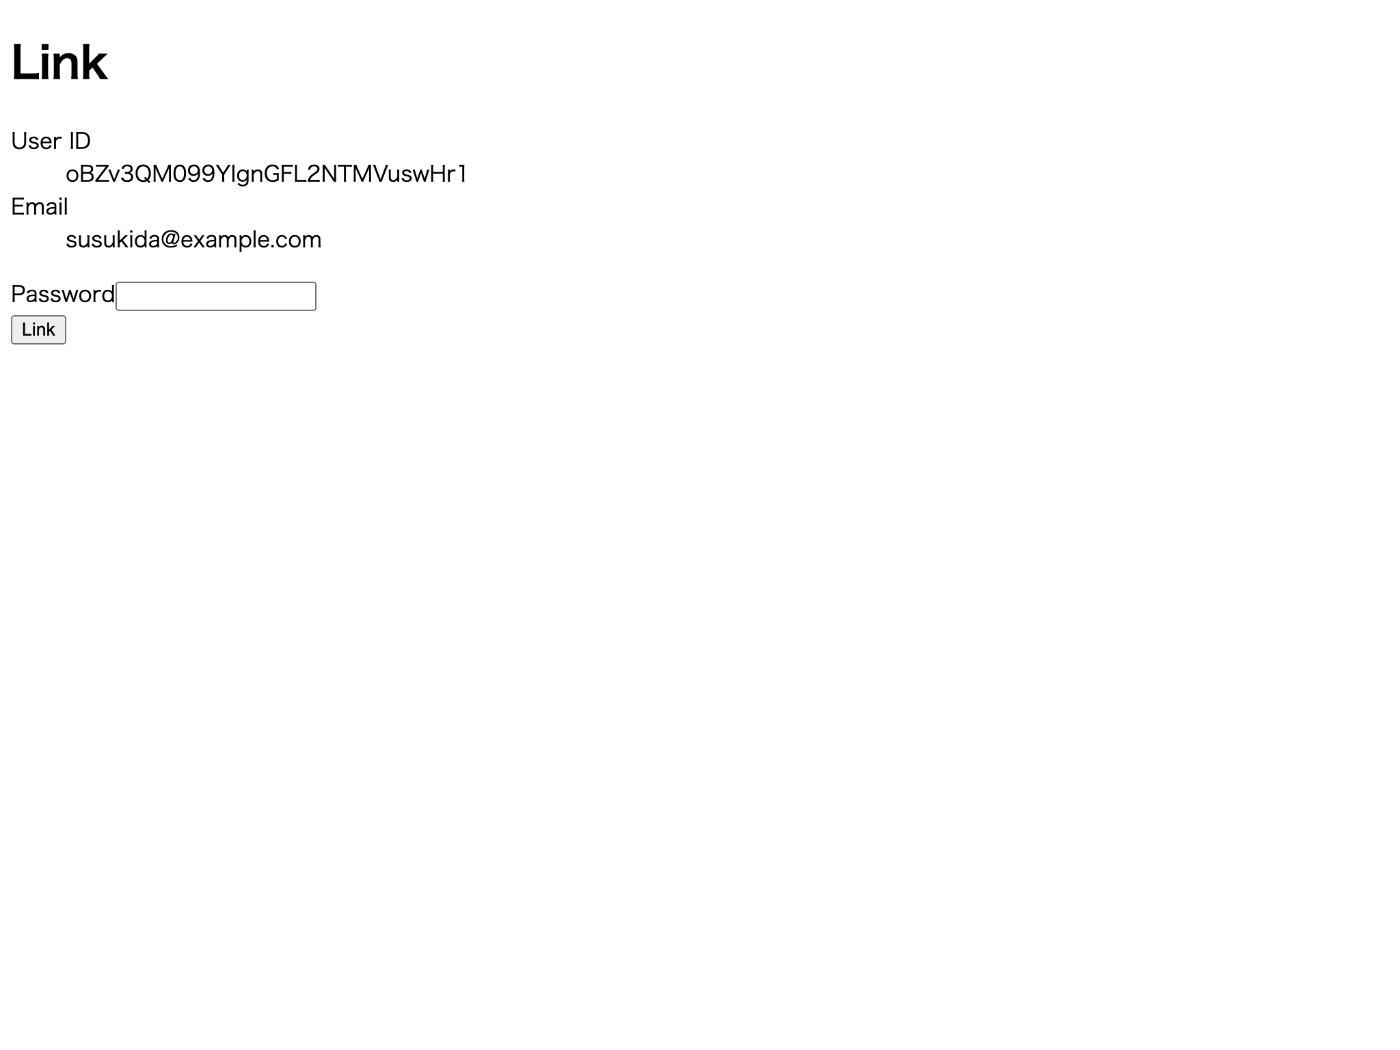
実行結果
リンクに成功すると Google とメールアドレスの 2 つの認証方法が 1 つのアカウントにリンクされる。
再認証が必要になるがその際にどのプロバイダーを使えば良いのか悩む。
一応 user?.providerData[0]?.providerId にアクセスすることでプロバイダーの ID を取得することができるが面倒そう。
1 つのアカウントに複数の認証方法をリンクするのは実際には面倒そう。
おわりに
Identity Platform は Auth0 というよりも Firebase の機能強化版という位置付けが正しいのではないかと思った。
かなり色々なことを細かく制御できるのでニーズに合った認証機能を作るのに適しているが逆に言うと実装の手間がかなり多くなるので、手軽に認証機能を追加したい時は Auth0 の方が使いやすいと感じた。
あとドキュメントというか情報が意外と少ない、React の コンテキスト と組み合わせる方法くらいは公式ドキュメントでカバーして欲しい。
今後はまずは Auth0 を使ってみて要件に合わなかったら Identity Platform を使うみたいな感じになりそう。