Flutter で record パッケージを使って録音/再生してみる
このスクラップについて
このスクラップでは record パッケージを使って音声を収録/再生する iOS アプリを作る過程を記録する。
record パッケージについて
- マイクから入力される音声をファイルやストリームに出力できる
- Android や iOS などマルチプラットフォームに対応している
- iOS ではストリーム出力で利用可能なエンコーダは pcm16bits のみ
現時点のバージョンは 5.1.2 で Like は 636 件と多い。
flutter_sound というパッケージもあり、こちらの Like は 1,433 件とさらに多い。
Like だけ見ると flutter_sound の方が良さそうだが record の方が使い方がシンプルに見えるのでまずは record の方を使ってみようと思う。
record で不足する場合は flutter_sound を使ってみよう。
ライセンス的にも record が BSD-3-Clause であるのに対し、flutter_sound は MPL-2.0 なので制約が少ないのも良い。
プロジェクト作成
flutter create audio_recording_demo
とりあえず iPhone で起動してみる
open ios/Runner.xcworkspace
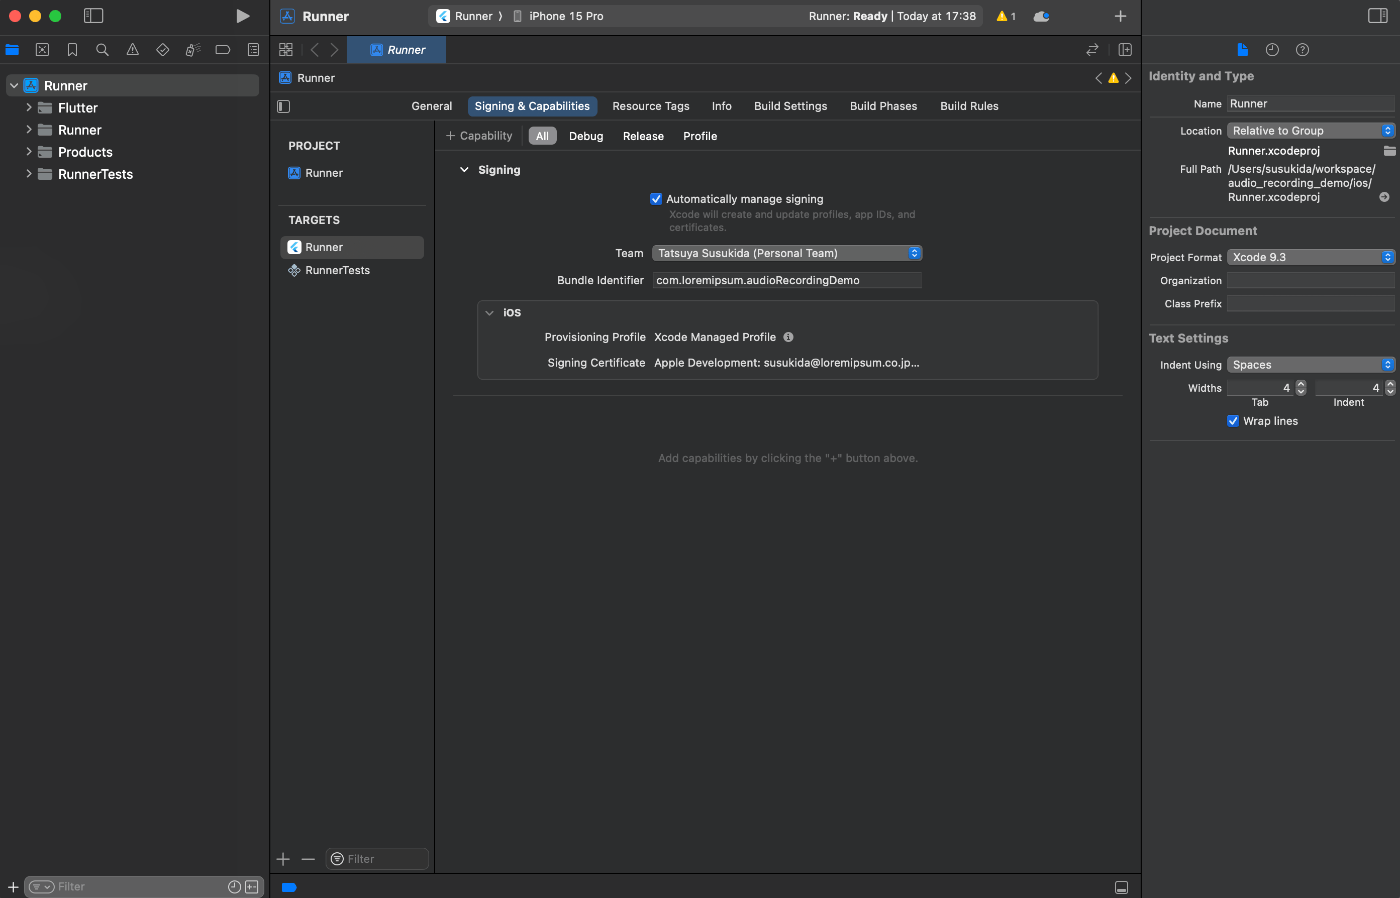
Bundle Identifer をユニークなものに変更する
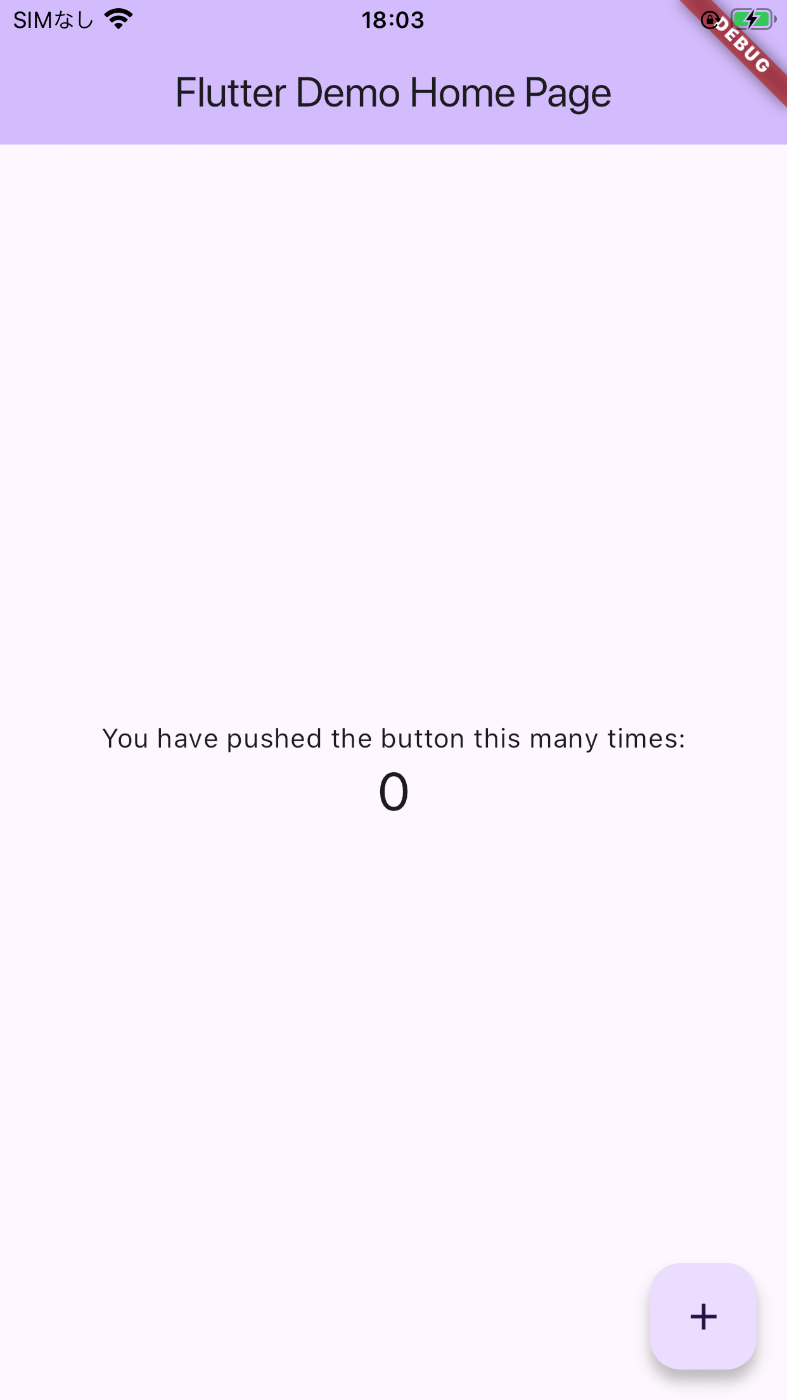
VSCode で main.dart を開いてデバッグを開始する。
無事に起動したようだ。
スクリーンショットはどうやって撮影するんだっけ?
flutter screenshot -o ~/Desktop/`date -Iseconds`.png
なぜかファイル名でコロンがスラッシュに変換される
アプリのひな形を作る
import 'package:flutter/material.dart';
void main() {
runApp(const AudioRecordingApp());
}
class AudioRecordingApp extends StatelessWidget {
const AudioRecordingApp({super.key});
Widget build(BuildContext context) {
return MaterialApp(
title: 'Audio Recording Demo',
theme: ThemeData(
colorScheme: ColorScheme.fromSeed(seedColor: Colors.deepPurple),
useMaterial3: true,
),
home: const AudioRecordingPage(),
);
}
}
class AudioRecordingPage extends StatelessWidget {
const AudioRecordingPage({super.key});
Widget build(BuildContext context) {
return Scaffold(
appBar: AppBar(
title: const Text('Audio recording demo app'),
),
body: Padding(
padding: EdgeInsets.all(16.0),
child: Column(
children: [
SizedBox(
width: double.infinity,
child: ElevatedButton(
onPressed: () {},
child: const Text('Start recording'),
),
),
const SizedBox(height: 8.0),
SizedBox(
width: double.infinity,
child: ElevatedButton(
onPressed: () {},
child: const Text('Stop recording'),
),
),
const SizedBox(height: 8.0),
SizedBox(
width: double.infinity,
child: ElevatedButton(
onPressed: () {},
child: const Text('Play'),
),
),
],
),
),
);
}
}
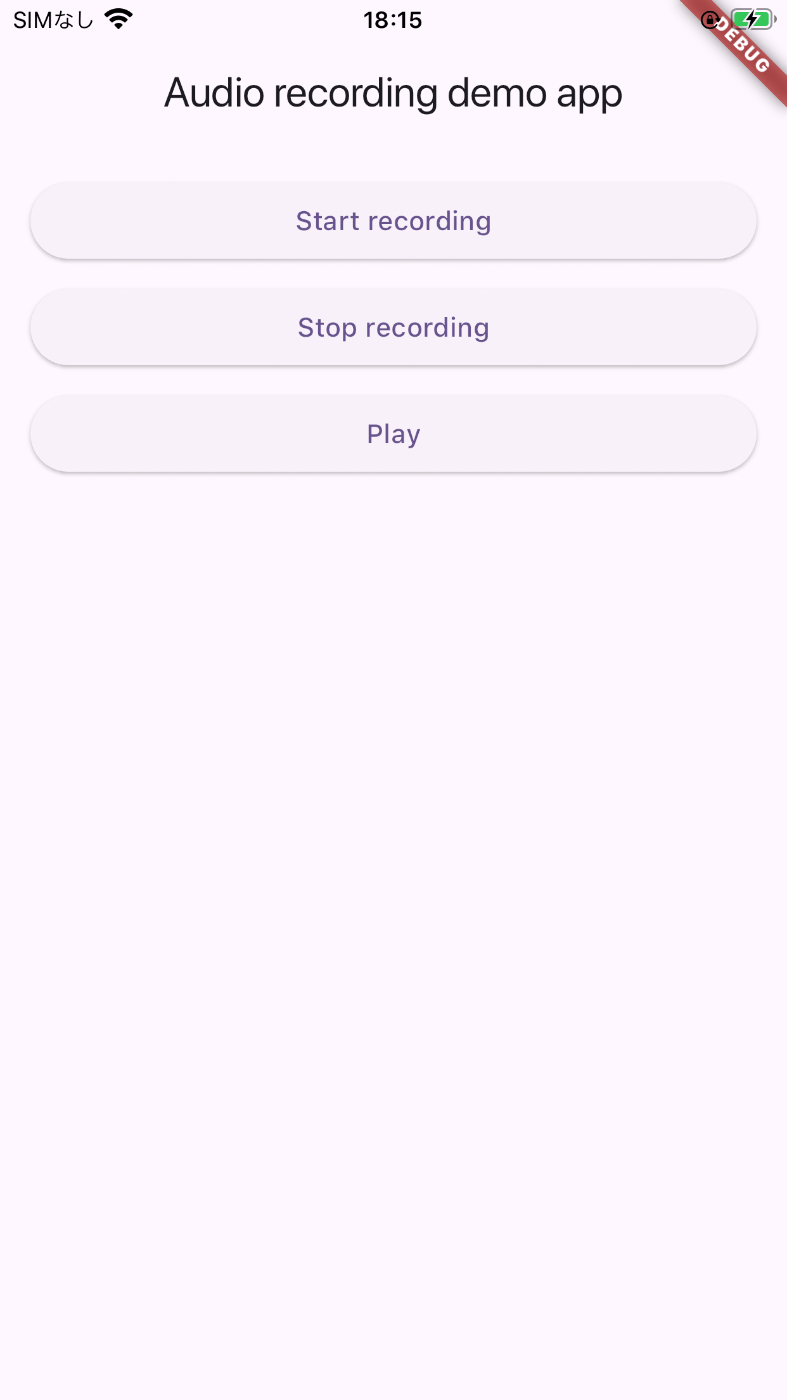
録音開始、録音終了、再生の 3 つのボタンを配置した
パッケージのインストール
flutter pub add record path path_provider flutter_hooks
flutter_hooks があるとコーディングが楽なので使用する。
権限の設定
<dict>
    <key>NSMicrophoneUsageDescription</key>
    <string>Some message to describe why you need this permission</string>
</dict>
録音してみる
import 'package:flutter/material.dart';
import 'package:flutter_hooks/flutter_hooks.dart';
import 'package:path/path.dart';
import 'package:path_provider/path_provider.dart';
import 'package:record/record.dart';
void main() {
runApp(const AudioRecordingApp());
}
class AudioRecordingApp extends StatelessWidget {
const AudioRecordingApp({super.key});
Widget build(BuildContext context) {
return MaterialApp(
title: 'Audio Recording Demo',
theme: ThemeData(
colorScheme: ColorScheme.fromSeed(seedColor: Colors.deepPurple),
useMaterial3: true,
),
home: const AudioRecordingPage(),
);
}
}
class AudioRecordingPage extends HookWidget {
const AudioRecordingPage({super.key});
Widget build(BuildContext context) {
final audioRecorder = useMemoized(() => AudioRecorder());
final isRecordingState = useState(false);
final recordedAudioPathState = useState<String?>(null);
final isStartButtonEnabled = !isRecordingState.value;
final isStopButtonEnabled = isRecordingState.value;
final isPlayButtonEnabled =
!isRecordingState.value && recordedAudioPathState.value != null;
onPressedStartButton() async {
final directory = (await getApplicationDocumentsDirectory()).path;
final filename = '${DateTime.now()}.bin';
final destination = join(directory, filename);
await audioRecorder.start(
const RecordConfig(encoder: AudioEncoder.pcm16bits),
path: destination,
);
isRecordingState.value = true;
}
onPressedStopButton() async {
recordedAudioPathState.value = await audioRecorder.stop();
isRecordingState.value = false;
}
onPressedPlayButton() {
print(recordedAudioPathState.value);
}
return Scaffold(
appBar: AppBar(
title: const Text('Audio recording demo app'),
),
body: Padding(
padding: const EdgeInsets.all(16.0),
child: Column(
children: [
SizedBox(
width: double.infinity,
child: ElevatedButton(
onPressed: isStartButtonEnabled ? onPressedStartButton : null,
child: const Text('Start recording'),
),
),
const SizedBox(height: 8.0),
SizedBox(
width: double.infinity,
child: ElevatedButton(
onPressed: isStopButtonEnabled ? onPressedStopButton : null,
child: const Text('Stop recording'),
),
),
const SizedBox(height: 8.0),
SizedBox(
width: double.infinity,
child: ElevatedButton(
onPressed: isPlayButtonEnabled ? onPressedPlayButton : null,
child: const Text('Play'),
),
),
],
),
),
);
}
}
Start recording ボタンを押してから Stop recording ボタンを押すと VSCode のデバッグコンソールに下記のようなメッセージが出力される。
flutter: /var/mobile/Containers/Data/Application/8AC122F9-F365-474F-929A-49DD6DACF30C/Documents/2024-10-09 18:39:18.426842
音声ファイルをちょっと覗いてみる
    onPressedPlayButton() async {
      final recordedAudioPath = recordedAudioPathState.value;

      if (recordedAudioPath == null) {
        return;
      }

      final recordedAudioFile = File(recordedAudioPath);
      final recordedAudioBytes = await recordedAudioFile.readAsBytes();

      print(recordedAudioBytes.length);

      for (var i = 0; i < 10; i += 1) {
        final bytes = [];
        for (var j = 0; j < 10; j += 1) {
          bytes.add(
            '0x${recordedAudioBytes[i * 10 + j].toRadixString(16).padLeft(2, '0')}',
          );
        }

        print(bytes.join(' '));
      }
    }
flutter: 259932
flutter: 0x63 0x61 0x66 0x66 0x00 0x01 0x00 0x00 0x64 0x65
flutter: 0x73 0x63 0x00 0x00 0x00 0x00 0x00 0x00 0x00 0x20
flutter: 0x40 0xe5 0x88 0x80 0x00 0x00 0x00 0x00 0x6c 0x70
flutter: 0x63 0x6d 0x00 0x00 0x00 0x02 0x00 0x00 0x00 0x04
flutter: 0x00 0x00 0x00 0x01 0x00 0x00 0x00 0x02 0x00 0x00
flutter: 0x00 0x10 0x66 0x72 0x65 0x65 0x00 0x00 0x00 0x00
flutter: 0x00 0x00 0x0f 0xb0 0x00 0x00 0x00 0x00 0x00 0x00
3 flutter: 0x00 0x00 0x00 0x00 0x00 0x00 0x00 0x00 0x00 0x00
長さ以外は毎回同じになるのでちゃんと録音できているか不安だ。
WAVE 形式で保存する
    onPressedStartButton() async {
      final directory = (await getApplicationDocumentsDirectory()).path;
      final filename = '${DateTime.now()}.wav';
      final destination = join(directory, filename);

      await audioRecorder.start(
        const RecordConfig(encoder: AudioEncoder.wav),
        path: destination,
      );

      isRecordingState.value = true;
    }
flutter: 199720
flutter: 0x52 0x49 0x46 0x46 0x20 0x0c 0x03 0x00 0x57 0x41
flutter: 0x56 0x45 0x4a 0x55 0x4e 0x4b 0x1c 0x00 0x00 0x00
2 flutter: 0x00 0x00 0x00 0x00 0x00 0x00 0x00 0x00 0x00 0x00
flutter: 0x00 0x00 0x00 0x00 0x00 0x00 0x00 0x00 0x66 0x6d
flutter: 0x74 0x20 0x10 0x00 0x00 0x00 0x01 0x00 0x02 0x00
flutter: 0x44 0xac 0x00 0x00 0x10 0xb1 0x02 0x00 0x04 0x00
flutter: 0x10 0x00 0x46 0x4c 0x4c 0x52 0xa8 0x0f 0x00 0x00
2
flutter: 0x00 0x00 0x00 0x00 0x00 0x00 0x00 0x00 0x00 0x00
バイナリを読むと 2 行目に WAVEJUNK という文字列があるようだがどういう意味なのだろう?
JUNK チャンクについて
この辺が参考になりそう。
どうやら色々な都合で無効になってしまったデータの範囲のようだ。
よく見たら 0x66 0x6d 0x74 0x20 は fmt でここからフォーマット情報が始まっているようだ。
0x10 ということは 16 バイトなのか?
- フォーマットは 0x01 なのでリニアPCM
- チャンネル数は 0x02 なのでステレオ
- サンプリング周波数は 0xac44 なので 44,100 Hz
- データ速度は 0x02b110 なので 176,400 バイト(44,100 Hz × 2 Channel × 16 bit)
- ブロックサイズは 0x04 なので 4
- ビットレートは 0x10 なので 16 bit / sample
その後の FLLR チャンクとは何なのだろうか?
どうやら Apple 製品の WAVE ファイルで fmt と data の間に挟まれるようだ。
そのサイズは 0x0fa8 と 4,008 バイトもあるのでなるほどこれでは音声が出てこない訳だ。
明日は FLLR チャンクが終わった後のバイナリを見てみよう。
バイト数を数える
RIFF- サイズ
WAVE-
JUNK- サイズ
- データ(28 バイト)
-
fmt- サイズ
- データ(16 バイト)
-
FLLR- サイズ
- データ(4,008 バイト)
合計で 4,088 バイトなので 4,089 バイト目から次のちゃくが始まるようだ。
次のチャンクを見てみる
          bytes.add(
            '0x${recordedAudioBytes[4088 + i * 10 + j].toRadixString(16).padLeft(2, '0')}',
          );
flutter: 222300
flutter: 0x64 0x61 0x74 0x61 0x5c 0x54 0x03 0x00 0x00 0x00
7 flutter: 0x00 0x00 0x00 0x00 0x00 0x00 0x00 0x00 0x00 0x00
flutter: 0xff 0xff 0xff 0xff 0x01 0x00 0x01 0x00 0xff 0xff
flutter: 0xff 0xff 0x01 0x00 0x01 0x00 0xfd 0xff 0xfd 0xff
ついに data チャンクが登場した、今回のデータサイズは 0x03545c なので 218,204 バイトのようだ。
4,088 + 4 + 4 + 218,204 = 222,300 バイトなので data チャンクで最後のようだ。
WAVE ファイルに関してわかったこと
iPhone で record パッケージを使って WAV 形式で録音すると次の 4 つのチャンクから構成される音声ファイルが作成されるようだ。
-
JUNK: 28 バイト -
fmt: 16 バイト -
FLLR: 4,088 バイト -
data: 録音時間によって変動
音声を再生してみる
再生には audioplayers パッケージを使用する。
flutter pub add audioplayers
今更だけど AudioRecorder の dispose
    final audioRecorder = useMemoized(() => AudioRecorder());

    useEffect(() {
      return () => audioRecorder.dispose();
    }, []);
AudioPlayer のセットアップ
    final audioPlayer = useMemoized(() {
      final audioPlayer = AudioPlayer();
      audioPlayer.setReleaseMode(ReleaseMode.stop);
      return audioPlayer;
    });

    useEffect(() {
      return () => audioPlayer.dispose();
    }, []);
Play ボタンのイベントハンドラ変更
    onPressedPlayButton() async {
      final recordedAudioPath = recordedAudioPathState.value;

      if (recordedAudioPath == null) {
        return;
      }

      await audioPlayer.play(DeviceFileSource(recordedAudioPath));
    }
音声が再生された!
Start recording → Stop recording → Play でしっかり音声が再生された!
現状の AudioRecordingPage
class AudioRecordingPage extends HookWidget {
const AudioRecordingPage({super.key});
Widget build(BuildContext context) {
final audioRecorder = useMemoized(() => AudioRecorder());
useEffect(() {
return () => audioRecorder.dispose();
}, []);
final audioPlayer = useMemoized(() {
final audioPlayer = AudioPlayer();
audioPlayer.setReleaseMode(ReleaseMode.stop);
return audioPlayer;
});
useEffect(() {
return () => audioPlayer.dispose();
}, []);
final isRecordingState = useState(false);
final recordedAudioPathState = useState<String?>(null);
final isStartButtonEnabled = !isRecordingState.value;
final isStopButtonEnabled = isRecordingState.value;
final isPlayButtonEnabled =
!isRecordingState.value && recordedAudioPathState.value != null;
onPressedStartButton() async {
final directory = (await getApplicationDocumentsDirectory()).path;
final filename = '${DateTime.now()}.wav';
final destination = join(directory, filename);
await audioRecorder.start(
const RecordConfig(encoder: AudioEncoder.wav),
path: destination,
);
isRecordingState.value = true;
}
onPressedStopButton() async {
recordedAudioPathState.value = await audioRecorder.stop();
isRecordingState.value = false;
}
onPressedPlayButton() async {
final recordedAudioPath = recordedAudioPathState.value;
if (recordedAudioPath == null) {
return;
}
await audioPlayer.play(DeviceFileSource(recordedAudioPath));
}
return Scaffold(
appBar: AppBar(
title: const Text('Audio recording demo app'),
),
body: Padding(
padding: const EdgeInsets.all(16.0),
child: Column(
children: [
SizedBox(
width: double.infinity,
child: ElevatedButton(
onPressed: isStartButtonEnabled ? onPressedStartButton : null,
child: const Text('Start recording'),
),
),
const SizedBox(height: 8.0),
SizedBox(
width: double.infinity,
child: ElevatedButton(
onPressed: isStopButtonEnabled ? onPressedStopButton : null,
child: const Text('Stop recording'),
),
),
const SizedBox(height: 8.0),
SizedBox(
width: double.infinity,
child: ElevatedButton(
onPressed: isPlayButtonEnabled ? onPressedPlayButton : null,
child: const Text('Play'),
),
),
],
),
),
);
}
}
次にやること
次は pcm16bits を再生してみよう。
だいぶ日が空いてしまった
まずは config を pcm16bits に変更して再生できるかどうか試してみよう。
    onPressedStartButton() async {
      final directory = (await getApplicationDocumentsDirectory()).path;
      final filename = '${DateTime.now()}.wav';
      final destination = join(directory, filename);

      await audioRecorder.start(
        const RecordConfig(encoder: AudioEncoder.pcm16bits),
        path: destination,
      );

      isRecordingState.value = true;
    }
普通に再生できる、もしかして WAV 形式なのだろうか?
中身を見てみよう。
再びバイナリ分析
    onPressedPlayButton() async {
      final recordedAudioPath = recordedAudioPathState.value;

      if (recordedAudioPath == null) {
        return;
      }

      final recordedAudioBytes = await File(recordedAudioPath).readAsBytes();

      for (var i = 0; i < 10; i += 1) {
        final bytes = [];
        for (var j = 0; j < 10; j += 1) {
          bytes.add(
            '0x${recordedAudioBytes[i * 10 + j].toRadixString(16).padLeft(2, '0')}',
          );
        }

        print(bytes.join(' '));
      }

      await audioPlayer.play(DeviceFileSource(recordedAudioPath));
    }
flutter: 0x52 0x49 0x46 0x46 0xf0 0xff 0x04 0x00 0x57 0x41
flutter: 0x56 0x45 0x4a 0x55 0x4e 0x4b 0x1c 0x00 0x00 0x00
2
flutter: 0x00 0x00 0x00 0x00 0x00 0x00 0x00 0x00 0x00 0x00
flutter: 0x00 0x00 0x00 0x00 0x00 0x00 0x00 0x00 0x66 0x6d
flutter: 0x74 0x20 0x10 0x00 0x00 0x00 0x01 0x00 0x02 0x00
flutter: 0x44 0xac 0x00 0x00 0x10 0xb1 0x02 0x00 0x04 0x00
flutter: 0x10 0x00 0x46 0x4c 0x4c 0x52 0xa8 0x0f 0x00 0x00
2
flutter: 0x00 0x00 0x00 0x00 0x00 0x00 0x00 0x00 0x00 0x00
前は caff チャンクが出力されたような気がするが。。。
一旦アプリを再起動してみよう。
原因がわかった
拡張子が .wav だと WAVE 形式になるようだ。
    onPressedStartButton() async {
      final directory = (await getApplicationDocumentsDirectory()).path;
      final filename = '${DateTime.now()}';
      final destination = join(directory, filename);

      await audioRecorder.start(
        const RecordConfig(encoder: AudioEncoder.wav),
        path: destination,
      );

      isRecordingState.value = true;
    }
.bin などでも良いかもしれない。
ようやく再現できた
flutter: 0x63 0x61 0x66 0x66 0x00 0x01 0x00 0x00 0x64 0x65
flutter: 0x73 0x63 0x00 0x00 0x00 0x00 0x00 0x00 0x00 0x20
flutter: 0x40 0xe5 0x88 0x80 0x00 0x00 0x00 0x00 0x6c 0x70
flutter: 0x63 0x6d 0x00 0x00 0x00 0x02 0x00 0x00 0x00 0x04
flutter: 0x00 0x00 0x00 0x01 0x00 0x00 0x00 0x02 0x00 0x00
flutter: 0x00 0x10 0x66 0x72 0x65 0x65 0x00 0x00 0x00 0x00
flutter: 0x00 0x00 0x0f 0xb0 0x00 0x00 0x00 0x00 0x00 0x00
3
flutter: 0x00 0x00 0x00 0x00 0x00 0x00 0x00 0x00 0x00 0x00
もしかして caff とは Apple Core Audio Format なのだろうか?
バイナリ解読
- はじめの caff は CAF ファイルであることを示す
- 次の 2 バイトはバージョン
- 次の 2 バイトはフラグ
- その後は
descチャンクであり、長さは 8 バイトで示す、この場合は 0x20 なので 32 バイトとなる
struct CAFAudioFormat {
    Float64 mSampleRate;
    UInt32  mFormatID;
    UInt32  mFormatFlags;
    UInt32  mBytesPerPacket;
    UInt32  mFramesPerPacket;
    UInt32  mChannelsPerFrame;
    UInt32  mBitsPerChannel;
};
- 8 + 4 × 6 = 32 バイトなので計算は合っている
- ちなみにネットワークバイトオーダー(ビッグエンディアン)のようだ
- mSampleRate の
0x40 0xe5 0x88 0x80 0x00 0x00 0x00 0x00は Float64 で 44100 なのでこれは正しい - mFormatId の
0x6c 0x70 0x63 0x6dは lpcm で Linear PCM を示すようだ - mFormatFloags の
0x00 0x00 0x00 0x02は kCAFLinearPCMFormatFlagIsLittleEndian でデータがリトルエンディアンであることを示すようだ - mBytesPerPacket の
0x00 0x00 0x00 0x04はパケットという単位がよくわからないが 4 バイトのようだ - mFramesPerPacket の
0x00 0x00 0x00 0x01はフレームという単位もよくからないが 1 フレームのようだ - mChannelsPerFrame の
0x00 0x00 0x00 0x02は 1 フレームには 2 チャンネルが含まれるようだ - mBitsPerChannel の
0x00 0x00 0x00 0x10は 1 チャンネルには 16 ビットが含まれるようだ
Free チャンク
フォーマットの情報の後は free チャンクが始まる。
The optional Free chunk is for reserving space, or providing padding, in a CAF file. The contents of the Free chunk data section have no significance and should be ignored.
無視しても良さそうだ。
ちなみにサイズは 0x00 0x00 0x00 0x00 0x00 0x00 0x0f 0xb0 = 4016 バイトなのでかなりスキップすることになる。
-
caff+ バージョン + フラグ:8 バイト -
desc+ サイズ + データ:4 + 8 + 32 = 44 バイト -
free+ サイズ + データ:4 + 8 + 4016 = 4,028 バイト
合計で 4,080 バイトをスキップすれば次のチャンクが見れそうだ。
次は data チャンクだった
flutter: 0x64 0x61 0x74 0x61 0x00 0x00 0x00 0x00 0x00 0x02
flutter: 0x02 0x48 0x00 0x00 0x00 0x01 0x00 0x00 0x00 0x00
8 flutter: 0x00 0x00 0x00 0x00 0x00 0x00 0x00 0x00 0x00 0x00
data チャンクとはいえども WAVE 形式とは若干異なり最初の 4 バイトが編集回数になっている。
struct CAFData {
    UInt32 mEditCount;                 // initially set to 0
    UInt8 mData [kVariableLengthArray];
};
また、サイズが 8 バイトのビッグエンディアンなのでそこも注意した方が良さそうだ。
ちなみに data チャンクの後は何かあるのだろうか?
4 + 8 + 0x020248 = 131,668 で 4080 と足すと 135,748 バイトとなる。
print(recordedAudioBytes.length); を追加してサイズを確認したら 135,748 バイトだったので、どうやら data チャンクが最後のようだ。
CAF として保存したら再生できる?
    onPressedStartButton() async {
      final directory = (await getApplicationDocumentsDirectory()).path;
      final filename = '${DateTime.now()}.caf';
      final destination = join(directory, filename);

      await audioRecorder.start(
        const RecordConfig(encoder: AudioEncoder.wav),
        path: destination,
      );

      isRecordingState.value = true;
    }
無事に再生できた。
ストリーミングの場合は data チャンクを繋ぎ合わせてチャンクサイズを調整すれば再生できるようになるのだろうか?
次にやること
AudioRecorder の startStream メソッドを使って録音してみよう。
試行錯誤の上、ようやくデータ取得
    final subscriptionRef = useRef<StreamSubscription<Uint8List>?>(null);
    final audioChunksRef = useRef(<Uint8List>[]);

    void onAudioDataAvailable(Uint8List audioChunk) {
      audioChunksRef.value = [...audioChunksRef.value, audioChunk];
    }

    Future<void> onPressedStartButton() async {
      // final directory = (await getApplicationDocumentsDirectory()).path;
      // final filename = '${DateTime.now()}.caf';
      // final destination = join(directory, filename);

      // await audioRecorder.start(
      //   const RecordConfig(encoder: AudioEncoder.pcm16bits),
      //   path: destination,
      // );

      audioChunksRef.value = [];

      final stream = await audioRecorder
          .startStream(const RecordConfig(encoder: AudioEncoder.pcm16bits));
      subscriptionRef.value = stream.listen(onAudioDataAvailable);

      isRecordingState.value = true;
    }

    Future<void> onPressedStopButton() async {
      // recordedAudioPathState.value = await audioRecorder.stop();

      subscriptionRef.value?.cancel();

      final recordedAudioBytes = audioChunksRef.value[0];

      print(recordedAudioBytes.length);

      for (var i = 0; i < 10; i += 1) {
        final bytes = [];
        for (var j = 0; j < 10; j += 1) {
          bytes.add(
            '0x${recordedAudioBytes[0 + i * 10 + j].toRadixString(16).padLeft(2, '0')}',
          );
        }

        print(bytes.join(' '));
      }

      isRecordingState.value = false;
    }
flutter: 17640
8
flutter: 0x00 0x00 0x00 0x00 0x00 0x00 0x00 0x00 0x00 0x00
flutter: 0x00 0x00 0x00 0x00 0x00 0x00 0x00 0x00 0xff 0xff
flutter: 0xff 0xff 0xfd 0xff 0xfd 0xff 0x0e 0x00 0x0e 0x00
何というか生データ感がある。
17640 とは何か?
おそらく 44,100 Hz で 2 CH で 16 bit で 0.1 秒ということなのだろう。
> 44_100 * 2 * 2 * 0.1
17640
WAVE 形式で保存してみる
ByteData を使うのが良さそうだ。
意外とスムーズにできた
    Future<void> onPressedStopButton() async {
      // recordedAudioPathState.value = await audioRecorder.stop();

      subscriptionRef.value?.cancel();

      final audioChunks = audioChunksRef.value;

      const chunkNameBytes = 4;
      const chunkSizeBytes = 4;
      const chunkHeaderBytes = chunkNameBytes + chunkSizeBytes;
      const fmtChunkBodyBytes = 16;
      const initialBytes = 12;
      const fmtChunkBytes = chunkHeaderBytes + fmtChunkBodyBytes;

      final dataChunkBytes = chunkHeaderBytes +
          audioChunks
              .map((audioChunk) => audioChunk.length)
              .reduce((v, e) => v + e);

      final totalBytes = initialBytes + fmtChunkBytes + dataChunkBytes;
      final byteData = ByteData(
          initialBytes + fmtChunkBytes + chunkHeaderBytes + fmtChunkBodyBytes);

      byteData.setUint8(0, 'R'.codeUnitAt(0));
      byteData.setUint8(1, 'I'.codeUnitAt(0));
      byteData.setUint8(2, 'F'.codeUnitAt(0));
      byteData.setUint8(3, 'F'.codeUnitAt(0));
      byteData.setUint32(4, totalBytes - 8, Endian.little);
      byteData.setUint8(8, 'W'.codeUnitAt(0));
      byteData.setUint8(9, 'A'.codeUnitAt(0));
      byteData.setUint8(10, 'V'.codeUnitAt(0));
      byteData.setUint8(11, 'E'.codeUnitAt(0));
      byteData.setUint8(12, 'f'.codeUnitAt(0));
      byteData.setUint8(13, 'm'.codeUnitAt(0));
      byteData.setUint8(14, 't'.codeUnitAt(0));
      byteData.setUint8(15, ' '.codeUnitAt(0));
      byteData.setUint32(16, fmtChunkBodyBytes, Endian.little);

      const linearPcmFormatId = 0x01;
      const numOfChannel = 2;
      const samplingFrequency = 44100;
      const bitsPerSample = 16;
      const bytesPerSample = bitsPerSample ~/ 8;
      const bytesPerSecond = samplingFrequency * bytesPerSample * numOfChannel;
      const blockSize = bytesPerSample * numOfChannel;

      byteData.setUint16(20, linearPcmFormatId, Endian.little);
      byteData.setUint16(22, numOfChannel, Endian.little);
      byteData.setUint32(24, samplingFrequency, Endian.little);
      byteData.setUint32(28, bytesPerSecond, Endian.little);
      byteData.setUint16(32, blockSize, Endian.little);
      byteData.setUint16(34, bitsPerSample, Endian.little);
      byteData.setUint8(36, 'd'.codeUnitAt(0));
      byteData.setUint8(37, 'a'.codeUnitAt(0));
      byteData.setUint8(38, 't'.codeUnitAt(0));
      byteData.setUint8(39, 'a'.codeUnitAt(0));
      byteData.setUint32(40, dataChunkBytes, Endian.little);

      final directory = (await getApplicationDocumentsDirectory()).path;
      final filename = '${DateTime.now()}.wav';
      final destinationPath = join(directory, filename);
      final destinationFile = File(destinationPath);

      await destinationFile.writeAsBytes(byteData.buffer.asUint8List());

      for (final audioChunk in audioChunks) {
        await destinationFile.writeAsBytes(audioChunk, mode: FileMode.append);
      }

      recordedAudioPathState.value = destinationPath;
      isRecordingState.value = false;
    }
これで検証したいことは大体終わった
まだストリームの止め方などはわかっていないが自分の知りたい事はわかったのでこれでスクラップをクローズしよう。
お疲れさまでした自分!