C / C++ 言語のプログラムを WebAssembly を使って Web ページ上で動かす
このスクラップについて
Web ページ上でロボット制御フレームワークの ARCS6 を使用してロボットアームのシミュレーションを実行するシステムの開発を検討している。
AWS RoboMaker のようにサーバーでシミュレーションを実行しても悪くはないが可能であればブラウザで完結できれば素晴らしい。
ARCS6 は C++ で書かれているので C/C++ 言語で書かれた制御プログラムを WebAssembly を使って Web ページ上で動かせるかどうかを試してみる。
ドキュメント
何から手をつければ良いかわからないが、まずは MDN の WebAssembly のページを参考にしてみる。
ワークスペースの作成
mkdir hello-wasm
cd hello-wasm
Emscripten のインストール
brew install emscripten
C 言語のコーディング
touch hello.c
#include <stdio.h>

int main() {
    printf("Hello World\n");
    return 0;
}
ビルド
touch makefile
hello.html: hello.c
	emcc $^ -o $@
make hello.html
Emscripten のチュートリアルも良さげ
Emscripten のインストールは結構時間がかかる
なかなか make コマンドを実行できない。
shell_minimal.html がない
MDN のドキュメントのカスタム HTML テンプレートを使うセクションで shell_minimal.html を emsdk のリポジトリから探すとの説明があるがざっと見た感じでは見つからなさそう。
一旦 Emscripten のチュートリアルに切り替えて終わったら MDN に戻ってこようかな。
インストールがなかなか終わらないので Docker を使う
docker run --rm -v $(pwd):/src -u $(id -u):$(id -g) \
  emscripten/emsdk emcc hello.c -o hello.html
こちらはこちらで Docker イメージのダウンロードがなかなか終わらない。
Wasm の出力は Node でも動かせる
node a.out.js
これは面白い、インストールか Docker イメージのダウンロードが終わったら試してみたい。
Docker イメージのダウンロードの方が先に終わった
docker run --rm -v $(pwd):/src -u $(id -u):$(id -g) \
  emscripten/emsdk emcc hello.c -o hello.html
cache:INFO: generating system asset: symbol_lists/11506546530a3da28a96474fd7960ff397e27fd9.txt... (this will be cached in "/emsdk/upstream/emscripten/cache/symbol_lists/11506546530a3da28a96474fd7960ff397e27fd9.txt" for subsequent builds)
cache:INFO:  - ok
作成されたファイルは下記の 3 つ。
- hello.html
- hello.js
- hello.wasm
まずは hello.html をブラウザで開いてみる。
普通に開くとずっと Preparing の状態になる。
デベロッパーツールでコンソール出力を確認したところ XHR が失敗しているようだ。
Access to XMLHttpRequest at 'file:///Users/susukida/workspace/wasm/hello-wasm/hello.wasm' from origin 'null' has been blocked by CORS policy: Cross origin requests are only supported for protocol schemes: http, data, isolated-app, chrome-extension, chrome, https, chrome-untrusted.
ローカルで Web サーバーを起動する。
python3 -m http.server
http://localhost:8000/hello.html にアクセスする。
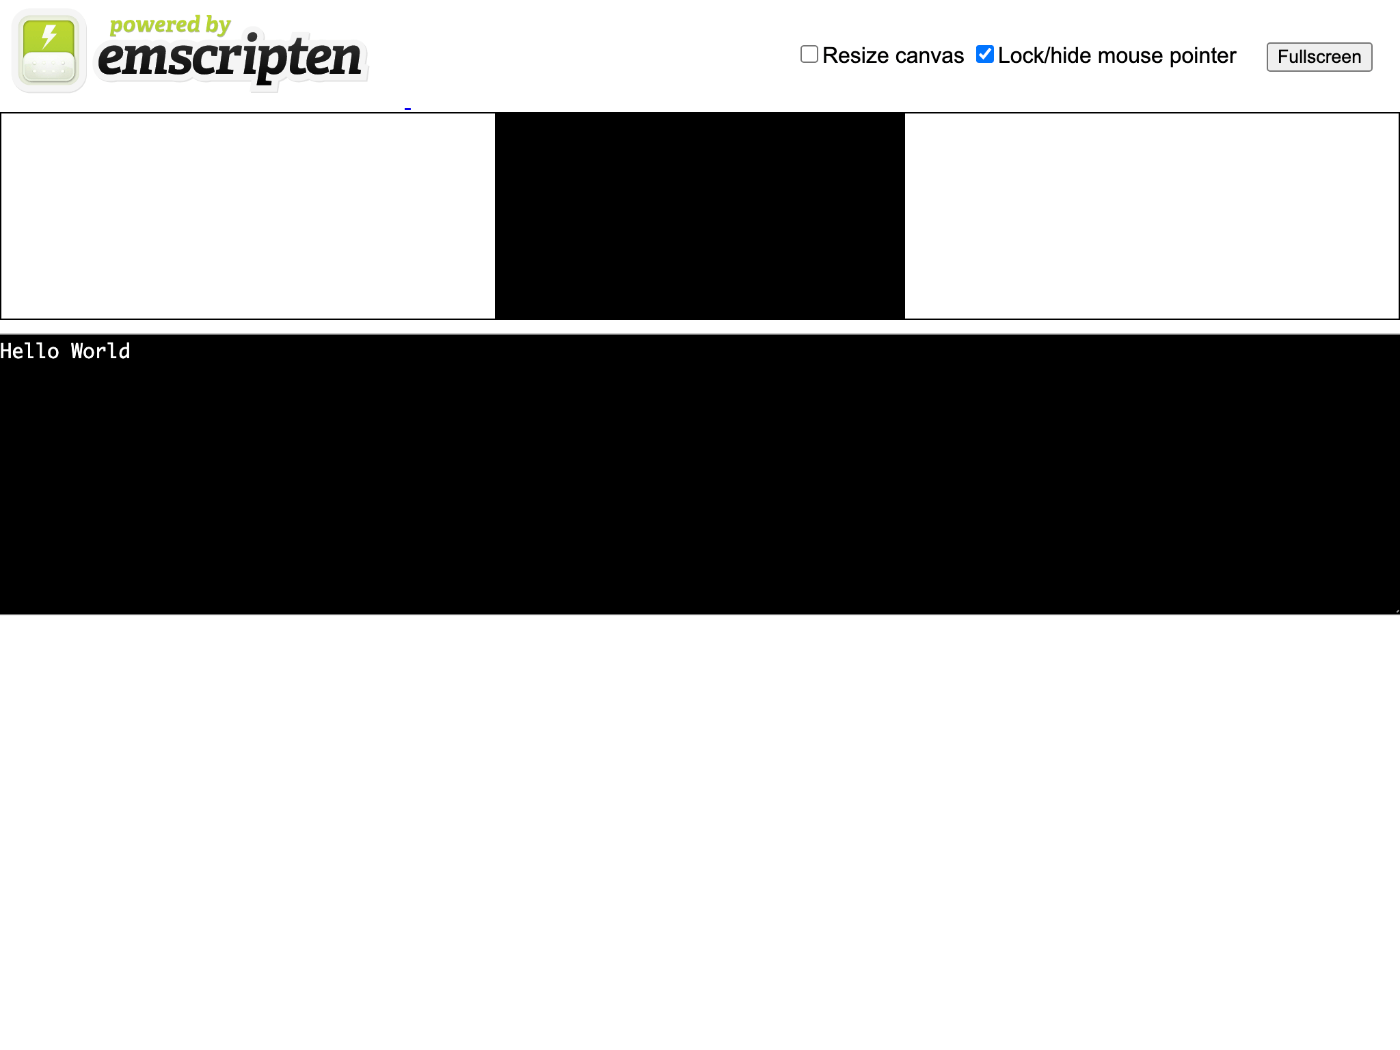
今度はうまくいった!
Node.js でも実行できるということなので試してみる。
node hello.js
Hello World
素晴らしい。
やっと Homebrew のインストールが終わった
emcc -v
emcc (Emscripten gcc/clang-like replacement + linker emulating GNU ld) 3.1.32-git
clang version 17.0.0 (https://github.com/llvm/llvm-project.git df82394e7a2d06506718cafa347bf7827c79fc4f)
Target: wasm32-unknown-emscripten
Thread model: posix
InstalledDir: /usr/local/Cellar/emscripten/3.1.32/libexec/llvm/bin
Canvas に描画
Emscripten のチュートリアルにもっと面白いサンプルがあったので試してみる。
touch hello_world_sdl.cpp
#include <stdio.h>
#include <SDL/SDL.h>
#ifdef __EMSCRIPTEN__
#include <emscripten.h>
#endif
int main(int argc, char** argv) {
printf("hello, world!\n");
SDL_Init(SDL_INIT_VIDEO);
SDL_Surface *screen = SDL_SetVideoMode(256, 256, 32, SDL_SWSURFACE);
#ifdef TEST_SDL_LOCK_OPTS
EM_ASM("SDL.defaults.copyOnLock = false; SDL.defaults.discardOnLock = true; SDL.defaults.opaqueFrontBuffer = false;");
#endif
if (SDL_MUSTLOCK(screen)) SDL_LockSurface(screen);
for (int i = 0; i < 256; i++) {
for (int j = 0; j < 256; j++) {
#ifdef TEST_SDL_LOCK_OPTS
// Alpha behaves like in the browser, so write proper opaque pixels.
int alpha = 255;
#else
// To emulate native behavior with blitting to screen, alpha component is ignored. Test that it is so by outputting
// data (and testing that it does get discarded)
int alpha = (i+j) % 255;
#endif
*((Uint32*)screen->pixels + i * 256 + j) = SDL_MapRGBA(screen->format, i, j, 255-i, alpha);
}
}
if (SDL_MUSTLOCK(screen)) SDL_UnlockSurface(screen);
SDL_Flip(screen);
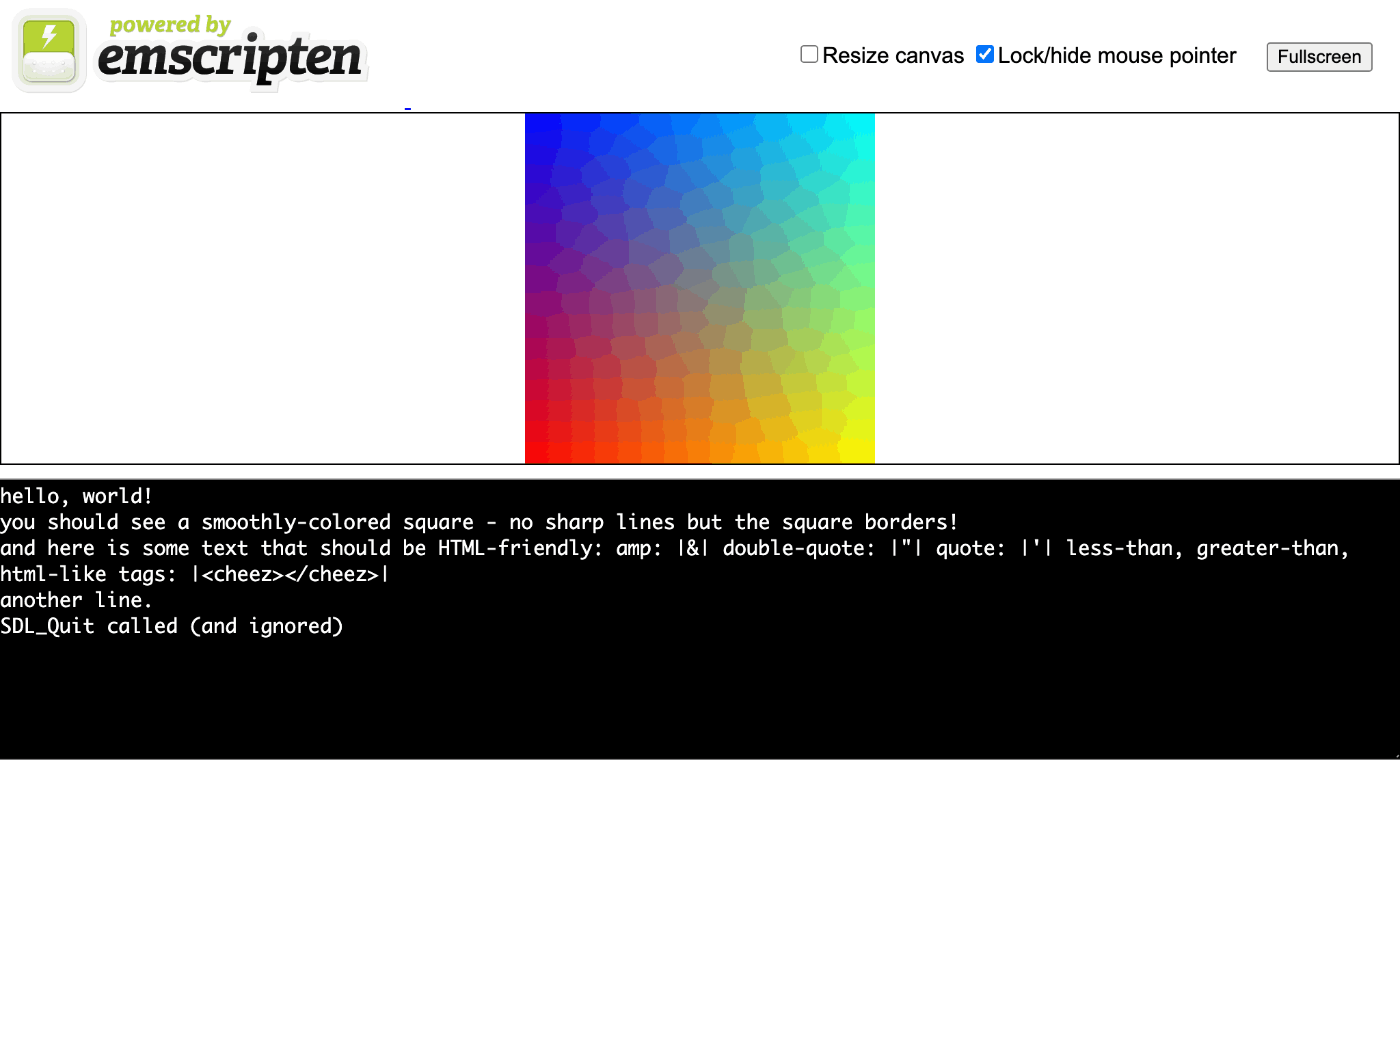
printf("you should see a smoothly-colored square - no sharp lines but the square borders!\n");
printf("and here is some text that should be HTML-friendly: amp: |&| double-quote: |\"| quote: |'| less-than, greater-than, html-like tags: |<cheez></cheez>|\nanother line.\n");
SDL_Quit();
return 0;
}
下記を追記する。
hello_world_sdl.html: hello_world_sdl.c
	emcc $^ -o $@
make hello_world_sdl.html
ブラウザで http://localhost:8000/hello_world_sdl.html にアクセスする。
カラフルな画像が表示された。
今更だけど shell_minimal.html を見つけた
emsdk ではなく emscripten のリポジトリにあった
まだちょっとしか触っていないけど WebAssembly すごいな。
これで C 言語プログラムを Web 上に移植できたら素晴らしいと思うけど、そんなに簡単にはできなさそう。
次はファイルの読み書き
当り前だけどブラウザで実行時はローカルのファイルシステムにはアクセスできない。
ビルド時に下記のようにプリロードする。
./emcc test/hello_world_file.cpp -o hello.html --preload-file test/hello_world_file.txt
イメージ的には埋め込んでいる(embed)している感じだが違うのかな?
まずは gcc でビルドして実行してみる
touch hello_world_file.c
touch hello_world_file.txt
#include <stdio.h>

int main() {
  FILE *file = fopen("hello_world_file.txt", "rb");

  if (!file) {
    printf("cannot open file\n");
    return 1;
  }

  while (!feof(file)) {
    char c = fgetc(file);
    if (c != EOF) {
      putchar(c);
    }
  }

  fclose(file);
  return 0;
}
==
This data has been read from a file.
The file is readable as if it were at the same location in the filesystem, including directories, as in the local filesystem where you compiled the source.
==
makefile に下記を追記する。
hello_world_file: hello_world_file.c
	gcc $^ -o $@
make hello_world_file
./hello_world_file
==
This data has been read from a file.
The file is readable as if it were at the same location in the filesystem, including directories, as in the local filesystem where you compiled the source.
==
いいね。
次に emcc でビルドして実行してみる
makefile に下記を追記する。
hello_world_file.html: hello_world_file.c hello_world_file.txt
	emcc $< -o $@ --preload-file hello_world_file.txt
http://localhost:8000/hello_world_file.html にアクセスする。
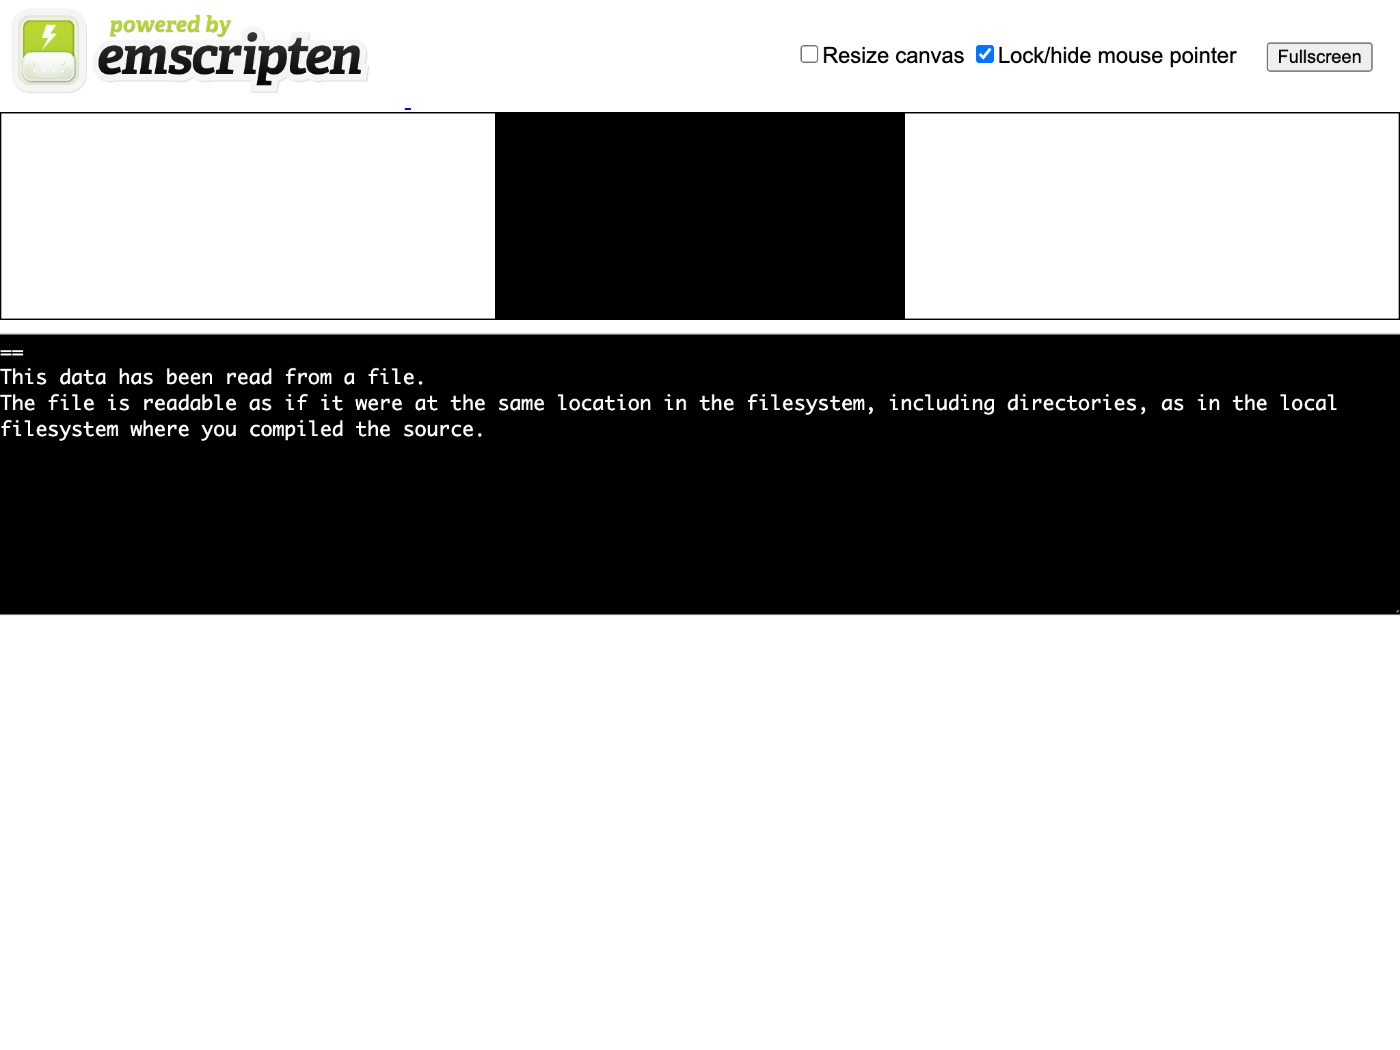
いい感じだけど最後の == が表示されていない。
テキストファイルはちゃんと改行しないとダメなのかな?

どうやらそのようだ。
コードの最適化
下記のように -O オプションを使用することでコードの最適化が行われる。
emcc -O1 test/hello_world.cpp
実際にやってみる。
emcc -O1 hello.c -o hello_o1.js
emcc -O2 hello.c -o hello_o2.js
コンパイルに時間がかかる、初回だけ?
比較してみる。
| オプション | .js のファイルサイズ | .wasm のファイルサイズ |
|---|---|---|
-O0 |
63,146 | 12,177 |
-O1 |
38,383 | 2,425 |
-O2 |
13,333 | 2,030 |
確かにファイルサイズが最適化すると小さくなることがわかる。
テストケースの実行
まずは Emscripten の GitHub レポジトリをクローンする。
git clone https://github.com/emscripten-core/emscripten
cd emscripten
test/runner test_loop
下記のエラーメッセージが表示される。
Traceback (most recent call last):
  File "test/runner.py", line 37, in <module>
    import jsrun
  File "/Users/susukida/workspace/wasm/hello-wasm/emscripten/test/jsrun.py", line 6, in <module>
    import common
  File "/Users/susukida/workspace/wasm/hello-wasm/emscripten/test/common.py", line 31, in <module>
    import clang_native
  File "/Users/susukida/workspace/wasm/hello-wasm/emscripten/test/clang_native.py", line 10, in <module>
    from tools.shared import PIPE, run_process, CLANG_CC, CLANG_CXX
ModuleNotFoundError: No module named 'tools.shared'
tools.shared がインポートできないということだが、tools.shared とは emscripten のソースコードに含まれる tools/shared.py のことだろうか?
あるように思えるのだが Python がよくわからない。
ビルドが必要なのかな?
今更だけど emsdk を使って Emscripten をインストールする
git clone https://github.com/emscripten-core/emsdk.git
cd emsdk
./emsdk install latest
こちらもエラーメッセージが表示される。
Resolving SDK alias 'latest' to '3.1.32'
Resolving SDK version '3.1.32' to 'sdk-releases-29ad1037cd6b99e5d8a1bd75bc188c1e9a6fda8d-64bit'
Installing SDK 'sdk-releases-29ad1037cd6b99e5d8a1bd75bc188c1e9a6fda8d-64bit'..
Installing tool 'node-14.18.2-64bit'..
Error: Downloading URL 'https://storage.googleapis.com/webassembly/emscripten-releases-builds/deps/node-v14.18.2-darwin-x64.tar.gz': <urlopen error [SSL: CERTIFICATE_VERIFY_FAILED] certificate verify failed: unable to get local issuer certificate (_ssl.c:1091)>
Warning: Possibly SSL/TLS issue. Update or install Python SSL root certificates (2048-bit or greater) supplied in Python folder or https://pypi.org/project/certifi/ and try again.
error: installation failed!
pip install certifi もやってみたけどダメだった。
関連しそうなイシューは下記の通り。
Hillsie さんによると open /Applications/Python\ 3.7/Install\ Certificates.command を実行することで解決できるらしい。
上記のエラーが出なくなった!ありがとう Hillsie さん。
無事に SDK のインストールが終わったようだ。
コンソール出力もそれほど長くないので全文を下記に示しておく。
Resolving SDK alias 'latest' to '3.1.32'
Resolving SDK version '3.1.32' to 'sdk-releases-29ad1037cd6b99e5d8a1bd75bc188c1e9a6fda8d-64bit'
Installing SDK 'sdk-releases-29ad1037cd6b99e5d8a1bd75bc188c1e9a6fda8d-64bit'..
Installing tool 'node-14.18.2-64bit'..
Downloading: /Users/susukida/workspace/wasm/hello-wasm/emsdk/zips/node-v14.18.2-darwin-x64.tar.gz from https://storage.googleapis.com/webassembly/emscripten-releases-builds/deps/node-v14.18.2-darwin-x64.tar.gz, 32076686 Bytes
Unpacking '/Users/susukida/workspace/wasm/hello-wasm/emsdk/zips/node-v14.18.2-darwin-x64.tar.gz' to '/Users/susukida/workspace/wasm/hello-wasm/emsdk/node/14.18.2_64bit'
Done installing tool 'node-14.18.2-64bit'.
Installing tool 'python-3.9.2-64bit'..
Downloading: /Users/susukida/workspace/wasm/hello-wasm/emsdk/zips/python-3.9.2-3-macos-x86_64.tar.gz from https://storage.googleapis.com/webassembly/emscripten-releases-builds/deps/python-3.9.2-3-macos-x86_64.tar.gz, 31899321 Bytes
Unpacking '/Users/susukida/workspace/wasm/hello-wasm/emsdk/zips/python-3.9.2-3-macos-x86_64.tar.gz' to '/Users/susukida/workspace/wasm/hello-wasm/emsdk/python/3.9.2_64bit'
Done installing tool 'python-3.9.2-64bit'.
Installing tool 'releases-29ad1037cd6b99e5d8a1bd75bc188c1e9a6fda8d-64bit'..
Downloading: /Users/susukida/workspace/wasm/hello-wasm/emsdk/zips/29ad1037cd6b99e5d8a1bd75bc188c1e9a6fda8d-wasm-binaries.tbz2 from https://storage.googleapis.com/webassembly/emscripten-releases-builds/mac/29ad1037cd6b99e5d8a1bd75bc188c1e9a6fda8d/wasm-binaries.tbz2, 348020053 Bytes
Unpacking '/Users/susukida/workspace/wasm/hello-wasm/emsdk/zips/29ad1037cd6b99e5d8a1bd75bc188c1e9a6fda8d-wasm-binaries.tbz2' to '/Users/susukida/workspace/wasm/hello-wasm/emsdk/upstream'
Done installing tool 'releases-29ad1037cd6b99e5d8a1bd75bc188c1e9a6fda8d-64bit'.
Done installing SDK 'sdk-releases-29ad1037cd6b99e5d8a1bd75bc188c1e9a6fda8d-64bit'.
SDK の有効化
./emsdk activate latest
Resolving SDK alias 'latest' to '3.1.32'
Resolving SDK version '3.1.32' to 'sdk-releases-29ad1037cd6b99e5d8a1bd75bc188c1e9a6fda8d-64bit'
Setting the following tools as active:
   node-14.18.2-64bit
   python-3.9.2-64bit
   releases-29ad1037cd6b99e5d8a1bd75bc188c1e9a6fda8d-64bit

Next steps:
- To conveniently access emsdk tools from the command line,
  consider adding the following directories to your PATH:
    /Users/susukida/workspace/wasm/hello-wasm/emsdk
    /Users/susukida/workspace/wasm/hello-wasm/emsdk/node/14.18.2_64bit/bin
    /Users/susukida/workspace/wasm/hello-wasm/emsdk/upstream/emscripten
- This can be done for the current shell by running:
    source "/Users/susukida/workspace/wasm/hello-wasm/emsdk/emsdk_env.sh"
- Configure emsdk in your shell startup scripts by running:
    echo 'source "/Users/susukida/workspace/wasm/hello-wasm/emsdk/emsdk_env.sh"' >> $HOME/.zprofile
source ./emsdk_env.sh
Setting up EMSDK environment (suppress these messages with EMSDK_QUIET=1)
Adding directories to PATH:
PATH += /Users/susukida/workspace/wasm/hello-wasm/emsdk
PATH += /Users/susukida/workspace/wasm/hello-wasm/emsdk/upstream/emscripten
PATH += /Users/susukida/workspace/wasm/hello-wasm/emsdk/node/14.18.2_64bit/bin

Setting environment variables:
PATH = /Users/susukida/workspace/wasm/hello-wasm/emsdk:/Users/susukida/workspace/wasm/hello-wasm/emsdk/upstream/emscripten:/Users/susukida/workspace/wasm/hello-wasm/emsdk/node/14.18.2_64bit/bin:/Users/susukida/Downloads/google-cloud-sdk/bin:/Users/susukida/.local/share/solana/install/active_release/bin:/Users/susukida/.nvm/versions/node/v16.17.0/bin:/usr/local/bin:/usr/bin:/bin:/usr/sbin:/sbin:/usr/local/go/bin:/usr/local/share/dotnet:/opt/X11/bin:~/.dotnet/tools:/Library/Apple/usr/bin:/Library/Frameworks/Mono.framework/Versions/Current/Commands:/Users/susukida/.rover/bin:/Users/susukida/.cargo/bin:/usr/local/sbin:/Users/susukida/bin:/Users/susukida/development/flutter/bin
EMSDK = /Users/susukida/workspace/wasm/hello-wasm/emsdk
EMSDK_NODE = /Users/susukida/workspace/wasm/hello-wasm/emsdk/node/14.18.2_64bit/bin/node
EMSDK_PYTHON = /Users/susukida/workspace/wasm/hello-wasm/emsdk/python/3.9.2_64bit/bin/python3
SSL_CERT_FILE = /Users/susukida/workspace/wasm/hello-wasm/emsdk/python/3.9.2_64bit/lib/python3.9/site-packages/certifi/cacert.pem
which emcc を実行すると /Users/susukida/workspace/wasm/hello-wasm/emsdk/upstream/emscripten/emcc になっているのでしっかり変わっている。
ついでに Node.js なども変わっている。
この状態でテストをしてみる
cd ../emscripten
test/runner
runner: warning: config file not found: /Users/susukida/workspace/wasm/hello-wasm/emscripten/.emscripten.  You can create one by hand or run `emcc --generate-config`
runner: error: BINARYEN_ROOT not set in config (/Users/susukida/workspace/wasm/hello-wasm/emscripten/.emscripten), and `wasm-opt` not found in PATH
出力が変化した。
emcc --generate-config を実行すれば良いのかな?
emcc: error: config file already exists: `/Users/susukida/workspace/wasm/hello-wasm/emsdk/.emscripten`
既にあると言われてしまう、emsdk のディレクトリで実行してみたらどうなるだろう。
cd ../emsdk
../emscripten/test/runner
emcc: error: config file already exists: `/Users/susukida/workspace/wasm/hello-wasm/emsdk/.emscripten`
ダメでした。
そうだ emsdk の emscripten でテスト実行したらどうだろう
cd upstream/emscripten
test/runner
posixtestsuite not found (run git submodule update --init?)
Test suites:
[]
何だか大丈夫そうな感じがする。
test/runner test_loop
Test suites:
['test_core']
Running test_core: (1 tests)
(checking sanity from test runner)
shared:INFO: (Emscripten: Running sanity checks)
test_loop (test_core.core0) ... Creating new test output directory
cache:INFO: generating system asset: symbol_lists/ff82d52061535c7ef60c6d95bb5924759542de06.txt... (this will be cached in "/Users/susukida/workspace/wasm/hello-wasm/emsdk/upstream/emscripten/cache/symbol_lists/ff82d52061535c7ef60c6d95bb5924759542de06.txt" for subsequent builds)
cache:INFO:  - ok
ok

----------------------------------------------------------------------
Ran 1 test in 2.158s

OK
無事に実行できた。
ところで test_loop とは何なんだろう?
test_core.py によるとどうやら下記のテストコードのことらしい。
テストの実行結果(標準出力)は out/test/stdout に保存される。
*1800*
ついでに別のテストケースも実行してみる
test/runner browser.test_sdl_image
ブラウザが起動してテストが実行される。
out/test ディレクトリに screenshot.jpg という名前で画像が保存されている。
面白い!
ちなみに今実行したのは下記のテストコードのようだ。
初めから素直に emsdk を使ってインストールすれば良かった。
次は何をやろう
このまま Emscripten について調べるのも面白いが一旦 MDN に戻ってみよう。
MDN に戻る前に
make の代わりに emmake make を使うことで WebAssembly 用にビルドできるらしい。
せっかくなので ARCS6 の Docker に emsdk を使って emscripten をインストールして ARCS6 をビルドしてみる。
ARCS6 をビルドするための Docker コンテナを作成する方法は下記のスクラップで説明しています。
git clone https://github.com/emscripten-core/emsdk.git
cd ~/src/emsdk/
./emsdk install latest
python がないとのエラーが表示される。
yum install -y python39
python3 --version
また python がないとのエラーが表示される。
python3 emsdk.py install latest
今度はうまくいったと思ったらエラーが表示された。
Unpacking '/root/src/emsdk/zips/29ad1037cd6b99e5d8a1bd75bc188c1e9a6fda8d-wasm-binaries.tbz2' to '/root/src/emsdk/upstream'
tar (child): lbzip2: Cannot exec: No such file or directory
tar (child): Error is not recoverable: exiting now
tar: Child returned status 2
tar: Error is not recoverable: exiting now
['tar', '-xf', '/root/src/emsdk/zips/29ad1037cd6b99e5d8a1bd75bc188c1e9a6fda8d-wasm-binaries.tbz2', '--strip', '1'] failed with error code 2!
error: installation failed!
下記の記事によると yum install bzip2 が必要になるらしい。
再実行するとまたダウンロードする所から始まる...
今度は無事に成功した!
python3 emsdk.py activate latest
source ./emsdk_env.sh
また python が見つからないとのエラーが表示される。
which コマンドがないからかな? yum install which でインストールする。
Setting up EMSDK environment (suppress these messages with EMSDK_QUIET=1)
Adding directories to PATH:
PATH += /root/src/emsdk
PATH += /root/src/emsdk/upstream/emscripten
PATH += /root/src/emsdk/node/14.18.2_64bit/bin

Setting environment variables:
PATH = /root/src/emsdk:/root/src/emsdk/upstream/emscripten:/root/src/emsdk/node/14.18.2_64bit/bin:/usr/local/sbin:/usr/local/bin:/usr/sbin:/usr/bin:/sbin:/bin
EMSDK = /root/src/emsdk
EMSDK_NODE = /root/src/emsdk/node/14.18.2_64bit/bin/node
できた!これで emcc が実行できるようになった。
試しに ARCS6 をビルドしてみる。
cd ~/src/arcs6/ARCS6/robot/sample/00_空の基本コード/
emmake make
普通に gcc が実行されてしまったので makefile を見てみる。
makefile をみた感じだと addon, lib, src, sys の 4 つのそれぞれで make が行われている模様。
試しに lib のディレクトリに移動して Makefile を少し書き換えて試してみる。
CC = emcc
LD = lld
この状態で make を実行。
emcc -O2 -pipe -I. -I../src -I../sys -I/usr/src/linux/include -Wall -Weffc++ -std=c++17 -ftree-vectorize -march=native -fPIE -DARCS_IN -c CuiPlot.cc
clang++: warning: argument unused during compilation: '-march=native' [-Wunused-command-line-argument]
In file included from CuiPlot.cc:14:
In file included from ./CuiPlot.hh:22:
./FrameGraphics.hh:27:10: fatal error: 'linux/fb.h' file not found
#include <linux/fb.h>
         ^~~~~~~~~~~~
1 error generated.
emcc: error: '/root/src/emsdk/upstream/bin/clang++ -target wasm32-unknown-emscripten -fignore-exceptions -fvisibility=default -mllvm -combiner-global-alias-analysis=false -mllvm -enable-emscripten-sjlj -mllvm -disable-lsr -DEMSCRIPTEN --sysroot=/root/src/emsdk/upstream/emscripten/cache/sysroot -Xclang -iwithsysroot/include/fakesdl -Xclang -iwithsysroot/include/compat -O2 -pipe -I. -I../src -I../sys -I/usr/src/linux/include -Wall -Weffc++ -std=c++17 -ftree-vectorize -march=native -fPIE -DARCS_IN -c CuiPlot.cc -o CuiPlot.o' failed (returned 1)
make: *** [Makefile:40: CuiPlot.o] Error 1
予想以上にビルドできたけど linux/fb.h がインストールできなくて止まってしまった。
確かに /usr/src/linux/include はない。
gcc ではコンパイルが成功するのに不思議。
試しに -I /usr/src/kernels/4.18.0-425.10.1.el8_7.x86_64/include を追加したらどうなるだろう。
emcc -O2 -pipe -I. -I../src -I../sys -I/usr/src/linux/include -I/usr/src/kernels/4.18.0-425.10.1.el8_7.x86_64/include -Wall -Weffc++ -std=c++17 -ftree-vectorize -march=native -fPIE -DARCS_IN -c CuiPlot.cc
clang++: warning: argument unused during compilation: '-march=native' [-Wunused-command-line-argument]
In file included from CuiPlot.cc:14:
In file included from ./CuiPlot.hh:22:
In file included from ./FrameGraphics.hh:27:
In file included from /usr/src/kernels/4.18.0-425.10.1.el8_7.x86_64/include/linux/fb.h:5:
In file included from /usr/src/kernels/4.18.0-425.10.1.el8_7.x86_64/include/linux/kgdb.h:16:
/usr/src/kernels/4.18.0-425.10.1.el8_7.x86_64/include/linux/linkage.h:8:10: fatal error: 'asm/linkage.h' file not found
#include <asm/linkage.h>
         ^~~~~~~~~~~~~~~
1 error generated.
emcc: error: '/root/src/emsdk/upstream/bin/clang++ -target wasm32-unknown-emscripten -fignore-exceptions -fvisibility=default -mllvm -combiner-global-alias-analysis=false -mllvm -enable-emscripten-sjlj -mllvm -disable-lsr -DEMSCRIPTEN --sysroot=/root/src/emsdk/upstream/emscripten/cache/sysroot -Xclang -iwithsysroot/include/fakesdl -Xclang -iwithsysroot/include/compat -O2 -pipe -I. -I../src -I../sys -I/usr/src/linux/include -I/usr/src/kernels/4.18.0-425.10.1.el8_7.x86_64/include -Wall -Weffc++ -std=c++17 -ftree-vectorize -march=native -fPIE -DARCS_IN -c CuiPlot.cc -o CuiPlot.o' failed (returned 1)
make: *** [Makefile:40: CuiPlot.o] Error 1
今度は別のエラーで失敗する。
せっかくなので src と sys でも同様にビルドしようと思ったがこれらは単体ではビルドできないみたい。
予想はしていたが一発でビルドが通るなんてことは無いが学び甲斐があって楽しい。
MDN に戻ってカスタム HTML テンプレートを使用する
touch hello2.c
#include <stdio.h>

int main() {
    printf("Hello World\n");
    return 0;
}
emcc -o hello2.html hello2.c --shell-file emscripten/src/shell_minimal.html
emscripten は emsdk には含まれないみたいなので emscripten のリポジトリをチェックアウトする必要がある。
最適化すると HTML から改行がなくなるので無効にしている。
python3 -m http.server
ブラウザで http://localhost:8000/hello2.html にアクセスする。

シンプルなページが表示された。
C の関数を JavaScript から呼び出す
touch hello3.c
#include <stdio.h>
#include <emscripten/emscripten.h>

int main() {
    printf("Hello World\n");
}

#ifdef __cplusplus
#define EXTERN extern "C"
#else
#define EXTERN
#endif

EXTERN EMSCRIPTEN_KEEPALIVE void myFunction(int argc, char ** argv) {
    printf("MyFunction Called\n");
}
emcc -o hello3.html hello3.c \
  --shell-file emscripten/src/shell_minimal.html \
  -s NO_EXIT_RUNTIME=1 \
  -s "EXPORTED_RUNTIME_METHODS=['ccall']"
デベロッパーツールを開いて下記のコードを評価する。
Module.ccall("myFunction", null, null, null)
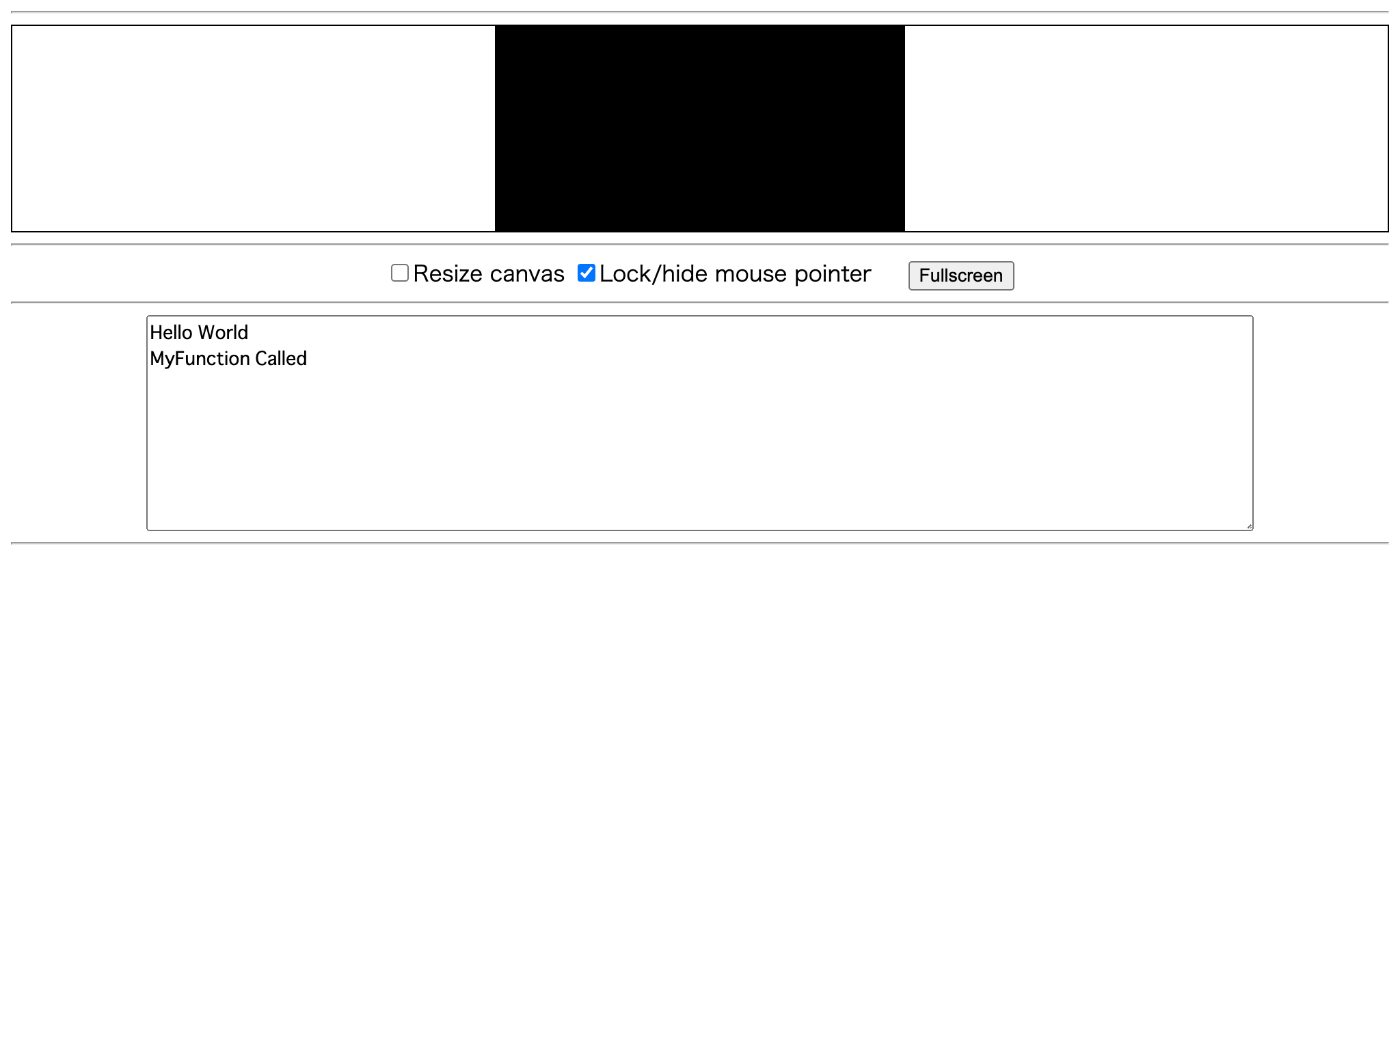
無事に MyFunction を呼ぶことができた。
次は libwebp を Emscripten でビルドしてみる
楽しそう。
新しいワークスペースを作成する
ワークスペースが散らかってきたので。
mkdir hello-libwebp
cd hello-libwebp
git clone https://github.com/webmproject/libwebp
touch webp.c
コーディング
#include "emscripten.h"
#include "src/webp/encode.h"

EMSCRIPTEN_KEEPALIVE
int version() {
  return WebPGetEncoderVersion();
}
ビルド
emcc -O3 -s WASM=1 -s EXTRA_EXPORTED_RUNTIME_METHODS='["cwrap"]' \
  -I libwebp \
  webp.c \
  libwebp/src/{dec,dsp,demux,enc,mux,utils}/*.c
emcc: warning: EXTRA_EXPORTED_RUNTIME_METHODS is deprecated, please use EXPORTED_RUNTIME_METHODS instead [-Wdeprecated]
cache:INFO: generating system asset: symbol_lists/9505c82c5b64656d1d38ff02f372d469a24fc536.txt... (this will be cached in "/Users/susukida/workspace/wasm/hello-wasm/emsdk/upstream/emscripten/cache/symbol_lists/9505c82c5b64656d1d38ff02f372d469a24fc536.txt" for subsequent builds)
cache:INFO:  - ok
一発でビルドが通った、すごいな。
動作確認
touch a.out.html
<script src="./a.out.js"></script>
<script>
  Module.onRuntimeInitialized = async () => {
    const api = {
      version: Module.cwrap("version", "number", []),
    };
    document.write(`<h1>${api.version()}</h1>`);
  };
</script>
python3 -m http.server
ブラウザで http://localhost:8000/a.out.html にアクセスする。

バージョン番号が表示されている、素晴らしい。
ちなみに 66304 は 16 進数だと 10300 なのでバージョンは 1.3.0 のようだ。
次回は実際に画像をエンコードしてみる
エンコードの途中経過
#include <stdlib.h>
#include "emscripten.h"
#include "src/webp/encode.h"

EMSCRIPTEN_KEEPALIVE
int version() {
  return WebPGetEncoderVersion();
}

EMSCRIPTEN_KEEPALIVE
uint8_t* create_buffer(int width, int height) {
  return malloc(width * height * 4 * sizeof(uint8_t));
}

EMSCRIPTEN_KEEPALIVE
void destroy_buffer(uint8_t* p) {
  free(p);
}

int result[2];

EMSCRIPTEN_KEEPALIVE
void encode(uint8_t* img_in, int width, int height, float quality) {
  uint8_t* img_out;
  size_t size;

  size = WebPEncodeRGBA(img_in, width, height, width * 4, quality, &img_out);

  result[0] = (int)img_out;
  result[1] = size;
}

EMSCRIPTEN_KEEPALIVE
void free_result(uint8_t* result) {
  WebPFree(result);
}

EMSCRIPTEN_KEEPALIVE
int get_result_pointer() {
  return result[0];
}

EMSCRIPTEN_KEEPALIVE
int get_result_size() {
  return result[1];
}
<script src="./a.out.js"></script>
<script>
  Module.onRuntimeInitialized = async () => {
    const api = {
      version: Module.cwrap("version", "number", []),
      create_buffer: Module.cwrap("create_buffer", "number", [
        "number",
        "number",
      ]),
      destroy_buffer: Module.cwrap("destroy_buffer", "", ["number"]),
      encode: Module.cwrap("encode", "", [
        "number",
        "number",
        "number",
        "number",
      ]),
      free_result: Module.cwrap("free_result", "", ["number"]),
      get_result_pointer: Module.cwrap("get_result_pointer", "number", []),
      get_result_size: Module.cwrap("get_result_size", "number", []),
    };

    const image = await loadImage("./image.jpg");
    const p = api.create_buffer(image.width, image.height);
    Module.HEAP8.set(image.data, p);

    api.encode(p, image.width, image.height, 100);

    const resultPointer = api.get_result_pointer();
    const resultSize = api.get_result_size();
    const resultView = new Uint8Array(
      Module.HEAP8.buffer,
      resultPointer,
      resultSize
    );

    const result = new Uint8Array(resultView);
    const blob = new Blob([result], { type: "image/webp" });
    const blobURL = URL.createObjectURL(blob);
    const img = document.createElement("img");

    img.src = blobURL;

    document.body.appendChild(img);

    api.free_result(resultPointer);
    api.destroy_buffer(p);
  };

  async function load(src) {
    const imgBlob = await fetch(src).then((resp) => resp.blob());
    const img = await createImageBitmap(imgBlob);
    const canvas = document.createElement("canvas");

    canvas.width = img.width;
    canvas.height = img.height;

    const ctx = canvas.getContext("2d");
    ctx.drawImage(img, 0, 0);
    return ctx.getImageData(0, 0, img.width, img.height);
  }
</script>
画像は https://googlechrome.github.io/samples/webassembly/image.jpg からダウンロードする。
ビルドコマンドは下記の通り。
emcc -s WASM=1 -s EXPORTED_RUNTIME_METHODS='["cwrap"]' \
    -s ALLOW_MEMORY_GROWTH=1 \
    -I libwebp \
    webp.c \
    libwebp/src/{dec,dsp,demux,enc,mux,utils}/*.c
コンパイルは大丈夫そうだがリンクが失敗する。
wasm-ld: error: /var/folders/_m/_rcrfjyd4_5gtg9v65gyld7w0000gn/T/emscripten_temp_8qxz9egh/picture_csp_enc_88.o: undefined symbol: SharpYuvInit
wasm-ld: error: /var/folders/_m/_rcrfjyd4_5gtg9v65gyld7w0000gn/T/emscripten_temp_8qxz9egh/picture_csp_enc_88.o: undefined symbol: SharpYuvGetConversionMatrix
wasm-ld: error: /var/folders/_m/_rcrfjyd4_5gtg9v65gyld7w0000gn/T/emscripten_temp_8qxz9egh/picture_csp_enc_88.o: undefined symbol: SharpYuvConvert
emcc: error: '/usr/local/Cellar/emscripten/3.1.32/libexec/llvm/bin/wasm-ld @/var/folders/_m/_rcrfjyd4_5gtg9v65gyld7w0000gn/T/emscripten_fa4xeyct.rsp.utf-8' failed (returned 1)
SharpYuvInit などが無いようだ。
下記のようにしたらとりあえずビルドは成功した。
emcc -s WASM=1 -s EXPORTED_RUNTIME_METHODS='["cwrap"]' \
    -s ALLOW_MEMORY_GROWTH=1 \
    -I libwebp \
    webp.c \
    libwebp/src/{dec,dsp,demux,enc,mux,utils}/*.c \
    libwebp/sharpyuv/*.c
python3 -m http.server で開き http://localhost:8000/a.out.html にアクセスすると素敵なお兄さんたちの画像が表示された。

次は wasm ファイルの読み込みと実行を試してみる
参考になることが書いてありそう
importObject って何だ?
インポートしたい関数の名前とか引数とかを書くのかな?
気合いでインスタンス化した
touch load-and-running.html
<script>
  async function main() {
    const results = await WebAssembly.instantiateStreaming(
      fetch("a.out.wasm"),
      {
        env: {
          __assert_fail: () => {},
          emscripten_memcpy_big: () => {},
          emscripten_resize_heap: () => {},
        },
        wasi_snapshot_preview1: {
          fd_close: () => {},
          fd_write: () => {},
          fd_seek: () => {},
        },
      }
    );

    console.log(results);
  }

  main().catch((err) => console.error(err));
</script>
そろそろ WebAssembly の理解が必要だ。
実行は簡単
<script>
  async function main() {
    const { instance } = await WebAssembly.instantiateStreaming(
      fetch("a.out.wasm"),
      {
        env: {
          __assert_fail: () => {},
          emscripten_memcpy_big: () => {},
          emscripten_resize_heap: () => {},
        },
        wasi_snapshot_preview1: {
          fd_close: () => {},
          fd_write: () => {},
          fd_seek: () => {},
        },
      }
    );

    document.write(`<h1>${instance.exports.version()}</h1>`);
  }

  main().catch((err) => console.error(err));
</script>

次は Rust のコンパイル
Rust はスキップしても良いかなと思ったけどせっかくなのでやろう。
まずは Rust のインストール
curl --proto '=https' --tlsv1.2 -sSf https://sh.rustup.rs | sh
wasm-pack のインストール
cargo install wasm-pack
ワークスペースの作成
cargo new --lib hello-wasm
cd hello-wasm
cargo add wasm-bindgen
コーディング
use wasm_bindgen::prelude::*;

#[wasm_bindgen]
extern "C" {
    pub fn alert(s: &str);
}

#[wasm_bindgen]
pub fn greet(name: &str) {
    alert(&format!("Hello, {}!", name));
}
Cargo.toml に lib のセクションを追加する。
[lib]
crate-type = ["cdylib"]
これが何を意味するかについては下記のリンクが参考になるらしい。
ビルド
wasm-pack build --target web
かなり時間がかかるが成功すると pkg ディレクトリが作成される。
実行
touch index.html
<script type="module">
  import init, { greet } from "./pkg/hello_wasm.js";

  init().then(() => {
    greet("WebAssembly");
  });
</script>
python3 -m http.server
http://localhost:8000 にアクセスして WebAssembly とアラートが表示されることを確認する。
npm で利用する
wasm-pack build --target bundler
cd pkg
npm link
cd ..
mkdir site
cd site
npm init -y
npm install --save-dev webpack webpack-cli webpack-dev-server
npm link hello-wasm
touch webpack.config.js index.js index.html
npm link って何だろうと思って検索したら下記の記事が見つかった。
const path = require("path");
module.exports = {
  entry: "./index.js",
  output: {
    path: path.resolve(__dirname, "dist"),
    filename: "index.js",
  },
  mode: "development",
  experiments: {
    asyncWebAssembly: true,
  },
  devServer: {
    static: ".",
  },
};
import("./node_modules/hello-wasm/hello_wasm.js").then((js) => {
  js.greet("WebAssembly with npm");
});
<!DOCTYPE html>
<html lang="en-US">
  <head>
    <meta charset="utf-8" />
    <title>hello-wasm example</title>
  </head>
  <body>
    <script src="./index.js"></script>
  </body>
</html>
npx webpack-dev-server
http://localhost:8080 にアクセスしてアラートが表示されることを確認する。
次回は WebAssembly JavaScript API について学ぶ