Closed7
A-Frame を使って VR 空間にロボットアームを表示してみる
Hello World
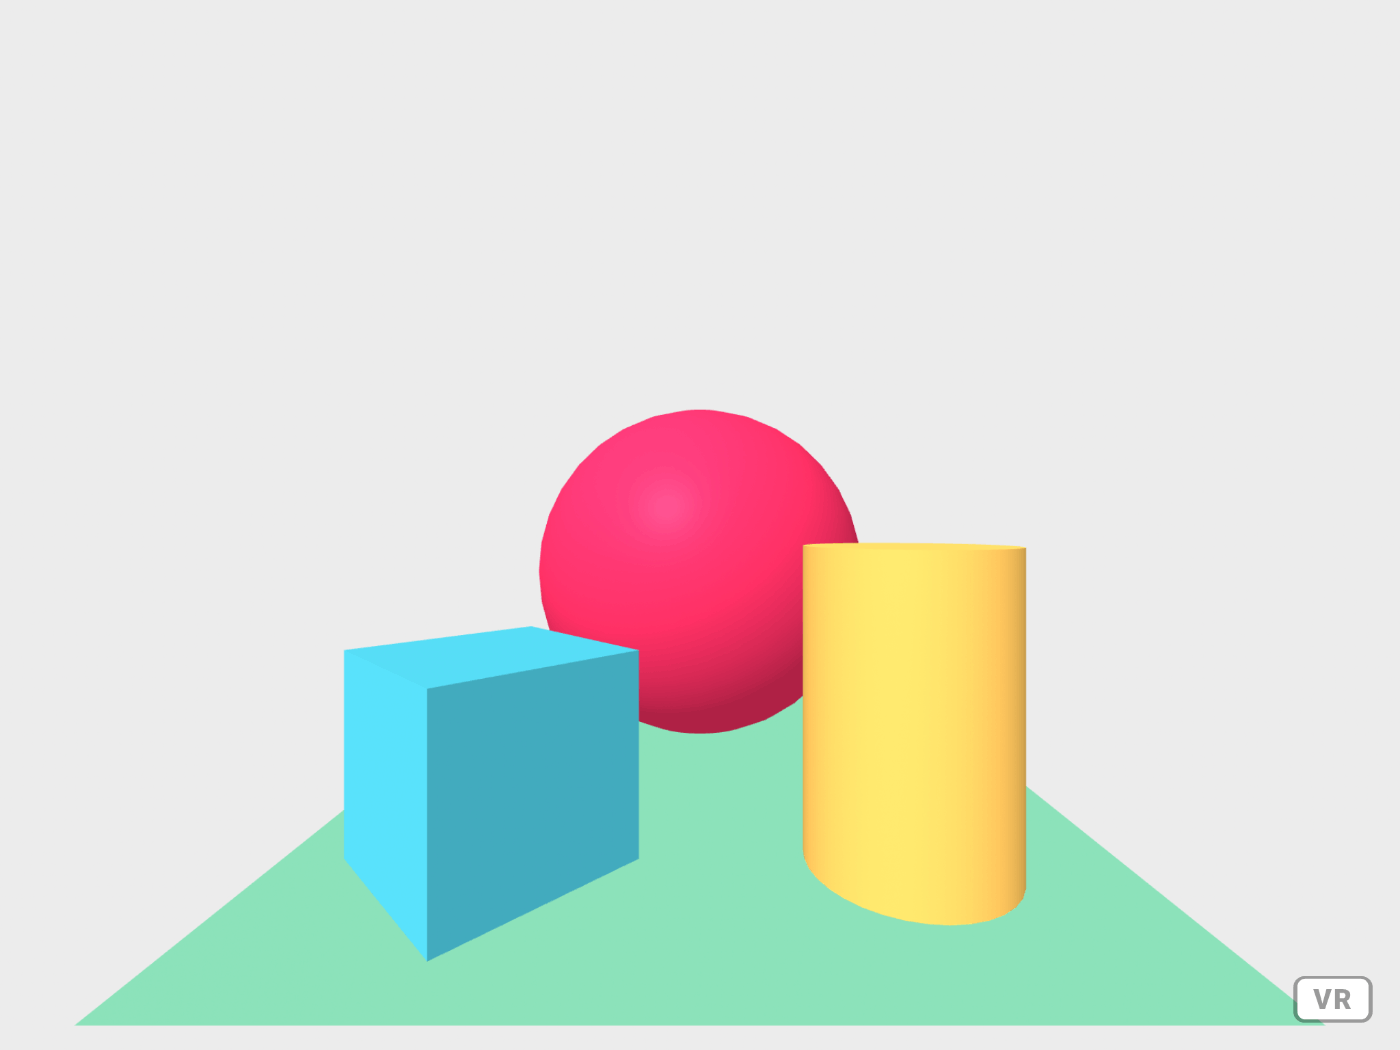
Hello World のソースコードをコピーして Gist で表示してみた

デモは下記
Obj ファイルの読み込み
下記のページが参考になる
index.html
<html>
  <head>
    <script src="https://aframe.io/releases/1.3.0/aframe.min.js"></script>
  </head>
  <style>
    a-scene {
      width: 50%;
      height: 50%;
    }
  </style>
  <body>
    <a-scene embedded>
      <a-assets>
        <a-asset-item id="robot-arm-obj" src="robot-arm.obj"></a-asset-item>
      </a-assets>
      <a-obj-model src="#robot-arm-obj"></a-obj-model>

      <a-box position="-1 0.5 -3" rotation="0 45 0" color="#4CC3D9"></a-box>
      <a-sphere position="0 1.25 -5" radius="1.25" color="#EF2D5E"></a-sphere>
      <a-cylinder position="1 0.75 -3" radius="0.5" height="1.5" color="#FFC65D"></a-cylinder>
      <a-plane position="0 0 -4" rotation="-90 0 0" width="4" height="4" color="#7BC8A4"></a-plane>
      <a-sky color="#ECECEC"></a-sky>
    </a-scene>
  </body>
</html>
a-scene タグの embedded 属性は全画面にしないために付けている
ローカルで読み込んでみようとするとCORSエラーになる
Access to fetch at 'file:///Users/susukida/workspace/js/vr-robot-arm/robot-arm.obj' from origin 'null' has been blocked by CORS policy: Cross origin requests are only supported for protocol schemes: http, data, isolated-app, chrome-extension, chrome, https, chrome-untrusted.
下記のコマンドを実行して HTTP サーバーを立て http://localhost:8000/ にアクセスする
python3 -m http.server
npm の http-server, live-server, five-server などでも OK
なんかよくわからないが灰色の画面が表示された

gITFへの変換
a-obj-model のページに obj の代わりに glTF を使った方が良いことが書かれている
We recommend glTF for distributing assets in production over the web. Check out using the glTF model primitive. You can either instead export to COLLADA and use the converter or try out the OBJ converter.
obj2gltf のインストールは下記コマンド
npm install -g obj2gltf
変換は下記コマンド
obj2gltf -i robot-arm.obj -o robot-arm.gltf
obj が 36.6 MB に対して gltf は 21.8 MB とかなりサイズが小さくなった
これを a-gltf-model タグを使って読み込んでみる
index.html
<html>
  <head>
    <script src="https://aframe.io/releases/1.3.0/aframe.min.js"></script>
  </head>
  <body>
    <a-scene>
      <a-assets>
        <a-asset-item id="robot-arm" src="robot-arm.gltf"></a-asset-item>
      </a-assets>
      <a-gltf-model src="#robot-arm"></a-gltf-model>

      <a-box position="-1 0.5 -3" rotation="0 45 0" color="#4CC3D9"></a-box>
      <a-sphere position="0 1.25 -5" radius="1.25" color="#EF2D5E"></a-sphere>
      <a-cylinder position="1 0.75 -3" radius="0.5" height="1.5" color="#FFC65D"></a-cylinder>
      <a-plane position="0 0 -4" rotation="-90 0 0" width="4" height="4" color="#7BC8A4"></a-plane>
      <a-sky color="#ECECEC"></a-sky>
    </a-scene>
  </body>
</html>
なんかすごい場所に表示された

Position を設定する
index.html
<html>
  <head>
    <script src="https://aframe.io/releases/1.3.0/aframe.min.js"></script>
  </head>
  <body>
    <a-scene>
      <a-assets>
        <a-asset-item id="robot-arm" src="robot-arm.gltf"></a-asset-item>
      </a-assets>
      <a-gltf-model src="#robot-arm" position="-300 -400 -600"></a-gltf-model>
      <a-sky color="#ECECEC"></a-sky>
    </a-scene>
  </body>
</html>
位置は良い感じだけど向こう側が表示されない

Scale を設定する
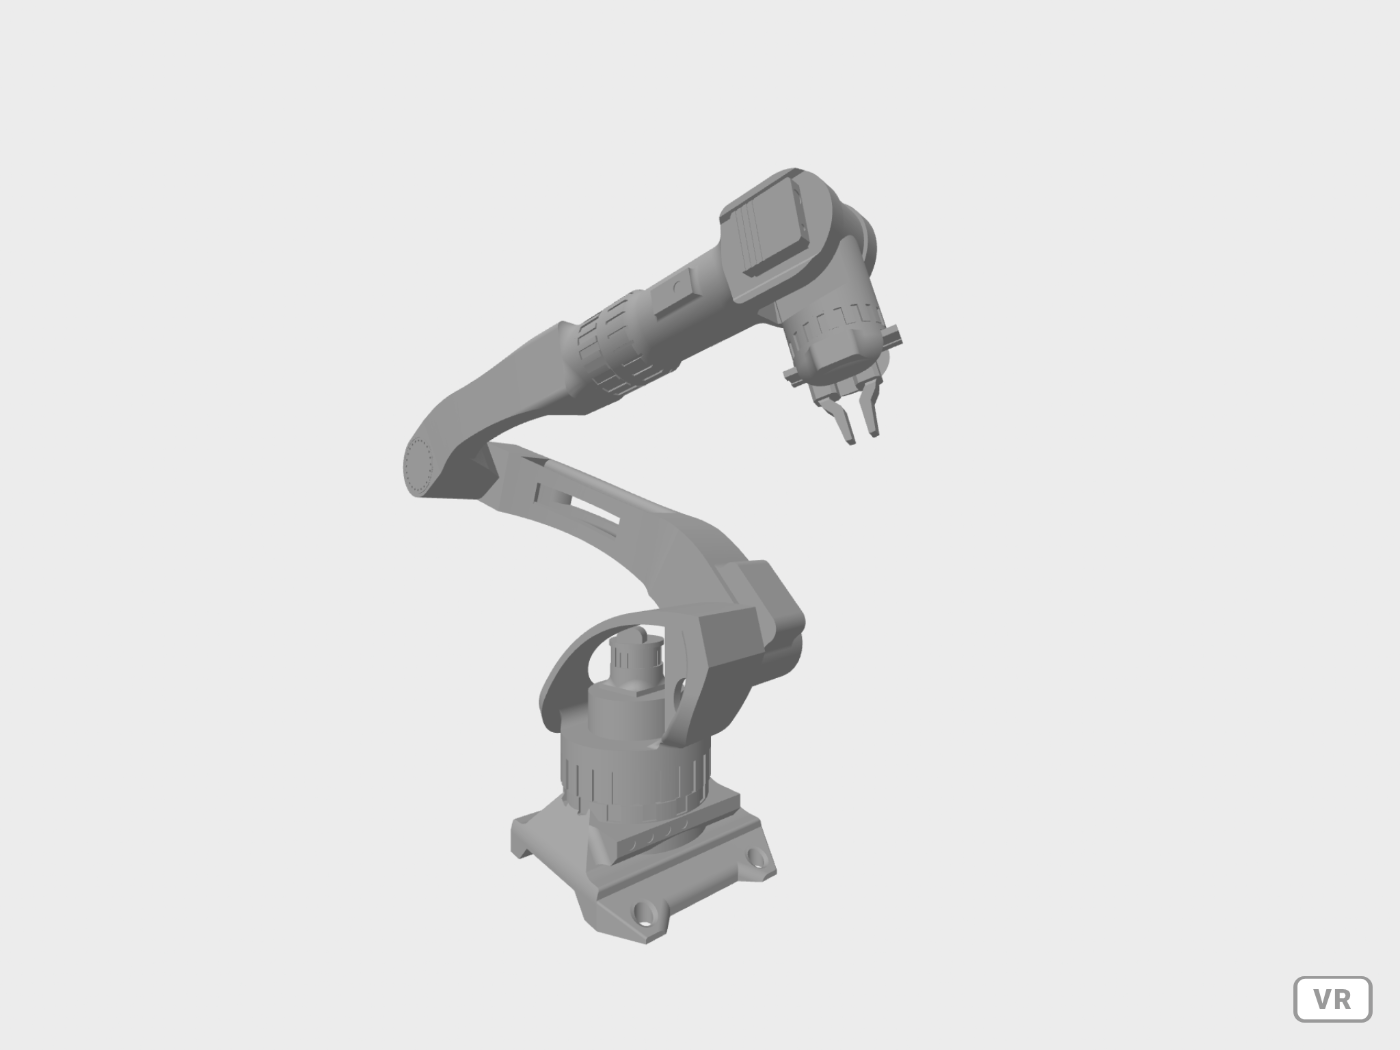
scale 属性を設定して近くに寄せることで向こう側も見えるようになった
index.html
<html>
  <head>
    <script src="https://aframe.io/releases/1.3.0/aframe.min.js"></script>
  </head>
  <body>
    <a-scene>
      <a-assets>
        <a-asset-item id="robot-arm" src="robot-arm.gltf"></a-asset-item>
      </a-assets>
      <a-sky color="#ECECEC"></a-sky>
      <a-gltf-model src="#robot-arm" position="-100 -100 -200" scale="0.3 0.3 0.3"></a-gltf-model>
    </a-scene>
  </body>
</html>

おわりに
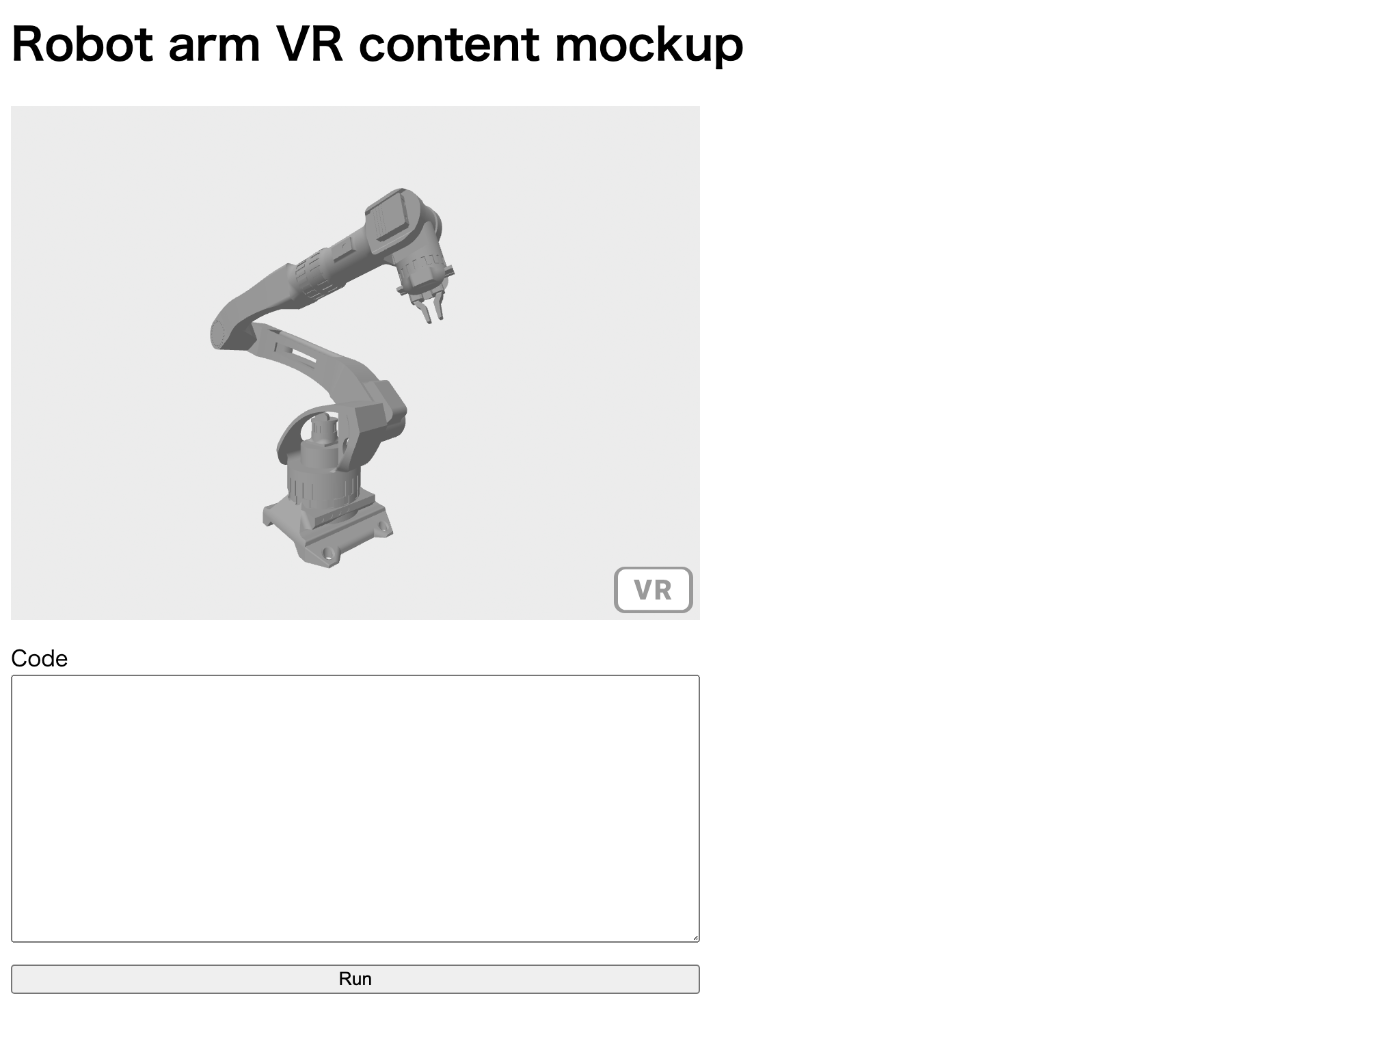
もともと下記を備えたロボットアームのVRコンテンツのモックアップを作ろうと思っていた
- VR 空間を表示する、その中にロボットアームを設置する
- コードの入力部を置く、サンプルコードは AWS RoboMaker Hello World から流用する
- 実行ボタンを表示する
最終的なコードは下記
index.html
<html>
  <head>
    <meta charset="utf-8">
    <title>Robot arm VR content mockup</title>
    <script src="https://aframe.io/releases/1.3.0/aframe.min.js"></script>
    <style>
      a-scene {
        width: 50%;
        height: 50%;
      }
      label {
        display: block;
        margin-top: 1rem;
      }
      textarea {
        width: 50%;
        display: block;
      }
      button[type=submit] {
        width: 50%;
        margin-top: 1rem;
      }
    </style>
  </head>
  <body>
    <main>
      <h1>Robot arm VR content mockup</h1>
      <a-scene embedded>
        <a-assets>
          <a-asset-item id="robot-arm" src="robot-arm.gltf"></a-asset-item>
        </a-assets>
        <a-sky color="#ECECEC"></a-sky>
        <a-gltf-model src="#robot-arm" position="-100 -100 -200" scale="0.3 0.3 0.3"></a-gltf-model>
      </a-scene>
      <label for="code">Code</label>
      <textarea name="code" id="code" rows="10"></textarea>
      <button type="submit">Run</button>
    </main>
  </body>
</html>

デモは下記
このスクラップは2023/01/10にクローズされました