次世代の Node.js ORM 、Prisma を試す
前々から気になっていた Node.js 製の ORM 、 prisma を触ってみようと思います😊
TypeScript で書けるので型が付いていて開発体験が良いらしいです。
今回は0から全体的に触ってみて雰囲気を掴みたいので以下の公式 tutorial をやっていきます。
一応やった時のリポジトリも公開しているのでご参考までにどうぞ!
やる
node.js 、 postgres は用意済みとします。
node.js はホストマシンに入っているものを、postgres は Docker でサクッと用意します。
$ node -v
v15.10.0
version: "3.8"

services:
  db:
    image: postgres:13.3-alpine
    volumes:
      - ./tmp/db:/var/lib/postgresql/data
    environment:
      POSTGRES_USER: postgres
      POSTGRES_PASSWORD: password
      PGDATA: /var/lib/postgresql/data/pgdata
    ports:
      - 5432:5432
ディレクトリを作って npm init して必要なライブラリ入れて tsconfig.json 作ってとりあえず prisma cli が使えるところまでやります。
$ npx prisma

◭  Prisma is a modern DB toolkit to query, migrate and model your database (https://prisma.io)

Usage

  $ prisma [command]

Commands

            init   Setup Prisma for your app
        generate   Generate artifacts (e.g. Prisma Client)
              db   Manage your database schema and lifecycle
         migrate   Migrate your database
          studio   Browse your data with Prisma Studio
          format   Format your schema

Flags

     --preview-feature   Run Preview Prisma commands

Examples

  Setup a new Prisma project
  $ prisma init

  Generate artifacts (e.g. Prisma Client)
  $ prisma generate

  Browse your data
  $ prisma studio

  Create migrations from your Prisma schema, apply them to the database, generate artifacts (e.g. Prisma Client)
  $ prisma migrate dev

  Pull the schema from an existing database, updating the Prisma schema
  $ prisma db pull

  Push the Prisma schema state to the database
  $ prisma db push
使えるようになったみたいですね🙌
次に init します。
$ npx prisma init

✔ Your Prisma schema was created at prisma/schema.prisma.
  You can now open it in your favorite editor.

Next steps:
1. Set the DATABASE_URL in the .env file to point to your existing database. If your database has no tables yet, read https://pris.ly/d/getting-started
2. Set the provider of the datasource block in schema.prisma to match your database: postgresql, mysql or sqlite.
3. Run prisma db pull to turn your database schema into a Prisma data model.
4. Run prisma generate to install Prisma Client. You can then start querying your database.

More information in our documentation:
https://pris.ly/d/getting-started
これを実行すると、スキーマ定義ファイルと、 .env が自動生成されますね。
この .env はデータベースへの接続情報を書くのに使うみたいです。
今回は手元の Docker 環境なので特にやりませんが、基本的には .env を gitignore に追加するのをお忘れなきよう!
その環境変数を適切に書き換えます。今回の Docker 環境だとこんな感じです🙌
DATABASE_URL="postgresql://postgres:password@localhost:5432/postgres?schema=public"
いよいよ prisma っぽくなってくるところです。
先ほど init した時に作成されたスキーマファイルに対してモデルの定義を書いていきます。
model Post {
  id        Int      @default(autoincrement()) @id
  createdAt DateTime @default(now())
  updatedAt DateTime @updatedAt
  title     String   @db.VarChar(255)
  content   String?
  published Boolean  @default(false)
  author    User     @relation(fields: [authorId], references: [id])
  authorId  Int
}

model Profile {
  id     Int     @default(autoincrement()) @id
  bio    String?
  user   User    @relation(fields: [userId], references: [id])
  userId Int     @unique
}

model User {
  id      Int      @default(autoincrement()) @id
  email   String   @unique
  name    String?
  posts   Post[]
  profile Profile?
}
おもむろに migrate コマンドを実行。
$ npx prisma migrate dev --name init
Environment variables loaded from .env
Prisma schema loaded from prisma/schema.prisma
Datasource "db": PostgreSQL database "postgres", schema "public" at "localhost:5432"

The following migration(s) have been created and applied from new schema changes:

migrations/
  └─ 20210608103553_init/
    └─ migration.sql

Your database is now in sync with your schema.

✔ Generated Prisma Client (2.24.1) to ./node_modules/prisma/prisma-client in 89ms
上手くいったようです。
postgres に接続した上で
- マイグレーションファイル(sql ファイル)の作成
- マイグレーションの実行
の2つを行ってくれました!
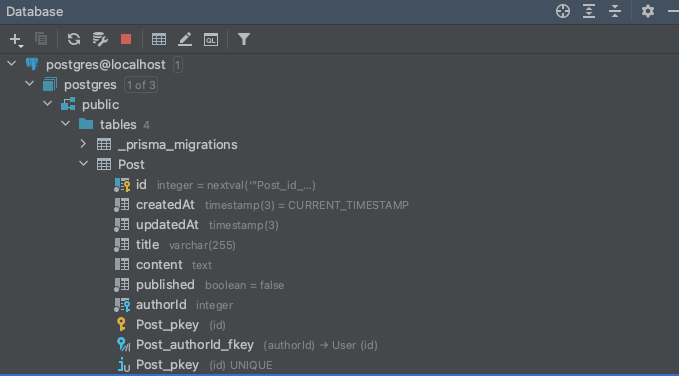
試しに DBクライアントソフトから確認してみますが、しっかりテーブルが作成されているようです。

作成されるマイグレーションファイルがシンプルなSQLファイルっていうのが良いですね。
さて次に触るのは prisma client というものです。
Prisma Client: Auto-generated and type-safe query builder for Node.js & TypeScript
とのことで、クエリビルダーを提供してくれるみたいです。
今後スキーマを変更する場合には、手動で prisma generate コマンドを実行する必要があるみたいです。
prisma client の API にスキーマの変更を知らせる為ですね。
index.ts ファイルを作成して、以下のように記述します。
import {PrismaClient} from "@prisma/client";

const prisma = new PrismaClient()

async function main() {
  const allUsers = await prisma.user.findMany()
  console.log(allUsers)
}

main()
  .catch((e) => {
    throw e
  })
  .finally(async () => {
    await prisma.$disconnect()
  })
クライアントのコンストラクターを初期化して、main関数を定義。呼び出した後にはコネクションを close しているみたいですね🧐
$ npx ts-node index.ts
[]
users テーブルにはまだレコードが入っていないのでログに吐き出されるのも空配列になります。
ちなみに、
await prisma.user.findMany()
のところで prisma まで打つと user の入力が補完されました。便利便利。
空だとつまらないのでデータを作成してからクエリも投げましょう。main 関数の中身を書き換えます。
async function main() {
  await prisma.user.create({
    data: {
      name: 'Alice',
      email: 'alice@prisma.io',
      posts: {
        create: { title: 'Hello World' },
      },
      profile: {
        create: { bio: 'I like turtles' },
      },
    },
  })

  const allUsers = await prisma.user.findMany({
    include: {
      posts: true,
      profile: true
    },
  })

  console.dir(allUsers, { depth: null })
}
$ npx ts-node index.ts
[
  {
    id: 1,
    email: 'alice@prisma.io',
    name: 'Alice',
    posts: [
      {
        id: 1,
        createdAt: 2021-06-08T11:03:27.985Z,
        updatedAt: 2021-06-08T11:03:27.986Z,
        title: 'Hello World',
        content: null,
        published: false,
        authorId: 1
      }
    ],
    profile: { id: 1, bio: 'I like turtles', userId: 1 }
  }
]
なにこれ楽しい🧐
リレーションも適切に設定されていて良い感じです。
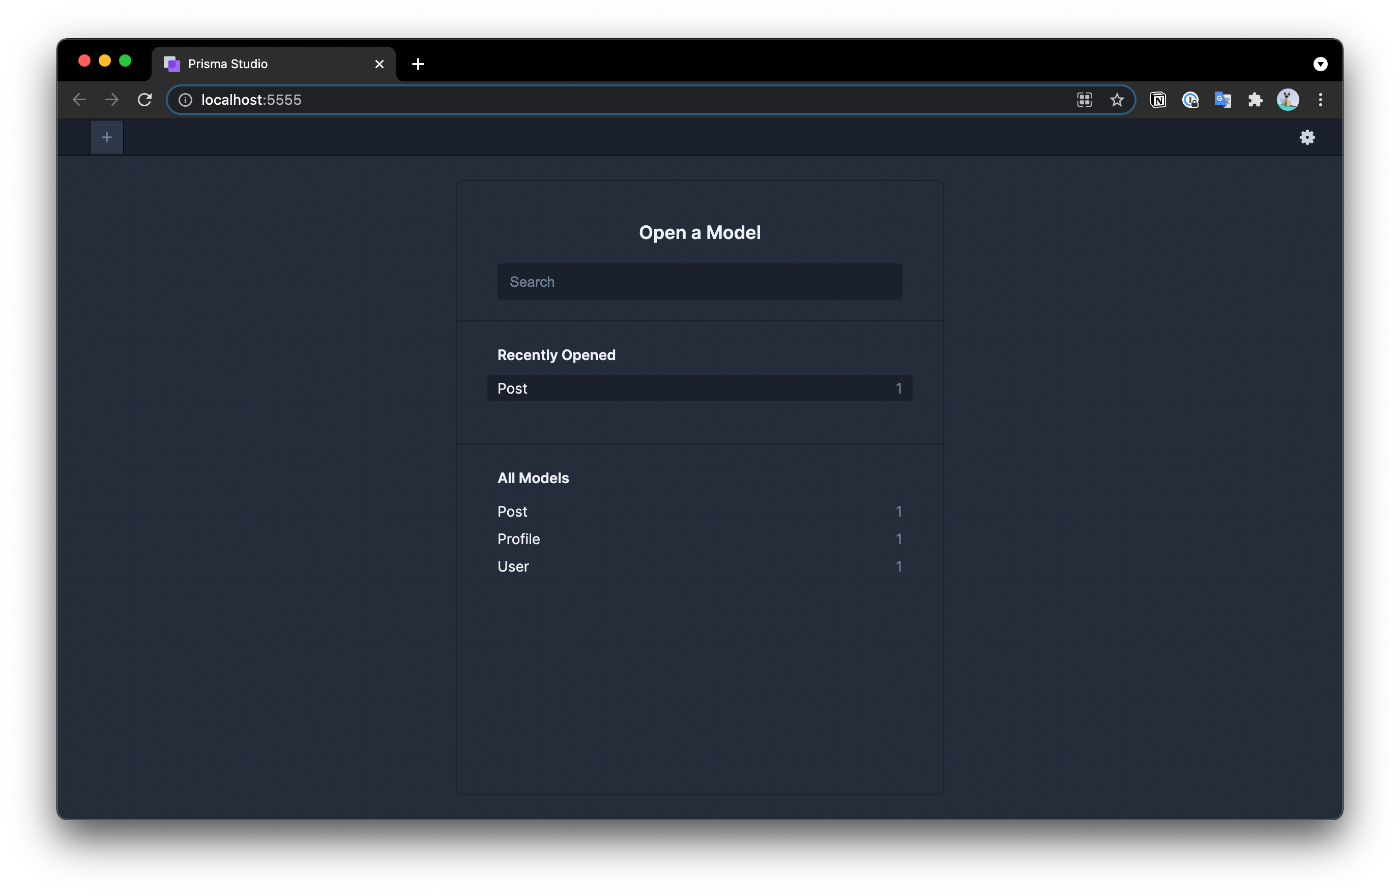
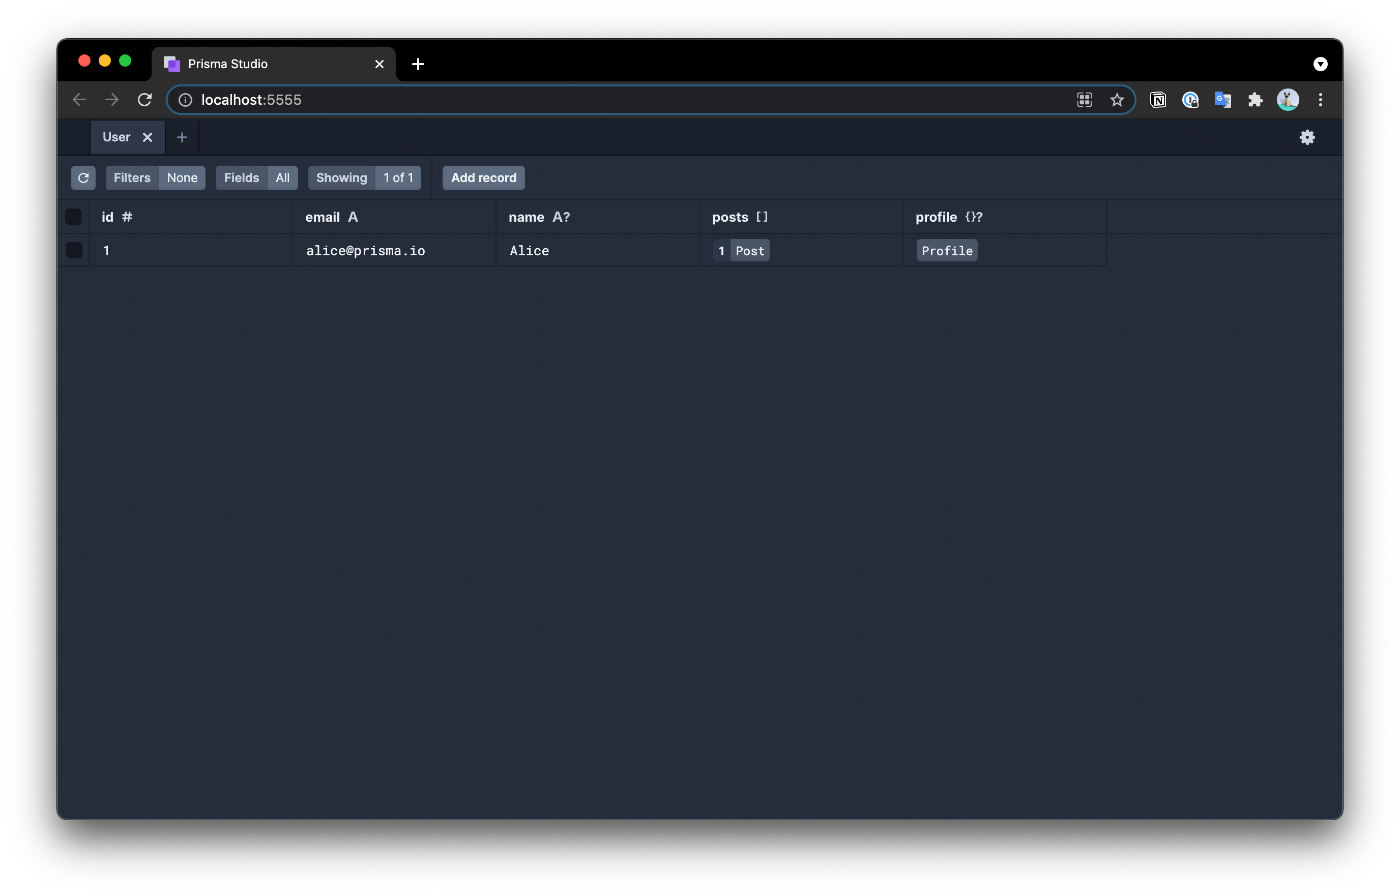
一応チュートリアルとしてはこれで終わりですが、せっかくなので prisma studio も軽く覗いておきます😎
ブラウザで起動するDBクライントソフトみたいですね。
$ npx prisma studio


普通に使えそうですが、DBクライアントは優秀なものが溢れている中で prisma がわざわざ提供している理由まではちょっと分かりませんでした。
何か公式ならではの便利な機能とかがあるのでしょうか🧐
感想
- マイグレーションファイルが生の SQL ファイルなのが個人的には好き
- やっぱり型は正義
- これならいつか ActiveRecord 倒せるかも?
ORM単体としては非常に優秀な気がしました。ただし実際のプロダクトとして使えるかというと実績や情報がまだまだ少ないかなという印象です。
それでも js(TypeScript)だけでフロントとバックエンド両方書けるというのは中々良いのではないでしょうか?😊
ActiveRecord がRailsと一体となって一世を風靡したように、普及するにはやはり統合するフレームワークの強さというのも重要だと思います。
公式は Next.js との統合を割と推しているようですが、Next.js の API 機能は貧弱と聞くのでどうなのでしょう。
RailsにインスパイアされたフルスタックなReactフレームワークである、
も気になっています。
Next.js ベースで ORM には今回紹介した prisma を使うようです。
この辺のフレームワークと合わせた時の使い方についてもいつか記事が書けたら良いなあと思います😎
prisma は未来を感じさせてくれる ORM でした。是非触ってみてください!
どなたかの役に立てば幸いです。
Discussion