WebotsとROS 2で自作モデルを動かす
海洋ロボコンをやってた人です。
今回はWebotsに自作モデルをローンチしROS 2で動かしてみたので、その備忘録を記載していきます。
この記事のゴールは、以下のようなイメージです。

簡単にWebotsについて紹介をしておくと、以下のような特徴があります。
- 物理エンジン: ODEベース
- OSサポート: GNU/Linux (Ubuntu) / Mac OS / Windows
- ROSサポート: ROS1 & ROS2
- APIサポート言語: C, C++, Python, Java, Matlab
※ 下記より引用
モチベーションは、Webotsで水中ロボットとりわけバイオミメティクス型水中ロボットをシミュレーションしたいからです。
動作環境は以下です。
- webots R2023a / R2023b
- OS: Ubuntu 20.04 / Ubuntu22.04
- ROS Distributions: Foxy / Humble
本記事に対するコメントも積極的に募集しますので、よろしくお願いいたします。
Webotsのデモおよび基本構成
まずはWebotsのデモおよび基本となるパッケージ構成を理解します。
インストール/デモ
webots_2023b_amd64.debをインストールします。
cd Downloads
sudo apt install libssh-dev
sudo apt install ./webots_2023b_amd64.deb
webots-ros2をインストールします。
sudo apt install ros-foxy-webots-ros2*
# or
sudo apt install ros-humble-webots-ros2*
上記でインストールした場合は、以下もインストールされるので、デモを試すことができます。
使用するデモのみをインストールでもOKです。
ros2 launch webots_ros2_universal_robot multirobot_launch.py
ros2 launch webots_ros2_turtlebot robot_launch.py
ros2 launch webots_ros2_tesla robot_launch.py

また、Webotsアプリケーションを開く > Help > Webots Guided Tour animated_skin.wbtを選択することで、他のデモも試せます。

自分のモチベーションで行いたいのは、まさに上記ですね。
有識者の方いたら是非ご教授いただきたいです🙏コメントお願いします🙏🙏🙏
基本のパッケージ構成
WebotsとROS 2を用いて基本パッケージを作成する際、最初はROS 2 ドキュメントから学ぶのが一番近道だと思うので、これらパッケージ作成についてもまとめます。
Humble を使用する場合、Humble Doc: Setting up a robot simulation (Basic)に従って、webots - ROS 2パッケージを作成します。
Foxy を使用する場合、launch.py以外はHumble Docに従って作成し、launch.pyのみGalactic Doc: Setting up a robot simulation (Webots)の.pyの記述を使用します。
※ Galactic、Foxyではfrom webots_ros2_driver.utilsからcontrollerをインポートしており、Humbleではfrom webots_ros2_driver.webots_controllerからcontrollerをインポートしているためです。
Doc記載のチュートリアルをSetting up a robot simulation (Advanced)まで進めると、衝突回避までのシミュレーションを試すことができます。

ここまで進めれば、どのようにwebotsパッケージを作成するかがぼんやりと分かると思います。
urdf2webotsで自作モデルを準備
ここからがやっと本題です。
シミュレーターなので、自作したXACRO, URDFのロボットを使用したくなりますね。
webotsではxacro, urdfファイルを直接読み込めないので、urdf2webotsパッケージを使用する必要があります。
使用する際に使うパッケージをインストールしておきます。
sudo apt install ros-humble-xacro
pip3 install urdf2webots
続いて、以下urdf2webots Tutorialを見ながら、自身のxacro, urdfをwebotsで扱えるように.protoファイルを作成します。
手順の具体例を以下に示します。
ros2 run xacro はros2コマンドなので、ros2_wsで. install/setup.bash後に実行すること
cd uw_sim
ros2 run xacro xacro src/fish_robot_description/urdf/fish_robot.xacro > src/fish_robot_description/urdf/fish_robot.urdf
python3 -m urdf2webots.importer --input=src/fish_robot_description/urdf/fish_robot.urdf --box-collision --tool-slot=base_link
urdf2webots.importerを実行したディレクトリにRobotName_texturesフォルダとRobotName.protoが作成されるので、生成されたフォルダ、ファイルをprotosフォルダに入れ、webots-ros2パッケージ下に入れておきましょう。
python3 -m urdf2webots.importer実行時に、以下のように表示される場合、collisionタグをモデルと分ける必要がある。
上記を無視してインポートすると、boundingObjectのinertiaMatrixなどがscale 0.001000 0.001000 0.001000されず巨大なboundingObjectとして表示されるので、自身でBox定義するか、別手法を検討すること。
collisionタグをコメントアウトまたは削除してurdf2webotsを実行すると以下のようになる。
Robot name: xxx_robot
Root link: base_link
There are xx links, xx joints and x sensors
または以下のように.proto出力後に直接編集する。
-    children [
-      Solid {
-        children [
-          Transform {
+    children [
+     Transform {
- boundingObject USE lf_lower_leg_link
+boundingObject Box {
+  size 0.100000 0.200000 0.03
+}
protosのディレクトリは任意ですが、私はwebots_ws/src/my_package/protosと配置しています。
ここで作成したxxx.protoファイルをwbt側で呼び出すことで、モデルをスポーンできます。
WebotsとROS 2で自作モデルを動かす
自作モデルの準備ができたら、WebotsでスポーンしROS 2で動かしてみましょう。
にあるように、追加したprotoモデルを読み込めるようにWebots world filesであるxxx.wbtへ以下を追記します。
- EXTERNPROTO ".protoのパスを記載"
- controller "<extern>"へ変更
.protosのパスは絶対パスでも相対パスでも良いと思います。適宜環境に合わせて変更してください。
# local PROTO (absolute path)
EXTERNPROTO "/home/ubuntu/webots_ws/src/my_package/protos/FishRobot.proto"

FishRobot {
  translation     0 0 0.2
  rotation        0 0 1 0
  name            "fish_robot"  # Is `Robot.name`.
  controller      "<extern>"   # Is `Robot.controller`. ex: "<generic>", "<extern>"
  controllerArgs  []           # Is `Robot.controllerArgs`.
  customData      ""           # Is `Robot.customData`.
  supervisor      FALSE        # Is `Robot.supervisor`.
  synchronization TRUE         # Is `Robot.synchronization`.
  selfCollision   FALSE        # Is `Robot.selfCollision`.
  toolSlot        []           # Extend the robot with new nodes at the end of the arm.
}
RobotName.protoのprotosフォルダから見たgeometry urlのパス変更、ShapeのbaseColorも変更しておきます。
# baseColor, geometoryパスを変更
        children [
          Shape {
            appearance DEF grey PBRAppearance {
              baseColor 0.100000 0.100000 0.100000
              roughness 1.000000
              metalness 0
            }
            geometry DEF base_link Mesh {
-	      url "src/fish_robot_description/urdf/file:/home/ubuntu/uw_sim/install/fish_robot_description/share/fish_robot_description/meshes/base_link.stl"
+             url "../../fish_robot_description/meshes/base_link.stl"
            }
          }
        ]
最後にboundingObject USE link_1などを適切なBoxへ変更します。
# boundingObject USE base_link
boundingObject Transform {
  translation -0.005 0.03 0  # offset
  children [
    Box {
      size 0.06 0.06 0.03
    }
  ]
}
name "Lroll1_link_v1_1"
# boundingObject USE Lroll1_link_v1_1
boundingObject Transform {
  scale 0.001 0.001 0.001  # 10%大きくする例
  children [
    USE Lroll1_link_v1_1
  ]
}
次に、ROS 2と連携するためのプラグインをCPPで記述します。
ディレクトリ構成等は、公式ドキュメントのチュートリアルにあるMyRobotDriverのものに準拠しているので、そちらを真似てください。
変更箇所は
-
geometry_msgsがsensor_msgsへ変更 - RobotName.protoの
HingeJoint > device > RotationalMotor > nameがwb_robot_get_deviceのjoint名になる
くらいです。
#ifndef FISH_ROBOT_DRIVER_HPP
#define FISH_ROBOT_DRIVER_HPP
#include "rclcpp/macros.hpp"
#include "webots_ros2_driver/PluginInterface.hpp"
#include "webots_ros2_driver/WebotsNode.hpp"
#include "geometry_msgs/msg/twist.hpp"
#include "sensor_msgs/msg/joint_state.hpp"
#include "rclcpp/rclcpp.hpp"
namespace fish_robot_driver {
class FishRobotDriver : public webots_ros2_driver::PluginInterface {
public:
void step() override;
void init(webots_ros2_driver::WebotsNode *node,
std::unordered_map<std::string, std::string> ¶meters) override;
private:
void jointCallback(const sensor_msgs::msg::JointState::SharedPtr joint_msg);
rclcpp::Subscription<sensor_msgs::msg::JointState>::SharedPtr joint_state_subscription_;
sensor_msgs::msg::JointState joint_state_msg;
WbDeviceTag right_wing;
WbDeviceTag left_wing;
};
} // namespace fish_robot_driver
#endif // FISH_ROBOT_DRIVER_HPP
#include "my_package/FishRobotDriver.hpp"
#include "rclcpp/rclcpp.hpp"
#include <cstdio>
#include <functional>
#include <webots/motor.h>
#include <webots/robot.h>
namespace fish_robot_driver {
void FishRobotDriver::init(
webots_ros2_driver::WebotsNode *node,
std::unordered_map<std::string, std::string> ¶meters) {
left_wing = wb_robot_get_device("rev_left_fin");
right_wing = wb_robot_get_device("rev_right_fin");
wb_motor_set_position(left_wing, 0.0);
wb_motor_set_position(right_wing, 0.0);
// wb_motor_set_velocity(left_wing, 0.0);
// wb_motor_set_velocity(right_wing, 0.0);
joint_state_msg.position.resize(2);
joint_state_subscription_ = node->create_subscription<sensor_msgs::msg::JointState>(
"/joint_states",
rclcpp::SensorDataQoS().reliable(),
std::bind(&FishRobotDriver::jointCallback, this, std::placeholders::_1));
}
void FishRobotDriver::jointCallback(const sensor_msgs::msg::JointState::SharedPtr joint_msg)
{
joint_state_msg.position[0] = joint_msg->position[0];
joint_state_msg.position[1] = joint_msg->position[1];
}
void FishRobotDriver::step() {
auto target_right_angle = joint_state_msg.position[0];
auto target_left_angle = joint_state_msg.position[1];
wb_motor_set_position(right_wing, target_right_angle);
wb_motor_set_position(left_wing, target_left_angle);
}
} // namespace fish_robot_driver
#include "pluginlib/class_list_macros.hpp"
PLUGINLIB_EXPORT_CLASS(fish_robot_driver::FishRobotDriver,
webots_ros2_driver::PluginInterface)
注意点として
してください。
ヘッダーは/usr/local/webots/src/controller/cppにあります。
void FishRobotDriver::initでvelocityを0にした状態でpositionを動かそうとしても速度0なので動きません。
wb_motor_set_velocityを使用する場合は、別途速度を指定するか、使用しないのが良いのかもしれません。
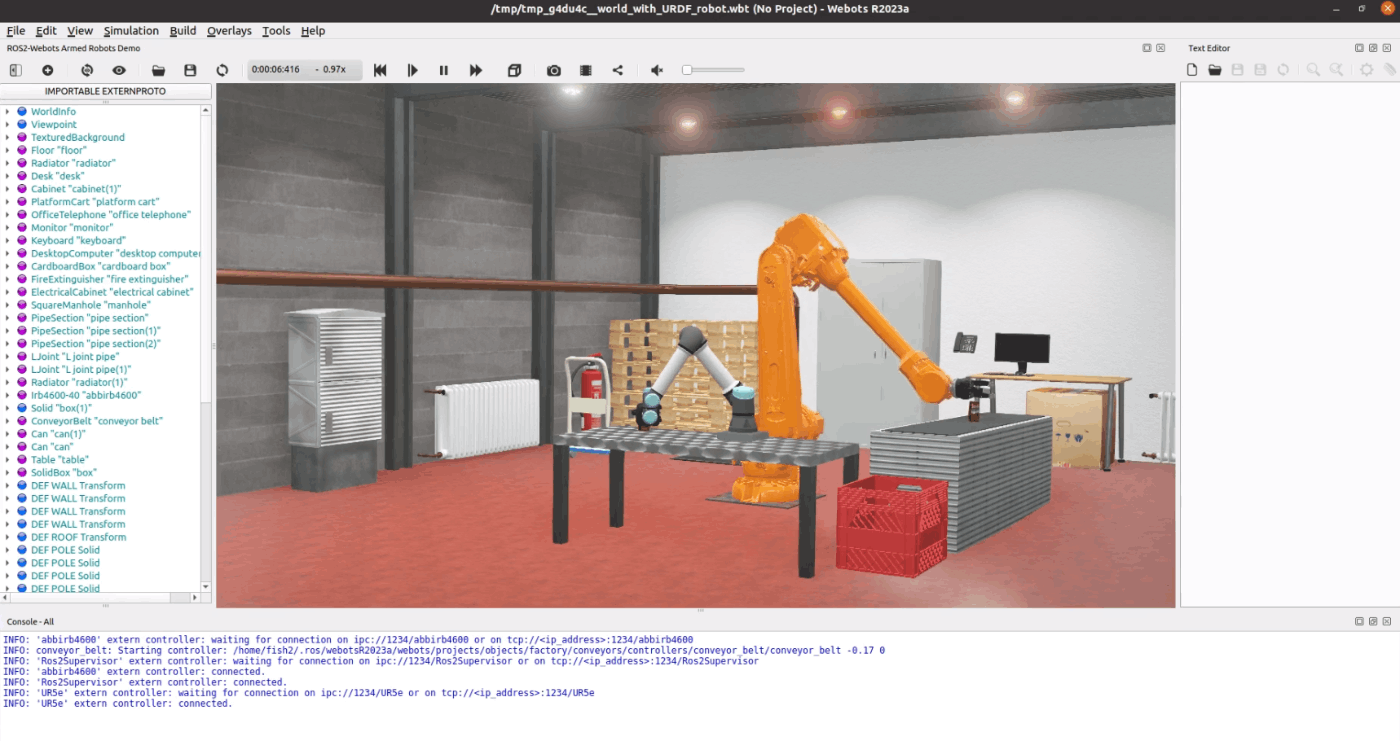
あとは、チュートリアルのファイル構成に沿って、urdfファイル、driver.xmlファイル等を準備し、launchを起動すれば以下のようにWebots上にスポーンされるはずです。
プラグインとしてjoint_statesをsubscribeするように設定しているので、joint_state_pub_guiのtopicを受信しRviz2と連携することも可能です。
実際に動かしてみると、以下のような挙動になります。
以上、皆さんのお力添えになれば幸いです。
Likeいただけると大変励みになりますので、よろしくお願いいたします。
エラーハンドリング
WARNING: Contact joints between materials 'default' and 'default' will only be created for the 10 deepest contact points instead of all the 2856 contact points.
警告: マテリアル「デフォルト」と「デフォルト」の間の接触ジョイントは、2856 個のすべての接触点ではなく、最も深い 10 個の接触点に対してのみ作成されます。
TBD
WARNING: The current physics step could not be computed correctly. Your world may be too complex. If this problem persists, try simplifying your bounding object(s), reducing the number of joints, or reducing WorldInfo.basicTimeStep.

警告: 現在の物理ステップを正しく計算できませんでした。 あなたの世界は複雑すぎるかもしれません。 この問題が解決しない場合は、境界オブジェクトを単純化するか、ジョイントの数を減らすか、WorldInfo.basicTimeStep を減らしてみてください。
TBD
Appendix
強制終了
ps aux | grep webots
#ubuntu     61389  3.9  2.8 6001092 937780 pts/1  Sl   13:27   0:03 #/usr/local/webots/bin/webots-bin  --port=1234     #/tmp/tmptt5he6yr_world_with_URDF_robot.wbt --batch --mode=realtime
#ubuntu     61731  0.0  0.0  14184  4604 pts/1    S+   13:29   0:00 grep --#color=auto webots

kill -9 61389
webotsのアプリケーションを強制終了できる
※ ps aux | grep は以下
ps = process status
a = all users
u = user format
x = no controlling terminal
Graphic
Lowの設定にすると軽くなる。
シミュレーションの重さ(複雑さ)でJointの動きも遅くなる。

Reference
porizou1氏: ROS2のWebotsでTurtlebot3のNavigationをする
demura.net: Webots講座1-2023:インストールとデモの鑑賞
Discussion
Really interesting, I was wondering if with this underwater simulation you can model the thrust that can be generated by the flapping and pitching of a pectoral fin in the manta ray prototype that you are using. I have been looking in gazebo also but i cannot find information about that problem.