👨💻
Yamada UIのTextarea autosizeの仕様変更
こんにちは! 今回は、Yamada UIのTextareaコンポーネントのautosize仕様変更についてお話します。
Textareaのautosizeについて
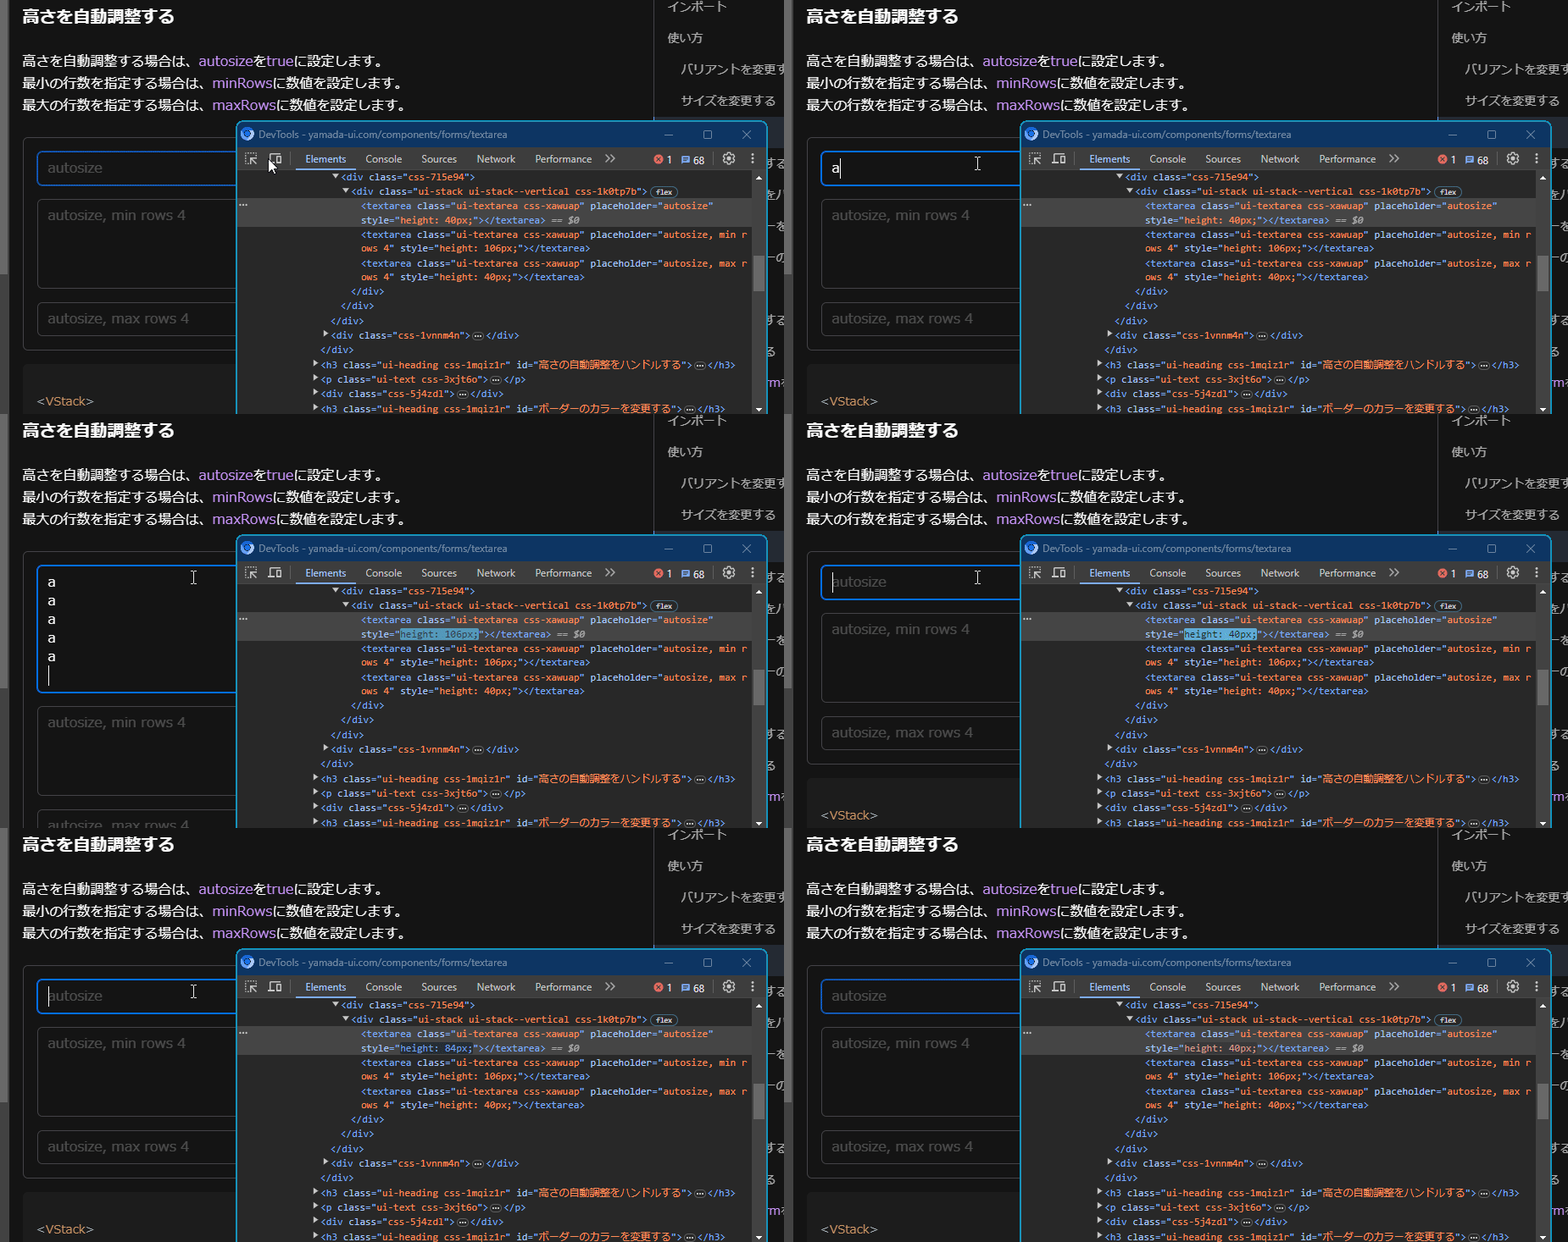
autosizeは入力されたvalueによって<Textarea />の高さを自動で変更します。

ドキュメントはこちら。
きっかけ
従来の仕様ではYamada UIのTextareaコンポーネントのautosizeではstyleにheightを変更していました。ある日、rowsを使用したほうが良いんじゃね?と思ったので仕様変更することにしました。
rowsを使用したほうがautosizeっぽい感じだと思います。
仕様変更
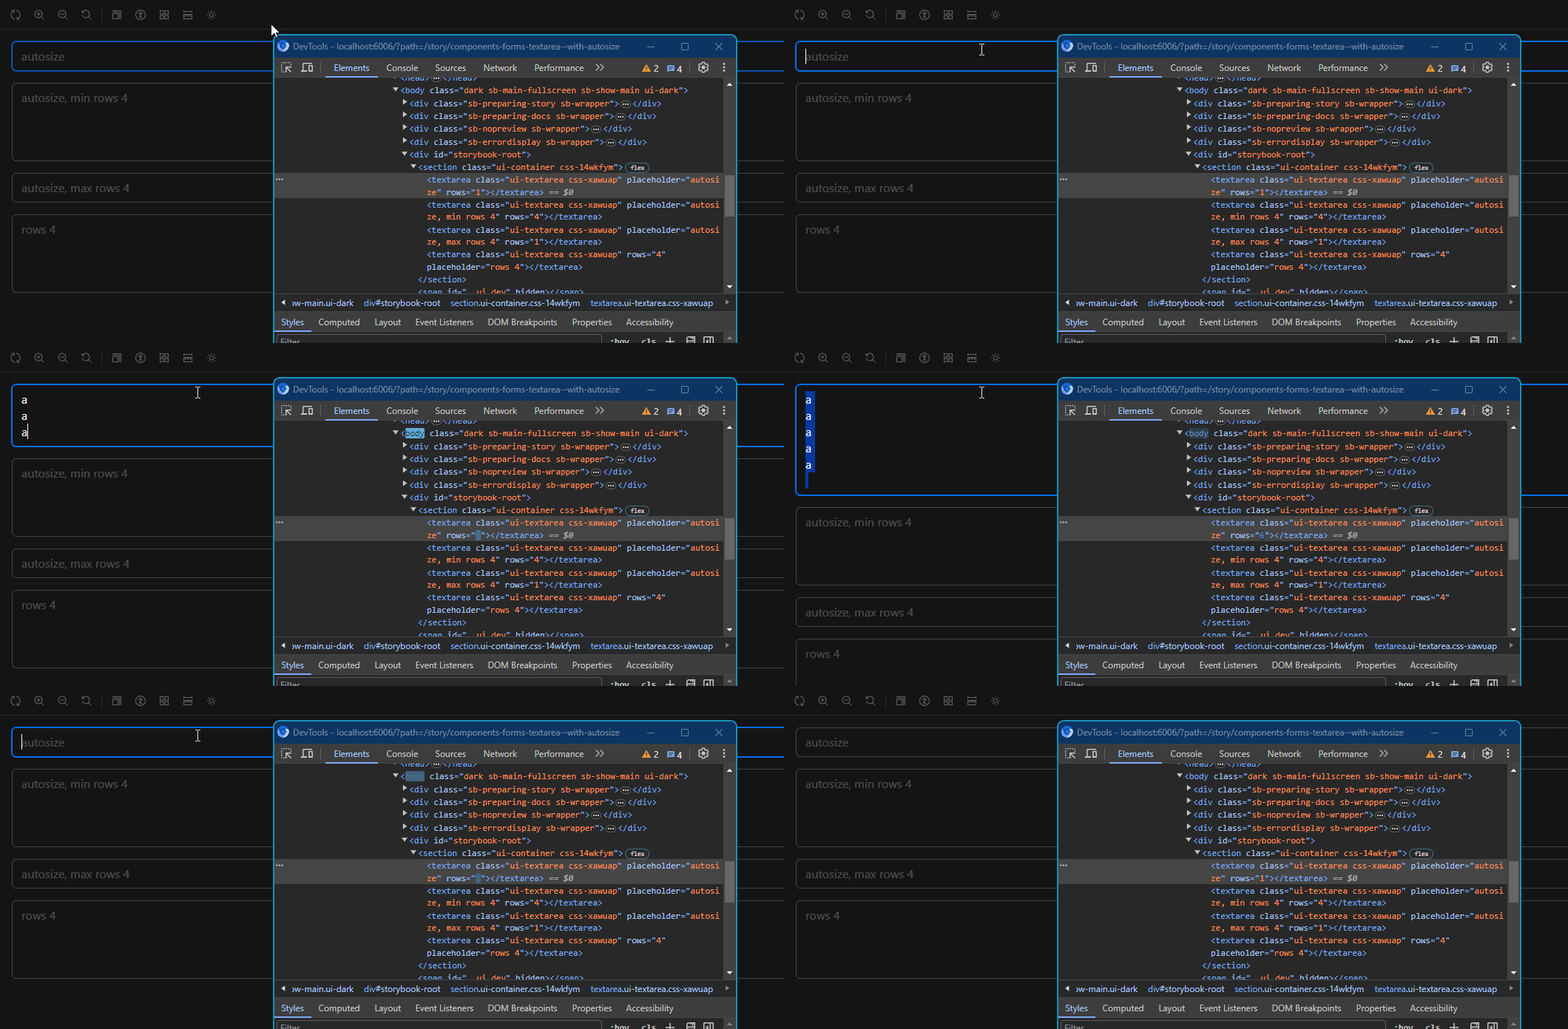
今回はheightプロパティではなく、rowsプロパティを利用するように仕様を変更しました。
heightではなくrowsを使用する
use-autosize.ts
const useAutosize = (
  ref: RefObject<HTMLTextAreaElement>,
  maxRows: number,
  minRows: number,
) => {
-  const heightRef = useRef(0)
  const valueRef = useRef<string>()

  const resizeTextarea = () => {
    const el = ref.current
    if (!el) return

-    let { value, placeholder, style } = el
+    let { value, placeholder } = el
    if (value === valueRef.current) return
    else valueRef.current = value

    value ??= placeholder ?? "x"

    const nodeSizeData = getSizingData(el)

    if (!nodeSizeData) return

-    const height = calcHeight(nodeSizeData, value, maxRows, minRows)
+    const rows = calcRows(el, nodeSizeData, value, maxRows, minRows)

-    if (heightRef.current !== height) {
-      heightRef.current = height
-
-      style.height = `${height}px`
-    }
-  }

    el.rows = rows

  return resizeTextarea
}
rowを計算する関数
use-autosize.ts
const calcRows = (
  el: HTMLTextAreaElement,
  sizingData: SizingData,
  value: string,
  maxRows: number,
  minRows: number,
) => {
  const clone = el.cloneNode() as HTMLTextAreaElement
  Object.assign(clone.style, sizingData.sizingStyle)
  forceHiddenStyles(clone)

  clone.value = value
  document.body.appendChild(clone)

  let rows
  if (clone.scrollHeight) {
    const rowHeight = sizingData.singleRowHeight
    rows = Math.min(
      maxRows,
      Math.max(minRows, Math.floor(clone.scrollHeight / rowHeight)),
    )
  } else {
    const lineBreaks = (value.match(/\n/g) || []).length
    rows = Math.min(maxRows, Math.max(minRows, lineBreaks + 1))
  }

  document.body.removeChild(clone)

  return rows
}

これで完成です!
まとめ
今回のautosizeの仕様変更で高さ調整をheightからrowsに変更しました。ドキュメントで試すことができます。
ぜひYamada UIをあなたのプロジェクトで使ってみましょう!
Discussion