asdfを用いたflutterプロジェクトの環境構築
この記事では、dartとflutterのバージョニングマネージャーにasdfを使った、新規のflutterプロジェクトの環境構築を紹介します。
執筆時環境
- macOS Ventura 13.4.1 (M1)
- Homebrew 4.0.24
- VSCode 1.79.2
- Xcode 14.3.1
- Android Studio Flamingo
- Chrome 114.0.5735.133
- asdf v0.12.0
事前準備
ご使用しているMacがApple Siliconのものであれば、事前にRosettaをインストールしてください。
sudo softwareupdate --install-rosetta --agree-to-license
また、XcodeとAndroid Studioのいずれかでシミュレーターを1つ以上起動してください。
*ご自身の端末を実機デバッグ用として接続しておく形でも大丈夫です。
完了後、プロジェクトを作成します。
cd ~ && mkdir my-flutter-project
cd my-flutter-project
asdfから必要なツール群をインストール
以下の手順でasdfのプラグインを追加します。
asdf plugin add dart
asdf plugin add flutter
asdf plugin add ruby
続いて追加したプラグインから今回使用する言語等をインストールします。
asdf install dart 3.0.5
asdf install flutter 3.10.5-stable
asdf install ruby 3.2.2
最後に今回のプロジェクトに適用したいバージョンを指定します。
asdf local dart 3.0.5
asdf local flutter 3.10.5-stable
asdf local ruby 3.2.2
ここまで正しく設定されているか確認します。
❯ which flutter
/Users/t-i-0414/.asdf/shims/flutter

❯ flutter --version
Flutter 3.10.5 • channel stable • https://github.com/flutter/flutter.git
Framework • revision 796c8ef792 (2 weeks ago) • 2023-06-13 15:51:02 -0700
Engine • revision 45f6e00911
Tools • Dart 3.0.5 • DevTools 2.23.1
cocapodsをインストールします
sudo gem install cocoapods
VSCodeの設定
続いて今回のプロジェクトで使用するVSCodeの設定ファイルを作成します。
mkdir .vscode
echo -e "{\n  \"dart.flutterSdkPath\": \"$HOME/.asdf/installs/flutter/3.10.5-stable\"\n}" > .vscode/settings.json
それから下記のVSCode拡張機能をインストールします。
ここまでの設定の確認
ここまでの作業が適切に完了していれば、VSCodeのコマンドパレットからflutter関連のコマンドが実行できるようになっているかと思います。
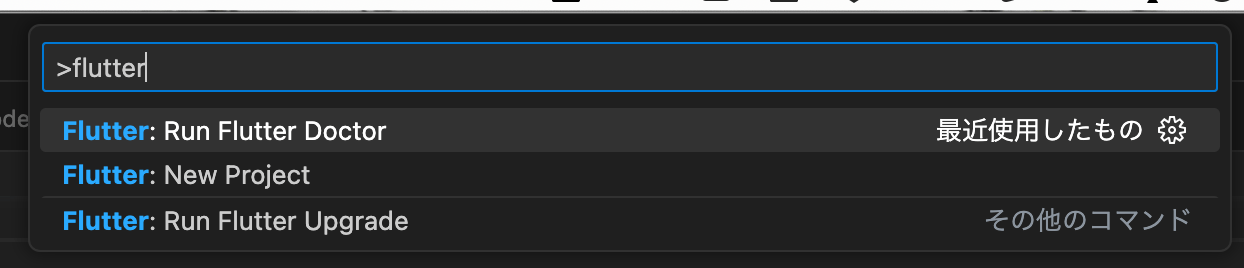
ためしに Flutter: New Projectを選んでみる

最後にターミナルからflutter doctorコマンドを実行して、全てパスしていることを確認します。
flutter doctor

プロジェクトの作成
ここまでで準備は整ったので、flutterプロジェクトを作成していきます。
flutter create .
複数デバイスで簡単にデバッグできるよう、launch.jsonを作成していきます。
touch .vscode/launch.json
簡単に中身を書いていく
{
  "version": "0.2.0",
  "configurations": [
    {
      "name": "Current Device",
      "request": "launch",
      "type": "dart"
    },
    {
      "name": "Pixel_4_API_30",
      "request": "launch",
      "type": "dart",
      "deviceId": "xxxx"
    },
    {
      "name": "iPhone 14",
      "request": "launch",
      "type": "dart",
      "deviceId": "xxxx"
    },
    {
      "name": "Web(Chrome)",
      "request": "launch",
      "type": "dart",
      "deviceId": "chrome"
    },
  ],
  "compounds": [
    {
      "name": "All Mobile Devices",
      "configurations": [
        "Pixel_4_API_30",
        "iPhone SE (3rd generation)",
        "iPhone 14"
      ]
    },
  ]
}
デバイスIDは iOSシミュレータの場合はxcode、Androidエミュレーターの場合はadb devicesコマンドから確認できます。
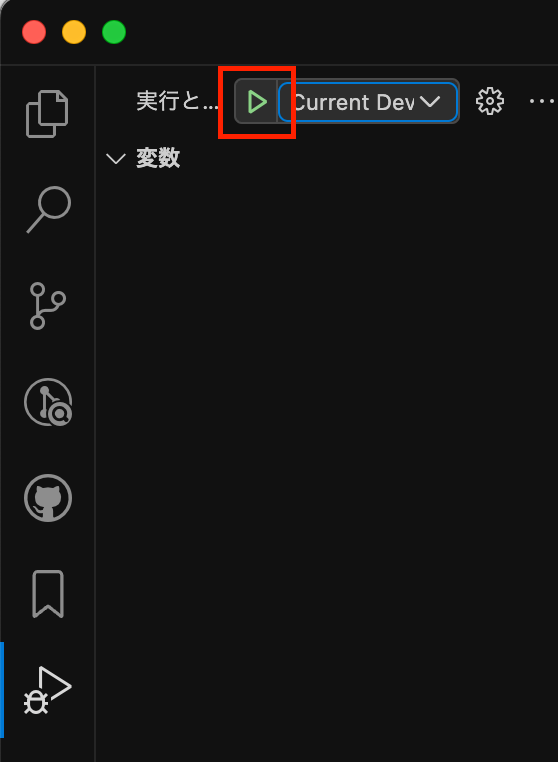
flutterアプリの起動
VSCodeのサイドバーのデバッグからflutter appが起動できたら完了です。
お疲れ様でした。

Discussion