🛵
Next.jsとTailwindCSSでFlowriftのFull Pageを表示する
やること
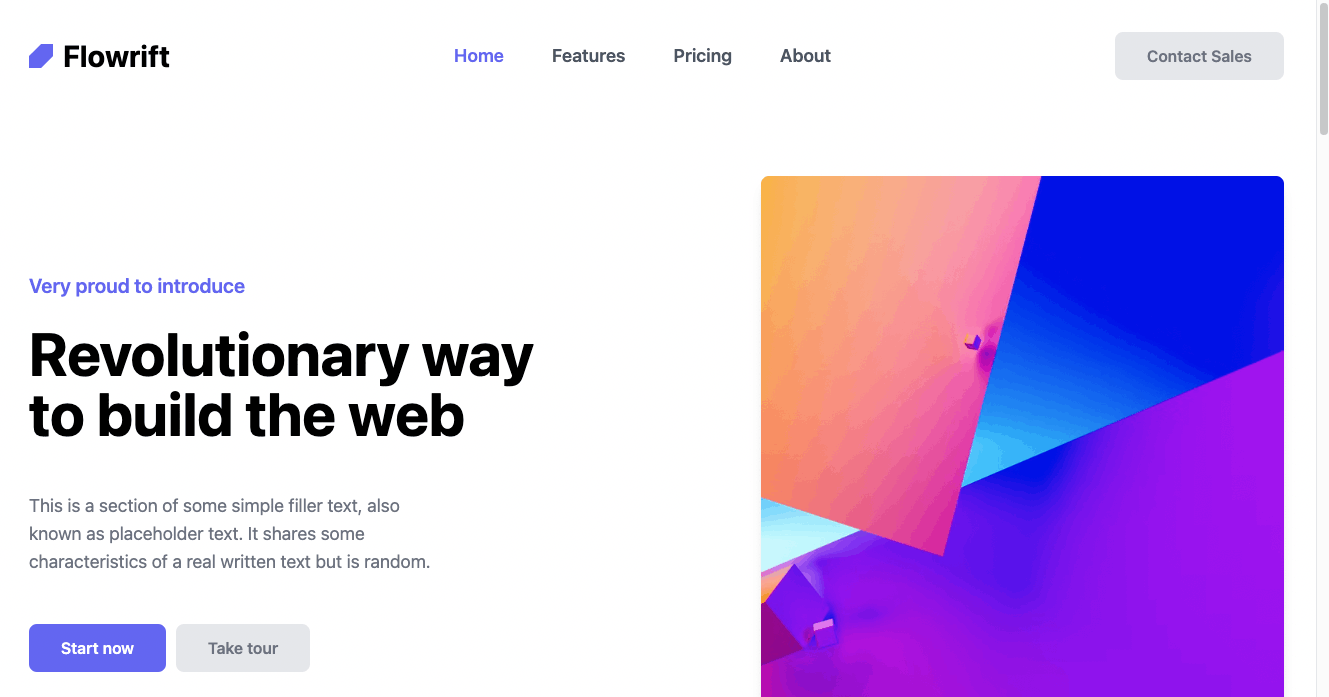
Next.jsとTailwindCSSの組み合わせで、FlowriftのFull Pageの参考ページを作成します。
やることは最低限で運用やパフォーマンス、ツールの設定などは考えずにとにかく動かすことを目的としてやります。
以下のページを参考にさせていただきました。
プロジェクトの作成
Next.js プロジェクトの作成
npx create-next-app nextjs-tailwind-ex
cd nextjs-tailwind-ex
npm run dev
TailwindCSS 導入
npm install -D tailwindcss postcss autoprefixer
npx tailwindcss init -p
以下2つの設定ファイルが作成されます。
- tailwind.config.js
- postcss.config.js
tailwind.config.js
/** @type {import('tailwindcss').Config} */
module.exports = {
  content: [
    "./pages/**/*.{js,ts,jsx,tsx}",
    "./components/**/*.{js,ts,jsx,tsx}",
  ],
  theme: {
    extend: {},
  },
  plugins: [],
}
Tailwindを読み込むように適用する
早速、globals.scssに以下を記述することで、tailwindを読み込むようにします。
styles/globals.css
@tailwind base;
@tailwind components;
@tailwind utilities;

FlowriftのFull Pageのコンテンツを表示する
ページを作成
以下の3つのファイルを作成します。
- pages/full-page-1.js
- pages/full-page-2.js
- pages/full-page-3.js
pages/full-page-1.js
export default function FullPage1() {
  return (
    <>
      {/* ここにFlowriftのコードを貼り付ける */}
    </>
  );
}
pages/full-page-2.js
export default function FullPage2() {
  return (
    <>
      {/* ここにFlowriftのコードを貼り付ける */}
    </>
  );
}
pages/full-page-3.js
export default function FullPage3() {
  return (
    <>
      {/* ここにFlowriftのコードを貼り付ける */}
    </>
  );
}
Flowriftのコードを取得

FlowriftのページでFull Pageを選んでそれぞれのページがどんなデザインか確認します。
それぞれのコードをクリップボードにコピーして、作成したページのコメント部分に貼り付けます。


貼り付けただけだと、コメント部分がエラーになるので、<!--は{/*に、-->は*/}に置換しましょう。
次に、class=をclassName=に置き換えます。


これで完成です。
あとは、必要に応じて文章や画像を置き換えて、試してみましょう。


Discussion