🐧
テキストから3Dアセットを生成するShap-EをColaboratoryで試用
- 先日OpenAIからテキストや画像の入力から3Dアセットを生成するShap-Eが発表されました。
- そこでGoogle Colaboratoryを利用してShap-Eを試した方法を記録いたします。
結論
- 本記事の手順で以下のように「テキストを指定して3Dアセットの作成」がColaboratory上で試すことが可能です。
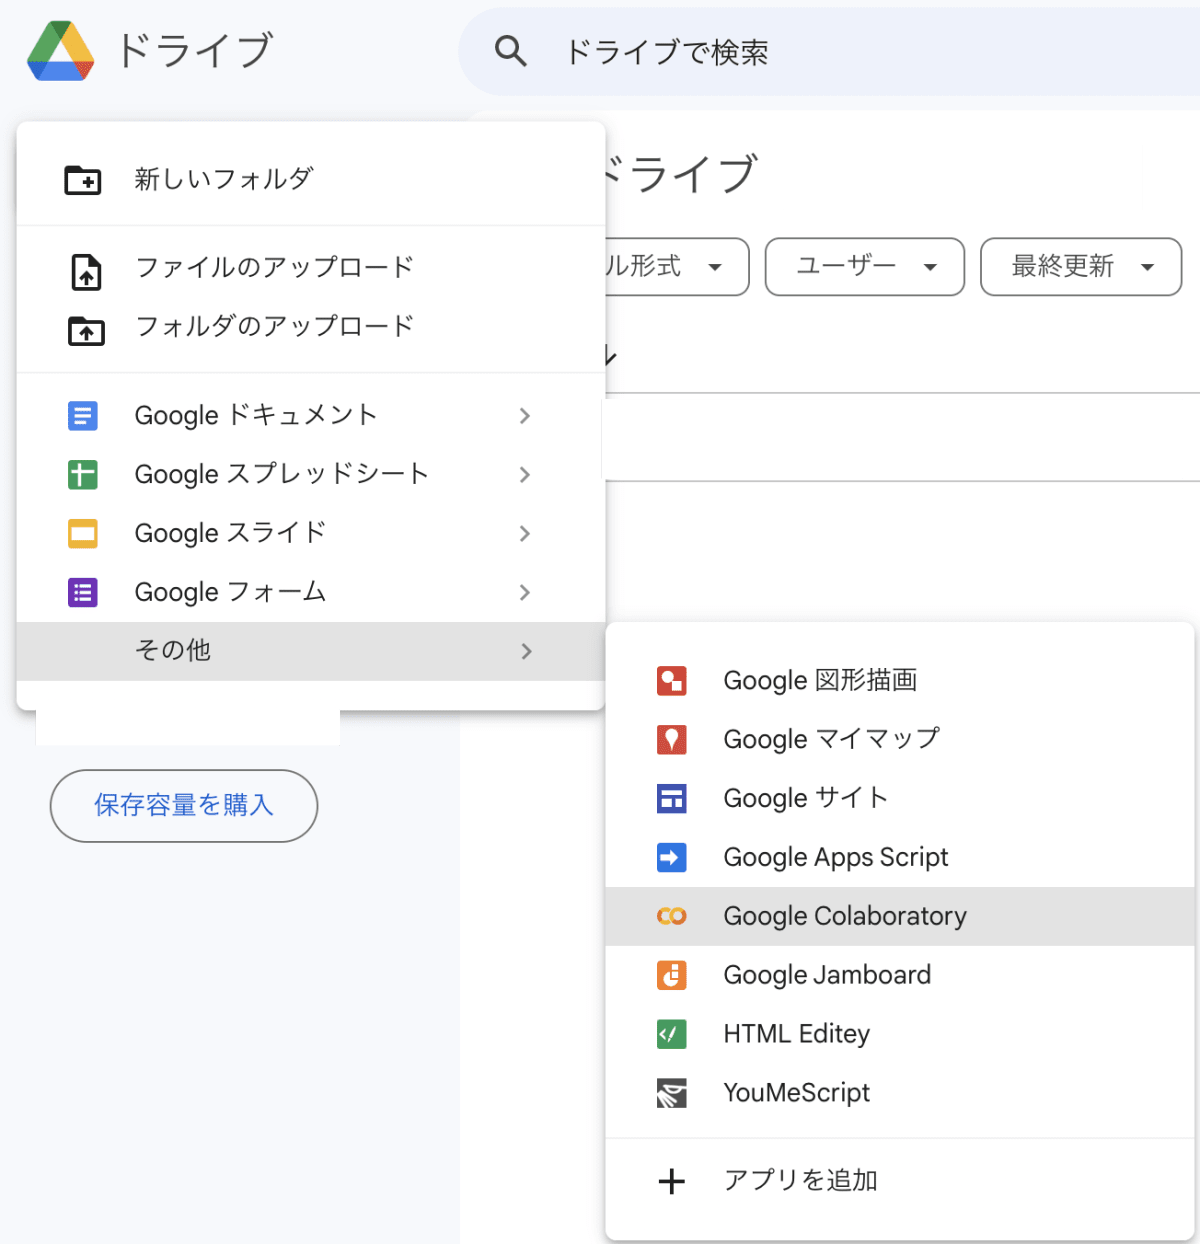
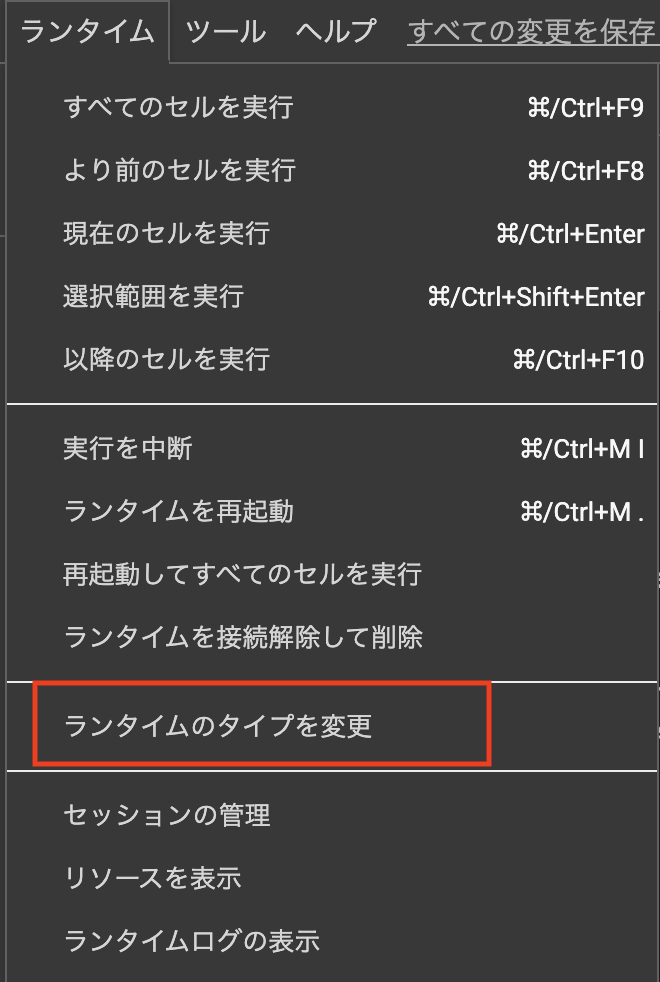
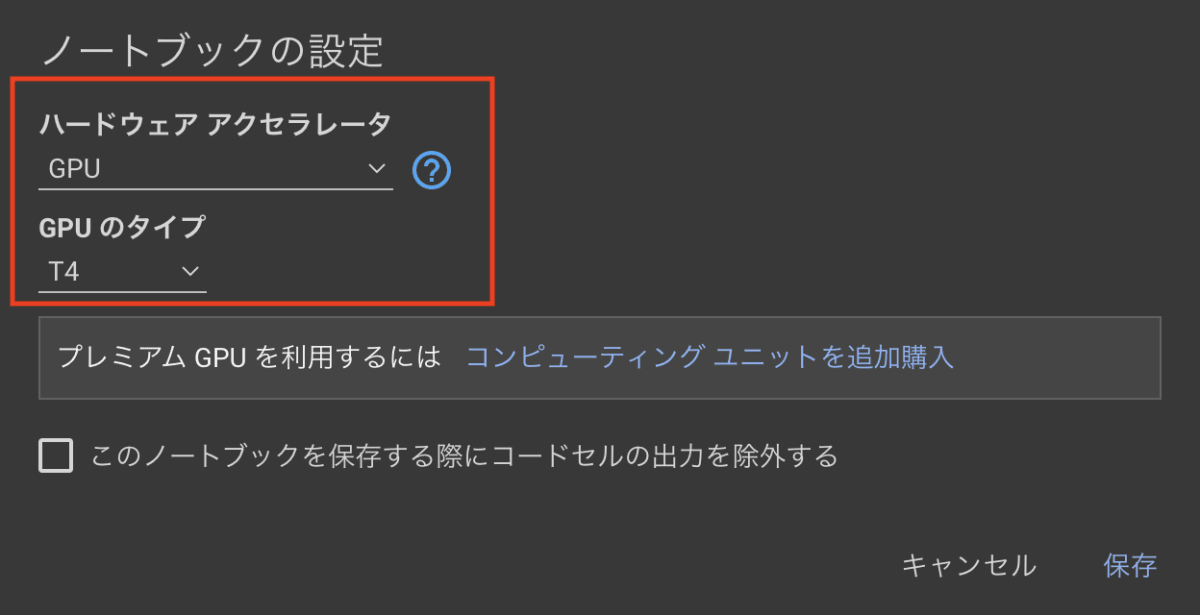
準備
- 実行環境を整えるため、Google Colaboratory上にGPU(T4)環境を作成します。
- ※詳細な作成方法はこちらを参考にしてください。
手順
リポジトリ取得
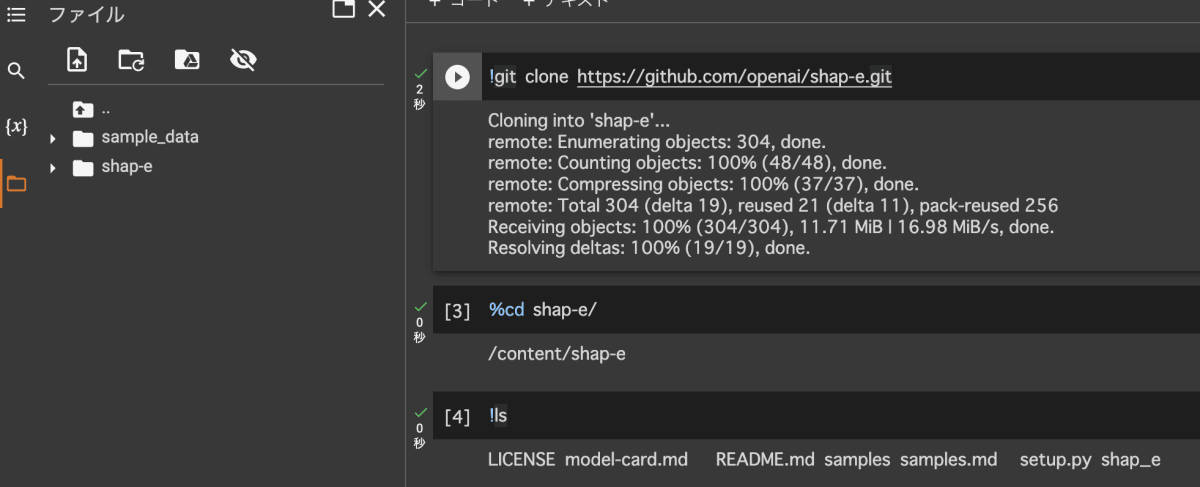
- 実行環境の作成後、以下を実行してShap-EのソースコードをColaboratory上に取得してきます。
!git clone https://github.com/openai/shap-e.git
- 取得後、以下でColaboratory上のカレントディレクトリをshap-eに移動して取得できていることを確認します。
%cd shap-e/
!ls
ライブラリインストール
- 取得確認後、以下で依存ライブラリをインストールします。
!pip install -e .
読み込み
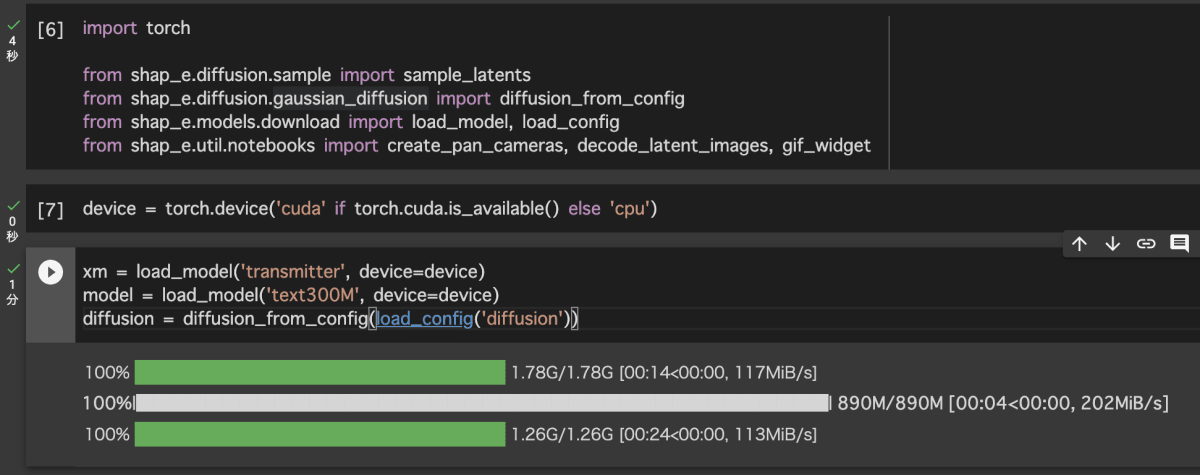
- インストール後、こちらに従って順次読み込みと生成のためのコードを実行していきます。
import torch

from shap_e.diffusion.sample import sample_latents
from shap_e.diffusion.gaussian_diffusion import diffusion_from_config
from shap_e.models.download import load_model, load_config
from shap_e.util.notebooks import create_pan_cameras, decode_latent_images, gif_widget
device = torch.device('cuda' if torch.cuda.is_available() else 'cpu')
xm = load_model('transmitter', device=device)
model = load_model('text300M', device=device)
diffusion = diffusion_from_config(load_config('diffusion'))
生成
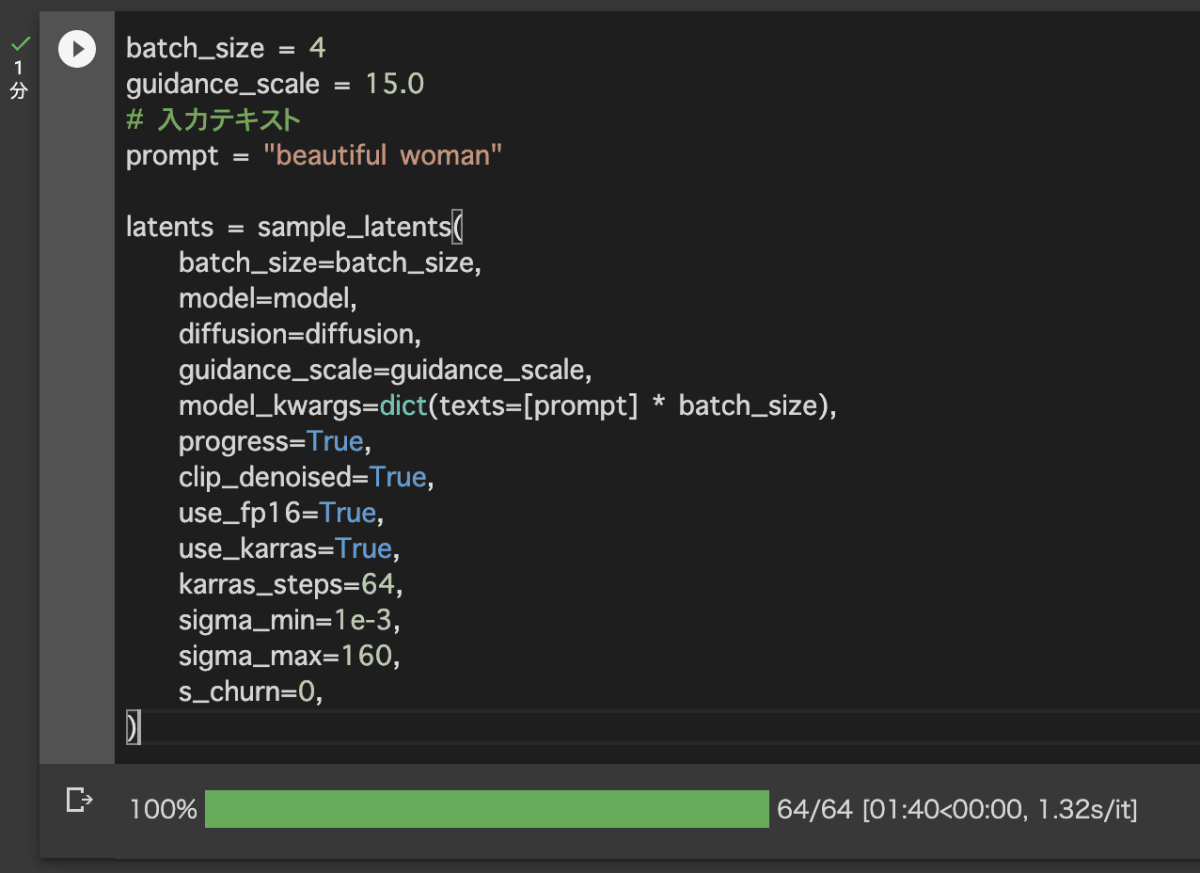
- 読み込み後、以下の
#入力テキストの部分を任意の命令文に書き換えて実行します。- ※生成に少し時間がかかります。
batch_size = 4
guidance_scale = 15.0
# 入力テキスト
prompt = "beautiful woman"

latents = sample_latents(
    batch_size=batch_size,
    model=model,
    diffusion=diffusion,
    guidance_scale=guidance_scale,
    model_kwargs=dict(texts=[prompt] * batch_size),
    progress=True,
    clip_denoised=True,
    use_fp16=True,
    use_karras=True,
    karras_steps=64,
    sigma_min=1e-3,
    sigma_max=160,
    s_churn=0,
)
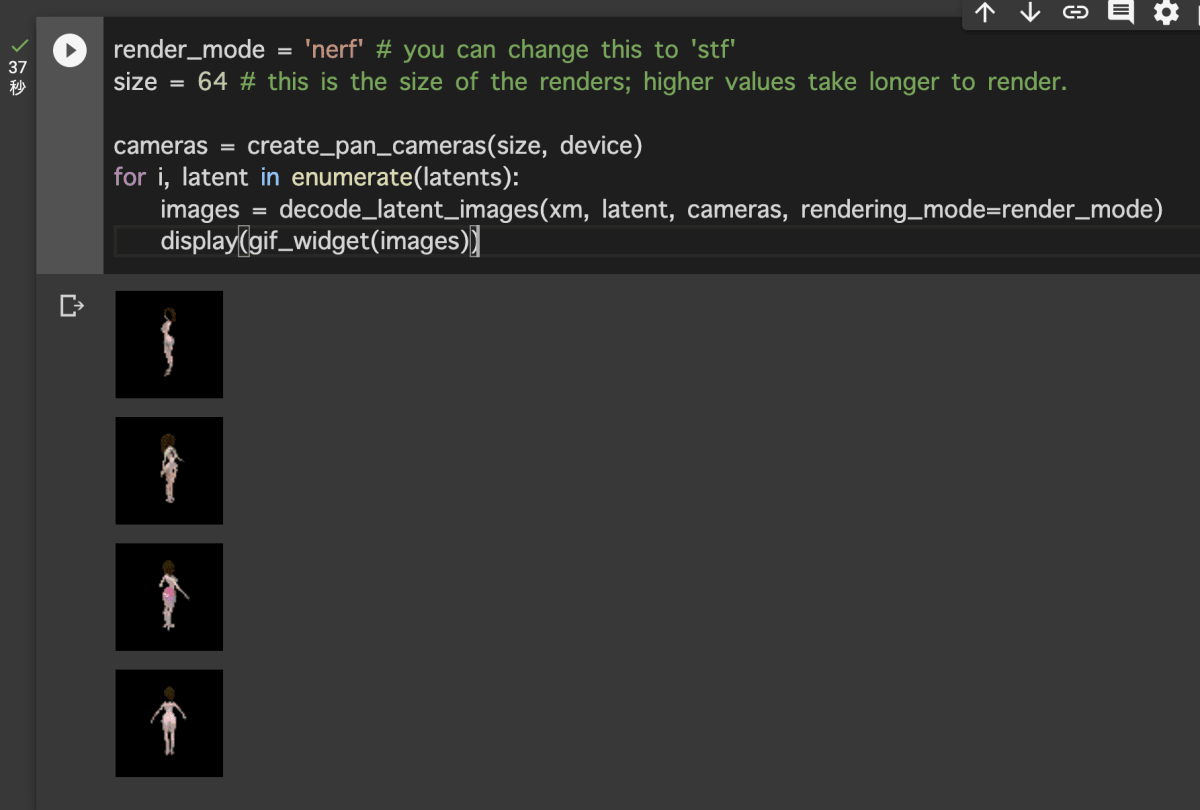
表示
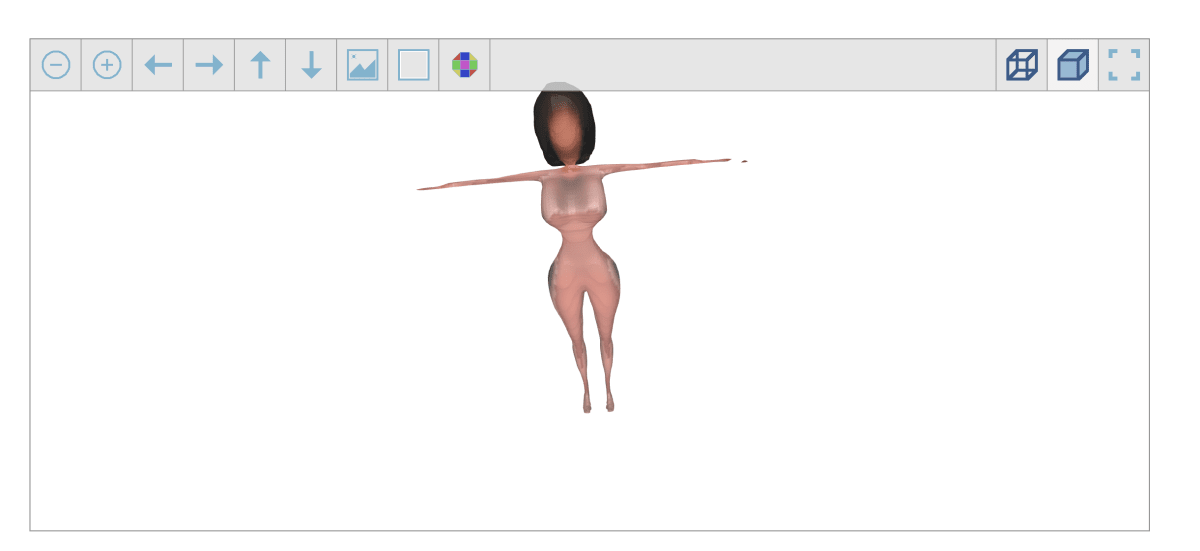
- 任意の入力テキストによってモデルが生成されたので以下で画面上に表示して4つ作成されていることを確認します。
render_mode = 'nerf' # you can change this to 'stf'
size = 64 # this is the size of the renders; higher values take longer to render.

cameras = create_pan_cameras(size, device)
for i, latent in enumerate(latents):
    images = decode_latent_images(xm, latent, cameras, rendering_mode=render_mode)
    display(gif_widget(images))
保存
- 4つの3Dアセットが作成されていることを確認後、以下を実行してColaboratory上にストレージに保存します。
from shap_e.util.notebooks import decode_latent_mesh

for i, latent in enumerate(latents):
    with open(f'example_mesh_{i}.ply', 'wb') as f:
        decode_latent_mesh(xm, latent).tri_mesh().write_ply(f)
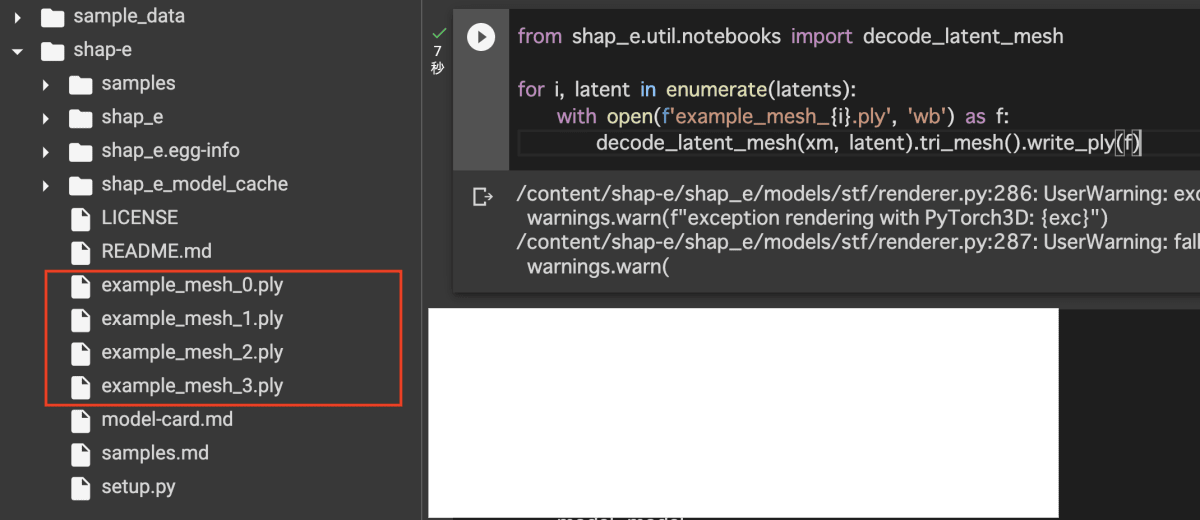
- 保存後、plyファイルという形式で保存されるので、こちらのオンラインビューアーを利用して正常なものか確認します。
補足
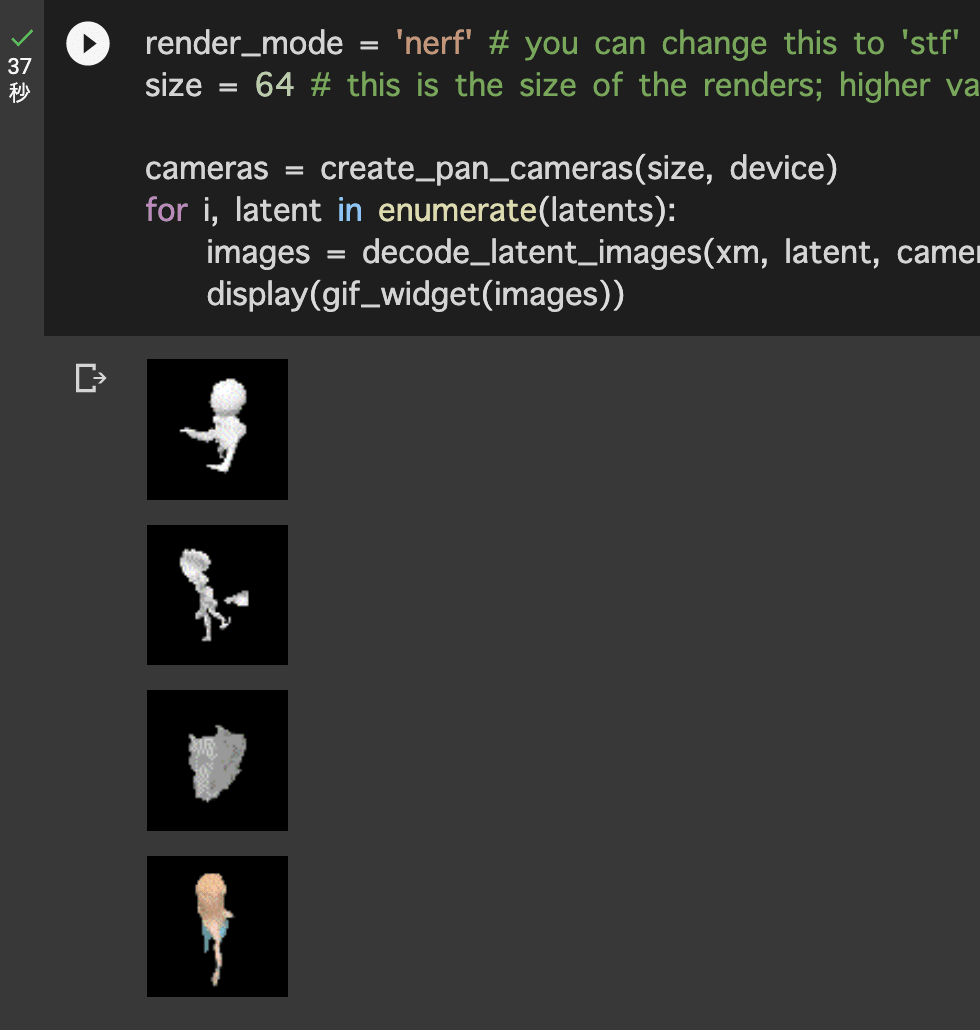
- ちなみに以下のように日本語を指定した場合の精度はまだ低いと考えられます。
batch_size = 4
guidance_scale = 15.0
# 入力テキスト
prompt = "イケメン"

latents = sample_latents(
    batch_size=batch_size,
    model=model,
    diffusion=diffusion,
    guidance_scale=guidance_scale,
    model_kwargs=dict(texts=[prompt] * batch_size),
    progress=True,
    clip_denoised=True,
    use_fp16=True,
    use_karras=True,
    karras_steps=64,
    sigma_min=1e-3,
    sigma_max=160,
    s_churn=0,
)
batch_size = 4
guidance_scale = 15.0
# 入力テキスト
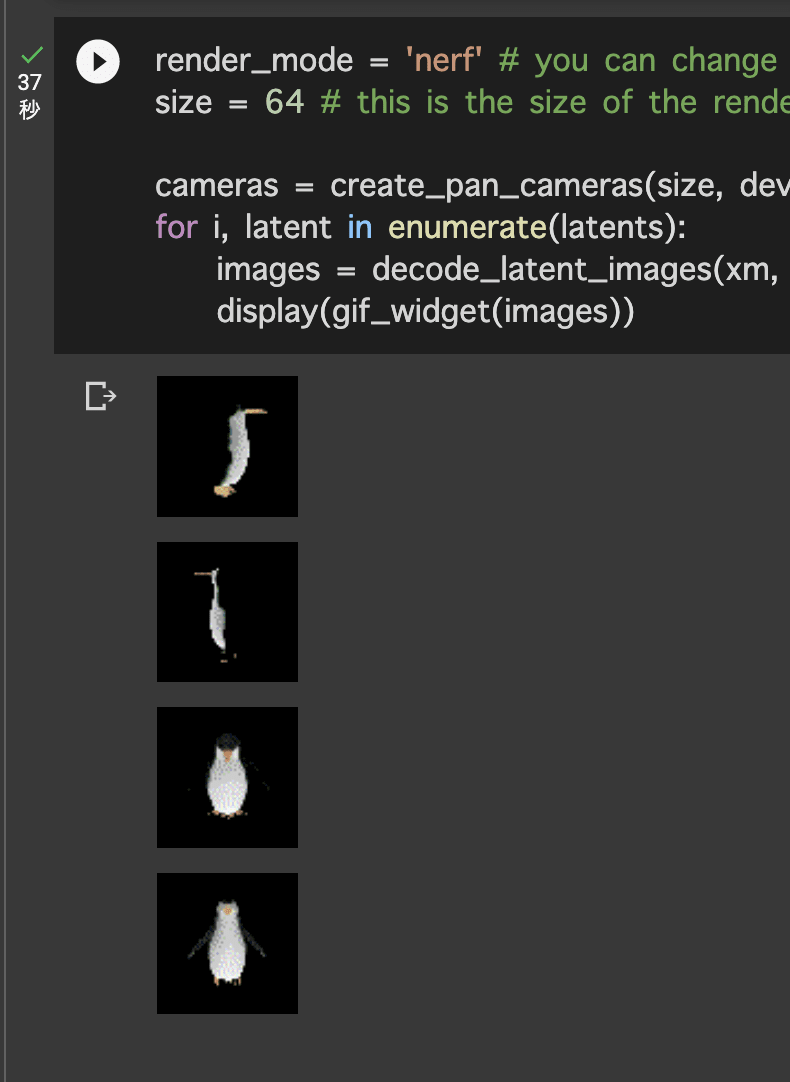
prompt = "ペンギン"
latents = sample_latents(
batch_size=batch_size,
model=model,
diffusion=diffusion,
guidance_scale=guidance_scale,
model_kwargs=dict(texts=[prompt] * batch_size),
progress=True,
clip_denoised=True,
use_fp16=True,
use_karras=True,
karras_steps=64,
sigma_min=1e-3,
sigma_max=160,
s_churn=0,
)
まとめ
- 生成系AIサービスが日々登場しており、業務はもちろん趣味としても楽しめるものが沢山存在しているので非常に充実しております。
Discussion