🔀
Shuffle SOARをminikube(kubernetes)にインストールする
Shuffle SOARをminikube(kubernetes)にインストールする
Shuffle SOARって?
Shuffle SOARはセキュリティ関係のプラグイン機能が充実したオープンソースのRPAツールです。本記事執筆時点、ライセンスはAGPLv3です。JP CERTでの講談で紹介されてます。
なんでminikube(kubernetes)にインストールするの?
minikubeによるkubernetesクラスタはいつでも吹き飛ばせる為。
Shuffle SOARのインストール手順
公式サイトにKubernetesへのインストール手順が記載されているので、それに従います。
Shuffle SOARをインストールする環境
- CPU: 3コア
- メモリ: 2GB
- OS: Debian系Linux Kernel 6.6.15 amd64
minikubeのインストールとkubernetesクラスタの作成
minikube公式サイトの手順に従う
curl -LO https://storage.googleapis.com/minikube/releases/latest/minikube_latest_amd64.deb
sudo dpkg -i minikube_latest_amd64.deb
minikube start
alias kubectl="minikube kubectl --"
kubectl get ns
Shuffle SOARのkubernetesマニフェストをデプロイ
git clone https://github.com/Shuffle/Shuffle.git
cd Shuffle/functions/kubernetes
kubectl create ns shuffle
kubectl apply -f all-in-one.yaml -n shuffle
kubectl get pods -n shuffle
kubectl get svc -n shuffle -o wide
ブラウザでShuffle SOARのWebUIを開く
minikube ipコマンドでminikubeのクラスタのIPを取得
minikube ip
nginxをインストールし、リバースプロキシを構築
apt install nginx
/etc/nginx/conf.d/shuffle.conf
proxy_pass http://192.168.49.2:30007;
の所のIPアドレスの箇所にminikube ipの結果を代入する。
server {
    listen       443 ssl http2;
    listen       [::]:443 ssl http2;
    server_name  sub.example.com;

    ssl_session_timeout 1d;
    ssl_session_cache shared:ssl_session_cache:10m;
    ssl_session_tickets off;
    ssl_stapling on;
    ssl_stapling_verify on;

    location / {
        proxy_pass http://192.168.49.2:30007;
        proxy_http_version 1.1;
        proxy_redirect off;
        proxy_set_header Host $host;
        proxy_set_header X-Real-IP $remote_addr;
        proxy_set_header X-Forwarded-For $proxy_add_x_forwarded_for;
        proxy_set_header X-Forwarded-Proto $scheme;
        # For WebSocket
        proxy_set_header Upgrade $http_upgrade;
        proxy_set_header Connection $connection_upgrade;
        chunked_transfer_encoding off;
        # Cache settings
        proxy_cache cache1;
        proxy_cache_lock on;
        proxy_cache_use_stale updating;
        proxy_force_ranges on;
        add_header X-Cache $upstream_cache_status;
        proxy_buffering off;
    }
}
systemctl reload nginx
ブラウザでアクセス
ブラウザで https://sub.example.com/ にアクセス
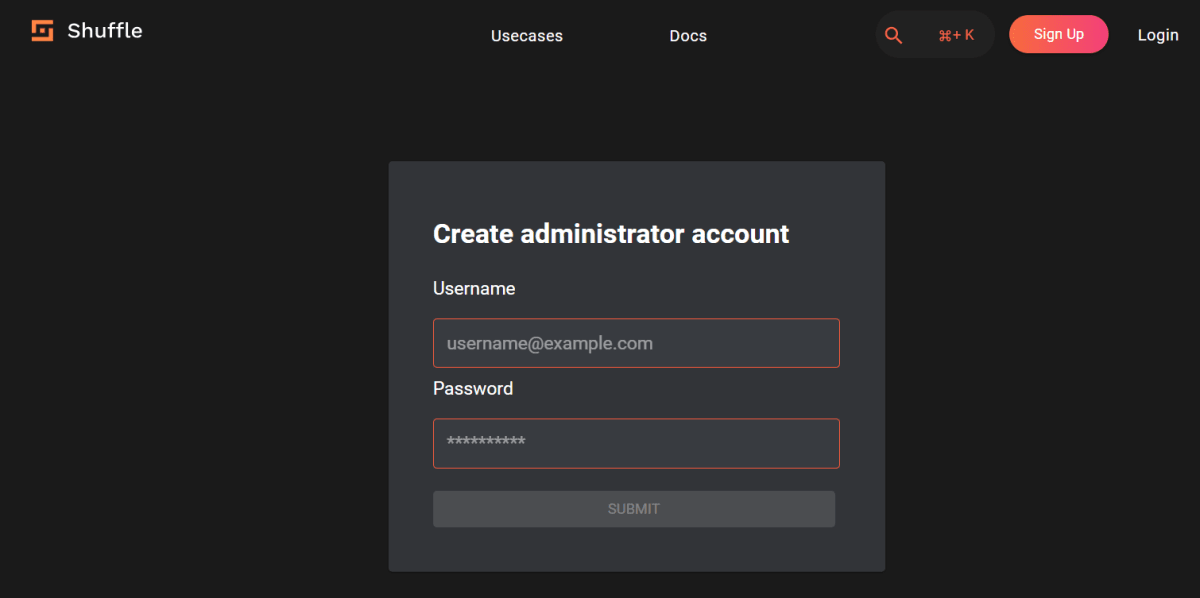
管理者アカウント登録

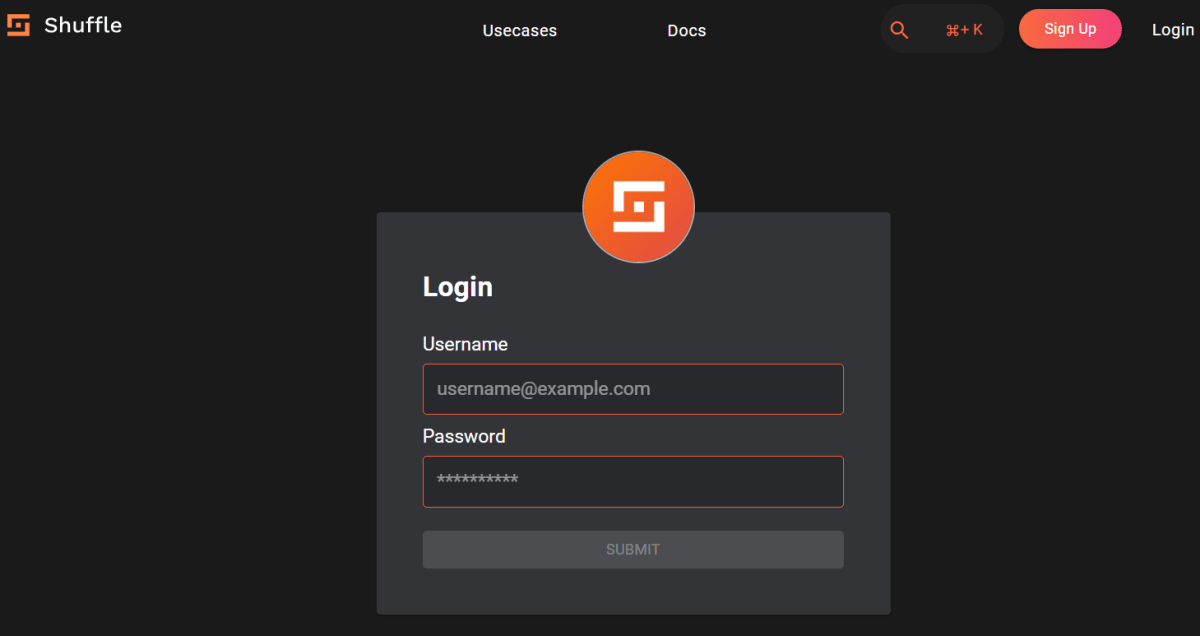
ログイン

もしログイン時にNo organization available. Please contact your team, or the shuffle if you think there has been a mistake: support@shuffler.io (2)というようなメッセージが発生してログイン失敗した場合はOpenSearchのPodがShuffleと連携できていない可能性がある為、以下を実行する。
# ログから、defaultのorgのUUID( xxxxxxxx-xxxx-xxxx-xxxx-xxxxxxxxxxx )を取得
# 2024/05/08 12:29:38 [DEBUG] Getting init tutorials for org default (UUID)
kubectl logs -n shuffle deployment/backend | grep default

# ログから、adminのUUID( xxxxxxxx-xxxx-xxxx-xxxx-xxxxxxxxxxx )を取得
# 2024/05/08 12:29:38 [INFO] Updating user xxxxxx (xxxxxxxx-xxxx-xxxx-xxxx-xxxxxxxxxxx ) that has the role admin with 0 apps and 1 orgs. Org updater: true
kubectl logs -n shuffle deployment/backend | grep admin

# 稼働中のどれかのOpensearch Podに乗り込む
kubectl exec -ti -n shuffle deployment/opensearch -- bash

## 以下はOpenSearch内のシェルで実行
# defaultという名前のOrgを作成し、admin権限を持つユーザを紐づける。
ORG_UUID=""
ADMIN_UUID=""
# ユーザを確認
curl -X GET "https://localhost:9200/users/_search?pretty" --insecure  -u admin:admin -H 'Content-Type: application/json' -d'
{
    "query": {
        "match_all": {}
    }
}'
# Orgを確認
curl -X GET "https://localhost:9200/organizations/_search?pretty" --insecure  -u admin:admin -H 'Content-Type: application/json' -d'
{
    "query": {
        "match_all": {}
    }
}'
# defaultという名前のOrgを作成
curl -X PUT -k -u admin:admin -H 'Content-Type: application/json' "https://shuffle-opensearch:9200/organizations/_doc/${ORG_UUID}/" -d "{\"doc\": {\"id\": \"${ORG_UUID}\", \"name\": \"default\"}}"
# defaultという名前のOrgを更新
curl -k -u admin:admin -H 'Content-Type: application/json' "https://shuffle-opensearch:9200/organizations/_update/${ORG_UUID}/" -d "{\"doc\": {\"id\": \"${ORG_UUID}\", \"name\": \"default\"}}"
# admin権限を持つユーザを紐づける。
curl -k -u admin:admin -H 'Content-Type: application/json' "https://shuffle-opensearch:9200/users/_update/${ADMIN_UUID}/" -d "{\"doc\": {\"active_org.id\": \"${ORG_UUID}\", \"active_org.name\": \"default\", \"orgs\": [\"${ORG_UUID}\"]}}"
exit
## 以下はminikubeを動かしているホストOSから実行
# shuffleを再起動(ここでOpenSearchは再起動しない事)
kubectl delete pods -n shuffle `kubectl get pods -n shuffle | grep ^frontend | awk '{print $1}'`
kubectl delete pods -n shuffle `kubectl get pods -n shuffle | grep ^backend | awk '{print $1}'`
クリーンアップ手順
minikube delete
sudo systemctl stop nginx
sudo apt remove minikube nginx


Discussion