Go BuffaloでAuth0を使いログインする
Auth0の公式ドキュメントでは、Ginを例として実装手順が書かれており、また、公式以外のブログ等でもBuffaloを使った手順がほとんど見受けられなかった[1]ため、備忘録目的で書いています。
そのため、とりあえずログインが行えユーザー情報が取得できるところまでのみの実装となります。セキュリティまわりの考慮や実際のアプリケーションで利用できるところまでの実装はしていません。
環境
- Go: 1.21.1
- Buffalo: v0.18.14
実装前準備
- Auth0のアカウントがなければアカウント登録を行う
- Buffaloのプロジェクトがなければ、
buffalo newで新規プロジェクトを作成する
実装
基本的にはAuth0側のGin実装でのチュートリアルを参考に実装していきます。
Auth0での設定
Applicationの作成
Application typeをRegular Web Applicationsとして、新規にアプリケーションを作成します。
エンドポイント設定
作成したApplicationsの詳細画面の Settings -> Application URIsにコールバックエンドポイントとログアウト後の遷移先エンドポイントを設定します。
今回は下記URLを追記します。
Allowed Callback URLs: http://localhost:3000/callback
Allowed Logout URLs: http://localhost:3000
テストユーザーの作成
ログインに利用する適当なユーザーを追加しておきます。
Buffalo側での実装
エンドポイントの追加
actions/app.go
func App() *buffalo.App {
    appOnce.Do(func() {

~略~

    // Auth0 login, logout
    app.GET("/login", loginHandler)
    app.GET("/logout", logoutHandler)

    // Auth0のログイン処理後に呼び出されるエンドポイント
    app.GET("/callback", callbackHandler)

    // ログイン後に表示するページ
    app.GET("/user", userHandler)

~略~
Authenticatorの作成
内容はAuth0公式のQuickstarts[2]のものをほぼそのまま利用しています。
actions/auth.go
package actions

import (
	"context"
	"errors"
	"log"
	"os"

	"github.com/coreos/go-oidc/v3/oidc"
	"github.com/joho/godotenv"
	"golang.org/x/oauth2"
)

// Authenticator is used to authenticate our users.
type Authenticator struct {
	*oidc.Provider
	oauth2.Config
}

// New instantiates the *Authenticator.
func New() (*Authenticator, error) {
	if err := godotenv.Load(); err != nil {
		log.Fatalf("Failed to load the env vars: %v", err)
	}
	provider, err := oidc.NewProvider(
		context.Background(),
		"https://"+os.Getenv("AUTH0_DOMAIN")+"/",
	)
	if err != nil {
		return nil, err
	}

	conf := oauth2.Config{
		ClientID:     os.Getenv("AUTH0_CLIENT_ID"),
		ClientSecret: os.Getenv("AUTH0_CLIENT_SECRET"),
		RedirectURL:  os.Getenv("AUTH0_CALLBACK_URL"),
		Endpoint:     provider.Endpoint(),
		Scopes:       []string{oidc.ScopeOpenID, "profile"},
	}

	return &Authenticator{
		Provider: provider,
		Config:   conf,
	}, nil
}

// VerifyIDToken verifies that an *oauth2.Token is a valid *oidc.IDToken.
func (a *Authenticator) VerifyIDToken(ctx context.Context, token *oauth2.Token) (*oidc.IDToken, error) {
	rawIDToken, ok := token.Extra("id_token").(string)
	if !ok {
		return nil, errors.New("no id_token field in oauth2 token")
	}

	oidcConfig := &oidc.Config{
		ClientID: a.ClientID,
	}

	return a.Verifier(oidcConfig).Verify(ctx, rawIDToken)
}
各エンドポイントに対応するHandlerの作成
すべてactions/home.goに追記しています。実際にアプリケーションで利用する場合は、適宜別ファイルに切り出すなどしてください。
また、Handlerの内容は基本的にはAuth0公式のQuickstarts[2:1]のものを参考にBuffalo用に少し修正しています。
loginHandler
package actions

import (
	"crypto/rand"
	"encoding/base64"
	"encoding/gob"
	"net/http"

	"github.com/gobuffalo/buffalo"
)

func loginHandler(c buffalo.Context) error {
	// create auth
	auth, err := New()
	if err != nil {
		return c.Render(http.StatusInternalServerError, r.JSON(err))
	}

	// generate state
	state, err := generateRandomState()
	if err != nil {
		return c.Render(http.StatusInternalServerError, r.JSON(err))
	}

	// set state in session
	c.Session().Set("state", state)
	if err := c.Session().Save(); err != nil {
		return c.Render(http.StatusInternalServerError, r.JSON(err))
	}

	// redirect to auth0 login page
	return c.Redirect(http.StatusFound, auth.AuthCodeURL(state))
}

func generateRandomState() (string, error) {
	b := make([]byte, 32)
	_, err := rand.Read(b)
	if err != nil {
		return "", err
	}

	state := base64.StdEncoding.EncodeToString(b)

	return state, nil
}
callbackHandler
func callbackHandler(c buffalo.Context) error {
	if c.Session().Get("state") != c.Request().URL.Query().Get("state") {
		return c.Render(http.StatusBadRequest, r.JSON("Invalid state parameter"))
	}
	// create auth
	auth, err := New()

	// Exchange an authorization code for a token.
	token, err := auth.Exchange(c, c.Request().URL.Query().Get("code"))
	if err != nil {
		return c.Render(http.StatusInternalServerError, r.JSON(err))
	}

	// verify id token
	idToken, err := auth.VerifyIDToken(c, token)
	if err != nil {
		return c.Render(http.StatusInternalServerError, r.JSON(err))
	}

	var profile map[string]interface{}
	if err := idToken.Claims(&profile); err != nil {
		return c.Render(http.StatusInternalServerError, r.JSON(err))
	}

	// set access token in session
	c.Session().Set("access_token", token.AccessToken)
	// set user info in session
    // 事前にヒントを与えておかないとエラーになります
	gob.Register(profile)
	c.Session().Set("user_info", profile)

	if err := c.Session().Save(); err != nil {
		return c.Render(http.StatusInternalServerError, r.JSON(err))
	}

	// redirect to user page
	return c.Redirect(http.StatusFound, "/user")
}
logoutHandler
// logout handler
func logoutHandler(c buffalo.Context) error {
	c.Session().Clear()
	logoutUrl, err := url.Parse("https://" + os.Getenv("AUTH0_DOMAIN") + "/v2/logout")
	if err != nil {
		return c.Render(http.StatusInternalServerError, r.JSON(err))
	}
	returnTo, err := url.Parse("http://localhost:3000")
	if err != nil {
		return c.Render(http.StatusInternalServerError, r.JSON(err))
	}

	parameters := url.Values{}
	parameters.Add("returnTo", returnTo.String())
	parameters.Add("client_id", os.Getenv("AUTH0_CLIENT_ID"))
	logoutUrl.RawQuery = parameters.Encode()

	return c.Redirect(http.StatusTemporaryRedirect, logoutUrl.String())
}
userHandler
これはQuickstartsにはないため独自実装です。
func userHandler(c buffalo.Context) error {
    userInfo := c.Session().Get("user_info")
    c.Set("user_info", userInfo)

    return c.Render(http.StatusOK, r.HTML("user/index.plush.html"))
}
ユーザー情報を表示するページのテンプレートを作成
単にユーザー情報を表示するだけで、画像データのみ画像として表示するようにしています。
templates/user/index.plush.html
<div>
    <h1>user page</h1>

    <%= for (key, value) in user_info { %>
        <%= if (key == "picture") { %>
            <img src="<%= value %>" alt="user picture" />
        <% } else { %>
            <li><%= key %> - <%= value %></li>
        <% } %>
    <% } %>
</div>
Auth0を使うための認証情報を設定
以下内容でBuffaloプロジェクトのルートディレクトリに.envファイルを作成します。
それぞれに入れるべき内容は、Auth0の今回作成したアプリケーションの詳細画面に載っています。
(また、Auth0にログインした状態でQuickstartsを閲覧していれば、値が書かれた状態の.envファイルが表示されます。)
# Save this file in ./.env

# The URL of our Auth0 Tenant Domain.
# If you're using a Custom Domain, be sure to set this to that value instead.
AUTH0_DOMAIN='{yourDomain}'

# Our Auth0 application's Client ID.
AUTH0_CLIENT_ID='{yourClientId}'

# Our Auth0 application's Client Secret.
AUTH0_CLIENT_SECRET='{yourClientSecret}'

# The Callback URL of our application.
AUTH0_CALLBACK_URL='http://localhost:3000/callback'
動作確認
以上実装が完了したらBuffaloを起動させます。
$ buffalo dev
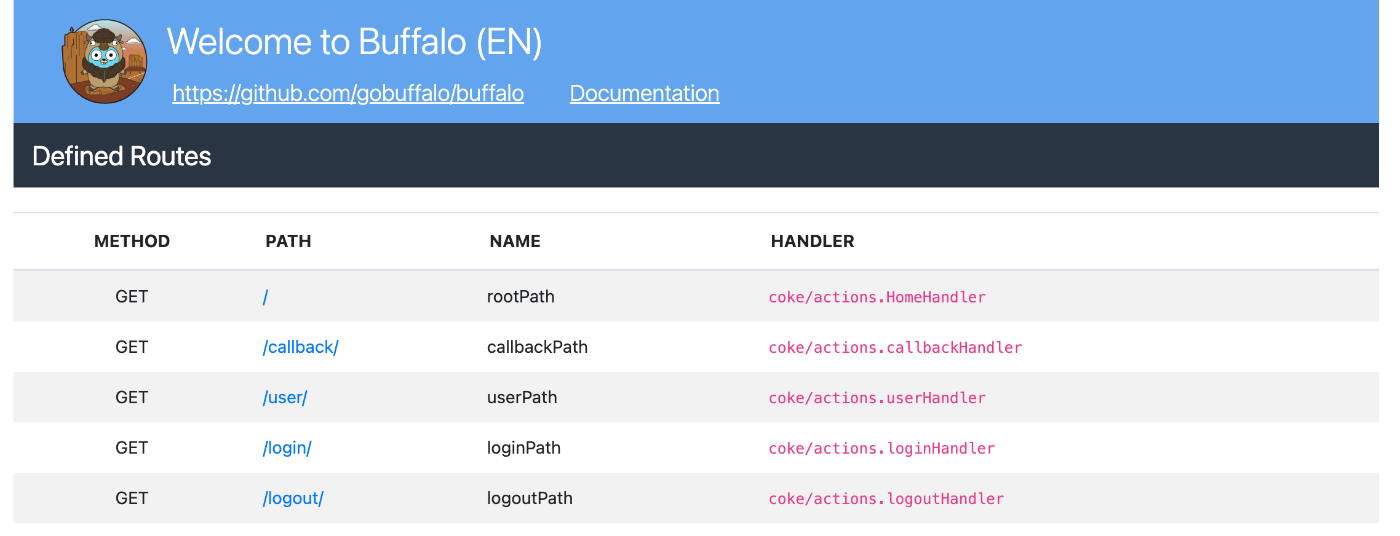
トップページへアクセスすると、各ルートへのパスが表示されます。

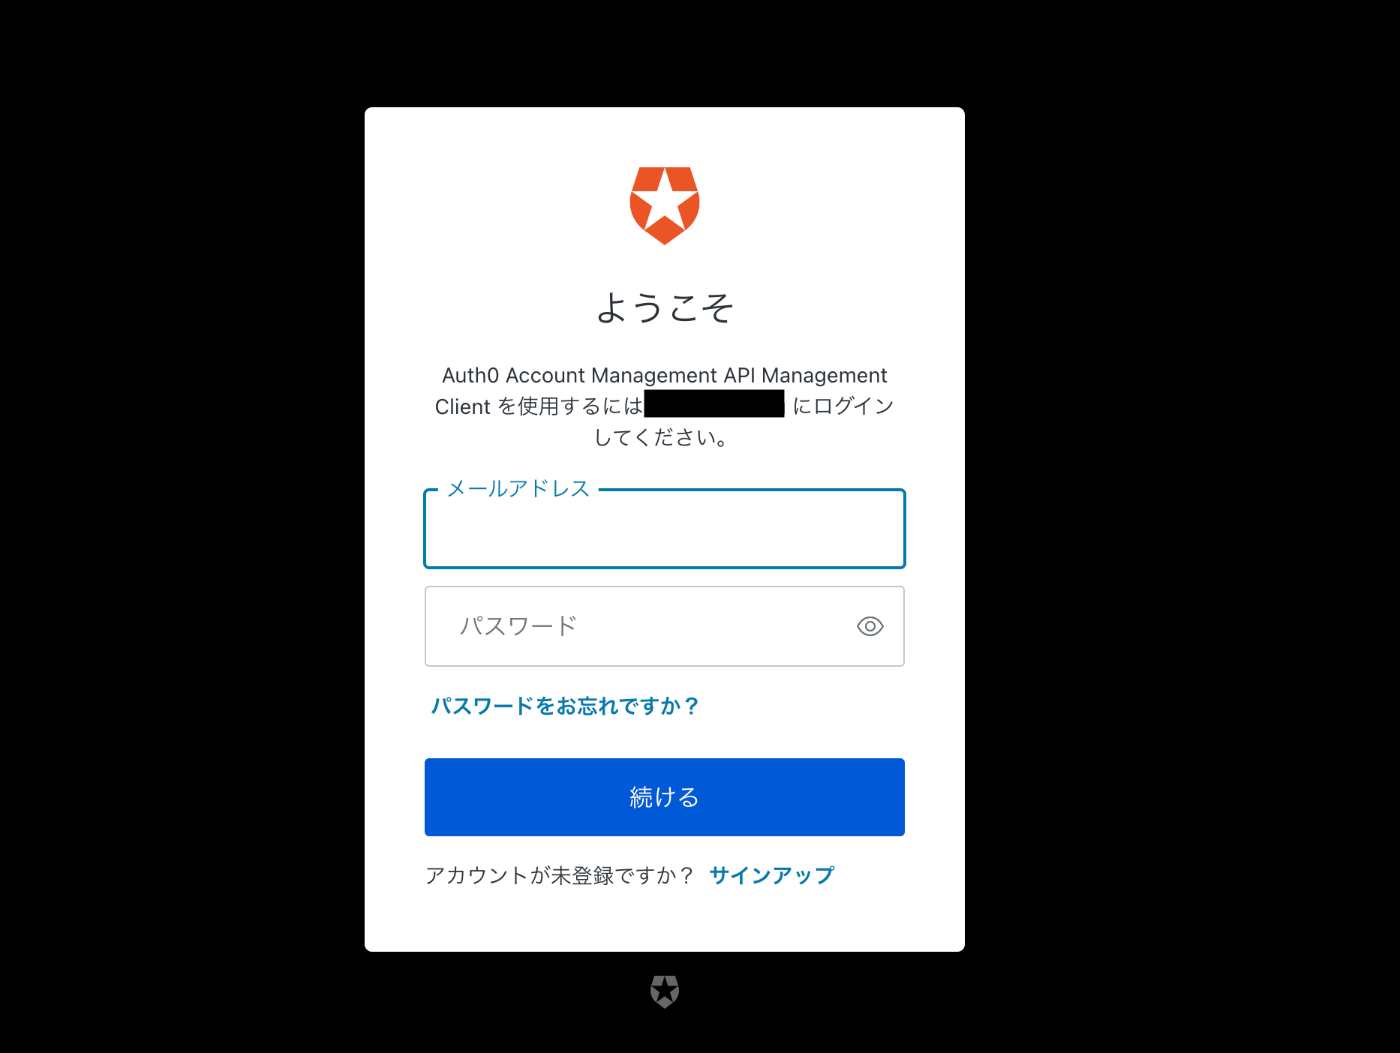
ログインページへ飛ぶと、Auth0側のログイン画面へ遷移するので、作成したテストユーザーでログインします。ログインに成功すると/callbackへリダイレクトします。

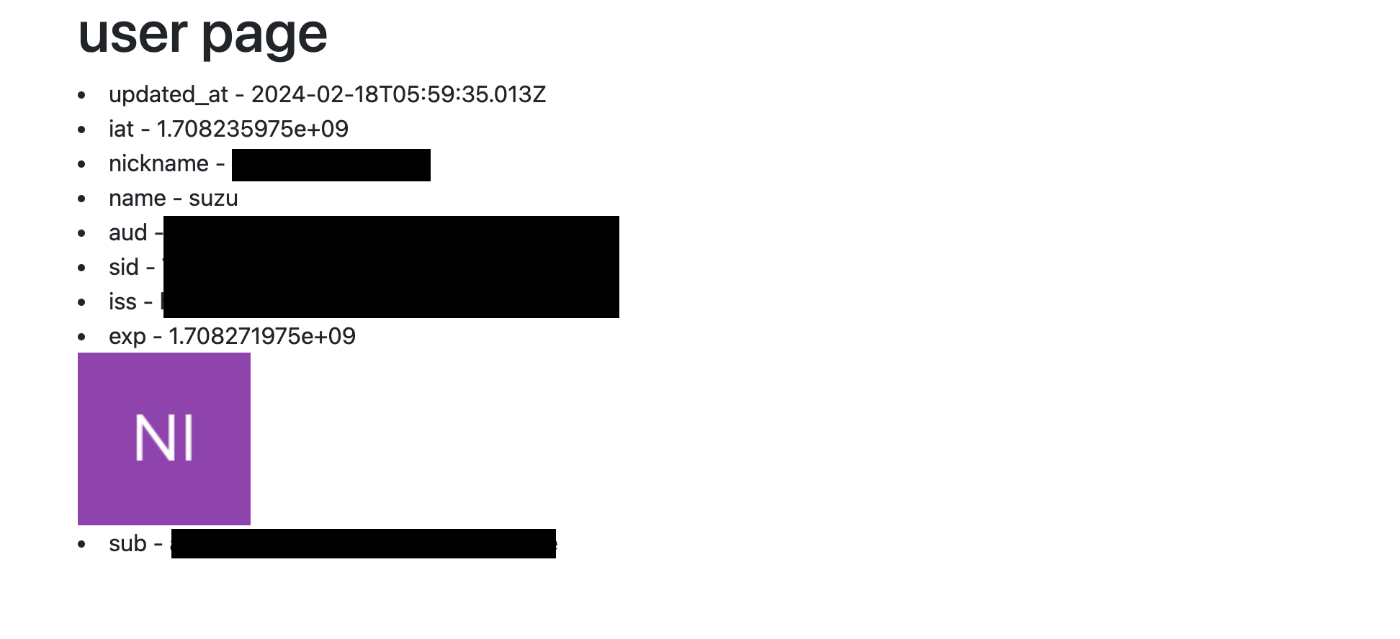
認証に問題がなければ、/userページへ遷移し、ログインしたユーザーの情報が表示されます。

メモ
- 認証情報はあっているのに認証がうまくいかない
- Auth0上の
Authentication → Database → Applicationsで、対象のアプリケーションに対してコネクション利用が許可されていないかもしれません。
- Auth0上の
-
Auth0公式のGolangでのquickstartドキュメント
ログインしていると、.envファイルの内容などが自身のアプリケーションに対応した記述になります。また、作成したアプリケーションの詳細画面からもQuickstartsを見ることができます。 ↩︎ ↩︎
Discussion