🫧
React Native スタート&WeatherApp
React Nativeでアプリ開発をする際、JavaやXcodeのようなネイティブ開発環境をインストールせずに、簡単にアプリをテストしてビルドすることができるツールです。
開発者が迅速にアプリ開発を開始できるようにサポートするツールであり、Expo CLIを通じてプロジェクトの作成や管理が行えます。
Expo CLIのインストール
Expo CLIをインストールするには、ターミナルで次のコマンドを実行します。
$ npm install --global expo-cli
権限の問題でインストールできない場合は、sudoを前に付けて実行します。
$ brew update
$ brew install watchman
Macユーザーは、Watchmanもインストールする必要があります。Watchmanはファイルの変更を検出して、開発プロセスをより効率的にします。
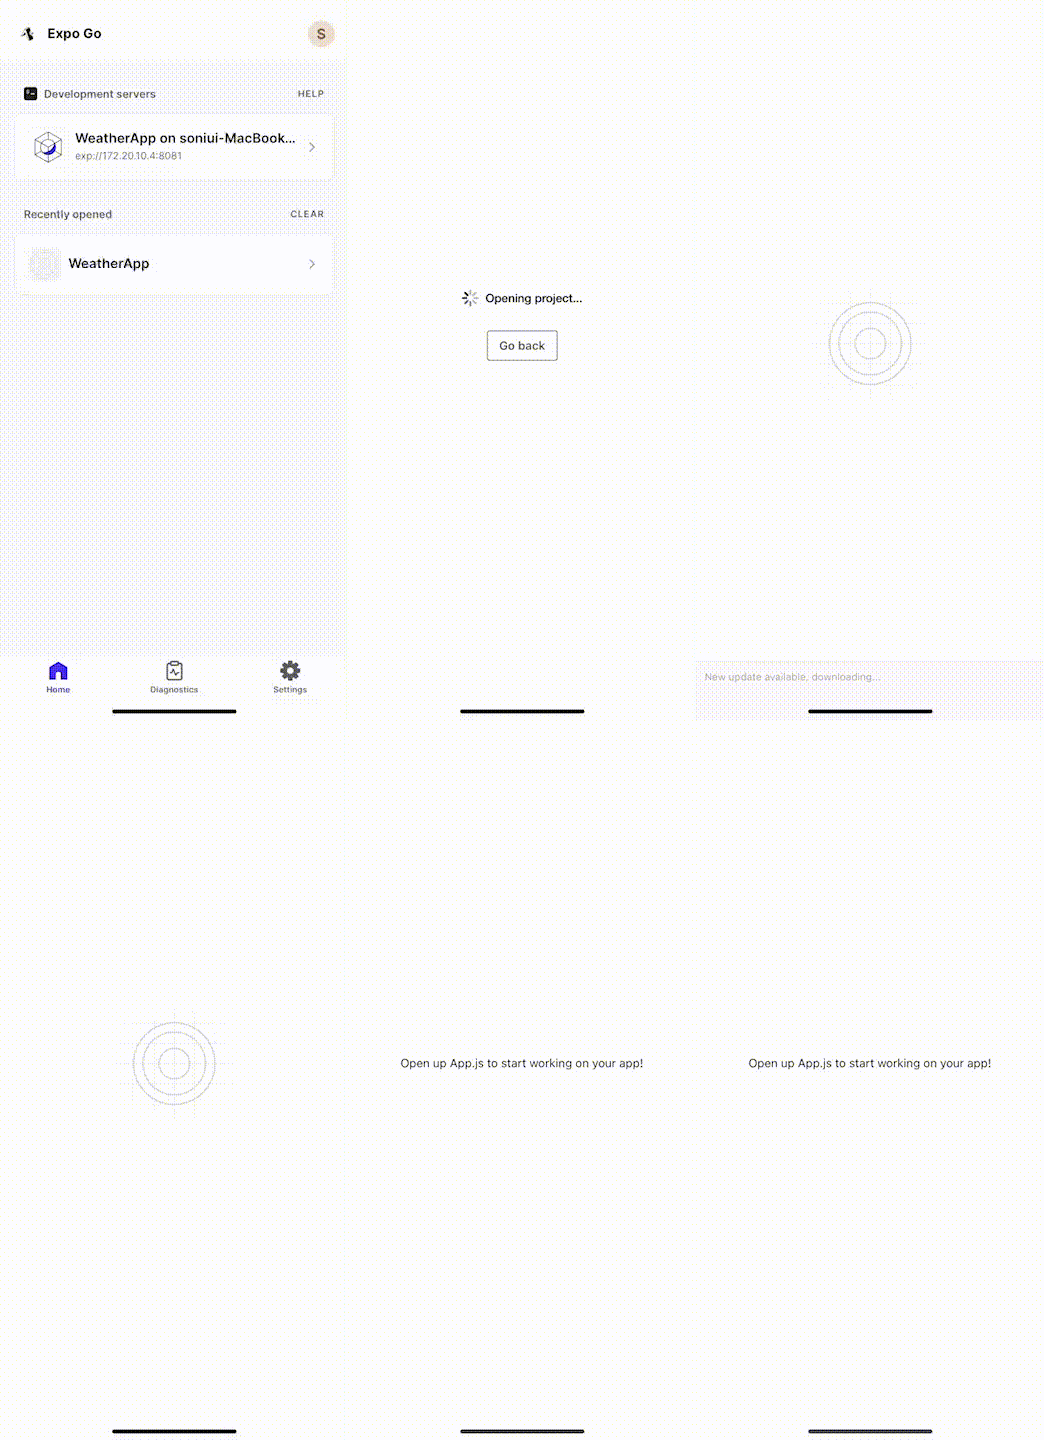
iOSの場合Expo GoをDLしてログインしたら完了!
React Native project Start
npx create-expo-app アプリ名
npx expo login
npm start
iOSデバイスにExpo Goアプリをダウンロードしてログインした後、npm startを実行すると、開発中のアプリを直接見ることができます。

Expoを利用したウェブでのテスト
Expoアプリはウェブ上でもテストすることができます。以下のリンクを通じて可能です。
基本コンポーネント
View: コンテナを意味します。
text: テキストは常に<Text>タグ内になければなりません。
StyleSheet: スタイルを適用する際に使用します。StyleSheetを使用しない場合、CSSを記述する際のオートコンプリート機能が動作しないため、不便になることがあります。
位置情報の取得
ユーザーの天気位置情報を取得するために、expo-locationライブラリをインストールします。
npx expo install expo-location
ユーザーの位置情報にアクセスするために必要な権限を要求し、ユーザーの現在の位置情報を取得します。
  const ask = async () => {
    const permission = await Location.requestForegroundPermissionsAsync();
    console.log(permission);
  };
天気データの取得
ユーザーの位置を基に天気データを取得します。これにはOpenWeatherMap APIを使用します。
  const [city, setCity] = useState("Loadding...");
  const [days, setDays] = useState([]);
  const [ok, setOk] = useState(true);
  const [errorMsg, setErrorMsg] = useState(null);

  const getWeather = async () => {
    const { granted } = await Location.requestForegroundPermissionsAsync();
    if (!granted) {
      setOk(false);
    }
    const {
      coords: { latitude, longitude },
    } = await Location.getCurrentPositionAsync({ accuracy: 5 });
    const location = await Location.reverseGeocodeAsync(
      {
        latitude,
        longitude,
      },
      { useGoogleMaps: false }
    );
    setCity(location[0].city);
    const res = await fetch(
      `https://api.openweathermap.org/data/2.5/forecast?lat=${latitude}&lon=${longitude}&appid=${apikey}&units=metric`
    );
    const json = await res.json();
    setDays(
      json.list.filter((weather) => {
        if (weather.dt_txt.includes("00:00:00")) {
          return weather;
        }
      })
    );
  };

  useEffect(() => {
    getWeather();
  }, []);
Discussion