🆙
WinBox.jsで作成したウィンドウにアイコンボタンを追加する方法(サンプルコードあり)
今回はWinBoxで作成したウィンドウに新しく任意のアイコンボタンを追加する方法を記載
例としてアップロードボタンを作成する。
プロジェクト名/src/WinboxComponent.jsのソースの他に、
使用するアイコンのsvgファイルプロジェクト名/public/upload.svgを用意します。
リファレンスに記載の通りaddControl関数を使用します。
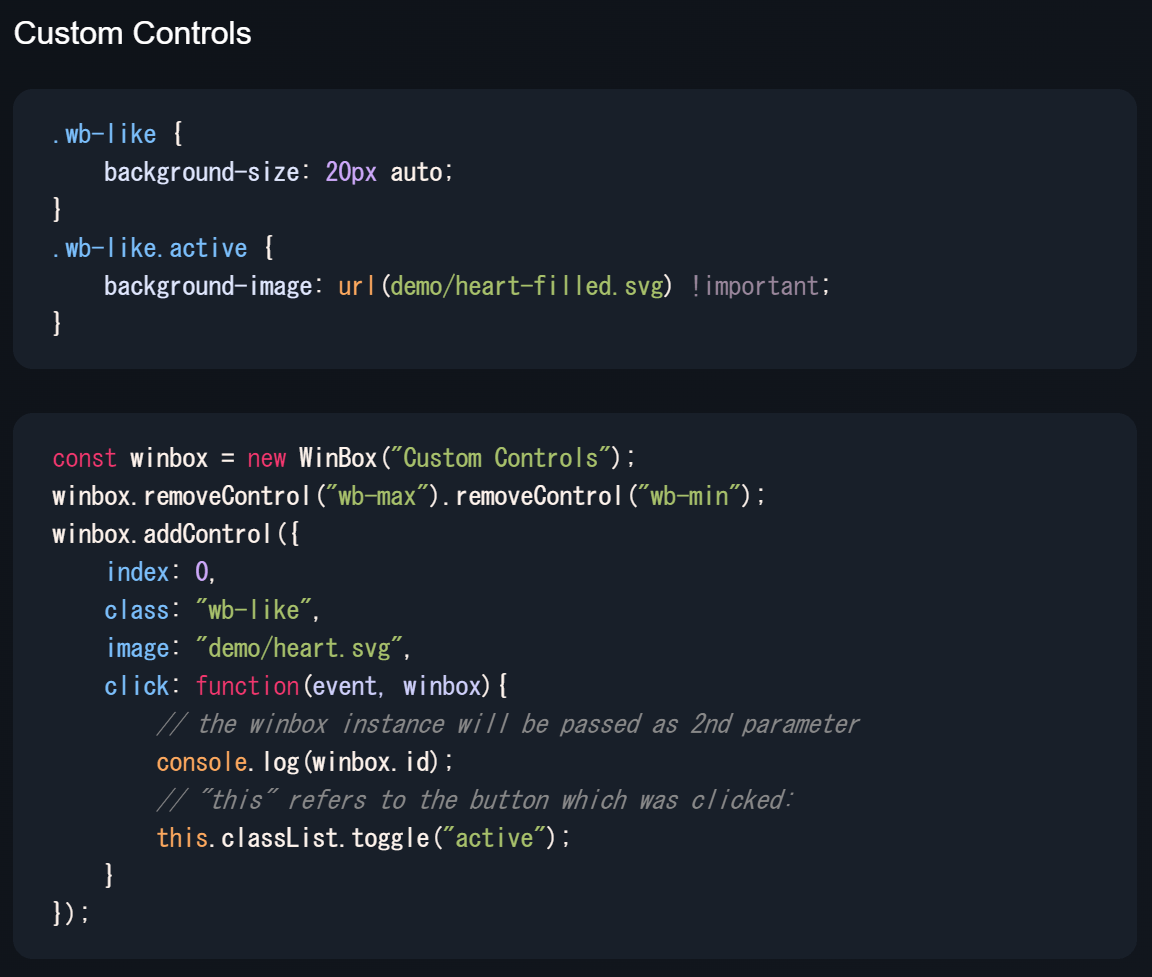
以下サンプルコード
WinboxComponent.js
import React, { useRef } from "react";
import { Button } from "@chakra-ui/react";
import WinBox from "winbox/src/js/winbox";
const WinboxComponent = () => {
const winboxRef = useRef(null);
const openWinbox = () => {
if (!winboxRef.current) {
const winbox = new WinBox({
title: "Tabulator Table in WinBox",
width: "80%",
height: "80%",
x: "center",
y: "center",
mount: document.createElement("div"),
onclose: () => (winboxRef.current = null),
});
// アイコンボタン(upload.svg)をWinBoxウィンドウに追加
winbox.addControl({
index: 0, // コントロールの位置を指定
class: "wb-upload", // カスタムクラス
image: "upload.svg", // アイコンボタンの画像パス
click: function (event, winbox) {
// ファイルインプット要素を作成
const fileInput = document.createElement("input");
fileInput.type = "file";
fileInput.style.display = "none"; // 要素を非表示にする
// ファイルが選択されたときのイベントハンドラ
fileInput.onchange = (e) => {
const file = e.target.files[0];
if (!file) {
return; // ファイルが選択されていない場合は何もしない
}
// ここでファイルに対する操作を行う
console.log("Selected file:", file.name);
// ファイルアップロード処理など、必要に応じてここに実装
};
// ファイル選択ダイアログを開く
fileInput.click();
// 後処理として、input要素をDOMから削除
document.body.appendChild(fileInput);
fileInput.addEventListener("change", () => {
document.body.removeChild(fileInput);
});
},
});
}
};
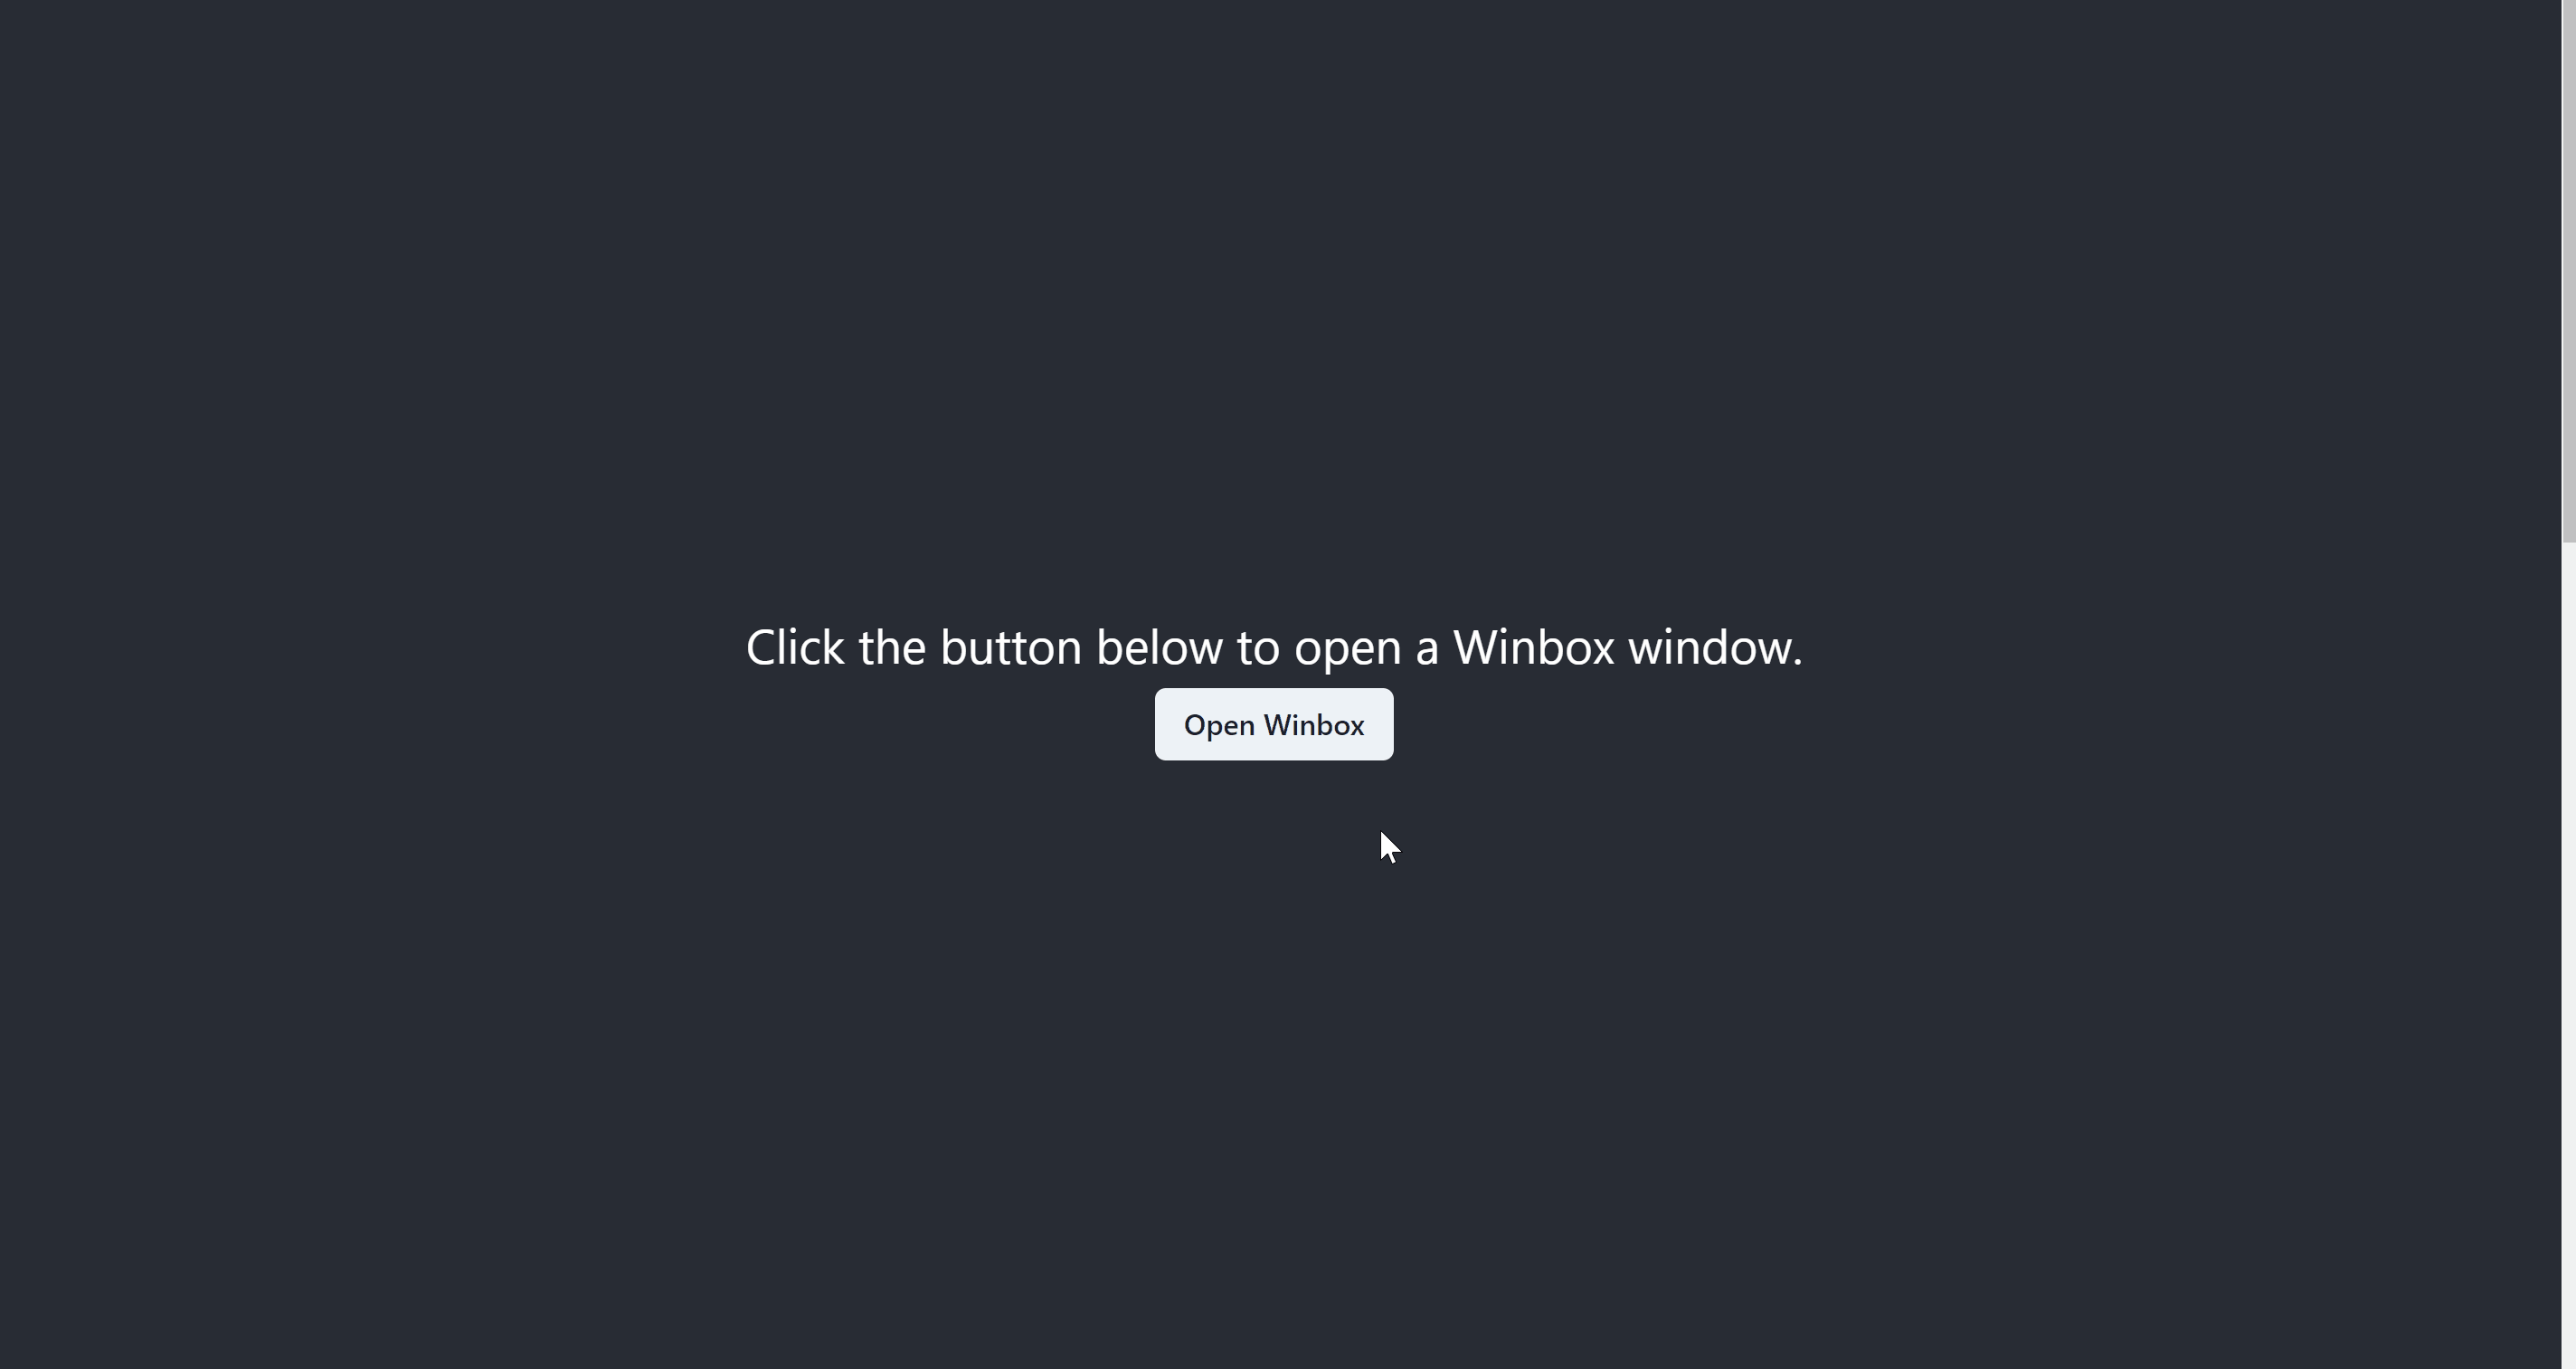
return (
<div>
<Button onClick={openWinbox}>Open Winbox</Button>
</div>
);
};
export default WinboxComponent;
実行結果
Discussion