zola でブログサイトを作成し GitHub Pages にデプロイする

概要
zola でブログサイトを作成し GitHub Pages にデプロイします。
ブログサイトのリポジトリは非公開にしたいので、ブログサイトの管理とデプロイするリポジトリは別けます。
リポジトリ
次の2つのリポジトリを用意します。
- ブログサイトを管理する非公開リポジトリ
- ブログサイトをデプロイする公開リポジトリ
環境構築
VSCode の devcontainer で zola の環境を構築します。
-
devcontainer の定義ファイルを作成します。
.devcontainer/devcontainer.json// For format details, see https://aka.ms/devcontainer.json. For config options, see the // README at: https://github.com/devcontainers/templates/tree/main/src/alpine { "name": "blog-site", "image": "mcr.microsoft.com/devcontainers/base:alpine-3.16", // Features to add to the dev container. More info: https://containers.dev/features. // "features": {}, // Use 'forwardPorts' to make a list of ports inside the container available locally. // "forwardPorts": [], // Use 'postCreateCommand' to run commands after the container is created. "postCreateCommand": "sudo apk add zola", // Configure tool-specific properties. "customizations": { "vscode": { "extensions": [ "mutantdino.resourcemonito", "tamasfe.even-better-toml" ] } } // Uncomment to connect as root instead. More info: https://aka.ms/dev-containers-non-root. // "remoteUser": "root" } -
devcontainer を起動します。(以降の作業手順は devcontainer で実施します。)
-
zola の 初期化 を実施します。
zola init my_siteディレクトリ構成
. ├── README.md └── my_site ├── config.toml ├── content ├── sass ├── static ├── templates └── themes -
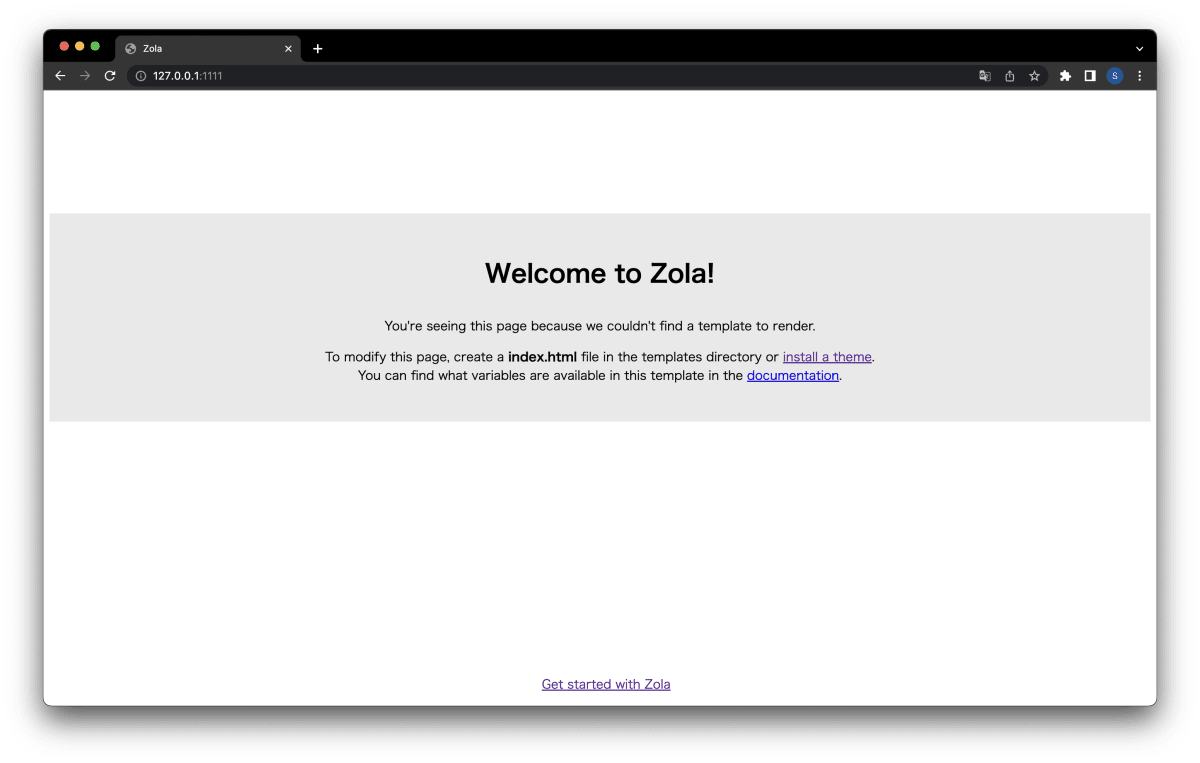
初期化で生成されたサイトをブラウザで確認します。
my_siteディレクトリに移動してローカルサーバーを起動します。zola serveブラウザ
テーマの導入
Zola themes からブログテーマ simple-dev-blog を使用します。
-
テーマを
my_site/themesディレクトリにクローンします。git clone --depth=1 \ https://github.com/bennetthardwick/simple-dev-blog-zola-starter \ themes/simple-dev-blog -
config.toml に
theme,taxonomiesを追記します。my_site/config.toml# The URL the site will be built for base_url = "https://st-little.github.io" theme = "simple-dev-blog" taxonomies = [ { name = "tags" } ] # Whether to automatically compile all Sass files in the sass directory compile_sass = true # Whether to build a search index to be used later on by a JavaScript library build_search_index = true [markdown] # Whether to do syntax highlighting # Theme can be customised by setting the `highlight_theme` variable to a theme supported by Zola highlight_code = true [extra] # Put all your custom variables here -
テーマの内容
my_site/themes/simple-dev-blogをコンテンツmy_site/contentにコピーします。cp themes/simple-dev-blog/content/* ./content -r -
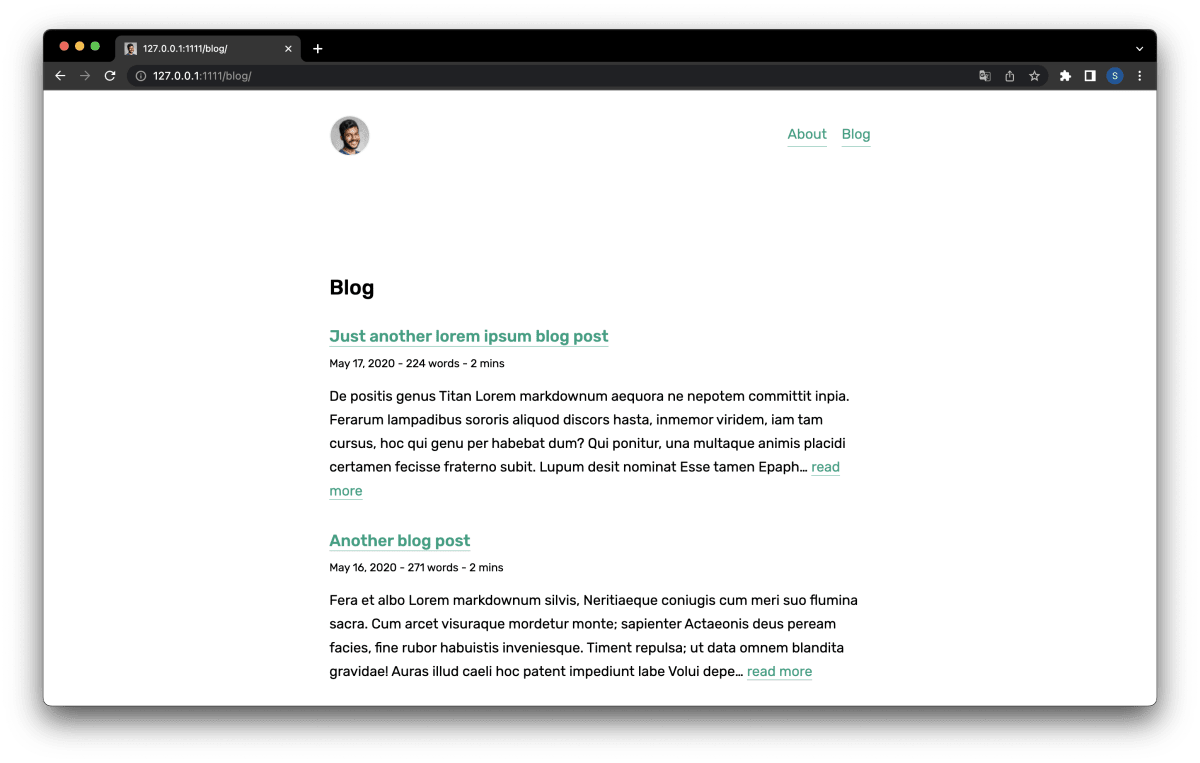
ブラウザでテーマが反映されていることを確認します。
Top
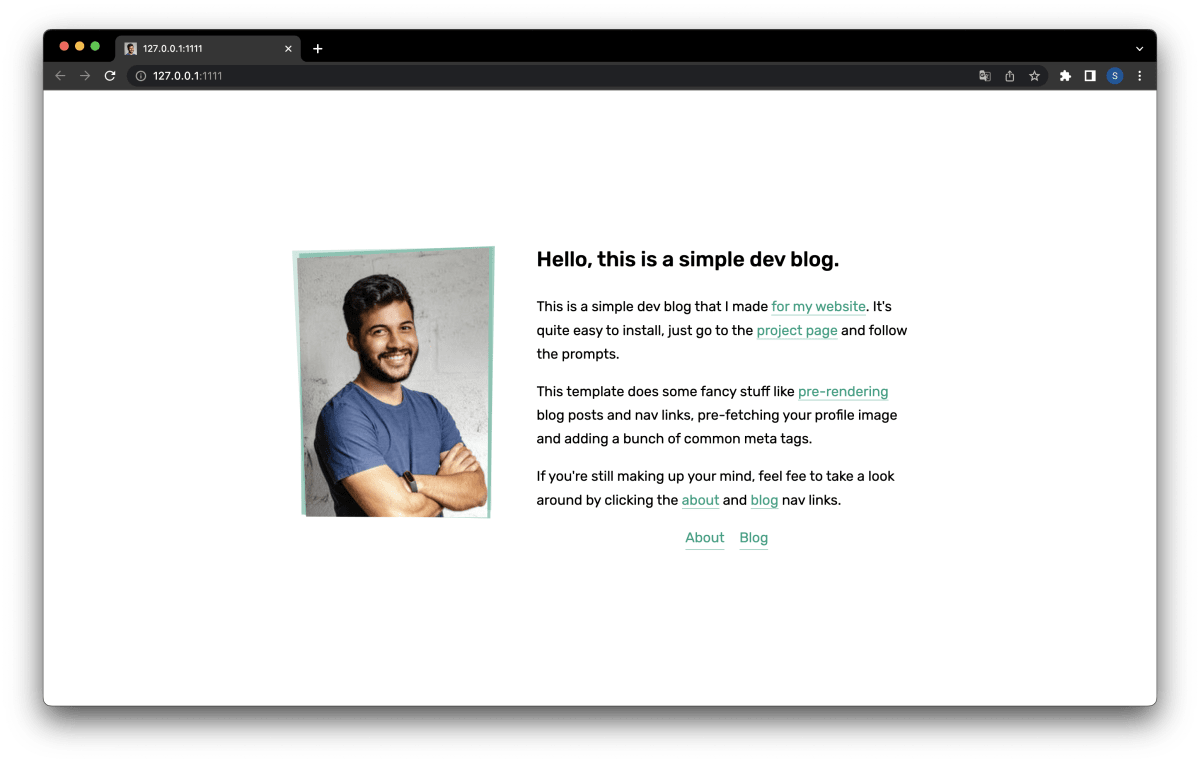
About
Blog
テーマのカスタマイズ
トップ画面
-
my_site/content/_index.mdを編集します。
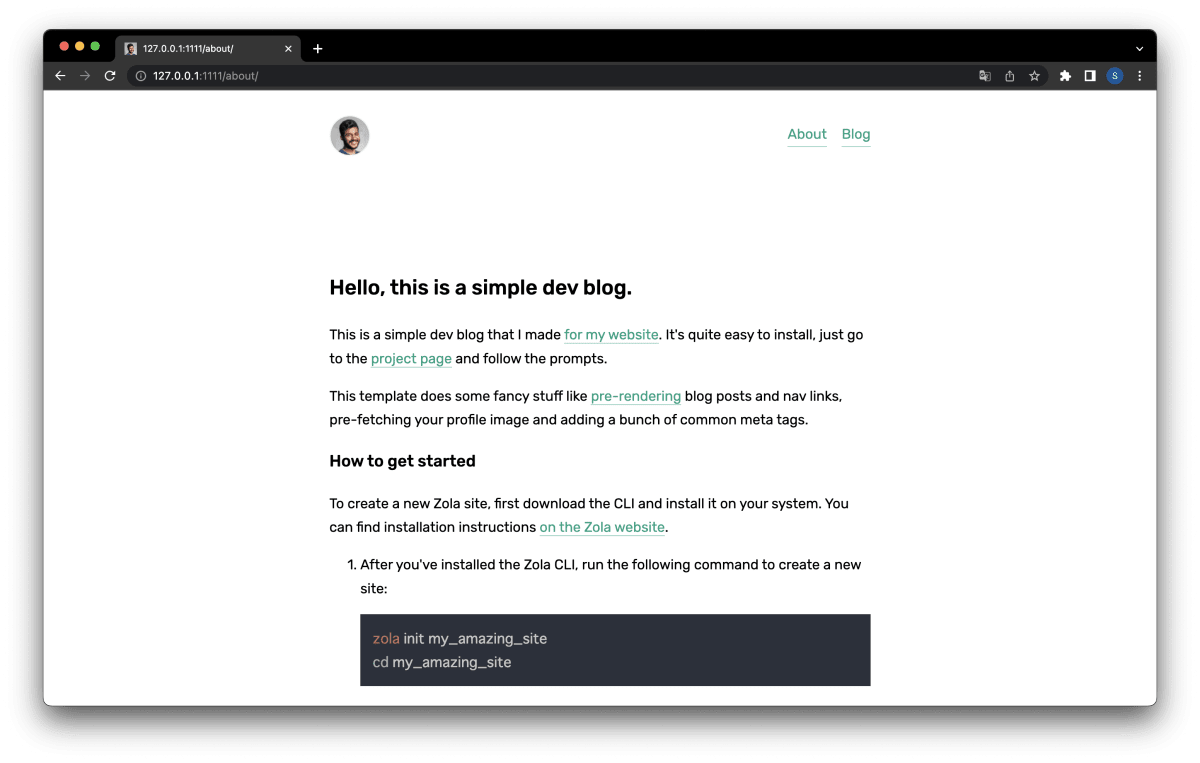
About 画面
-
my_site/content/about.mdを編集します。
プロフィール画像、アイコン画像
-
新しいプロフィール画像、アイコン画像を保存します。
- プロフィール画像: my_site/content/profile.jpg
- アイコン画像: my_site/content/icon.jpg
-
config.toml の
[extra]で画像のファイル名を設定します。my_site/config.toml[extra] icon = "icon.jpg" profile_small = "icon.jpg"
フッター
フッターに表示される次の文言を削除します。
A simple dev-blog theme created by Bennett. You can follow him on Github (if you like).
-
config.toml の
[extra]でフッターの文言を空文字に設定します。my_site/config.toml[extra] footer_about = ""
ブログ記事の作成
-
新しいブログ記事
2022-12-01-create-blog-site-with-zola.mdを作成します。touch content/blog/2022-12-01-create-blog-site-with-zola.md -
+++ブロックを追記してタイトルとタグを定義します。my_site/content/blog/2022-12-01-create-blog-site-with-zola.md+++ title = "zola で作ったブログを GitHub Pages で公開する" draft = false [taxonomies] tags = ["zola", "GitHub Pages"] +++下書きにする場合は draft を
trueにします。 -
+++ブロックの次にブログ記事の内容を追記します。
Personal access token の作成
GitHub Actions のデプロイで使用する Personal access token を作成します。
-
Generate new tokenを選択します。 -
Select scopesの public_repo にチェックを入れます。 -
Generate tokenを選択し Personal access token を作成します。 -
作成された Personal access token は GitHub Actions で使用するのでコピーします。
Personal access token の設定
-
ブログサイトを管理するリポジトリを開き Settings を選択します。
-
サイドメニューから Secrets/Actions を選択します。
-
New repository secretを選択します。 -
入力フィールドを入力して
Add secretを選択します。- Name: ACTIONS_DEPLOY_TOKEN
- Secret: Personal access token を貼り付ける
GitHub Actions の作成
GitHub Actions を使用して GitHub Pages にブログサイトをデプロイします。
-
GitHub Pages/Github Actions を参考に GitHub Actions を作成します。
.github/workflows/gh-pages.yml# On every push this script is executed on: push name: Build and deploy GH Pages jobs: build: runs-on: ubuntu-latest if: github.ref == 'refs/heads/main' steps: - name: checkout uses: actions/checkout@v3.0.0 with: submodules: true - name: build_and_deploy uses: shalzz/zola-deploy-action@v0.16.1 env: # Target repository REPOSITORY: st-little/st-little.github.io # Target branch PAGES_BRANCH: gh-pages # Build directory BUILD_DIR: my_site # Provide personal access token TOKEN: ${{ secrets.ACTIONS_DEPLOY_TOKEN }} # Or if publishing to the same repo, use the automatic token #TOKEN: ${{ secrets.GITHUB_TOKEN }}
デプロイの実施
-
main ブランチに作成したブログサイトをマージします。
-
Github Actions でビルド&デプロイが実施されます。
ブログサイトの確認
-
ブログサイトをデプロイするリポジトリを開き Settings を選択します。
-
サイドメニューから Pages を選択します。
-
Visit siteボタンを選択しデプロイしたブログサイトを表示します。
カスタムドメインの設定
-
サブドメイン
blogの DNS レコードを追加します。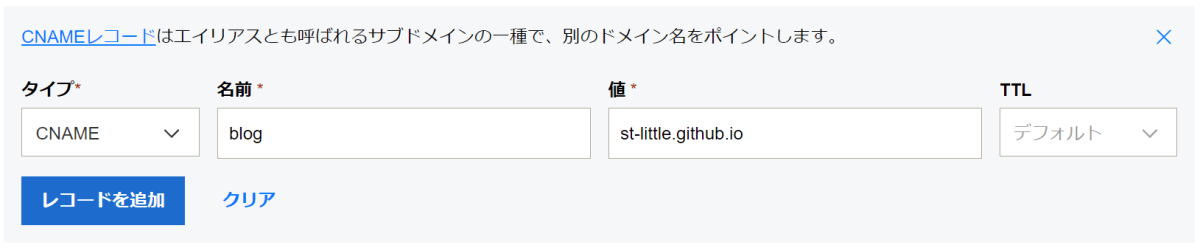
-
ドメインが書かれた
my_site/static/CNAMEファイルを作成します。echo blog.little-method.com > static/CNAMEmy_site/static/CNAMEblog.little-method.com -
CNAMEファイルを main ブランチにマージして GitHub Pages にデプロイします。 -
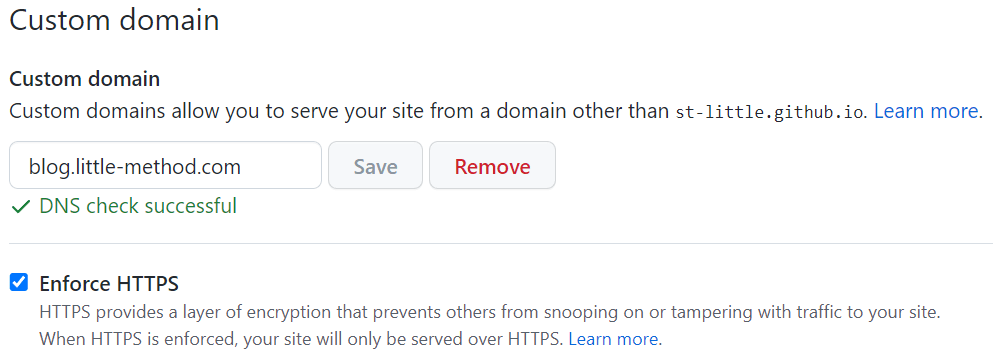
ブログサイトをデプロイするリポジトリを開き Settings を選択します。
-
サイドメニューから Pages を選択します。
-
Custom domain が正しく設定されていることを確認します。
Discussion