NVIDIA Isaac Sim: Hello World
概要
Hello Worldのチュートリアルを進めます。
このチュートリアルはmulti robotのチュートリアルの6部の内の1部目です。
Issac Simのtutorialに上記の内容が記載されており、この内容に沿って進めます。
実行環境
- インストール実行環境
| unit | specification |
|---|---|
| CPU | i9-11900H |
| GPU | GeForce RTX 3080 Laptop |
| RAM | 32GB |
| OS | Ubuntu 20.04.3 LTS |
- Nvidia Driverバージョン
- 510.39.01
- Issac simバージョン
- 2021.2.1
概要
hellow worldのExampleのソースコードに処理を追加し、シーンにCubeを追加します。
まず、Extentsionの機能を用いて、Cubeを追加します。その後、Standalone Applicationでの実行を試します。
次の手順を進めます。
- Hello WorldのExampleのソースコードを開く
- Cubeの処理を追加する
- New Wxampleの追加
- Standalone Applicationでの実行
1. Hello WorldのExampleのソースコードを開く
1.1 OmniverseからIssac Simを起動する

1.2 Hello Worldのソースコードを表示
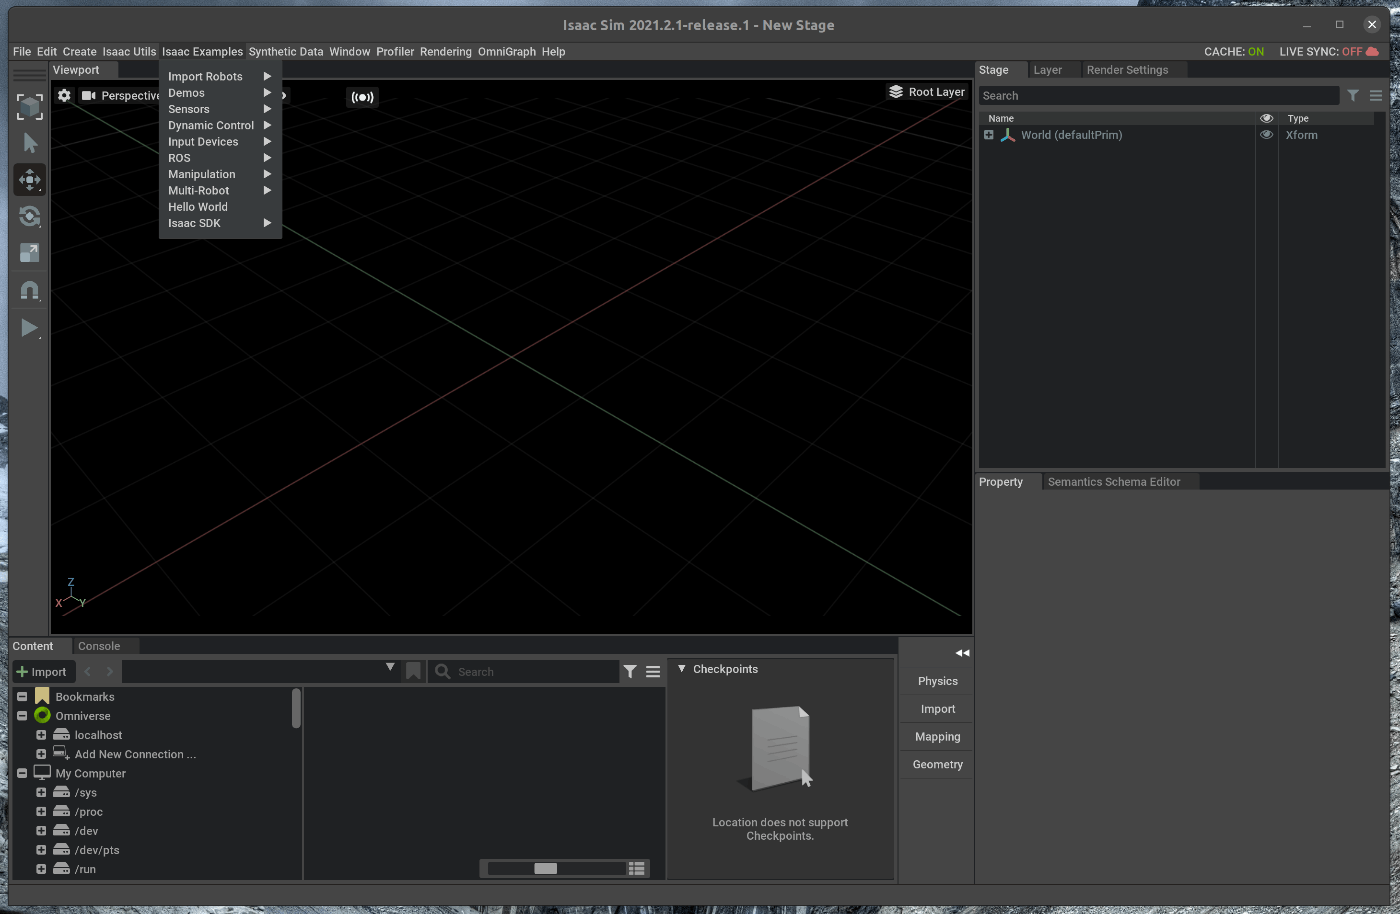
メニューバーのIsaac Examples > Hello Worldを選択します。
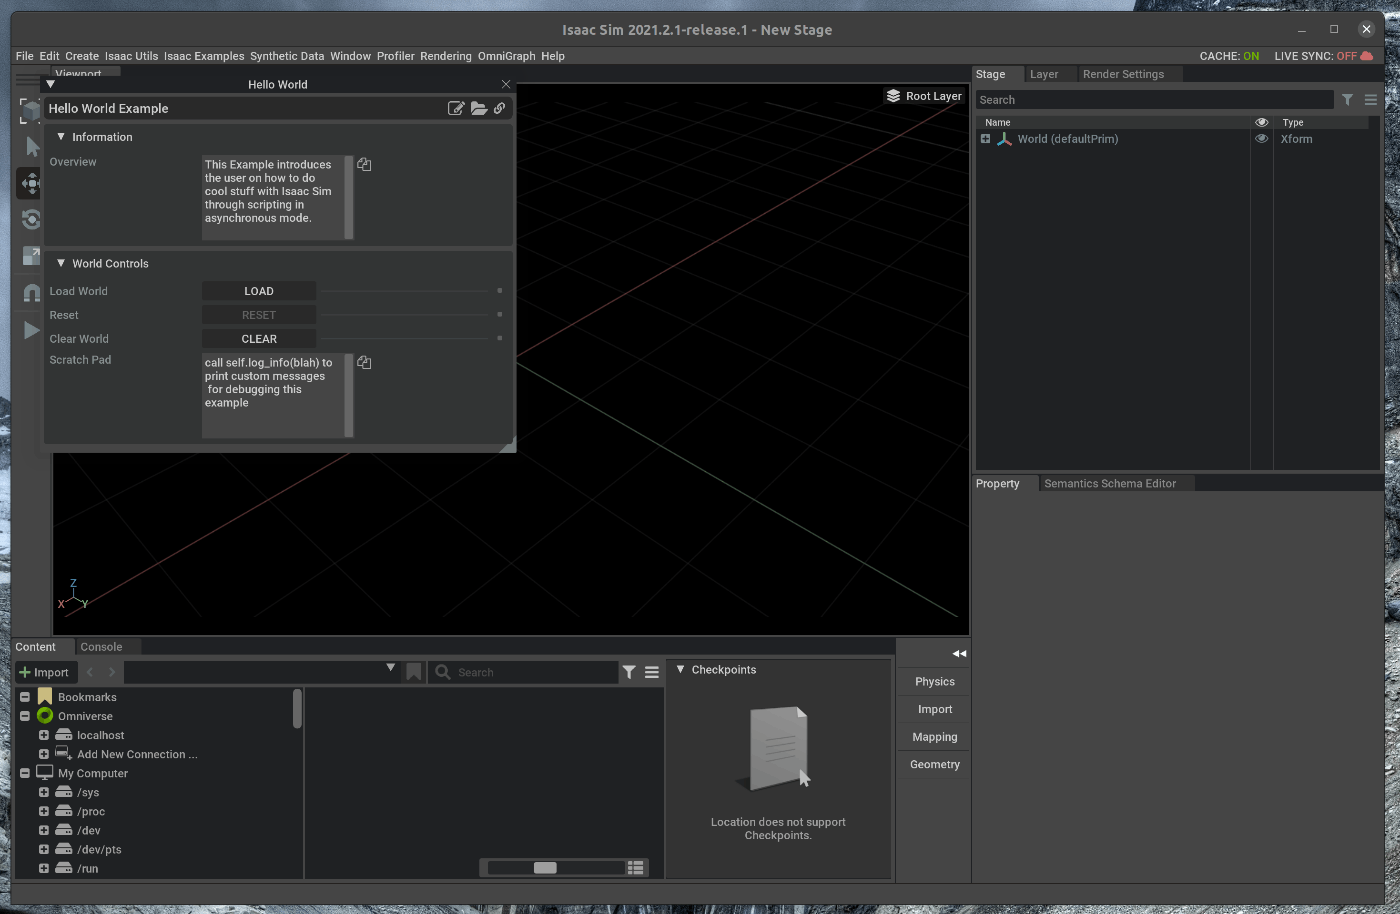
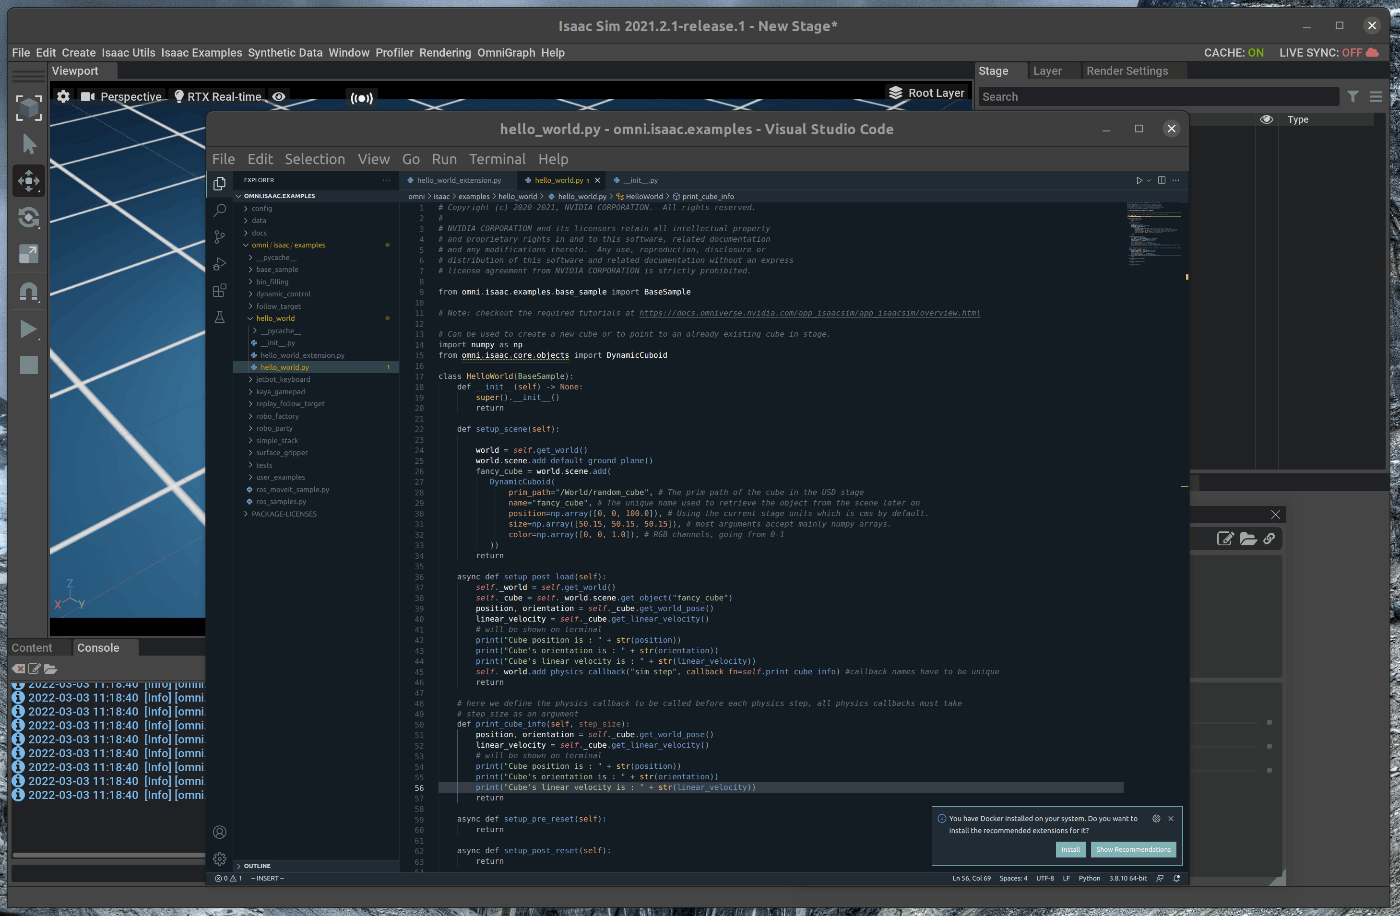
次に、Hello Worldのウィンドウの右上にある3つのボタンの内、一番左側のOpen Source Codeボタンを選択します。
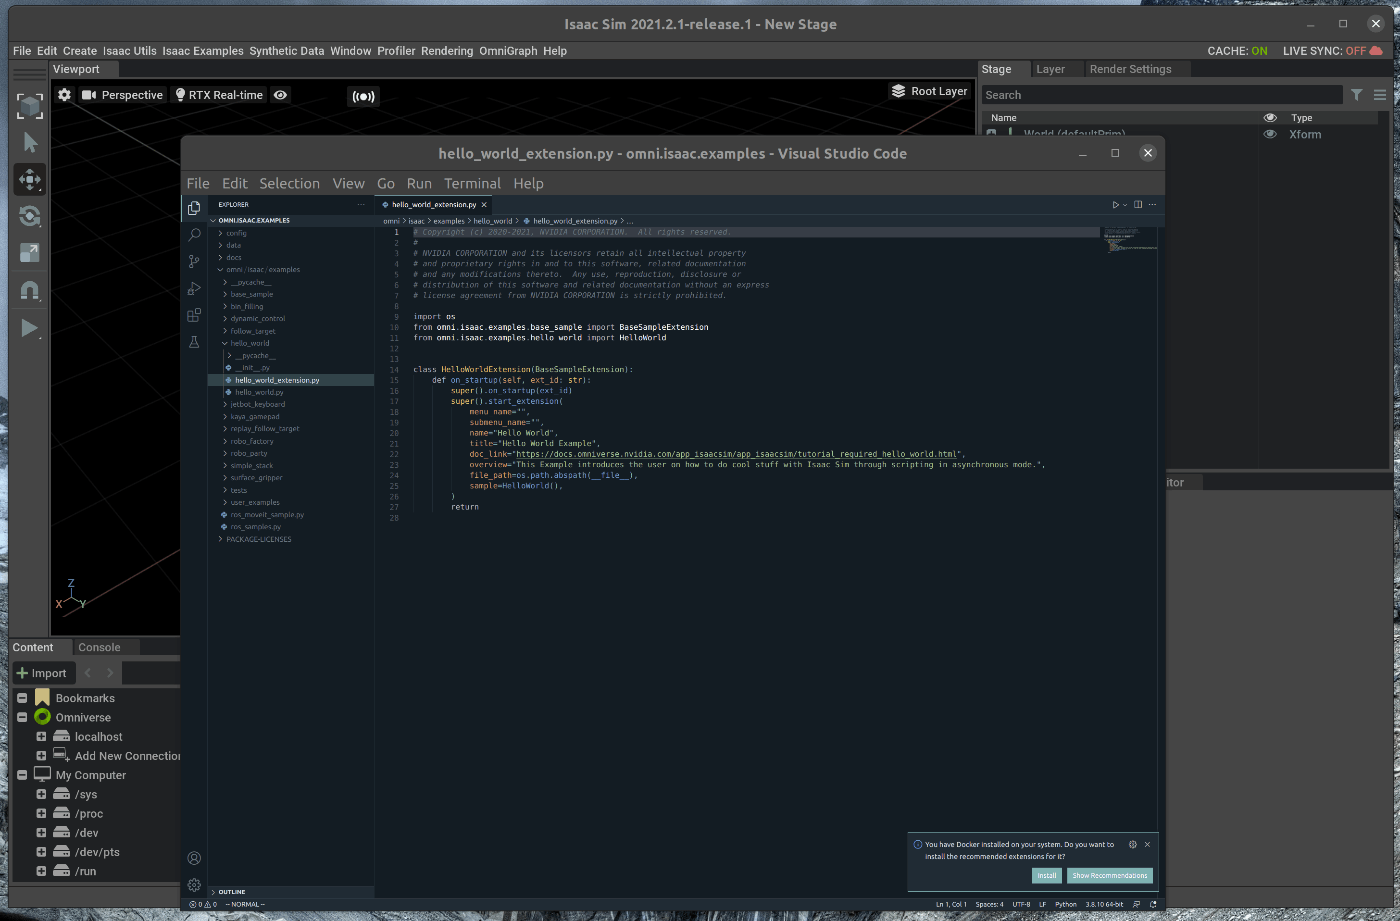
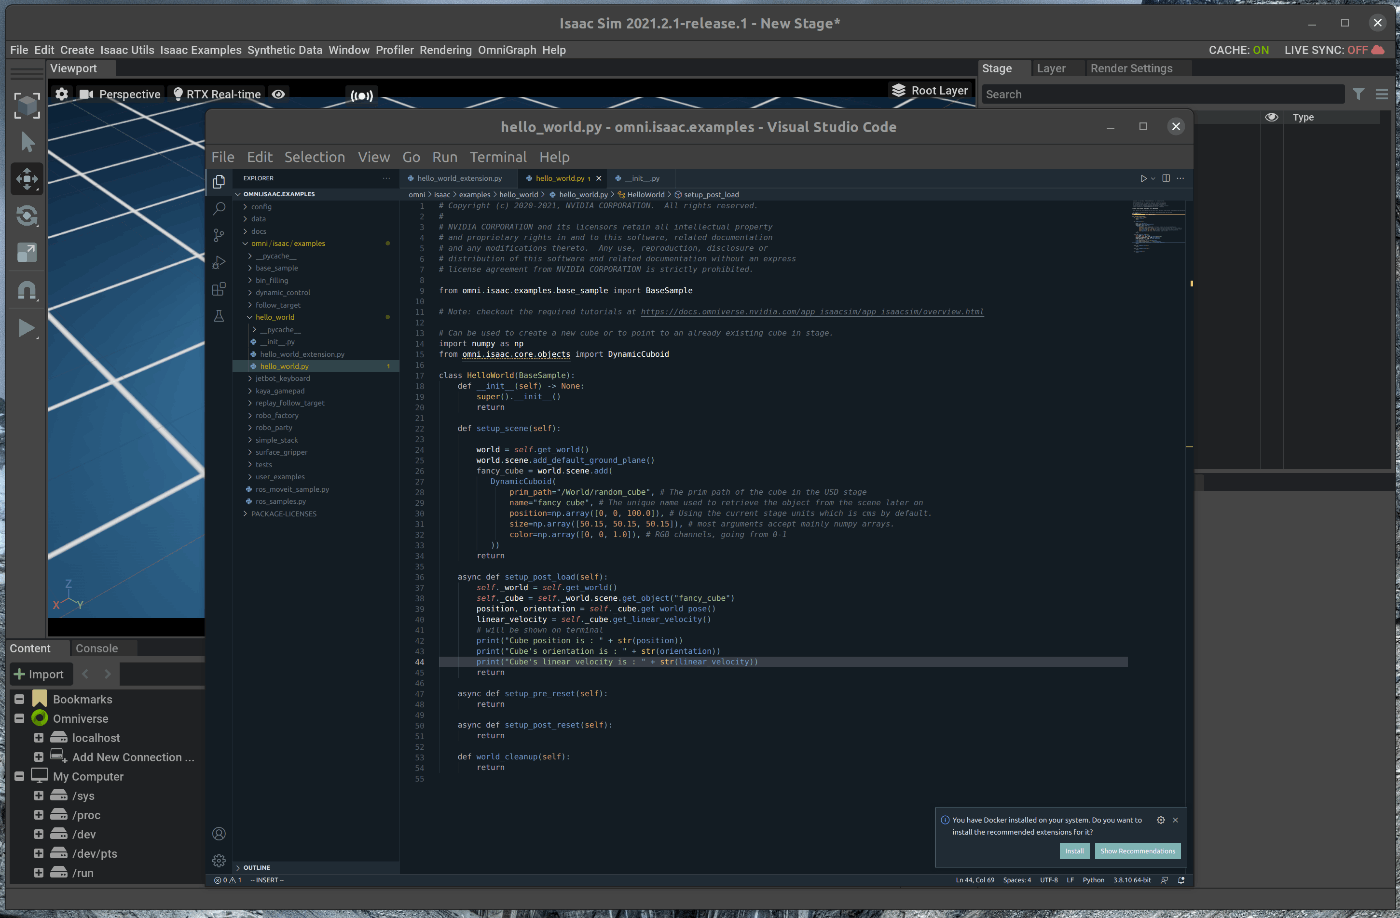
選択すると、がVScodeが開き、Hello Worldのソースコードが表示されます。
2. Cubeの処理を追加する
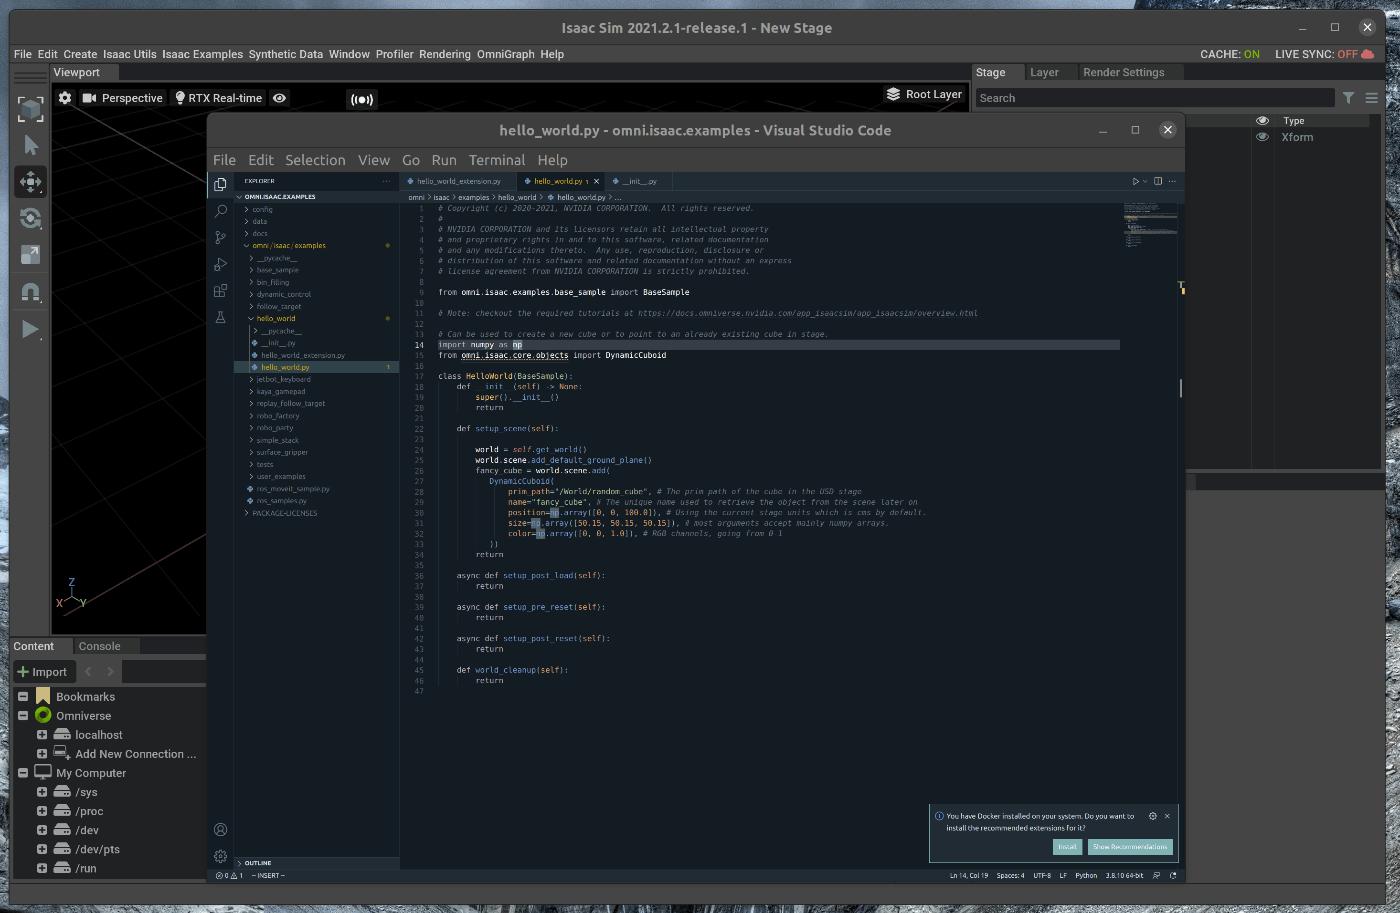
vscode上で、hello_world.pyを編集します。
2.1 Cubeの追加
hello_world.pyのsetup_sceneメソッドに次の処理を追加します。
from omni.isaac.examples.base_sample import BaseSample
import numpy as np
# Can be used to create a new cube or to point to an already existing cube in stage.
from omni.isaac.core.objects import DynamicCuboid ## add code

class HelloWorld(BaseSample):
    def __init__(self) -> None:
        super().__init__()
        return

    def setup_scene(self):
        world = self.get_world()
        world.scene.add_default_ground_plane()
        ## add code
        fancy_cube = world.scene.add(
            DynamicCuboid(
                prim_path="/World/random_cube", # The prim path of the cube in the USD stage
                name="fancy_cube", # The unique name used to retrieve the object from the scene later on
                position=np.array([0, 0, 100.0]), # Using the current stage units which is cms by default.
                size=np.array([50.15, 50.15, 50.15]), # most arguments accept mainly numpy arrays.
                color=np.array([0, 0, 1.0]), # RGB channels, going from 0-1
            ))
        return
追加後、Ctrl+Saveとhot reloadが実行されます。
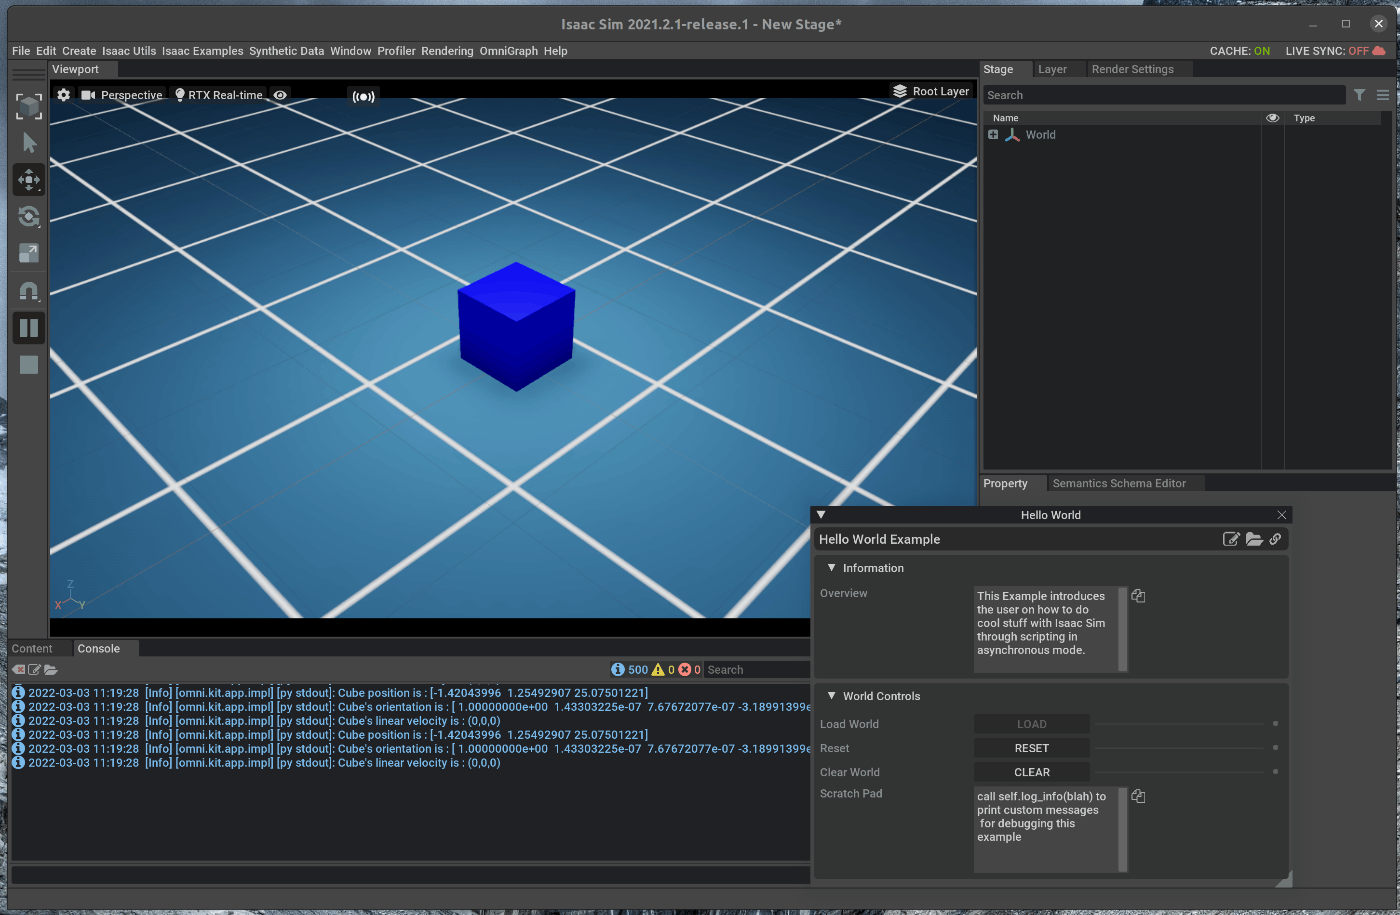
また、ソースコードを変更している為、メニューバーのIsaac Examples > Hello Worldを選択し、Loadを選択すると、ソースコードの変更部分が反映された状態で表示されます。
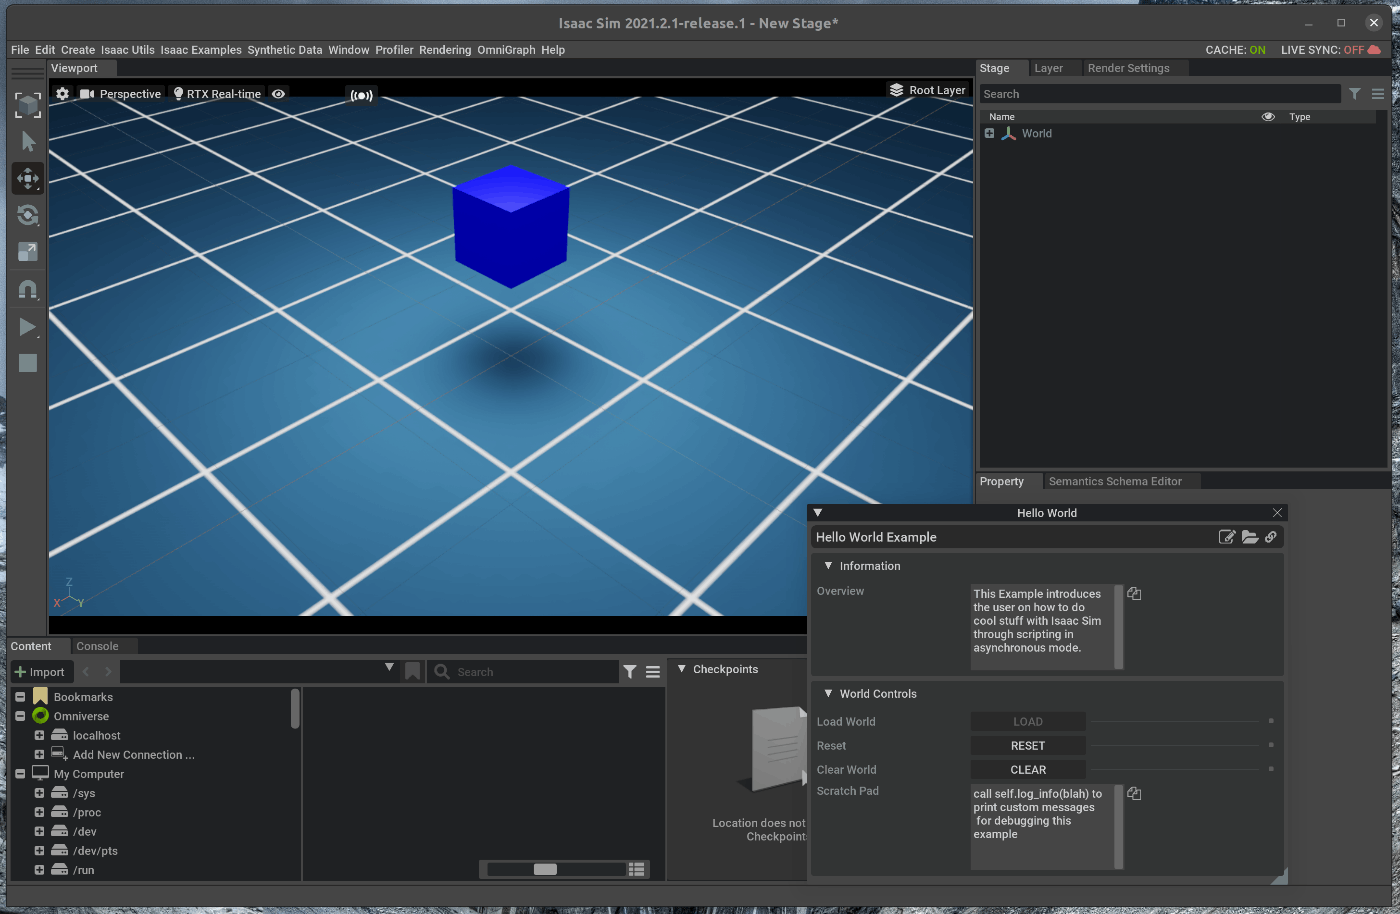
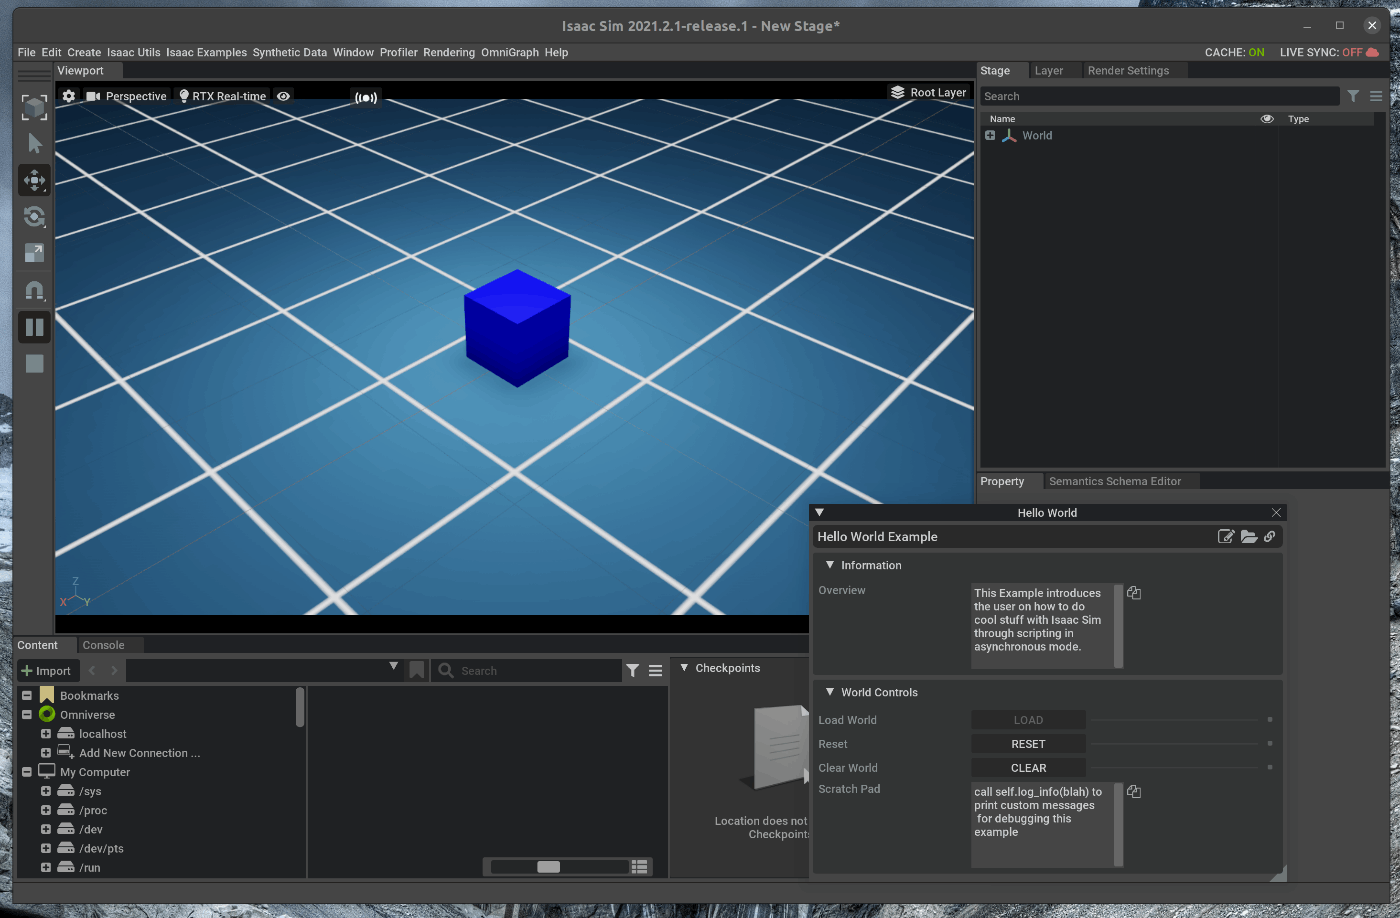
この状態で、Viewportの左側のPLAYボタンを押すと、Cubeが重力により落下します。
2.2 Cubeの位置と速度を表示する
ソースコードで、cubeクラスのメソッドを使用して、cubeの位置と速度を表示します。
cubeの位置と速度をロード字の1回のみ取得する場合には、次の処理を追加します。
from omni.isaac.examples.base_sample import BaseSample
import numpy as np
from omni.isaac.core.objects import DynamicCuboid

class HelloWorld(BaseSample):
    def __init__(self) -> None:
        super().__init__()
        return

    def setup_scene(self):
        world = self.get_world()
        world.scene.add_default_ground_plane()
        fancy_cube = world.scene.add(
            DynamicCuboid(
                prim_path="/World/random_cube",
                name="fancy_cube",
                position=np.array([0, 0, 100.0]),
                size=np.array([50.15, 50.15, 50.15]),
                color=np.array([0, 0, 1.0]),
            ))
        return

    # Here we assign the class's variables
    # this function is called after load button is pressed
    # regardless starting from an empty stage or not
    # this is called after setup_scene and after
    # one physics time step to propagate appropriate
    # physics handles which are needed to retrieve
    # many physical properties of the different objects
    async def setup_post_load(self):
        self._world = self.get_world()
        self._cube = self._world.scene.get_object("fancy_cube")
        ## add code
        position, orientation = self._cube.get_world_pose()
        linear_velocity = self._cube.get_linear_velocity()
        # will be shown on terminal
        print("Cube position is : " + str(position))
        print("Cube's orientation is : " + str(orientation))
        print("Cube's linear velocity is : " + str(linear_velocity))
        ##
        return
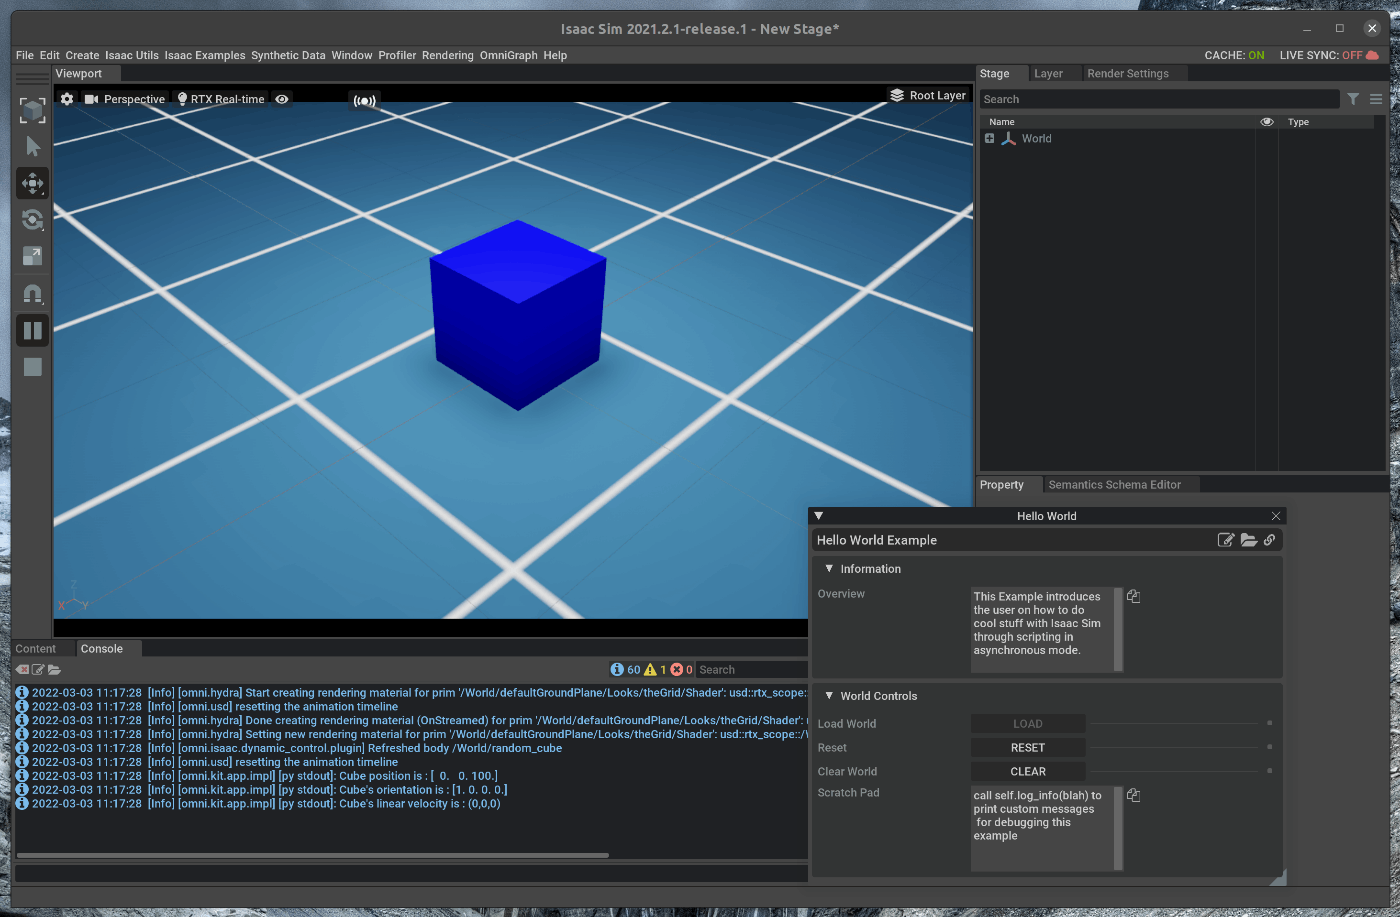
取得したcubeの位置と速度はGUiの下部にあるコンソールに表示されます。
また、Physics stepごとにcubeの位置と速度を取得する場合には、worldクラスのcallbackメソッドを使用します。
hello_world.pyに次の処理を追加します。
from omni.isaac.examples.base_sample import BaseSample
import numpy as np
from omni.isaac.core.objects import DynamicCuboid

class HelloWorld(BaseSample):
    def __init__(self) -> None:
        super().__init__()
        return

    def setup_scene(self):
        world = self.get_world()
        world.scene.add_default_ground_plane()
        fancy_cube = world.scene.add(
            DynamicCuboid(
                prim_path="/World/random_cube",
                name="fancy_cube",
                position=np.array([0, 0, 100.0]),
                size=np.array([50.15, 50.15, 50.15]),
                color=np.array([0, 0, 1.0]),
            ))
        return

    async def setup_post_load(self):
        self._world = self.get_world()
        self._cube = self._world.scene.get_object("fancy_cube")
        ## add code
        self._world.add_physics_callback("sim_step", callback_fn=self.print_cube_info) #callback names have to be unique
        ##
        return

    ## add code
    # here we define the physics callback to be called before each physics step, all physics callbacks must take
    # step_size as an argument
    def print_cube_info(self, step_size):
        position, orientation = self._cube.get_world_pose()
        linear_velocity = self._cube.get_linear_velocity()
        # will be shown on terminal
        print("Cube position is : " + str(position))
        print("Cube's orientation is : " + str(orientation))
        print("Cube's linear velocity is : " + str(linear_velocity))
   ##
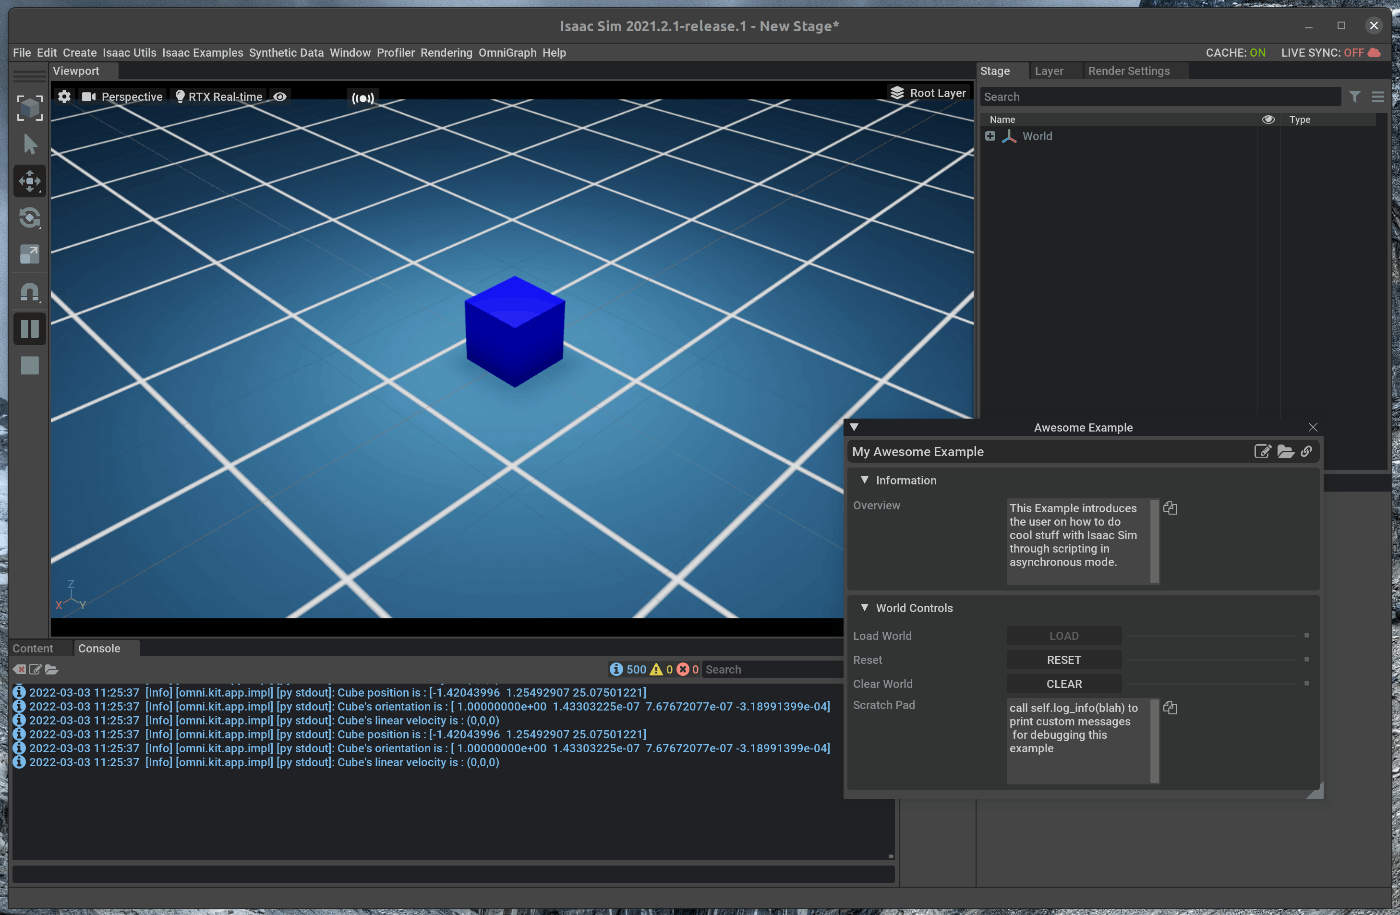
取得したcubeの位置と速度はGUiの下部にあるコンソールに表示されます。
- New Exampleの追加
GUIからロードすることができるExampleを新たに追加します。
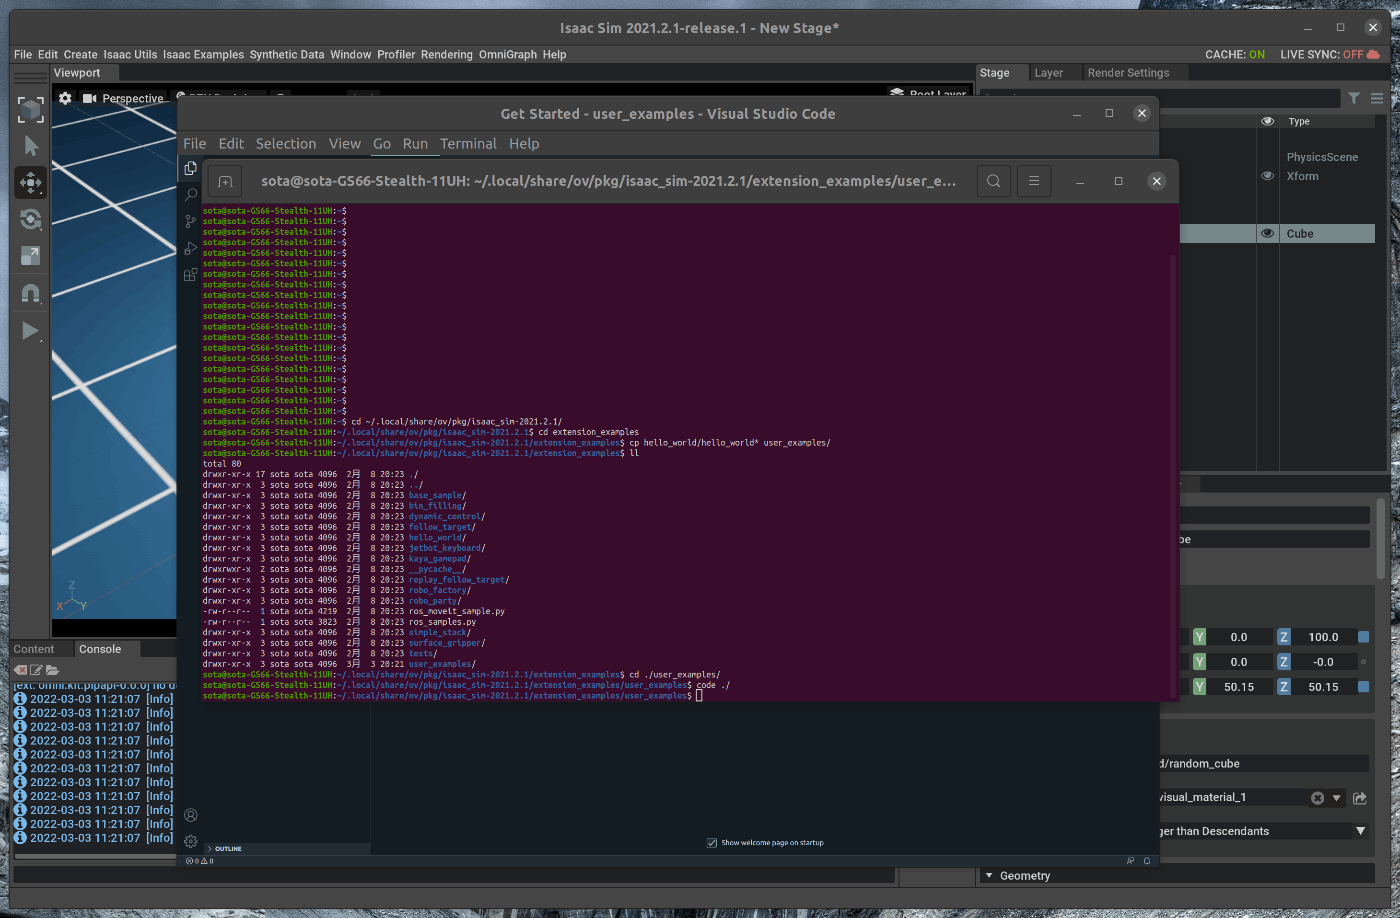
ターミナルで次のコマンドを実行します。
cd ~/.local/share/ov/pkg/isaac_sim-2021.2.1/
cd extension_examples
cp hello_world/hello_world* user_examples/
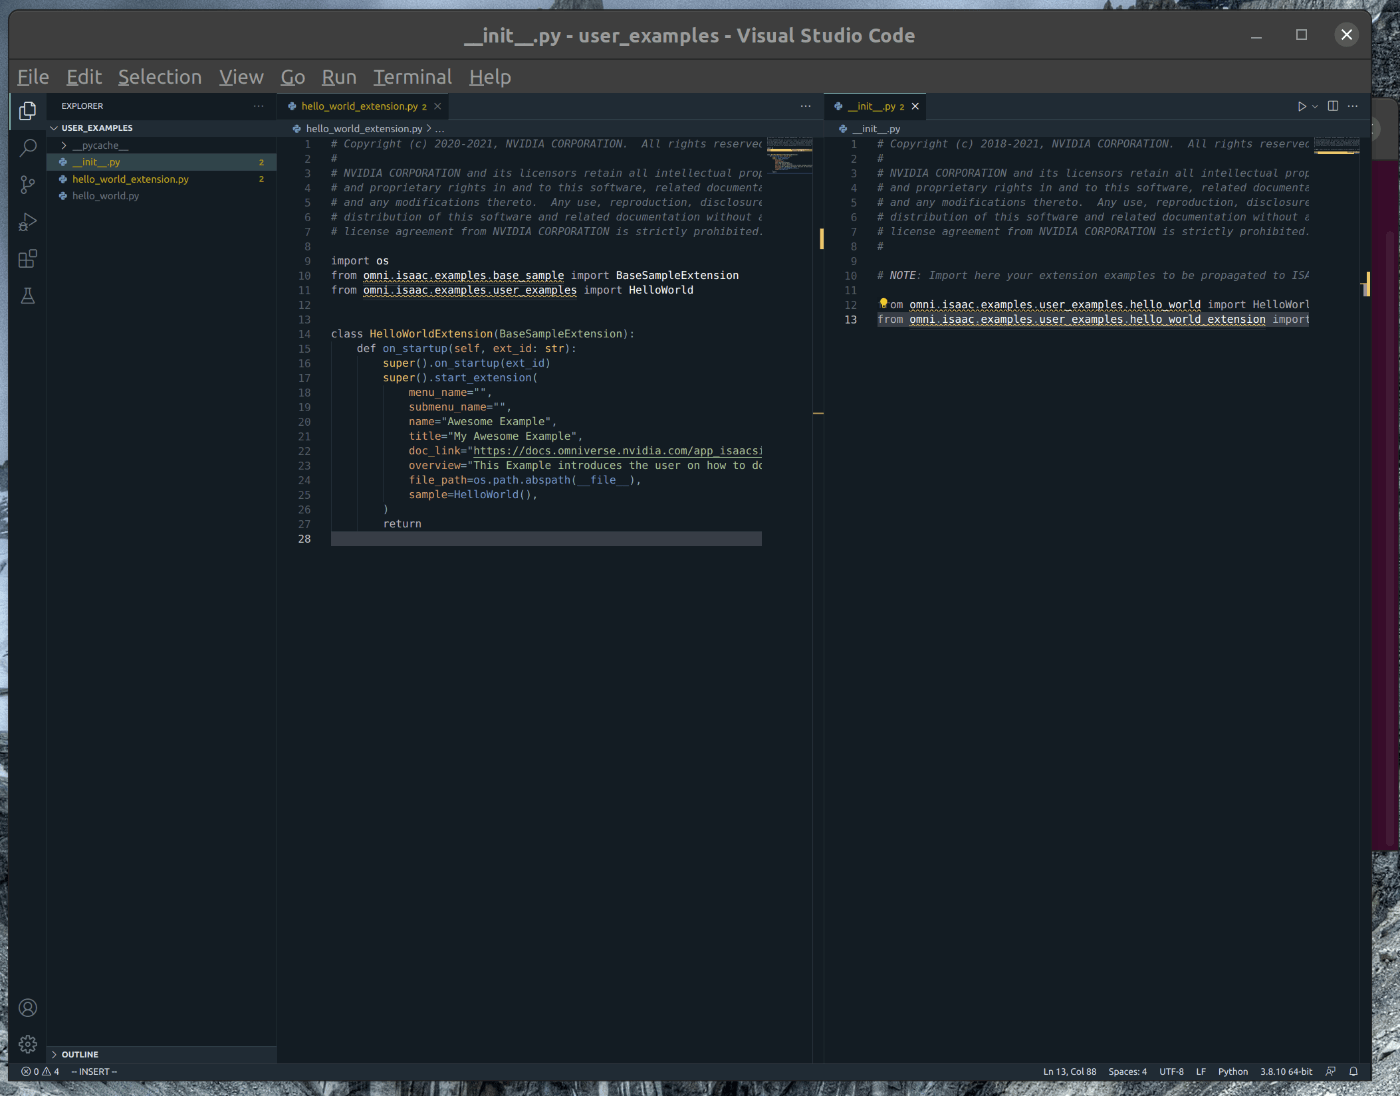
extension_examples/user_examples/init.py に次の2行を追加します。
from omni.isaac.examples.user_examples.hello_world import HelloWorld
from omni.isaac.examples.user_examples.hello_world_extension import HelloWorldExtension
extension_examples/user_examples/hello_world_extension.py を次の様に編集します。
import os
from omni.isaac.examples.base_sample import BaseSampleExtension
## edit code
from omni.isaac.examples.user_examples import HelloWorld
##

class HelloWorldExtension(BaseSampleExtension):
    def on_startup(self, ext_id: str):
        super().on_startup(ext_id)
        super().start_extension(
            menu_name="",
            submenu_name="",
            ## edit code
            name="Awesome Example",
            title="My Awesome Example",
            ##
            doc_link="https://docs.omniverse.nvidia.com/app_isaacsim/app_isaacsim/tutorial_required_hello_world.html",
            overview="This Example introduces the user on how to do cool stuff with Isaac Sim through scripting in asynchronous mode.",
            file_path=os.path.abspath(__file__),
            sample=HelloWorld(),
        )
        return
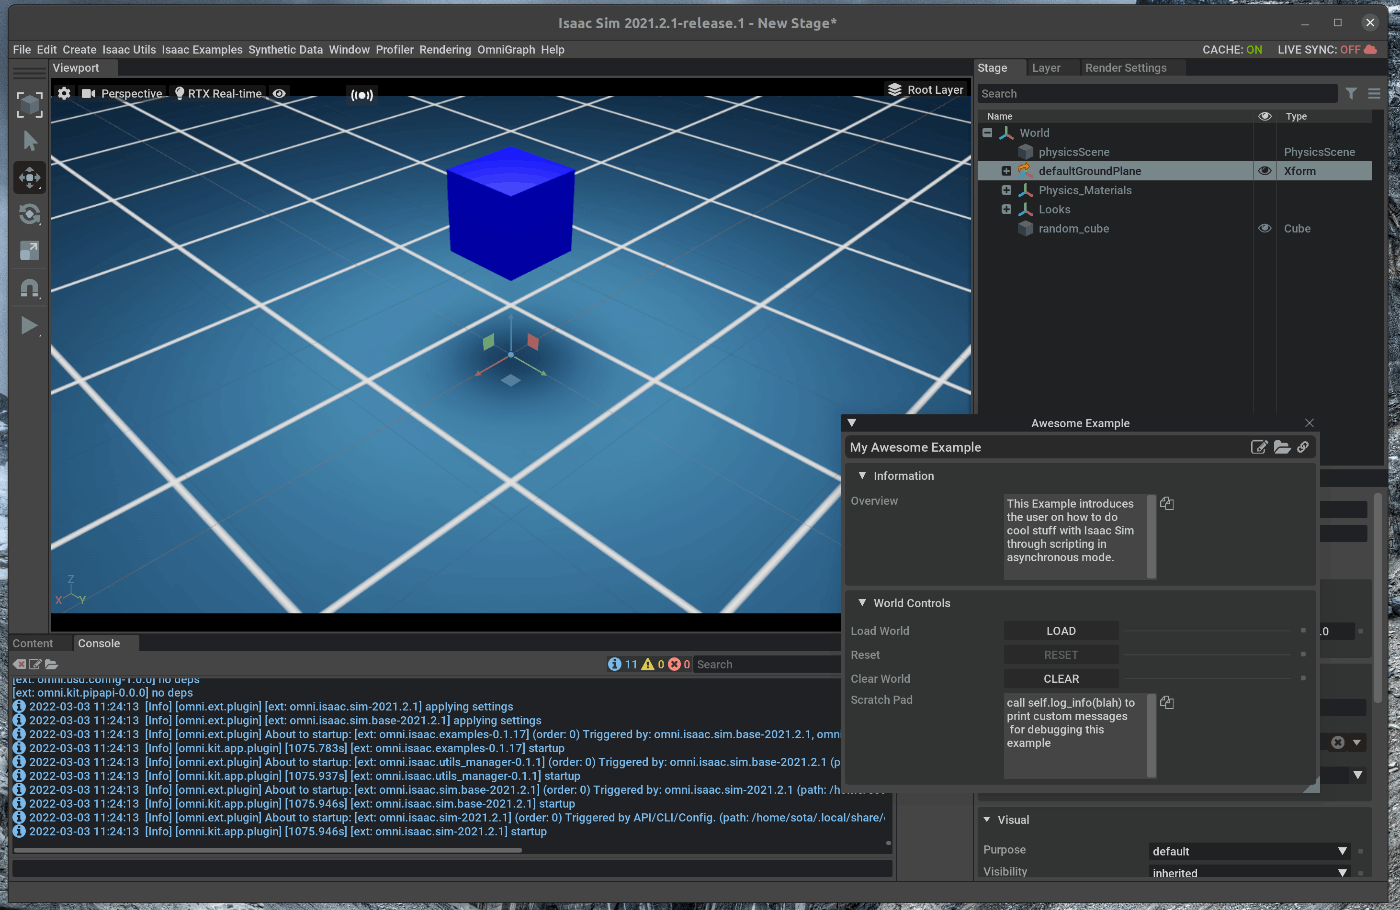
追加後、Isaac simを起動し、メニューバーのIsaac Examples > Awesome Exampleを選択します。
選択すると、Cubeが追加されたシーンが表示されます。

- Standalone Applicationでの実行
上記のCubeの追加処理をStandalone Applicationとして実行します。
任意のPATHにmy_application.pyを作成し、次のコードを記述します。
#launch Isaac Sim before any other imports
#default first two lines in any standalone application
from omni.isaac.kit import SimulationApp
simulation_app = SimulationApp({"headless": False}) # we can also run as headless.

from omni.isaac.core import World
from omni.isaac.core.objects import DynamicCuboid
import numpy as np

world = World(stage_units_in_meters=0.01)
world.scene.add_default_ground_plane()
fancy_cube =  world.scene.add(
    DynamicCuboid(
        prim_path="/World/random_cube",
        name="fancy_cube",
        position=np.array([0, 0, 100.0]),
        size=np.array([50.15, 50.15, 50.15]),
        color=np.array([0, 0, 1.0]),
    ))
# Resetting the world needs to be called before querying anything related to an articulation specifically.
# Its recommended to always do a reset after adding your assets, for physics handles to be propagated properly
world.reset()
for i in range(500):
    position, orientation = fancy_cube.get_world_pose()
    linear_velocity = fancy_cube.get_linear_velocity()
    # will be shown on terminal
    print("Cube position is : " + str(position))
    print("Cube's orientation is : " + str(orientation))
    print("Cube's linear velocity is : " + str(linear_velocity))
    # we have control over stepping physics and rendering in this workflow
    # things run in sync
    world.step(render=True) # execute one physics step and one rendering step

simulation_app.close() # close Isaac Sim
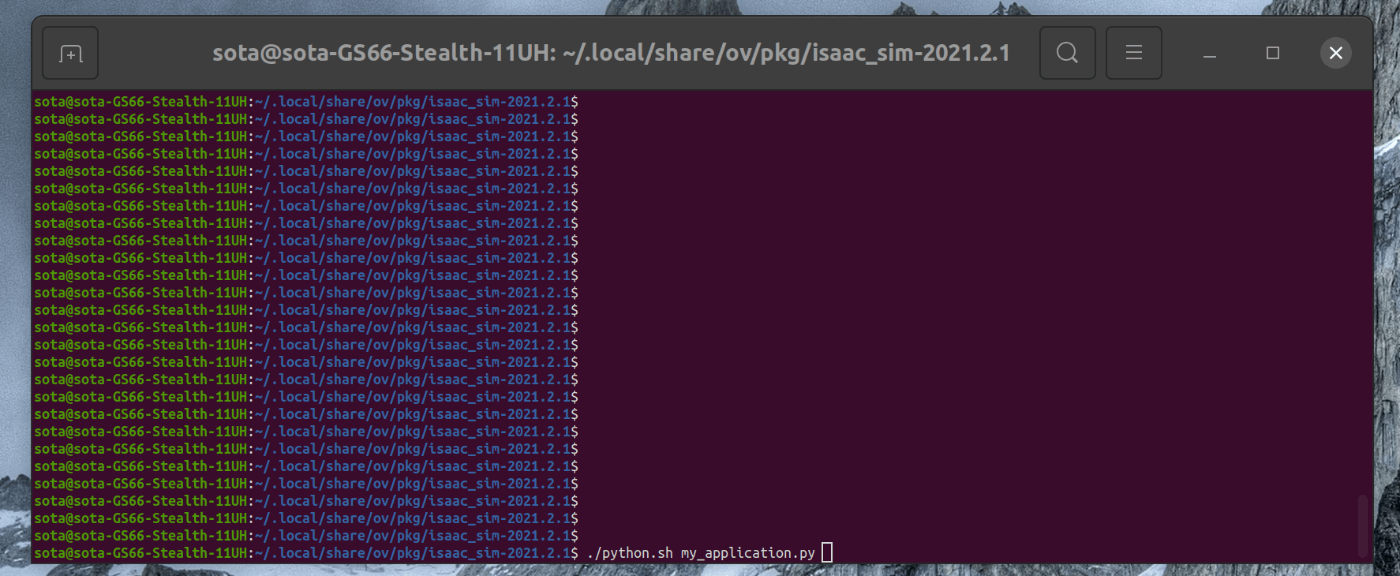
ターミナル上で、以下のコマンドを実行します。
"<path_to_script>"は、my_application.pyがあるpathに置き換えます。
cd ~/.local/share/ov/pkg/isaac_sim-2021.2.1/
./python.sh <path_to_script>/my_application.py
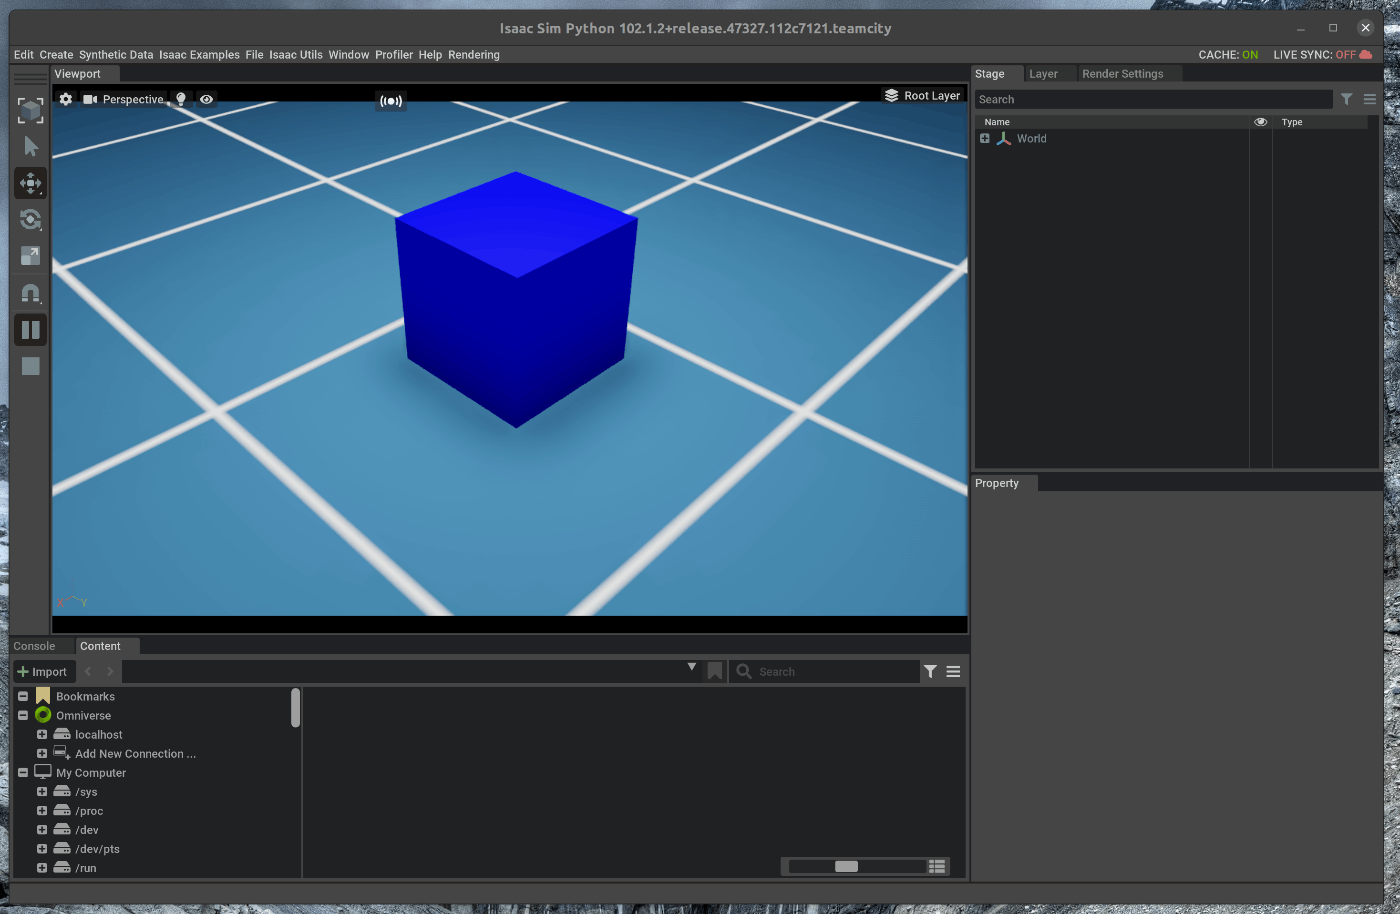
実行すると、Isaac simが起動しシーン内にCubeが表示されます。
Discussion