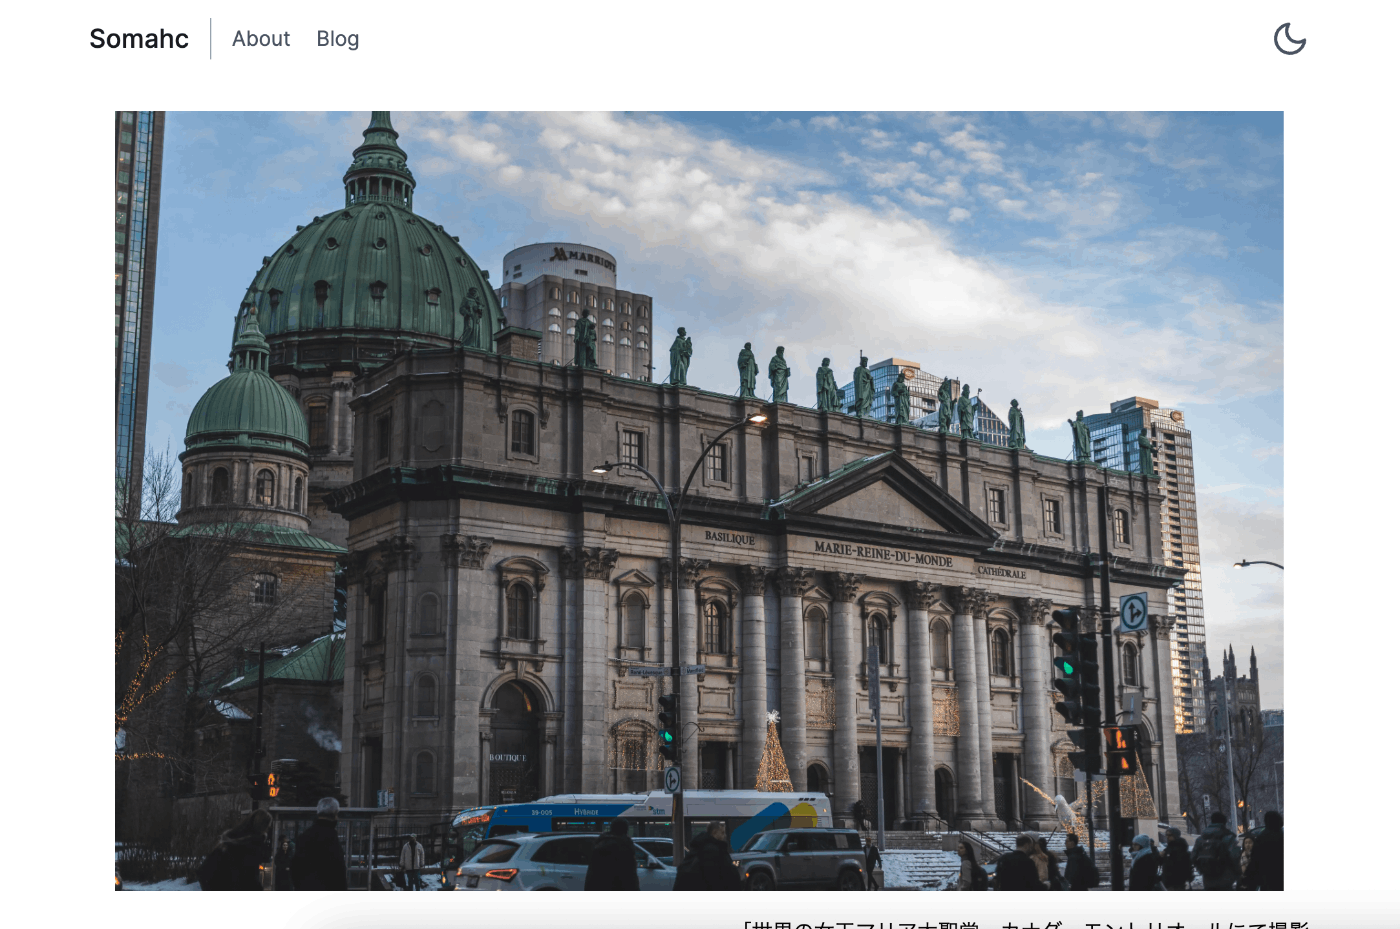
Next.js App Routerでダークモード切り替えを実装する
Next.jsでのライト・ダークモード切り替えについては結構日本語記事も多かったのですが、英語媒体でわかりやすいやつを見つけた & App Routerでのやり方の記事が若干少ない? と思ったので、簡単にまとめたいと思います。この記事では、
- デフォルトでユーザのOSで設定してあるモードを選択
- ライト・ダークモードの手動切り替えボタン
を実装します。
一部コードを書き換えていますが、この記事は基本的に以下の動画の内容をなぞるだけですので、動画がいいという方は以下をご覧ください。
上の動画の記事版(英語)
環境
Next.js(App Router) 14.1.0
Tailwind CSS 3.4.1
実装
tailwind.config.tsの編集
tailwind.config.tsにdarkMode: 'class',という一文を追加します。これによりdark:というクラスが指定されている要素へダークモードが適用されるようになります。
import type { Config } from "tailwindcss";

const config: Config = {
  content: [
    "./src/pages/**/*.{js,ts,jsx,tsx,mdx}",
    "./src/components/**/*.{js,ts,jsx,tsx,mdx}",
    "./src/app/**/*.{js,ts,jsx,tsx,mdx}",
  ],
  theme: {
    extend: {
      backgroundImage: {
        "gradient-radial": "radial-gradient(var(--tw-gradient-stops))",
        "gradient-conic":
          "conic-gradient(from 180deg at 50% 50%, var(--tw-gradient-stops))",
      },
      colors: {
        "accent-1": "#FAFAFA",
        "accent-2": "#EAEAEA",
        "accent-7": "#333",
        success: "#0070f3",
        cyan: "#79FFE1",
      },
      spacing: {
        28: "7rem",
      },
      letterSpacing: {
        tighter: "-.04em",
      },
      fontSize: {
        "5xl": "2.5rem",
        "6xl": "2.75rem",
        "7xl": "4.5rem",
        "8xl": "6.25rem",
      },
      boxShadow: {
        sm: "0 5px 10px rgba(0, 0, 0, 0.12)",
        md: "0 8px 30px rgba(0, 0, 0, 0.12)",
      },
    },
  },
  plugins: [],
+ darkMode: 'class',
};
export default config;
next-themes
next-themesパッケージをプロジェクトに追加します。以下のコマンドをターミナルで実行します。
npm install next-themes
次にappディレクトリ内にproviders.tsxを作成します。
以下のコードを貼り付けます。
'use client'

import { ThemeProvider } from 'next-themes'

export function Providers({ children }: { children: React.ReactNode }) {
    return <ThemeProvider attribute="class" defaultTheme='system' enableSystem>{children}</ThemeProvider>
}
<ThemeProvider attribute="class" defaultTheme='system' enableSystem>によりデフォルトのテーマとしてユーザのOSのテーマが自動的に選ばれるようになっています。また、TailwindCSSのクラス名でライト・ダークモードを判定するためにattribute="class"の記述があります。
次に、<Providers>コンポーネントをルートのlayout.tsx(app/layout.tsx)に追加します。この時、<body>タグの内側に配置することに注意してください。
+ import { Providers } from './providers'

export default function RootLayout({
  children,
}: {
  children: React.ReactNode
}) {
  return (
    <html lang="ja" suppressHydrationWarning>
      <body>
+        <Providers>
            {children}
+        </Providers>
      </body>
    </html>
  )
}
suppressHydrationWarningについて
サイトを訪れるユーザのOSの設定(ライトかダークモードか)によってサイトの表示の仕方を変更しなければなりませんが、サーバーサイドのNext.jsにはユーザのOSの設定が何かを知る術はないので、クライアント側でnext-themesがサーバーから送られてきたデータを変更してテーマカラーを適用させます。この時、サーバから送られてきた情報とクライアントの情報が一致しないことで出されるエラーをsupressHydrationWarningを追加することで抑制しています。
テーマの手動切り替えボタン
最後にテーマの手動切り替えのためのボタンを実装します。まずはアイコンのためのReact Iconsをインストールします。
npm install react-icons --save
次に、適当な場所に切り替えボタンコンポーネントを作成します。参考サイトではapp/componentsにThemeSwitch.tsxという名前で作成していました。
'use client'

import { FiSun, FiMoon } from "react-icons/fi"
import { useState, useEffect } from 'react'
import { useTheme } from 'next-themes'

export default function ThemeSwitch() {
  const [mounted, setMounted] = useState(false)
  const { setTheme, resolvedTheme } = useTheme()

  useEffect(() =>  setMounted(true), [])

  if (!mounted) {
    return null;
  }

  if (resolvedTheme === 'dark') {
    return <FiSun size={30} onClick={() => setTheme('light')} />
  }

  if (resolvedTheme === 'light') {
    return <FiMoon size={30} onClick={() => setTheme('dark')} />
  }
}
上述したようにサーバーサイドではユーザのOSの設定がライト・ダークモードどちらなのか判定できないため、マウントが終わってから(=ユーザのOSのモードが判明してから)、クライアントサイドでテーマの切り替えボタンをレンダリングするようにしています。
ちなみに、size={30}のところの数字を変えることでアイコンのサイズを変えられるので、適宜変更してあげてください。
ボタンを配置して終わり
先ほど作った切り替えボタンコンポーネントを好きな場所に挿入して完成です。私はlayout.tsxのヘッダー部分に追加しました。
// (中略)
import { Providers } from "@/app/_components/providers";
+import ThemeSwitch from "@/app/_components/ThemeSwitch";

export default function RootLayout({
  children,
}: Readonly<{
  children: React.ReactNode;
}>) {
  return (
    <html lang="ja" suppressHydrationWarning>
      // (中略)
        <header className="text-gray-600 body-font">
            <div className="container mx-auto flex flex-wrap py-5 flex-col md:flex-row items-center">
            <Link href="/" className="flex title-font font-medium items-center text-gray-900 mb-4 md:mb-0">
                <span className="dark:text-white text-xl">Somahc</span>
            </Link>
            <nav className="md:mr-auto md:ml-4 md:py-1 md:pl-4 md:border-l md:border-gray-400	flex flex-wrap items-center text-base justify-center">
                <Link href="/about" className="mr-5 hover:text-gray-300">About</Link>
                <Link href="/blog" className="mr-5 hover:text-gray-300">Blog</Link>
            </nav>
+           <ThemeSwitch />
            </div>
        </header>
ライトモード時は月ボタンが表示されていて、押すとダークモードに切り替わると同時に太陽ボタンに変化します。無事実装できました。


おわりに
初めてライト・ダークモード切り替え機能を実装してみました。最近はいろんなページに当たり前のように実装されている機能ですが、自分で実装できるとテンション上がりますね。
参考
Discussion