【OpenRR】RustでRobot!#05 「OpenRRのアプリケーションを実装する」
5-1. はじめに
こんにちは、Smile Roboticsの内山です。OpenRRのアプリケーションを作ってみます。
5-2. openrr-apps
OpenRRのGitHubリポジトリをみてみると、openrr-appsというものがあります。これを使えばロボットアームやモバイルロボットの操作が容易にできます。実際に過去の記事で動かしてみました。
ただ、これはすでに実装されたopenrr-appsの利用でした。OpenRRの特徴はRustのtraitなどを活かした抽象的な実装にあるので、そこらへんをこの記事ではやってみたいと思います。
5-3. 抽象化されたarciトレイト群
OpenRRには、arciと名の付くワークスペースメンバーがいくつか存在しています。これらはarciとその他に分類できます。arciは抽象化レイヤです。その他のarci-fooは、OpenRRや抽象化レイヤと他のソフトウェアやフレームワークをつなげるインターフェースになっています。
| name |
|---|
| arci |
| name |
|---|
| arci-gamepad-gilrs |
| arci-gamepad-keyboard |
| arci-ros |
| arci-ros2 |
| arci-speak-audio |
| arci-speak-cmd |
| arci-urdf-viz |
特に、arci-rosはrosrustなどを用いたROSとOpenRRのインターフェースになっています。
もし今後ROS3がリリースされた場合でも、arci-ros3を実装すれば、既存のコードをほとんど変えることなく移植することができます。また、全く異なったフレームワーク、例えばFoo Bar Robot Frameworkを利用したくなった場合でも、arci-foo-barのようなものを実装すれば、ROSなどで用いていたコードを移植することができます。
5-4. 実装
モバイルロボットをゲームで用いるコントローラで操作することと、ランダムウォークさせることを目指してコードを書いていきます。
5-4-1. 遠隔操作
コントローラで操作するためのコードはarciで抽象的に実装されたopenrr-teleopがあるのでそれを用いていこうと思います。MoveBaseやGamepadが実装された任意の型、を受け付けるTeleopManagerという構造体を書きます。
teleop_manager.rs
use std::{collections::HashMap, path::PathBuf, sync::Arc};

use arci::{Gamepad, Localization, MoveBase, Navigation, Speaker};
use openrr_client::{OpenrrClientsConfig, RobotClient};
use openrr_teleop::{ControlNodeSwitcher, ControlNodesConfig};

pub struct TeleopManager {
    switcher: Arc<ControlNodeSwitcher<Arc<dyn Speaker>>>,
    gamepad: Arc<dyn Gamepad>,
}

impl TeleopManager {
    pub fn new(
        move_base: Arc<dyn MoveBase>,
        speaker: Arc<dyn Speaker>,
        gamepad: Arc<dyn Gamepad>,
    ) -> Self {
        let control_nodes_config = ControlNodesConfig {
            move_base_mode: Some("base".to_string()),
            joy_joint_teleop_configs: Vec::new(),
            ik_node_teleop_configs: Vec::new(),
            joints_pose_sender_config: None,
            command_configs: Vec::new(),
        };

        let raw_joint_trajectory_clients = HashMap::new();
        let mut speakers = HashMap::new();
        speakers.insert(String::from("print"), speaker.clone());
        let localization = None::<Arc<dyn Localization>>;
        let navigation = None::<Arc<dyn Navigation>>;

        let robot_client = Arc::new(
            RobotClient::new(
                OpenrrClientsConfig::default(),
                raw_joint_trajectory_clients,
                speakers,
                localization,
                Some(move_base.clone()),
                navigation,
            )
            .unwrap(),
        );

        let joint_trajectory_client_map = HashMap::new();
        let ik_solver_with_chain_map = HashMap::new();
        let joints_poses = Vec::new();

        let nodes = control_nodes_config
            .create_control_nodes(
                None::<PathBuf>,
                robot_client,
                speaker.clone(),
                &joint_trajectory_client_map,
                &ik_solver_with_chain_map,
                Some(move_base),
                joints_poses,
            )
            .unwrap();

        let switcher = Arc::new(ControlNodeSwitcher::new(nodes, speaker, 0));

        Self { switcher, gamepad }
    }

    pub async fn update(&self) {
        self.switcher.main(self.gamepad.clone()).await;
    }

    pub async fn speak(&self) {
        self.switcher.speak_current_mode().await.unwrap();
    }
}
5-4-2. ランダムウォーク
ランダムウォークをさせるようなものはなかったので自分で実装していきます。とはいえ複雑なことはしていません。arciのMoveBaseを実装した型を保持するRobotControllerを書きます。
MoveBaseの実装を見ると、メソッドはsend_velocityとcurrent_velocityの2つで、ロボットの速度の送受信という非常にシンプルな構成になっています。今回は、ただランダムに動いてもらうだけなので、そのうちのsend_velocityのみを使います。RobotControllerのなかのrandom_walkという関数内でランダムな速度を決定して、その値を送信します。それだけです。
robot_controller.rs
use arci::{BaseVelocity, MoveBase};
use rand::Rng;

pub struct RobotController<M>
where
    M: MoveBase + 'static,
{
    move_base: M,
    velocity: BaseVelocity,
    min_velocity: BaseVelocity,
    max_velocity: BaseVelocity,

    state: State,
}

impl<M> RobotController<M>
where
    M: MoveBase + 'static,
{
    pub fn new(move_base: M) -> Self {
        Self {
            move_base,
            velocity: BaseVelocity::new(0f64, 0f64, 0f64),
            min_velocity: BaseVelocity {
                x: -1f64,
                y: -1f64,
                theta: -1f64,
            },
            max_velocity: BaseVelocity {
                x: 1f64,
                y: 1f64,
                theta: 1f64,
            },

            state: State::ChangingDirection,
        }
    }

    pub fn random_walk(&mut self) {
        match self.state {
            State::ChangingDirection => {
                self.velocity = BaseVelocity::new(0f64, 0f64, self.random_velocity(Index::Theta));
                self.state = State::Walking;
            }
            State::Walking => {
                self.velocity = BaseVelocity::new(
                    self.random_velocity(Index::X),
                    self.random_velocity(Index::Y),
                    0f64,
                );
                self.state = State::ChangingDirection;
            }
        }

        self.move_base.send_velocity(&self.velocity).unwrap();
    }

    fn random_velocity(&self, idx: Index) -> f64 {
        let mut rng = rand::thread_rng();
        match idx {
            Index::X => rng.gen_range(self.min_velocity.x..self.max_velocity.x),
            Index::Y => rng.gen_range(self.min_velocity.y..self.max_velocity.y),
            Index::Theta => rng.gen_range(self.min_velocity.theta..self.max_velocity.theta),
        }
    }
}
アプリケーションの実装には直接関わらないですが、構造体の外に以下のように列挙型と関数を定義しています。
utils in robot_controller.rs
pub enum Index {
    X,
    Y,
    Theta,
}

pub enum State {
    ChangingDirection,
    Walking,
}

pub fn is_in_range(target: f64, min: f64, max: f64) -> bool {
    target > min && target < max
}
この2つのように、トレイト境界を用いてMoveBaseが実装された構造体に対してロボットの処理を実装します。すると、urdf-vizやrosに関わらず、arciのインターフェースが実装されたすべてのプラットフォームに対してコードを統一できるようになります。
5-4-3. 各ソフトウェアとのインターフェースの実装
上の2項で書いた機能をurdf-vizとros用に具体的に実装していきます。ランダムウォークの方はROS2でも実装します。
5-4-3-1. 遠隔操作
bin/teleop.rs
use std::sync::Arc;

use openrr_client::PrintSpeaker;
use openrr_mobile::teleop_manager::TeleopManager;

#[cfg(feature = "ros")]
use arci_ros::{RosCmdVelMoveBase, RosJoyGamepad, RosJoyGamepadConfig};

#[cfg(not(feature = "ros"))]
use arci_gamepad_gilrs::{GilGamepad, GilGamepadConfig};
#[cfg(not(feature = "ros"))]
use arci_urdf_viz::UrdfVizWebClient;

#[tokio::main]
async fn main() {
    #[allow(unused_mut)]
    let mut move_base: _;
    #[allow(unused_mut)]
    let mut gamepad: _;

    let speaker = Arc::new(PrintSpeaker::new());

    #[cfg(feature = "ros")]
    {
        arci_ros::init("mobile");
        move_base = Arc::new(RosCmdVelMoveBase::new("/cmd_vel"));
        gamepad = Arc::new(RosJoyGamepad::new_from_config(
            &RosJoyGamepadConfig::default(),
        ));
    }

    #[cfg(not(feature = "ros"))]
    {
        move_base = Arc::new(UrdfVizWebClient::default());
        move_base.run_send_velocity_thread();
        gamepad = Arc::new(GilGamepad::new_from_config(GilGamepadConfig::default()));
    }

    let teleop_manager = TeleopManager::new(move_base, speaker, gamepad);

    loop {
        teleop_manager.update().await;
        teleop_manager.speak().await;
        std::thread::sleep(std::time::Duration::from_millis(100));
    }
}
5-4-3-2. ランダムウォーク
bin/automation.rs
use openrr_mobile::robot_controller::RobotController;

fn main() {
    #[allow(unused_mut)]
    let mut move_base_client: _;

    #[cfg(feature = "ros")]
    {
        use arci_ros::RosCmdVelMoveBase;

        arci_ros::init("mobile");
        move_base_client = RosCmdVelMoveBase::new("/cmd_vel");
    }

    #[cfg(feature = "ros2")]
    {
        use arci_ros2::{r2r, Ros2CmdVelMoveBase};

        let ctx = r2r::Context::create().unwrap();
        move_base_client = Ros2CmdVelMoveBase::new(ctx, "/cmd_vel");
    }

    #[cfg(not(any(feature = "ros", feature = "ros2")))]
    {
        use arci_urdf_viz::UrdfVizWebClient;

        move_base_client = UrdfVizWebClient::default();
        move_base_client.run_send_velocity_thread();
    }

    let mut robot_controller = RobotController::new(move_base_client);

    loop {
        robot_controller.random_walk();
        std::thread::sleep(std::time::Duration::from_millis(1000));
    }
}
5-4-4. 実行
ROS
ROSを有効化した後に、
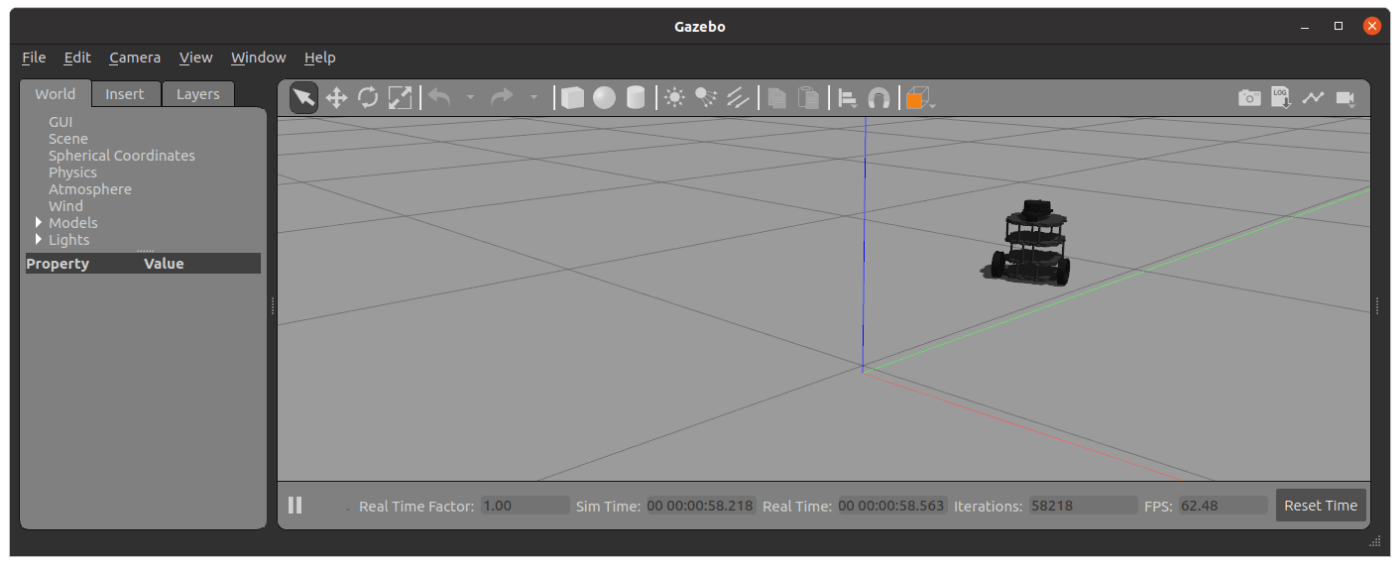
roslaunch turtlebot3_gazebo turtlebot3_empty_world.launch
cargo run --features ros --bin teleop

urdf-viz
urdf-viz ./openrr-planner/sample.urdf &
cargo run --bin auto

ROS2
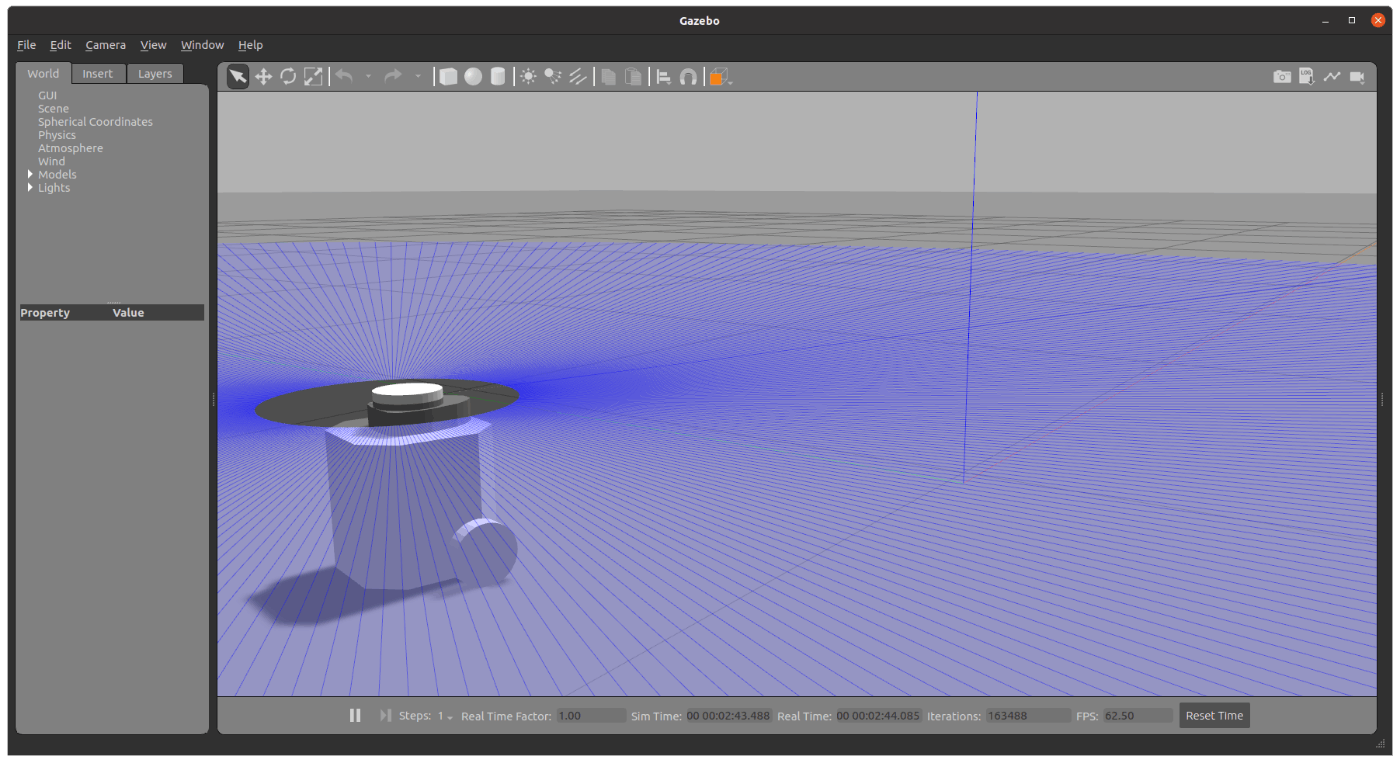
ros2 launch turtlebot3_gazebo empty_world.launch.py
cargo run --features ros2 --bin auto

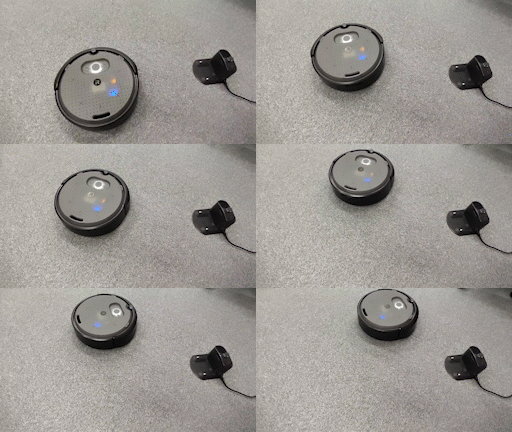
またシミュレーションのみならず、実機も同じようにして動かすことができます。ROS_DOMAIN_IDを設定した後にcargo run ...の方だけを実行します。
例えばiRobot Create3をこのように動かすことができます。

5−5. 結び
今回作成したものは、GitHubのリポジトリにあります。
更新歴
2022-12-09 完成
Discussion