【React/Next.js】Liveblocksでのリアルタイムコラボレーション開発
Liveblocksとは?
Liveblocks | Collaborative experiences in days, not months
Liveblocksは、開発者向けに、高性能なコラボレーション機能を極めて迅速に製品に組み込むための完全なツールキットを提供します。
早速 Sign up して使ってみたいと思います。
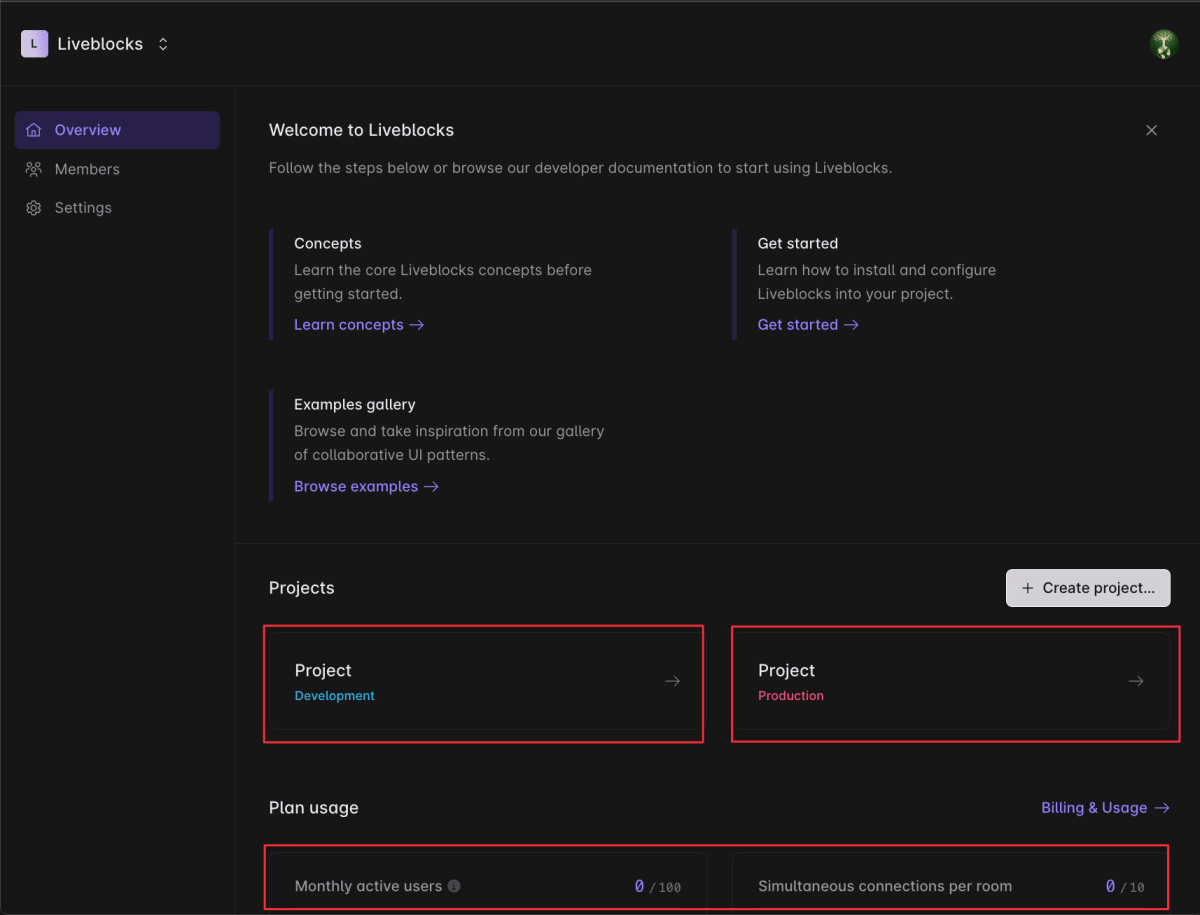
アカウント作成し、ダッシュボードに移動すると既に Development と Production の2つのプロジェクトが作成されています。
また、MAUや1Room内での同時接続数も表示されています。
ホワイトボードのベース実装
今回は Whiteboard + React を作る想定で進めていこうと思っているので、以下のチュートリアルを元に進めていきます。
動作環境
"dependencies": {
    "@liveblocks/client": "^1.2.1",
    "@liveblocks/react": "^1.0.9",
    "next": "13.4.13",
    "react": "18.2.0",
    "react-dom": "18.2.0"
  },
  "devDependencies": {
    "@types/node": "20.4.8",
    "@types/react": "^18.2.6",
    "@types/react-dom": "^18.2.4",
    "eslint": "8.46.0",
    "eslint-config-next": "13.4.13",
    "prettier": "^2.8.8",
    "typescript": "^5.0.4"
  }
APIキーの取得
まずは事前に使用するAPIキーを取得します。Public keyとSecret keyどちらでも使えるようですが、今回はチュートリアル同様Public keyを使って進めていきたいと思います。
↓ドキュメント内のinfomation
公開鍵と秘密鍵
秘密鍵を使うと、誰がルームにアクセスできるかを制御できます。これはより安全ですが、自分自身のバックエンドエンドポイントが必要です。このチュートリアルでは、公開鍵を使用します。詳細については、認証ガイドを参照してください。
Development プロジェクトに移動し、「API keys」をクリックします。

「Public key」の内容を控え、env.local に以下内容で設定しときます。
NEXT_PUBLIC_LIVEBLOCKS_PUBLIC_API_KEY=pk_xxxxxxxxxxxxxx
必要なパッケージのインストール
yarn add @liveblocks/client @liveblocks/react
providers/liveblocks.ts を以下内容で作成します。
import { createClient } from '@liveblocks/client';

const client = createClient({
  publicApiKey: process.env.NEXT_PUBLIC_LIVEBLOCKS_PUBLIC_API_KEY ?? '',
});
Roomの作成
@liveblocks/react の createRoomContext を使ってRoomProviderとフックを作成し、コンポーネントから簡単にコンシュームできるようにします。先程の providers/liveblocks.ts に追加していきます。
import { createClient } from '@liveblocks/client';
import { createRoomContext } from '@liveblocks/react'; // 追加

const client = createClient({
  publicApiKey: process.env.NEXT_PUBLIC_LIVEBLOCKS_PUBLIC_API_KEY ?? '',
});

export const { RoomProvider } = createRoomContext(client); // 追加
app/layout.tsx に RoomProvider を適用していきます。
'use client';

import { RoomProvider } from './liveblocks.config'; // 追加

export default function RootLayout({
  children,
}: {
  children: React.ReactNode;
}) {
  return (
    <html>
      <head></head>
      <body>
        {/* RoomProviderで囲む */}
        <RoomProvider id="react-whiteboard-app" initialPresence={{}}>
          <div>{children}</div>
        </RoomProvider>
      </body>
    </html>
  );
}
RoomProviderに包まれたすべてのコンポーネントは、この部屋と対話するために使用する特別なReactフックにアクセスできるようになります。
Canvasの作成
LiveMapを使って、部屋のストレージ内に図形のマップを保存していきます。
LiveMapは、Liveblocksが提供するストレージの一種です。LiveMapはJavaScriptのマップのようなものですが、そのアイテムは異なるクライアント間でリアルタイムに同期されます。複数のユーザーが同時にアイテムを挿入・削除しても、LiveMapはルーム内のすべてのユーザーに対して一貫性を保つことができます。
RoomProvider の initialStorage Propsからストレージを初期化します。
'use client';

import { LiveMap } from '@liveblocks/client'; // 追加
import { RoomProvider } from './liveblocks.config';

export default function RootLayout({
  children,
}: {
  children: React.ReactNode;
}) {
  return (
    <html>
      <head></head>
      <body>
        <RoomProvider
          id="react-whiteboard-app"
          initialPresence={{}}
          initialStorage={{ // 追加
            shapes: new LiveMap(),
          }}
        >
          <div>{children}</div>
        </RoomProvider>
      </body>
    </html>
  );
}
createRoomContext の useMap を使う事で、liveblocks内に保存されているStorageにアクセスする事ができます。
export const { RoomProvider, useMap } = createRoomContext(client);
useMap は接続中は null を返すので、nullの場合はIndicatorを表示させておくと良さそうです。
app/page.tsx を以下内容で作成します。
'use client';

import { useMap } from '../providers/liveblocks';

const Rectangle = ({ shape }: { shape: any }) => {
  const { x, y, fill } = shape;

  return (
    <div
      className="rectangle"
      style={{
        transform: `translate(${x}px, ${y}px)`,
        backgroundColor: fill ? fill : '#CCC',
      }}
    ></div>
  );
};

const Canvas = ({ shapes }: { shapes: any }) => {
  return (
    <>
      <div className="canvas">
        {Array.from(shapes, ([shapeId, shape]) => {
          return <Rectangle key={shapeId} shape={shape} />;
        })}
      </div>
    </>
  );
};

const PageWrapper = () => {
  const shapes = useMap('shapes');

  if (shapes == null) {
    return <div className="loading">Loading</div>;
  }
  return <Canvas shapes={shapes} />;
};

const Page = () => {
  return <PageWrapper />;
};
export default Page;
最後に app/global.css を以下内容で作成し、 app/layout.tsx でimportします。
body {
  background-color: #eeeeee;
}

.loading {
  display: flex;
  align-items: center;
  justify-content: center;
  height: 100vh;
  width: 100vw;
}

.canvas {
  background-color: #eeeeee;
  touch-action: none;
  width: 100vw;
  height: 100vh;
}

.rectangle {
  position: absolute;
  /* transition: all 0.1s ease; */
  stroke-width: 1;
  border-style: solid;
  border-width: 2px;
  height: 100px;
  width: 100px;
}

.toolbar {
  position: fixed;
  top: 12px;
  left: 50%;
  transform: translateX(-50%);
  padding: 4px;
  border-radius: 8px;
  box-shadow: 0px 2px 4px rgba(0, 0, 0, 0.1), 0px 0px 0px 1px rgba(0, 0, 0, 0.05);
  display: flex;
  background-color: #ffffff;
  user-select: none;
}

.toolbar button {
  display: flex;
  align-items: center;
  justify-content: center;
  padding: 4px 8px;
  border-radius: 4px;
  background-color: #f8f8f8;
  color: #181818;
  border: none;
  box-shadow: 0px 2px 4px rgba(0, 0, 0, 0.1), 0px 0px 0px 1px rgba(0, 0, 0, 0.05);
  margin: 4px;
  font-weight: 500;
  font-size: 12px;
}

.toolbar button:hover,
.toolbar button:focus {
  background-color: #ffffff;
}

.toolbar button:active {
  background-color: #eeeeee;
}
app/layout.tsx
import './globals.css';
長方形を追加できるようにする
チュートリアル通りに以下を app/page.tsx 追加します。
const COLORS = ['#DC2626', '#D97706', '#059669', '#7C3AED', '#DB2777'];

const getRandomInt = (max: number) => {
  return Math.floor(Math.random() * max);
};

const getRandomColor = () => {
  return COLORS[getRandomInt(COLORS.length)];
};

// ...

const Canvas = ({ shapes }: { shapes: any }) => {
  // insertRectangle 追加
  const insertRectangle = () => {
    const shapeId = Date.now().toString();
    const rectangle = {
      x: getRandomInt(300),
      y: getRandomInt(300),
      fill: getRandomColor(),
    };
    shapes.set(shapeId, rectangle);
  };
  return (
    <>
      <div className="canvas">
        {Array.from(shapes, ([shapeId, shape]) => {
          return <Rectangle key={shapeId} shape={shape} />;
        })}
      </div>
      {/* ↓追加 */}
      <div className="toolbar">
        <button onClick={insertRectangle}>Rectangle</button>
      </div>
    </>
  );
};
// ...
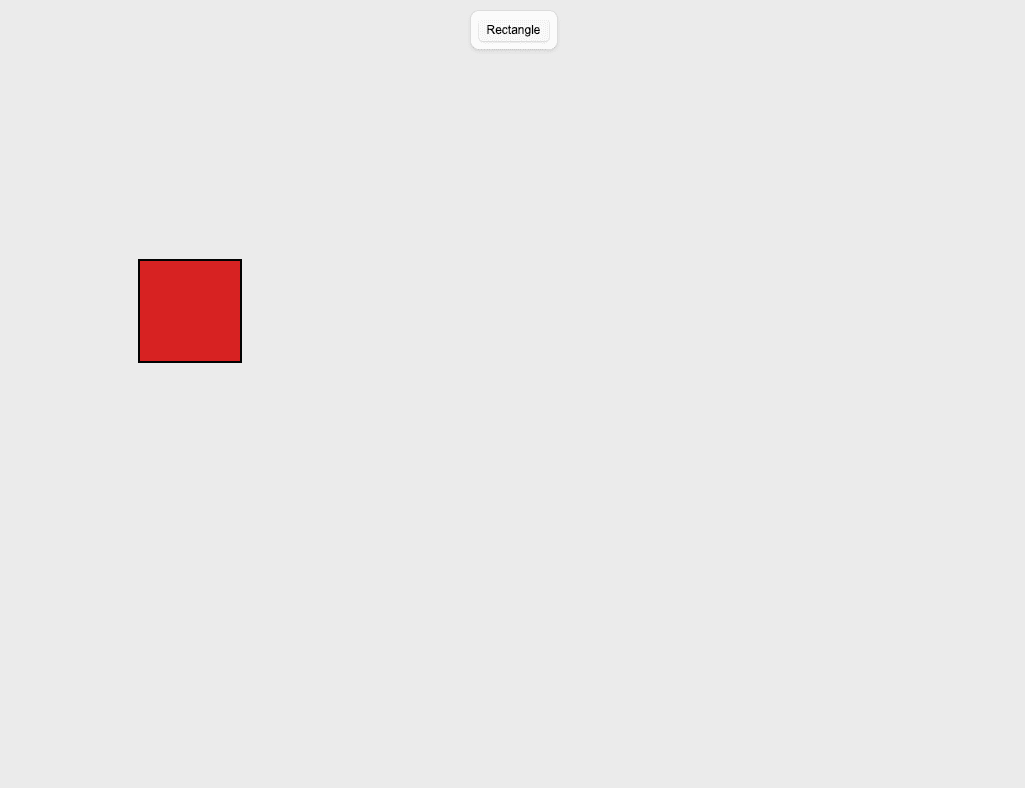
「Rectangle」ボタンが追加され、クリックで長方形を追加できるようになりました!
Selectionの追加
新たに useMyPresence と useOthers を使います。
export const { RoomProvider, useMap, useOthers, useMyPresence } =
  createRoomContext(client);
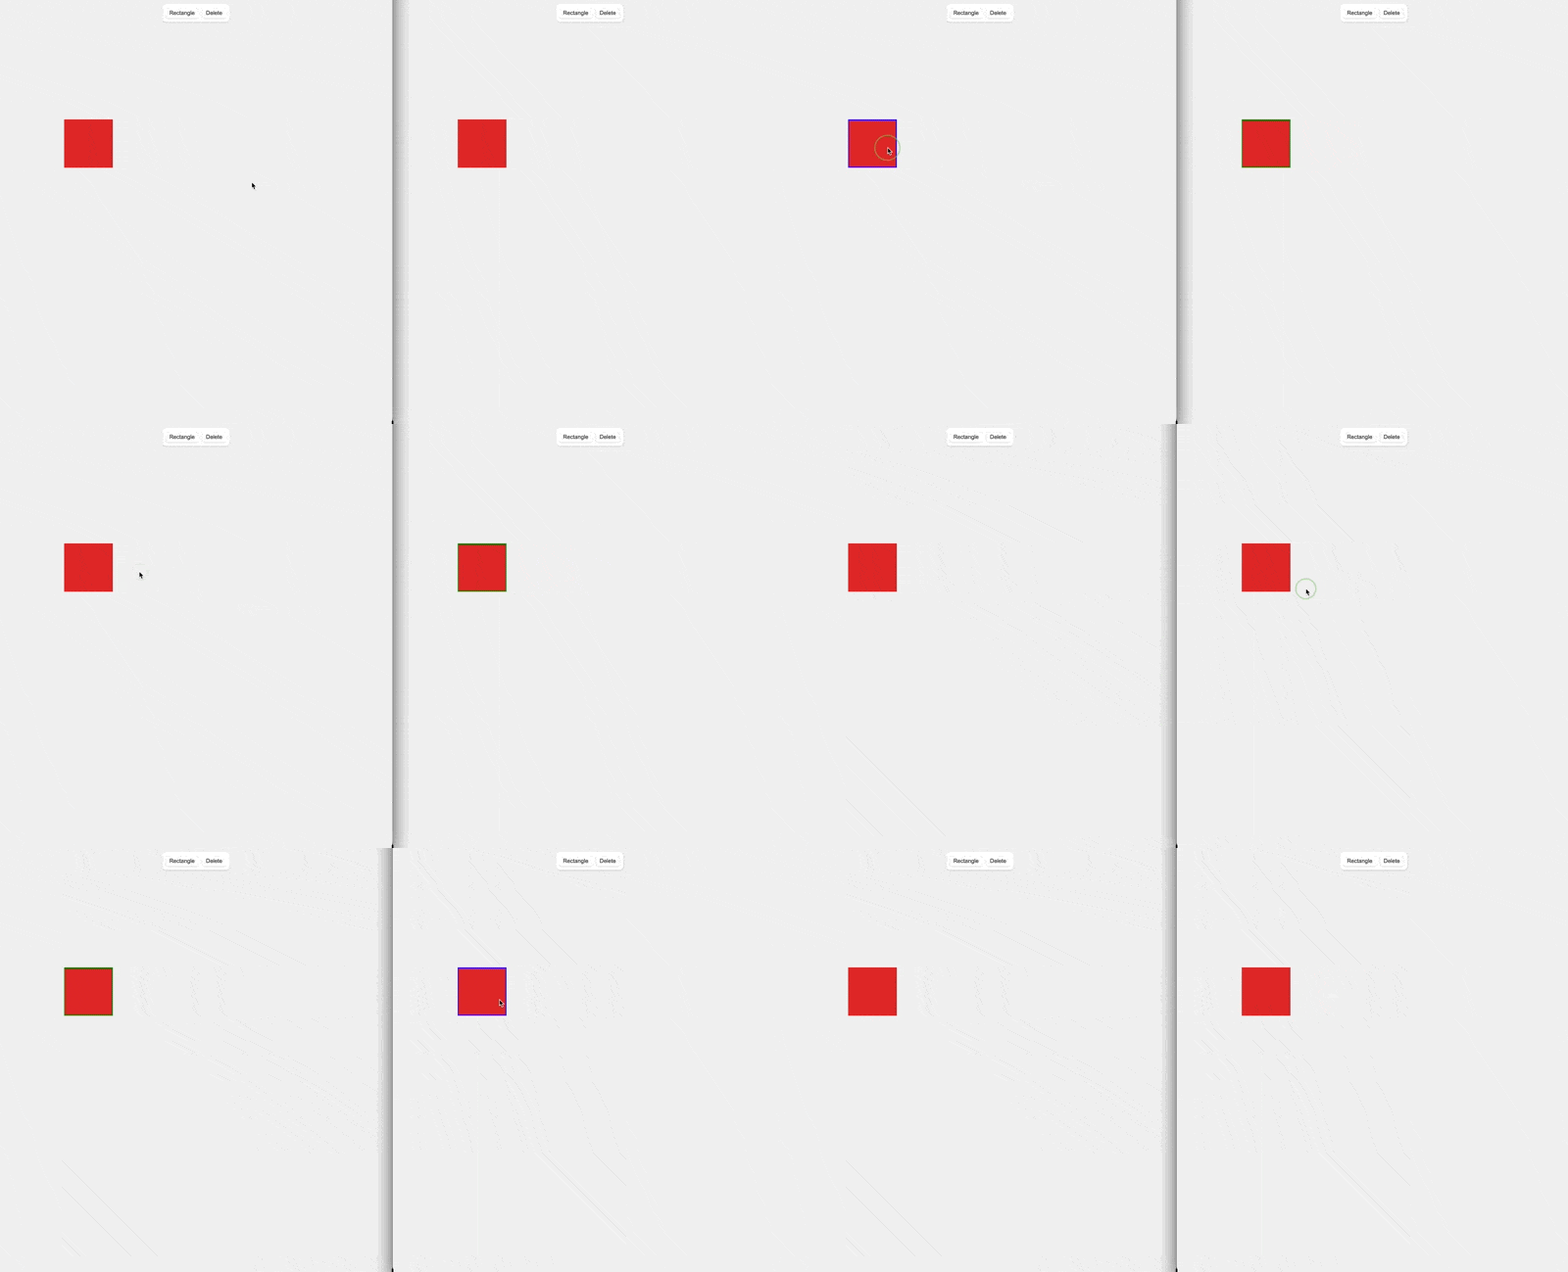
Rectangle をクリックした際のイベントと選択時のカラーを設定できるようにします。
const Rectangle = ({
  shape,
  id,
  onShapePointerDown,
  selectionColor,
}: {
  shape: any;
  id: string;
  onShapePointerDown: (e: any, id: string) => void;
  selectionColor: string | undefined;
}) => {
  const { x, y, fill } = shape;

  return (
    <div
      className="rectangle"
      onPointerDown={(e) => onShapePointerDown(e, id)}
      style={{
        transform: `translate(${x}px, ${y}px)`,
        backgroundColor: fill ? fill : '#CCC',
        borderColor: selectionColor || 'transparent',
      }}
    ></div>
  );
};
Canvas で useMyPresence と useOthers を使って選択状態を反映できるようにします。
const Canvas = ({ shapes }: { shapes: any }) => {
  const [{ selectedShape }, setPresence] = useMyPresence();
  const others = useOthers();

  const insertRectangle = () => {
    const shapeId = Date.now().toString();
    const rectangle = {
      x: getRandomInt(300),
      y: getRandomInt(300),
      fill: getRandomColor(),
    };
    shapes.set(shapeId, rectangle);
  };

  const onShapePointerDown = (e: any, shapeId: string) => {
    setPresence({ selectedShape: shapeId });
    e.stopPropagation();
  };

  return (
    <>
      <div
        className="canvas"
        onPointerDown={(e) => setPresence({ selectedShape: null })}
      >
        {Array.from(shapes, ([shapeId, shape]) => {
          const selectionColor =
            selectedShape === shapeId
              ? 'blue'
              : others.some((user) => user.presence?.selectedShape === shapeId)
              ? 'green'
              : undefined;
          return (
            <Rectangle
              key={shapeId}
              shape={shape}
              id={shapeId}
              onShapePointerDown={onShapePointerDown}
              selectionColor={selectionColor}
            />
          );
        })}
      </div>
      <div className="toolbar">
        <button onClick={insertRectangle}>Rectangle</button>
      </div>
    </>
  );
};
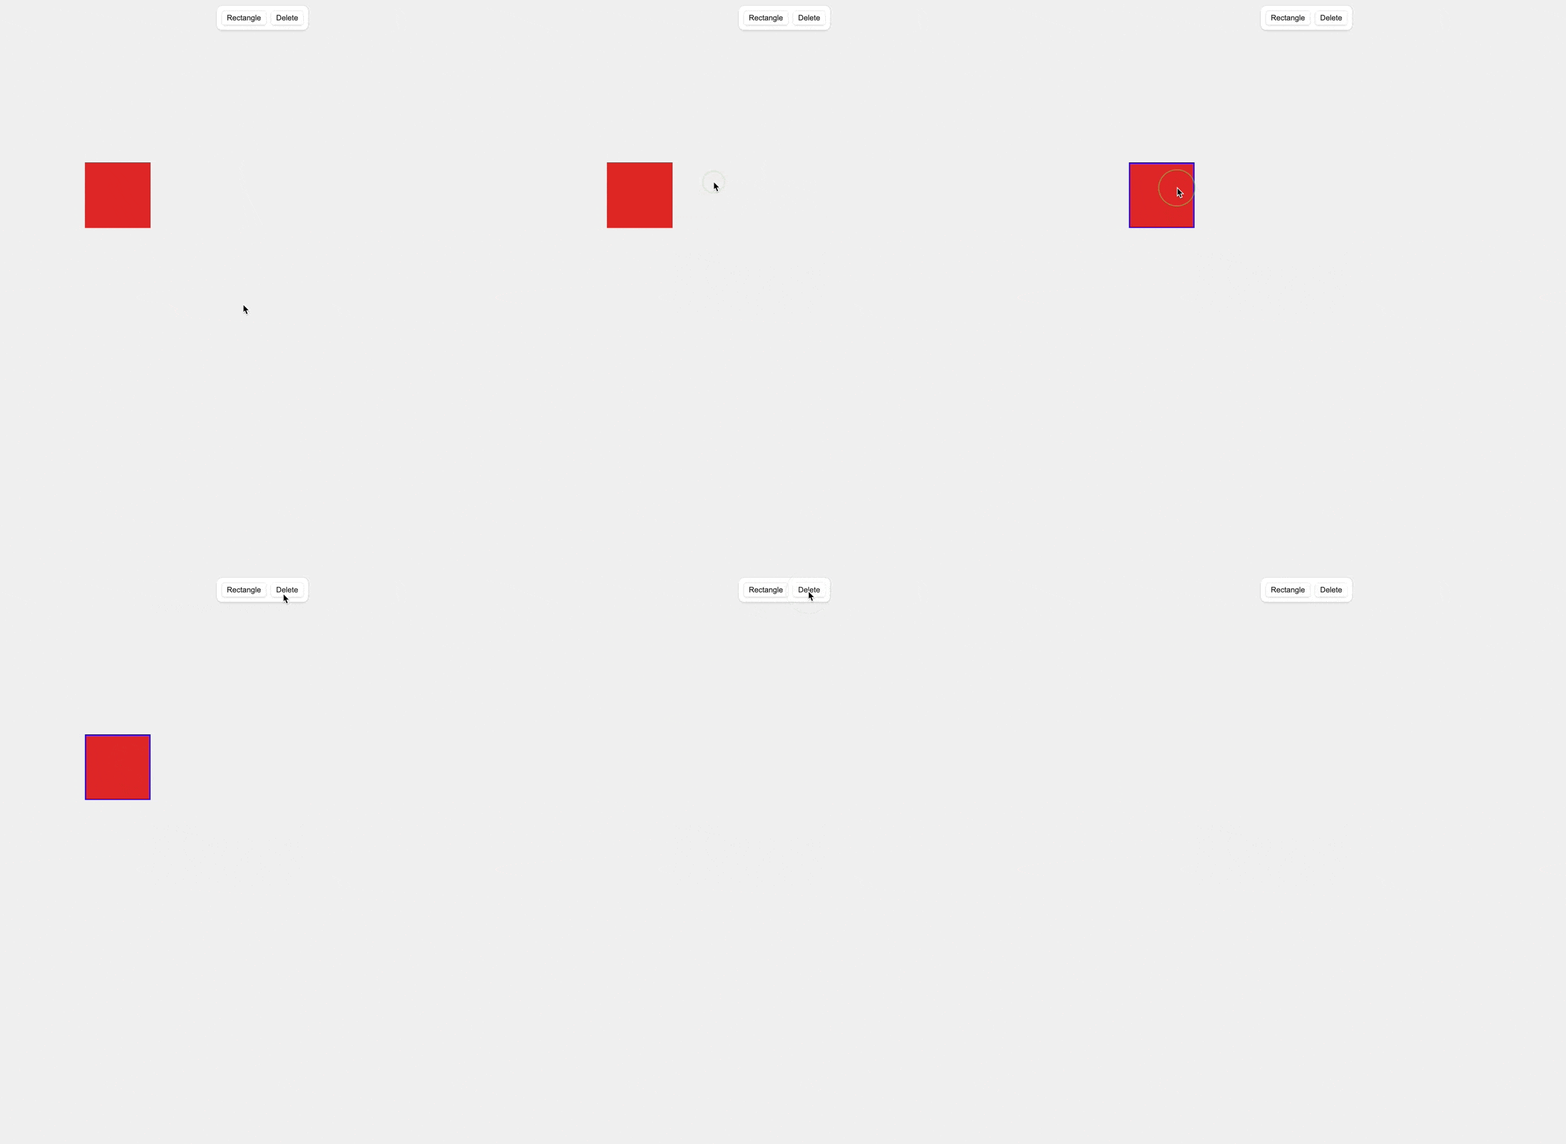
長方形を削除
Canvas に以下を追加します。
const deleteRectangle = () => {
    shapes.delete(selectedShape);
    setPresence({ selectedShape: null });
  };
// ...
return (
    <>
      ...
      <div className="toolbar">
        <button onClick={insertRectangle}>Rectangle</button>
        {/* 以下を追加 */}
        <button onClick={deleteRectangle} disabled={selectedShape == null}>
          Delete
        </button>
      </div>
    </>
  );
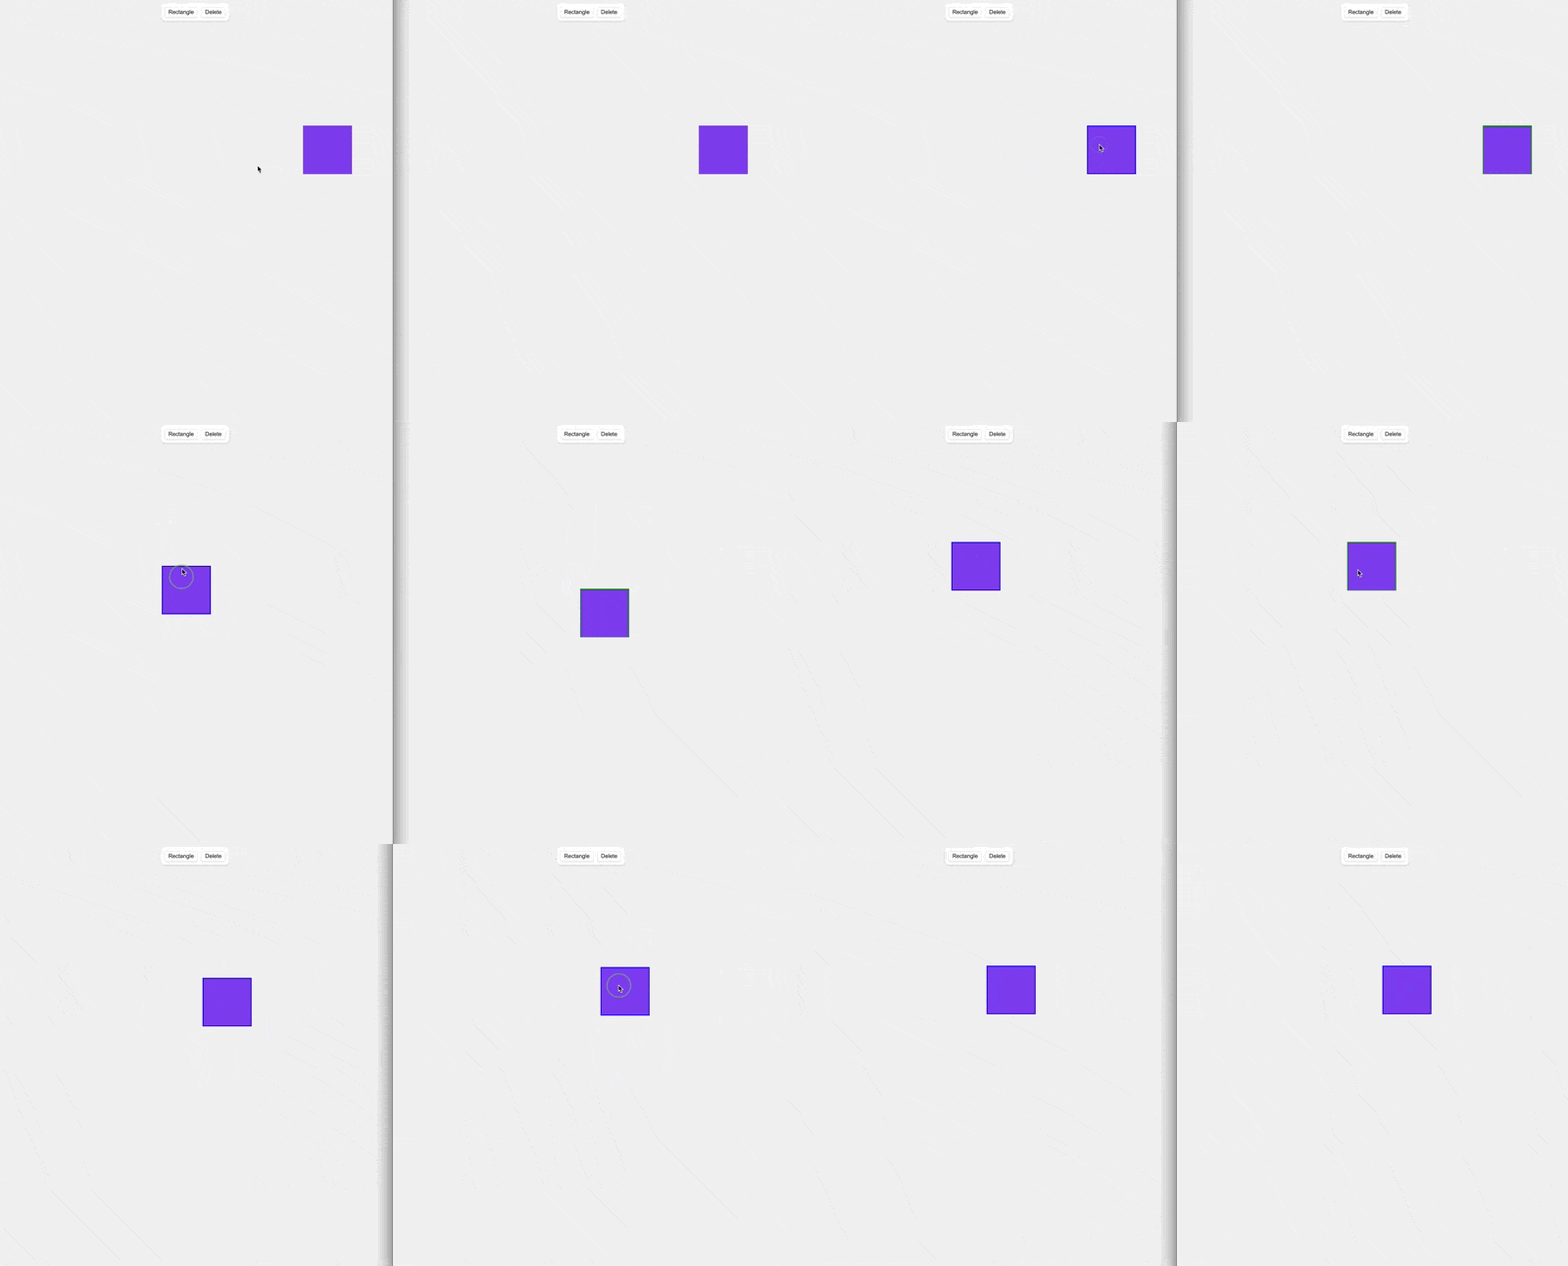
長方形の移動同期
Canvas を修正していきます。
const Canvas = ({ shapes }: { shapes: any }) => {
  const [isDragging, setIsDragging] = useState(false); // 追加
  const [{ selectedShape }, setPresence] = useMyPresence();
  const others = useOthers();

  const onShapePointerDown = (e: any, shapeId: string) => {
    e.stopPropagation();
    setPresence({ selectedShape: shapeId });
    setIsDragging(true); // 追加
  };
  // ↓追加
  const onCanvasPointerUp = (e: any) => {
    if (!isDragging) {
      setPresence({ selectedShape: null });
    }

    setIsDragging(false);
  };
  // ↓追加
  const onCanvasPointerMove = (e: any) => {
    e.preventDefault();

    if (isDragging) {
      const shape = shapes.get(selectedShape);
      if (shape) {
        shapes.set(selectedShape, {
          ...shape,
          x: e.clientX - 50,
          y: e.clientY - 50,
        });
      }
    }
  };

  return (
    <>
      <div
        className="canvas"
        onPointerDown={(e) => setPresence({ selectedShape: null })}
        onPointerMove={onCanvasPointerMove} // 追加
        onPointerUp={onCanvasPointerUp} // 追加
      >
      ...
      </div>
    </>
  );
};
まとめ
今回試してみてリアルタイムコラボレーション機能が簡単に組み込めて、CRDTを用いたデータストアが使えるのがとても魅力的に感じました。
あとは1RoomにMAUの上限があるので、そこを考慮して組み込む必要がありそうかなと思います。
今回試した分は以下のリポジトリにアップしてます。
Slowhand0309/liveblocks-example: Liveblocks whiteboard + React example.
Discussion