pnpm + vite + vitest + react + remixでmonorepo projectセットアップ
概要
今回はmonorepo構成のプロジェクトを frontend 配下に作成するという形でpnpm + vite + vitest + react + remixの構成で試してみたいと思います。
また、キャッチアップの為remixの導入を一から行おうと思うので、最初 pnpm + vite + vitest + react 構成でプロジェクトを作成し、後からremixを導入してみたいと思います。
環境構築
devcontainerでの開発環境を構築していきます。 .devcontainer ディレクトリ配下に次のファイルを作成していきます。
-
Dockerfile
FROM node:20.10.0-bullseye-slim LABEL maintainer="Slowhand0309" ARG username=vscode ARG useruid=1000 ARG usergid=${useruid} RUN set -ex \ && apt-get update \ && apt-get install -y \ sudo \ --no-install-recommends \ # Delete node user with uid=1000 and create vscode user with uid=1000 && userdel -r node \ && groupadd --gid ${usergid} ${username} \ && useradd -s /bin/bash --uid ${useruid} --gid ${usergid} -m ${username} \ && echo ${username} ALL=\(root\) NOPASSWD:ALL > /etc/sudoers.d/${username} \ && chmod 0440 /etc/sudoers.d/${username} USER ${username} -
docker-compose.yml (image名などは適宜修正)
version: '3.8' volumes: modules_data: services: app: build: . image: slowhand/nodejs container_name: "nodejs" volumes: - ..:/usr/src - modules_data:/usr/src/node_modules command: /bin/sh -c "while sleep 1000; do :; done" working_dir: /usr/src -
devcontainer.json (extensionsやsettingsはお好みで)
{ "name": "Node.js remote container dev", "dockerComposeFile": ["docker-compose.yml"], "service": "app", "workspaceFolder": "/usr/src", "customizations": { "vscode": { "extensions": [ "dbaeumer.vscode-eslint", "esbenp.prettier-vscode" ], "settings": { "editor.tabSize": 2, "editor.formatOnSave": true, "editor.codeActionsOnSave": { "source.fixAll.eslint": "always" }, "files.insertFinalNewline": true, "files.trimFinalNewlines": true } } }, "features": { "ghcr.io/devcontainers/features/git:1": {} }, "postAttachCommand": ".devcontainer/postAttach.sh", "remoteUser": "vscode" } -
postAttach.sh
#!/bin/sh

cd `dirname $0`
cd ..
sudo chown -R vscode node_modules
上記ファイルを準備し、VSCodeで開きコンテナーで再度開く でコンテナを起動しnodejsがインストールされた開発環境が立ち上がります。
↑の開発環境は以下にテンプレートリポジトリ作成しているので必要あれば使って頂ければと思います。
frontend ディレクトリ内にVite+Reactプロジェクト作成
ここからはコンテナ内で作業していきます。
導入
-
package.jsonとpnpm-workspace.yamlの作成
npm init
touch pnpm-workspace.yaml
-
pnpm-workspace.yamlを更新
packages:
  - "frontend/**"
- vite + react + typescriptのprojectを作成
pnpm create vite frontend --template react-ts
※ Error: ENOENT: no such file or directory, copyfile ~ が発生したら
pnpm store prune
pnpm i
早速起動させてみる
cd frontend
pnpm i
プロジェクトルートの package.json の sctipts に以下を追加
"scripts": {
    "dev": "pnpm  --parallel --filter \"./**\" dev --host=0.0.0.0"
  },
postAttach.sh を以下に修正
#!/bin/sh

cd `dirname $0`
cd ..
sudo chown -R vscode node_modules

pnpm install
pnpm run dev
VSCodeを起動し、コンテナーで再度開く でコンテナを起動します。
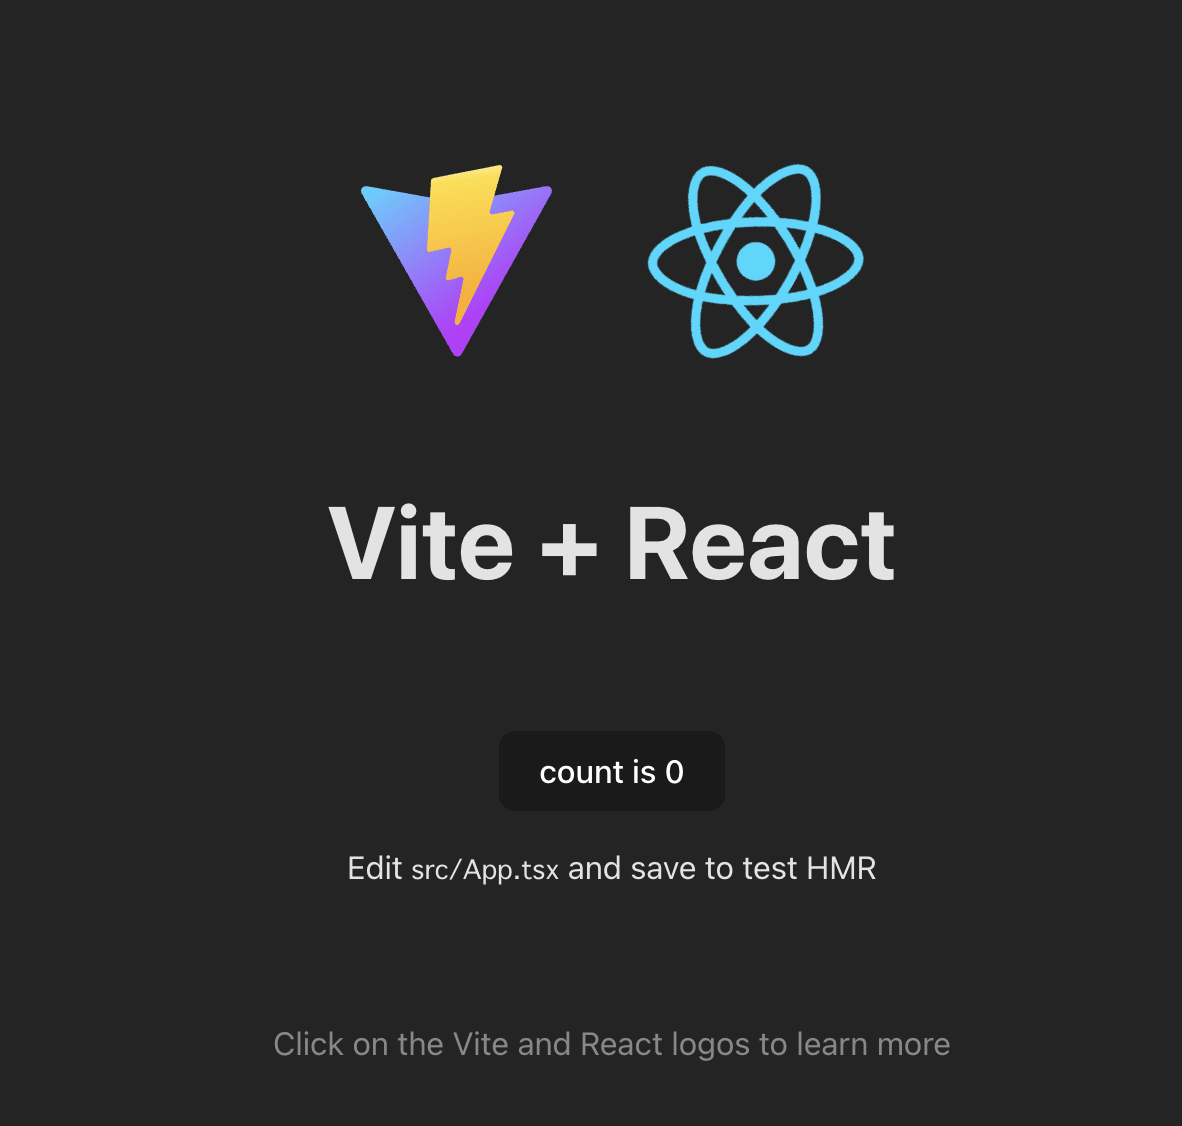
http://localhost:5173/ にアクセスし、以下の画面が表示されていればOKです。

Vitestを導入する
- Viteと同じ構成を利用してテストを実行できる
- Jestと互換がある
- watchモードが高いパフォーマンスを持つ
- ESMとTypeScriptとJSXがサポートされている
導入
まずはルートディレクトリから frontend へ向けて操作できるようにする為、 package.json の scripts に以下を追加します。
  "scripts": {
    "frontend": "pnpm -F \"frontend\""
  },
これで pnpm frontend xxxx で frontend に向けてコマンド実行できます。
早速インストールしていきます。
pnpm frontend add -D vitest
次に frontend/vite.config.ts を編集していきます。
/// <reference types="vitest" />
import react from '@vitejs/plugin-react';
import { defineConfig } from 'vite';

// https://vitejs.dev/config/
export default defineConfig({
  plugins: [react()],
  test: {
    include: ['src/**/*.{test,spec}.{js,mjs,cjs,ts,mts,cts,jsx,tsx}'],
  },
});
次に frontend/package.json の scripts に以下を追加します。
{
  "scripts": {
    // ...
    "test": "vitest",
    "coverage": "vitest run --coverage"
  }
}
プロジェクトルートの package.json に以下を追加します。
{
  "scripts": {
    // ...
    "test": "pnpm  --parallel --filter \"./**\" test",
    // ...
  }
}
試しに以下のようなテストを frontend 配下に作成し、プロジェクトルートから pnpm test で実行できればOKです。
import { expect, it } from 'vitest';

it('add', () => {
  expect(1 + 1).toBe(2);
});
Remix を導入する
Remixとは?
Remixは、モダンなWebアプリケーションを構築するためのフルスタックのWebフレームワークです。これは、高速なページロード、生産的な開発体験、強力なデータフェッチングと同期のメカニズムを提供し、Reactをベースにしています。Remixは、サーバーレンダリングとエンドツーエンドのアプリケーションアーキテクチャを強調し、Webプラットフォームの機能を最大限に活用することに焦点を当てています。
導入
- パッケージインストール
pnpm frontend add @remix-run/node @remix-run/react @remix-run/serve isbot@4
pnpm frontend add -D @remix-run/dev
-
vite.config.jsの修正
import { vitePlugin as remix } from '@remix-run/dev'; // 追加
import { defineConfig } from 'vite';

// https://vitejs.dev/config/
export default defineConfig({
  plugins: [remix()] // react() -> remix() に変更
});
-
app/root.tsxを以下内容で作成
import { Links, Meta, Outlet, Scripts } from '@remix-run/react';

export default function App() {
  return (
    <html>
      <head>
        <link rel="icon" href="data:image/x-icon;base64,AA" />
        <Meta />
        <Links />
      </head>
      <body>
        <h1>Hello world!</h1>
        <Outlet />

        <Scripts />
      </body>
    </html>
  );
}
元々あった src ディレクトリはここで削除します。
-
tsconfig.jsonの修正
{
  // ...
  "include": ["app"],  // src -> app に変更
  // ...
}
-
frontend/package.jsonのscriptsを修正
  "scripts": {
    "dev": "remix vite:dev",
    "build": "remix vite:build",
    "lint": "eslint . --ext ts,tsx --report-unused-disable-directives --max-warnings 0",
    "start": "remix-serve build/server/index.js"
  },
ここまででremix導入が完了しました。 pnpm dev を実施し、http://localhost:5173 をブラウザで開いて app/route.tsx の内容が表示されればOKです。
その他便利設定
installGlobals の導入
テストなど、Node.jsで "fetch", "Response", "Request” などのWebAPIを使う際に自動的にPolyfillしてくれる。
vite.config.js に以下を追加。
import { installGlobals } from '@remix-run/node'; // 追加

installGlobals(); // 追加

export default defineConfig({
// ....
});
vite-tsconfig-paths
Discussion