【Android】Jetpack Composeで実現するSplash Screenカスタマイズ&初期化処理
概要
Androidアプリ開発で Jetpack Compose を使用している際、Splash Screen をどのように実装すれば良いかちゃんと調べられていなかったので、本記事では、Splash Screen の実装方法に加え、表示中に初期化処理を行う方法についても、実際に試した際の知見をもとにした記事になります。
スプラッシュ画面の設定
- Android 12 以降では SplashScreen APIを使うようになった
- SplashScreen API 互換性ライブラリを使用することもできる
- スプラッシュ画面の仕組み
動作環境
- Android Studio Ladybug | 2024.2.1 Patch 2
- MBA M3 Sonoma 14.6.1
- kotlin 2.1.0
- compose-bom 2025.02.00
サンプルプロジェクトの作成
早速AndroidStudioを起動し、サンプルプロジェクトを作成していきます。
- 「New Project」から「Empty Activity」を選択

- プロジェクト名は「SplashSample」として以下内容で作成しました

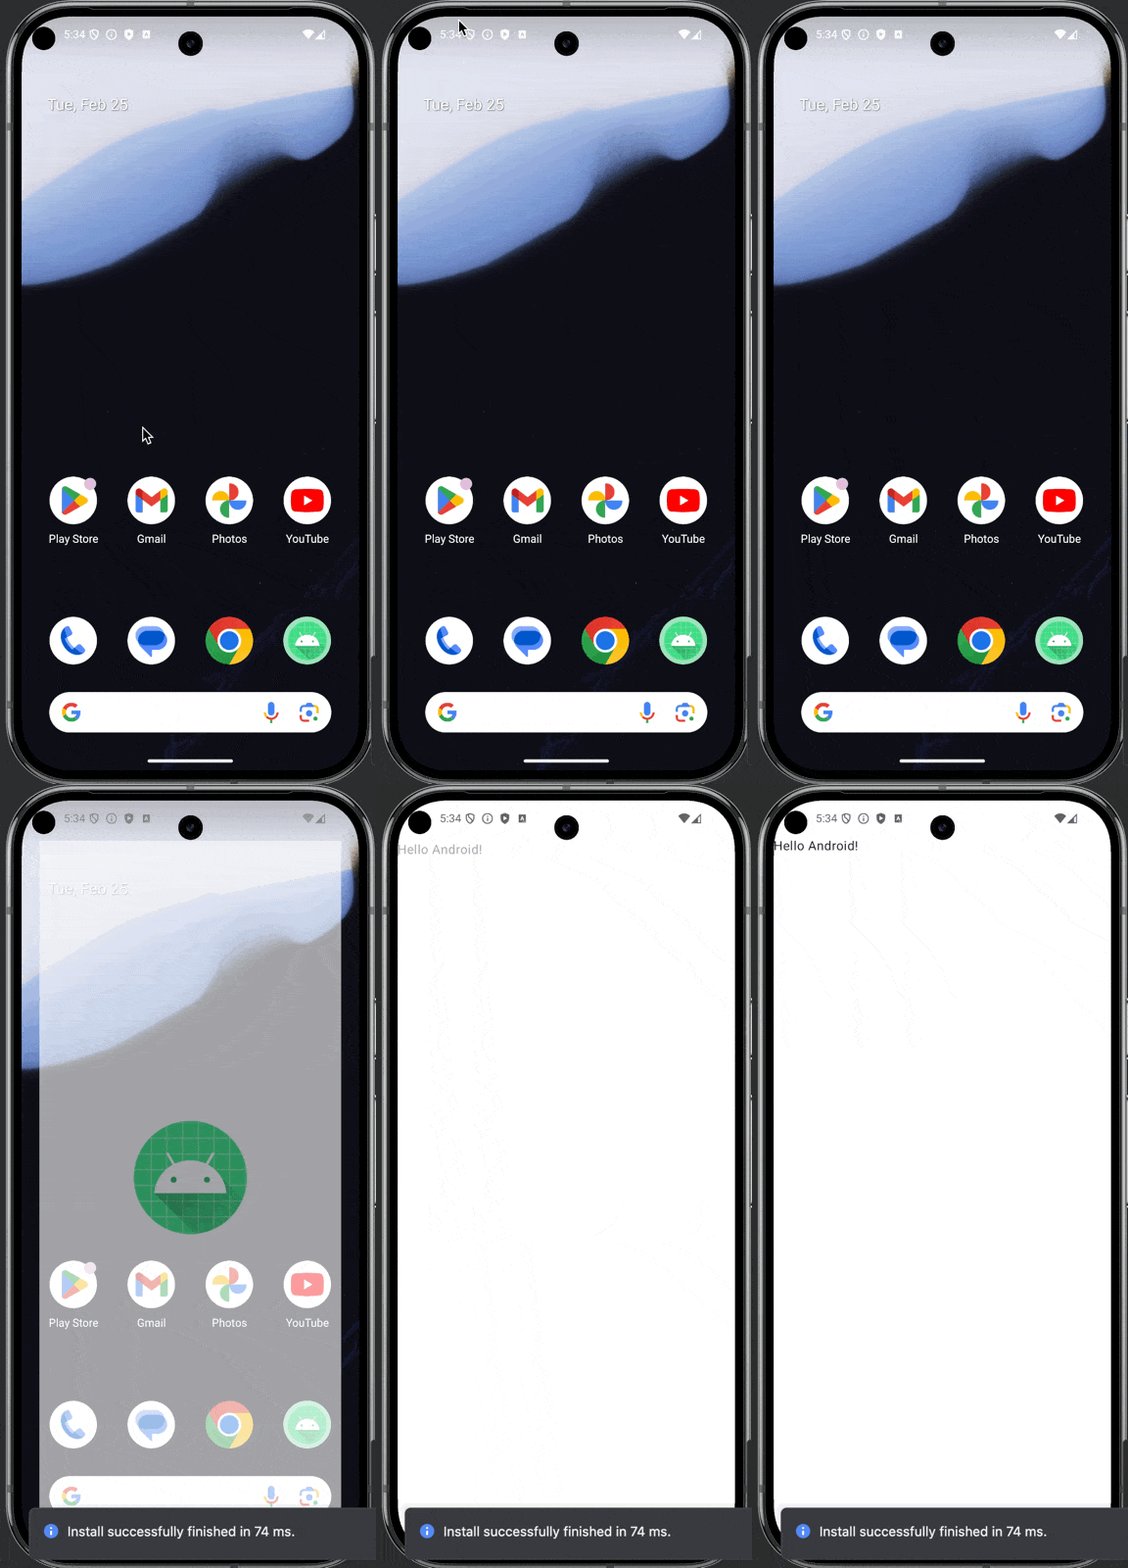
作成時点でのSplash Screenは以下のように表示されます。
必要なパッケージのインストール
gradle/libs.versions.toml に以下を追加します。
[versions]
splashscreen = "1.0.1"

[libraries]
androidx-core-splashscreen = { group = "androidx.core", name = "core-splashscreen", version.ref = "splashscreen" }
app/build.gradle.kts に以下を追加します。
dependencies {
  implementation(libs.androidx.core.splashscreen)
}
※ core-splashscreenの最新バージョンは👇で確認できます。
Splash Screenの要素

①: アプリアイコンはベクター型ドローアブルが推奨される
- ベクター型ドローアブルには以下2種類存在する
- VectorDrawable
- AnimatedVectorDrawable
- ベクター型ドローアブル以外にもAdaptive Iconやその他の Drawable(BitmapDrawable など)も利用できるが推奨外
- アニメーションの場合1,000 ミリ秒以下がおすすめ
- デフォルトはランチャー アイコン
- AdaptiveIconも使用できるが別途設定が必要だったりする
②: アイコン背景
- 省略可能
- AdaptiveIconを使用する場合、ウィンドウ背景とのコントラストが十分あれば、背景が表示される
③: アプリアイコンの外側 1/3 がマスクされる
④: ウィンドウ背景
背景色の変更
早速Splash Screenをカスタムしていこうと思います。まずは一番簡単そうな背景色の変更を試してみます
res/values/themes.xml が以下の様になっているかと思います。
<?xml version="1.0" encoding="utf-8"?>
<resources>

    <style name="Theme.SplashSample" parent="android:Theme.Material.Light.NoActionBar" />
</resources>
上記を👇の様に修正します。
<?xml version="1.0" encoding="utf-8"?>
<resources>

    <style name="Theme.SplashSample" parent="Theme.SplashScreen">
        <item name="windowSplashScreenBackground">@color/purple_500</item>
        <item name="postSplashScreenTheme">@style/android:Theme.Material.Light.NoActionBar</item>
    </style>
</resources>
まずプロジェクト作成時に作られた Theme.SplashSample をそのまま使います。 parent を Theme.SplashScreen に変更し、 postSplashScreenTheme に Theme.SplashSample の parent に設定されていた値 ( android:Theme.Material.Light.NoActionBar ) を設定します。
最後に windowSplashScreenBackground で背景色を好きな色に設定します。
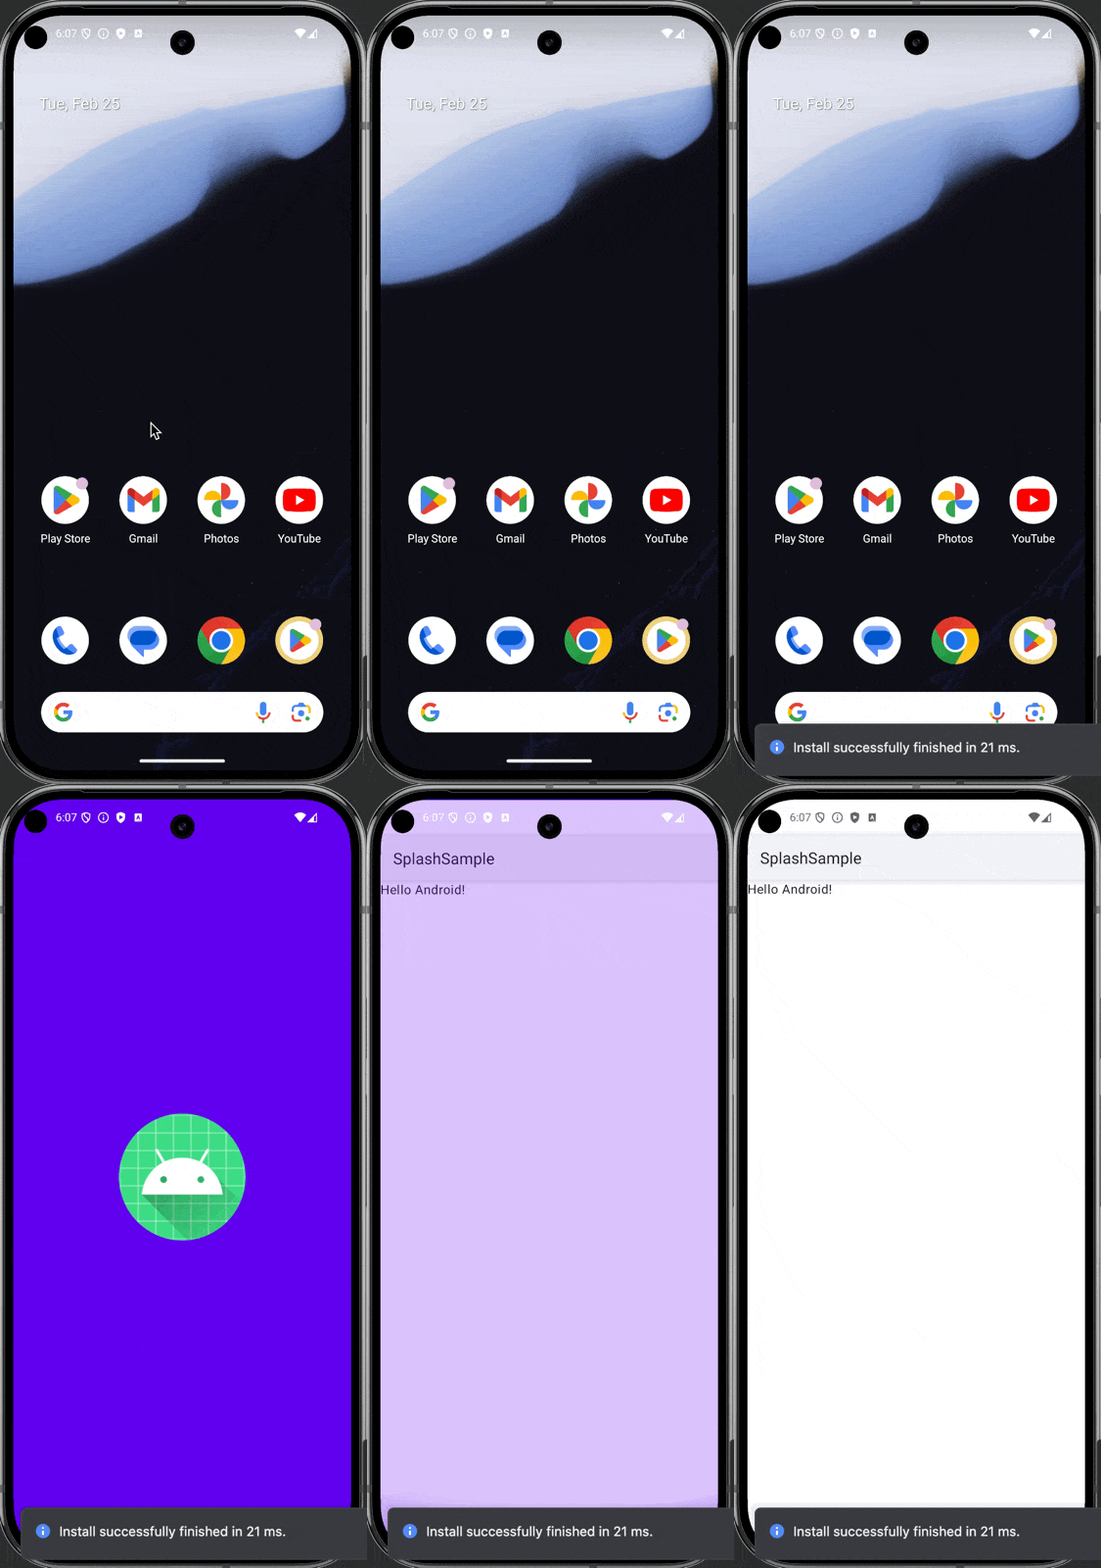
この時点でのSplash Screenは👇の様になります。
アイコンの変更
VectorDrawable
まずはアニメーション無しのVectorDrawableを試してみたいと思います。
早速👇を res/drawable/triangle_splash_icon.xml に保存します。
<?xml version="1.0" encoding="utf-8"?>
<vector xmlns:android="http://schemas.android.com/apk/res/android"
    android:width="108dp"
    android:height="108dp"
    android:viewportWidth="108"
    android:viewportHeight="108">
    <path
        android:name="triangle"
        android:fillColor="#FF5722"
        android:pathData="M54,30 L78,78 H30 Z"/>
</vector>
👆ではSplash起動時にシステム側で中心部分を円にマスクして表示される為、30dpのpaddingを付けています。

次に res/values/themes.xml の Theme.SplashSample に windowSplashScreenAnimatedIcon を追加し、先ほど作成した triangle_splash_icon.xml を指定します。
    <style name="Theme.SplashSample" parent="Theme.SplashScreen">
        ...
        <!-- 以下を追加 -->
        <item name="windowSplashScreenAnimatedIcon">@drawable/triangle_splash_icon</item>
    </style>
※ この時に requires API level 31 で怒られる場合は、minSdkが31より低く設定されていると思うのでダイアログの Override Resource in values-v31 をクリックして res/values-v31/themes.xml を作成して下さい。
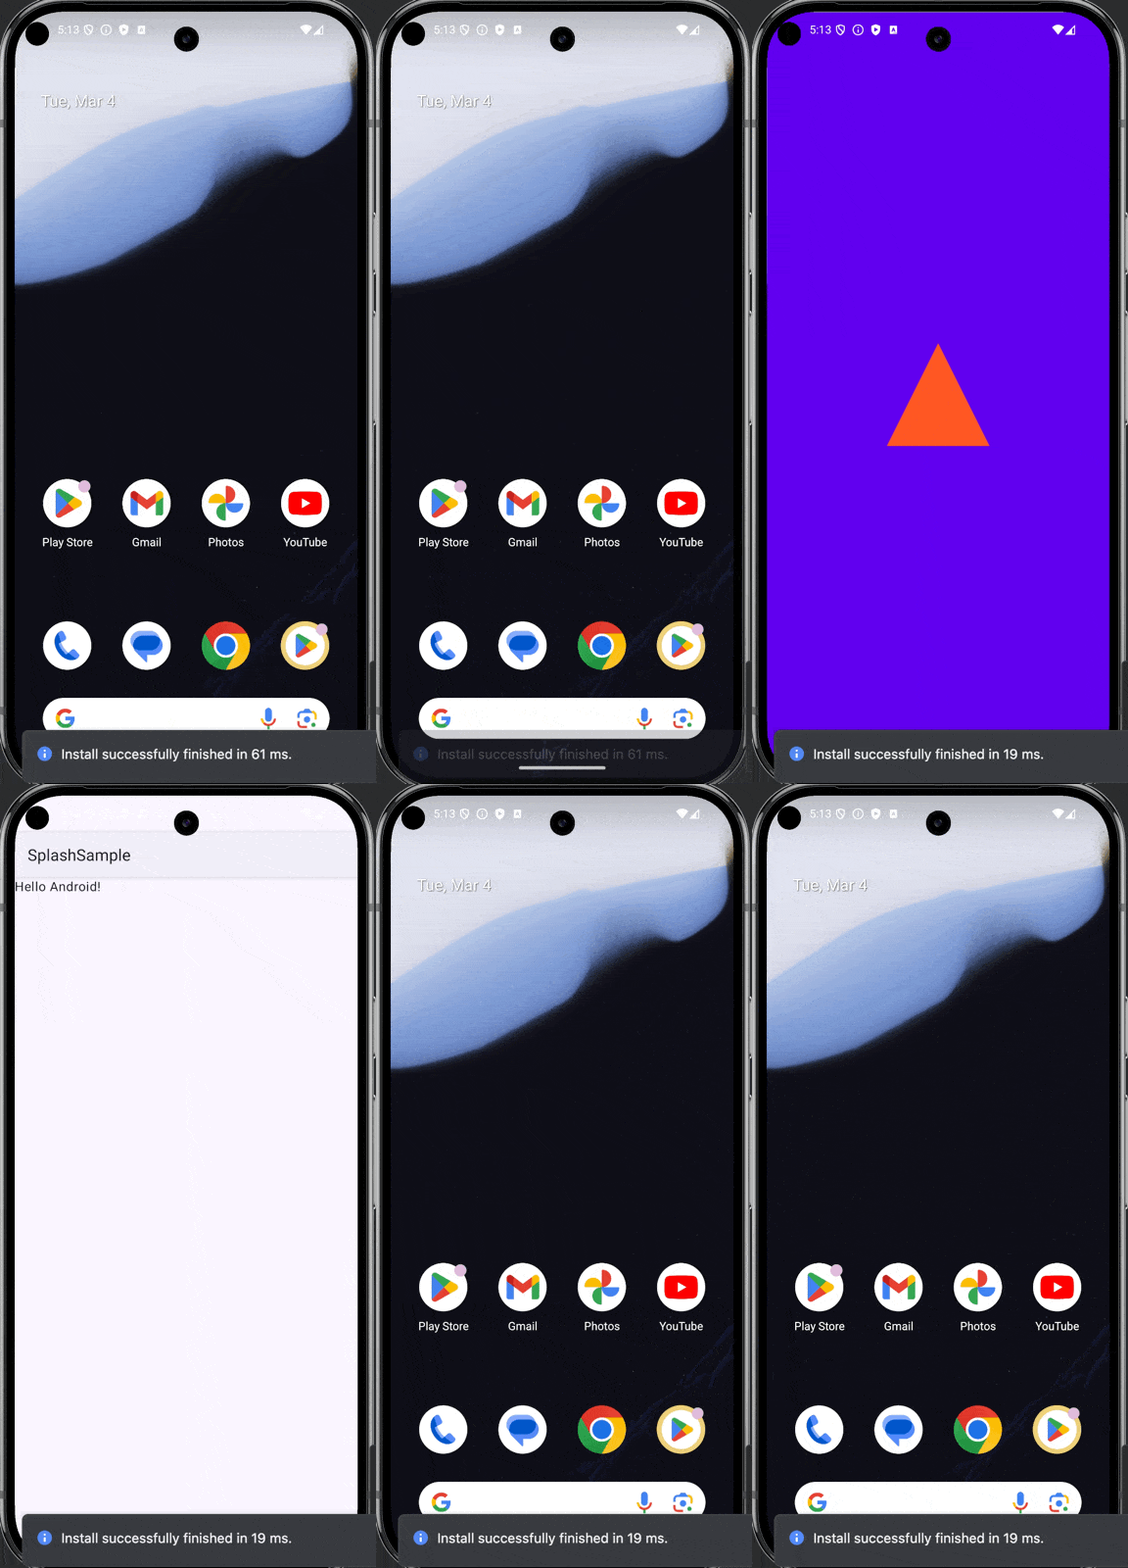
この時点でのSplash Screenは👇の様になります。
AnimatedVectorDrawable
次にアニメーションありのVectorDrawableを試してみたいと思います。
まずは今だとすぐにSplash Screenが閉じてしまうので、すぐに閉じないようにしたいと思います。
MainActivity.kt にすぐに閉じない様にdelayを設定してみます。
class MainActivity : ComponentActivity() {
    private var isReady = false // フラグ追加
    override fun onCreate(savedInstanceState: Bundle?) {
        // SplashScreen APIのinstallSplashScreenの戻り値を取得
        val splashScreen = installSplashScreen()
        // isReadyがtrueになるまで表示し続ける
        splashScreen.setKeepOnScreenCondition {
            !isReady
        }
        super.onCreate(savedInstanceState)
        // ...
        // フラグを数秒後にtrueに更新
        lifecycleScope.launch {
            delay(5000)  // 5秒待つ
            isReady = true
        }
    }
}
先ほど作成した res/drawable/triangle_splash_icon.xml にアニメーションを付けてみたいと思います。三角形の色を変化させるアニメーションを res/animator/splash_icon_animator.xml として以下の内容で作成します。
<?xml version="1.0" encoding="utf-8"?>
<objectAnimator xmlns:android="http://schemas.android.com/apk/res/android"
    android:duration="3000"
    android:propertyName="fillColor"
    android:valueFrom="#FF5722"
    android:valueTo="#4CAF50"
    android:valueType="intType" />
次にAnimatedVectorDrawableを作成します。 res/drawable/animated_triangle_splash_icon.xml を以下の内容で作成します。
<?xml version="1.0" encoding="utf-8"?>
<animated-vector xmlns:android="http://schemas.android.com/apk/res/android"
    android:drawable="@drawable/triangle_splash_icon">
    <target
        android:name="triangle"
        android:animation="@animator/splash_icon_animator" />
</animated-vector>
最後に res/values/themes.xml の windowSplashScreenAnimatedIcon に作成した @drawable/animated_triangle_splash_icon を設定します。
    <style name="Theme.SplashSample" parent="Theme.SplashScreen">
        ...
        <!-- 以下を修正 -->
        <item name="windowSplashScreenAnimatedIcon">@drawable/animated_triangle_splash_icon</item>
    </style>
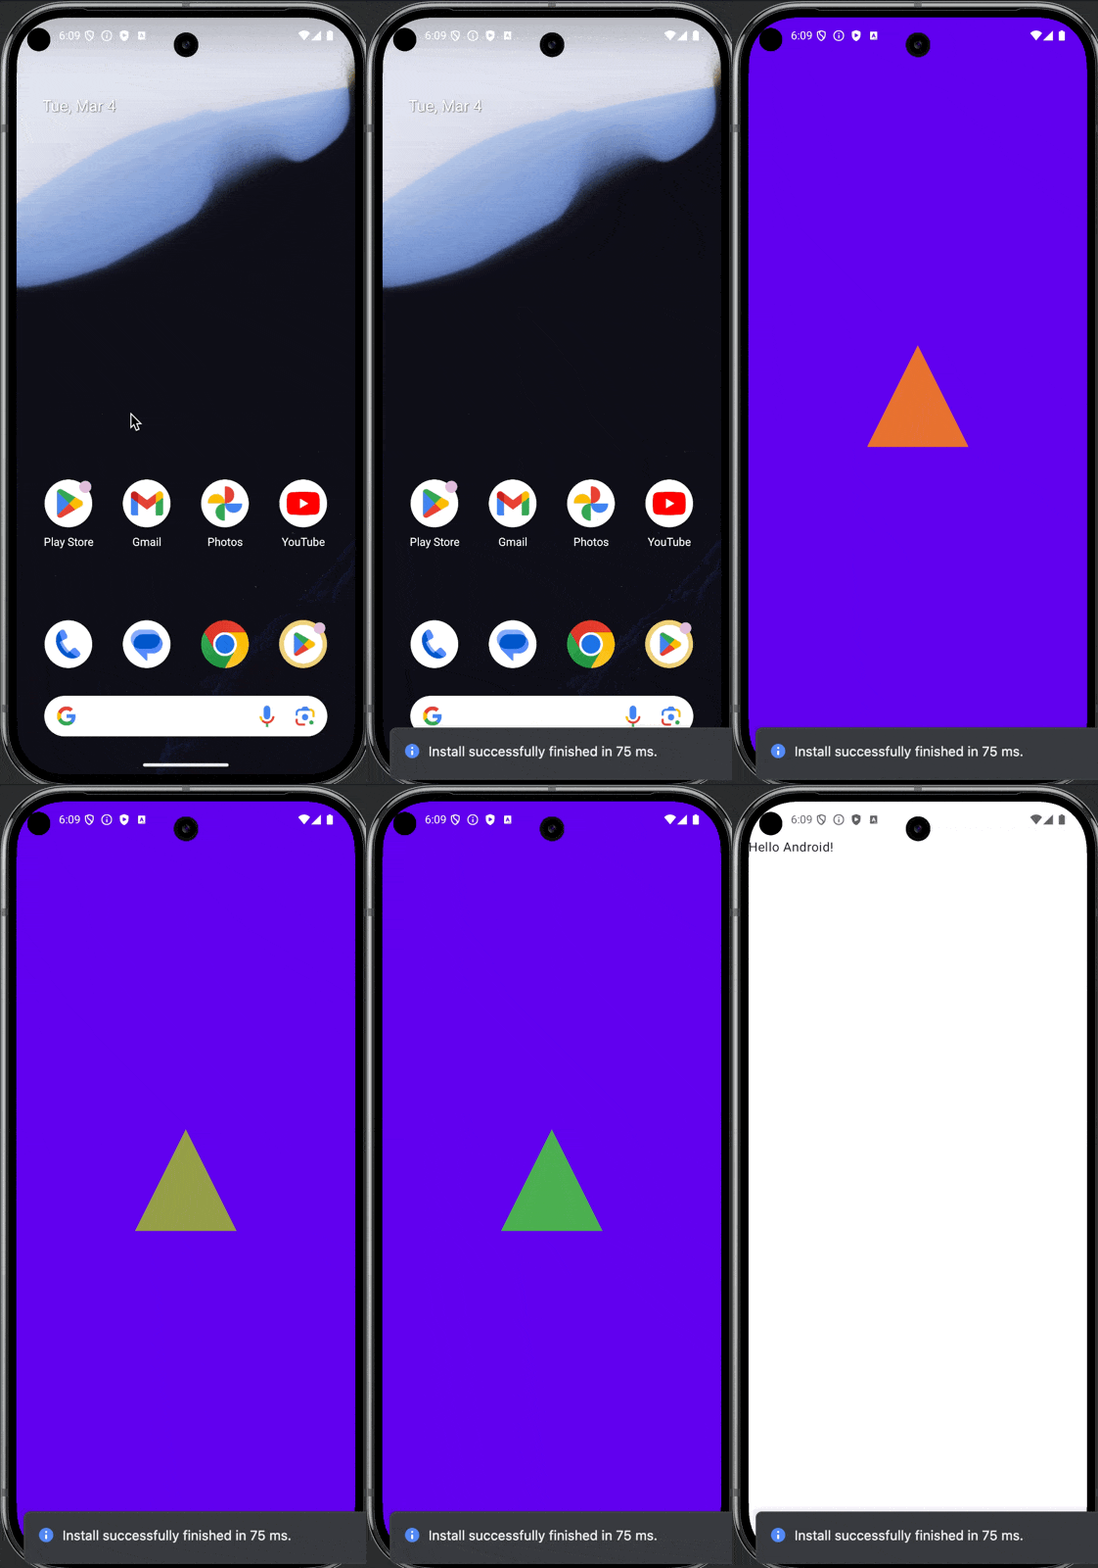
これでアプリ起動すると👇の様に色が変化されると思います。
終了アニメーションをカスタマイズする
SplashScreen の setOnExitAnimationListener を使用して終了時のアニメーションを自分で定義する事もできます。
MainActivity を以下の様に修正します。
class MainActivity : ComponentActivity() {
    override fun onCreate(savedInstanceState: Bundle?) {
        val splashScreen = installSplashScreen()
        // SplashScreenのアニメーションのカスタム
        splashScreen.setOnExitAnimationListener { splashScreenView ->
            // 5秒後にフェードアウト
            val fadeOut = ObjectAnimator.ofFloat(splashScreenView.view, View.ALPHA, 1f, 0f)
            fadeOut.duration = 5000L
            fadeOut.addListener(object : AnimatorListenerAdapter() {
                override fun onAnimationEnd(animation: Animator) {
                    // アニメーション終了後にスプラッシュ画面を除去
                    splashScreenView.remove()
                }
            })
            fadeOut.start()
        }
        super.onCreate(savedInstanceState)
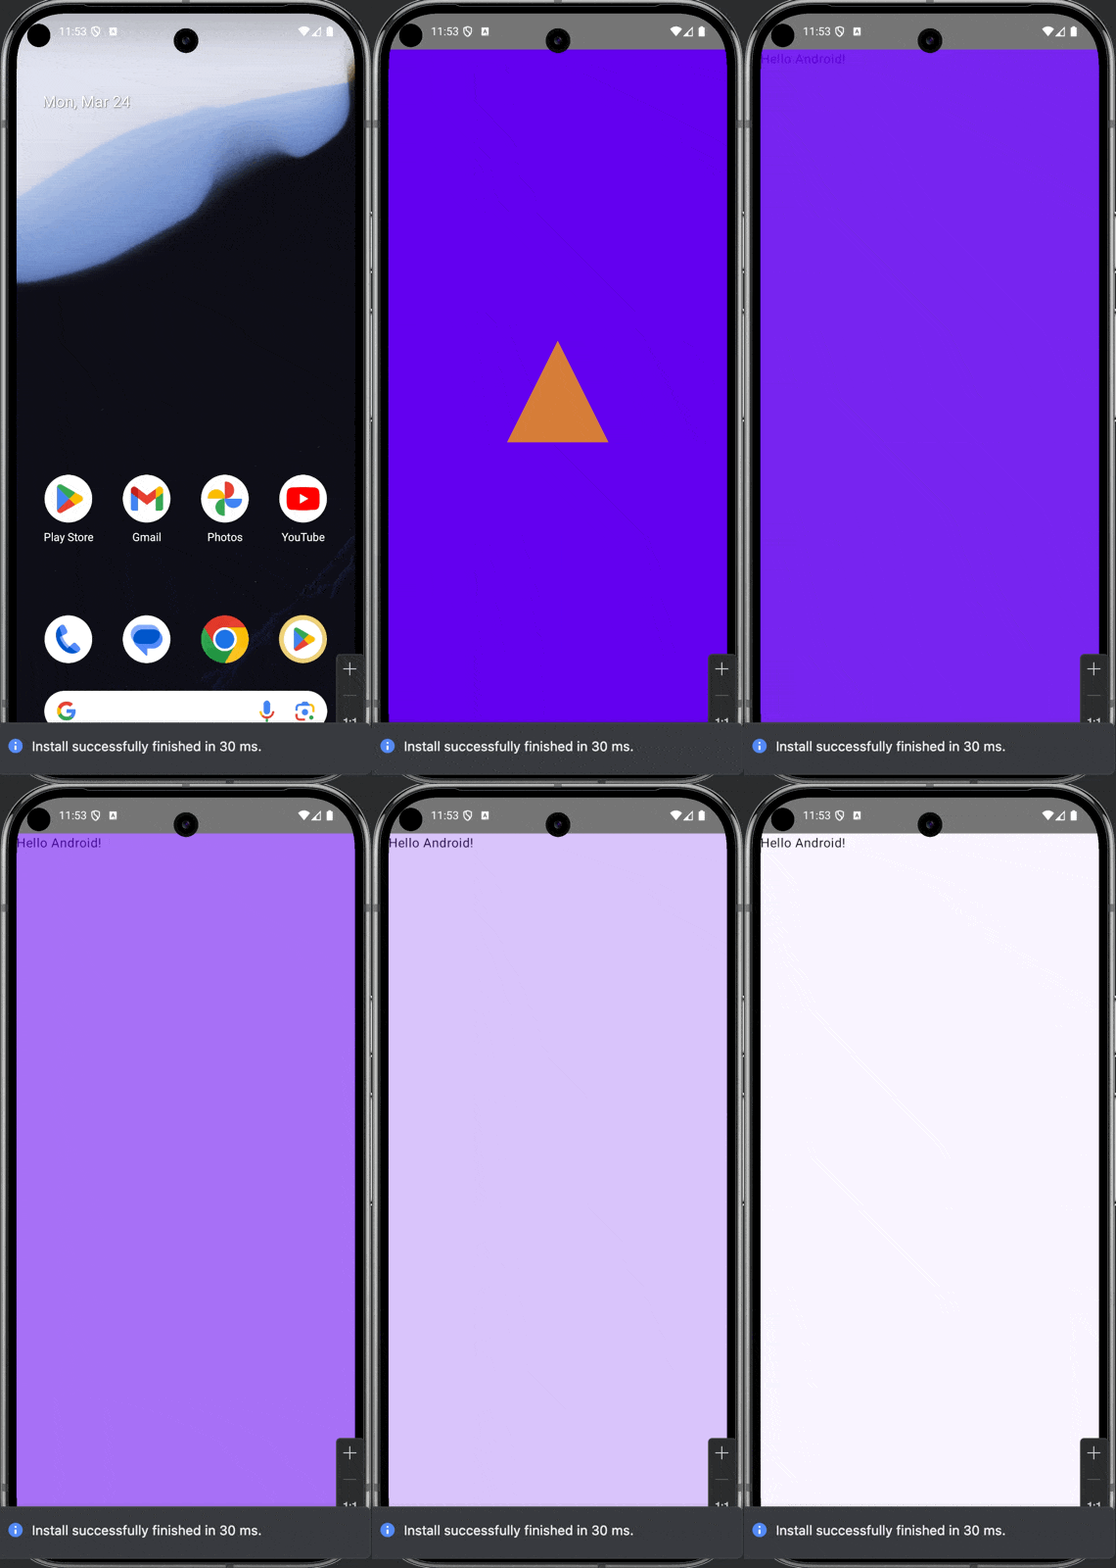
これでアプリ起動すると👇の様に5秒後にSplashScreenがフェードアウトしているのがわかります。
Splash Screen表示時に初期化処理などを行う
表示中に何か処理を行う場合に、Splash Screenを処理が完了するまで表示させる方法として以下の方法がある様です。
- SplashScreen API を使う
- OnPreDrawListener を利用して初回描画を遅延させる
SplashScreen API を使う
SplashScreen の setKeepOnScreenCondition を使用して表示時間をコントロールします。
MainActivity を以下の様に修正します。
class MainActivity : ComponentActivity() {
    private var isReady = false
    override fun onCreate(savedInstanceState: Bundle?) {
        // 追加
        val splashScreen = installSplashScreen()
        splashScreen.setKeepOnScreenCondition {
            !isReady
        }

        super.onCreate(savedInstanceState)
        enableEdgeToEdge()
        setContent {
            // ....
        }
        // 追加
        lifecycleScope.launch {
            delay(10000)  // 10秒待つ ※ここで初期化処理などを行う
            isReady = true
        }
    }
}
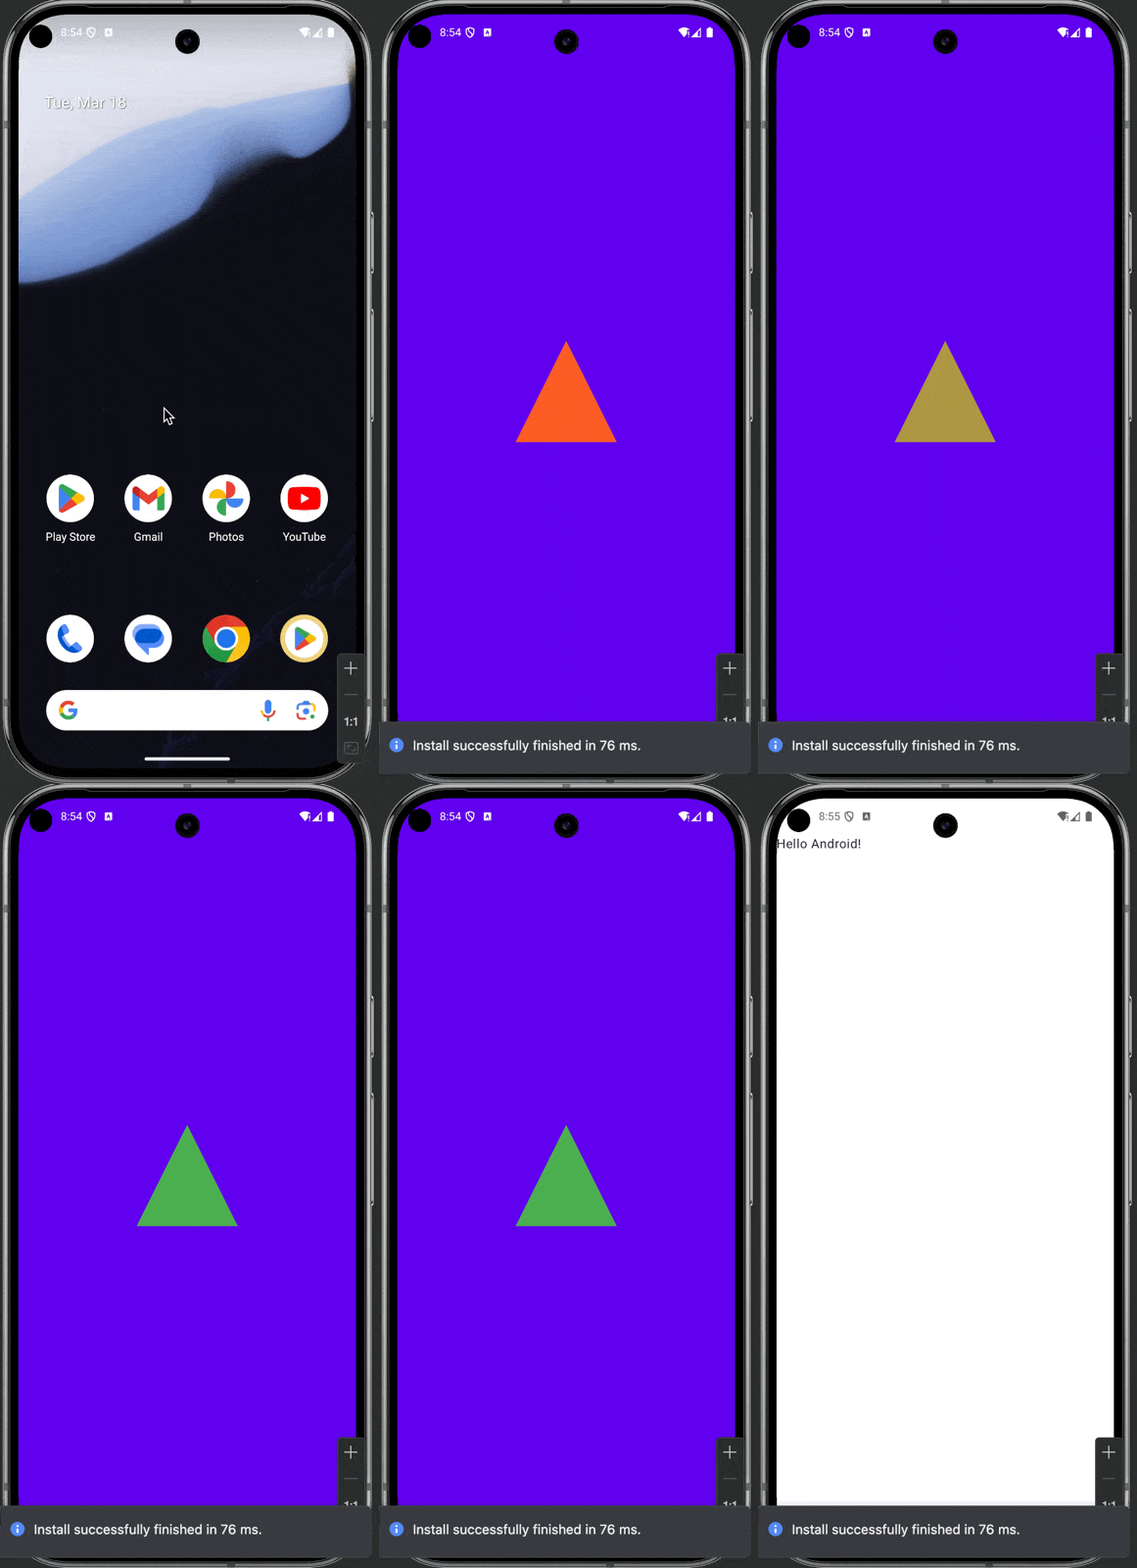
これでアプリ起動すると👇の様に10秒間表示されると思います。
OnPreDrawListener を利用して初回描画を遅延させる
ViewTreeObserver の OnPreDrawListener を使用して初回描画を遅らせることができます。
MainActivity を以下の様に修正します。
class MainActivity : ComponentActivity() {
    private var isReady = false
    override fun onCreate(savedInstanceState: Bundle?) {
        super.onCreate(savedInstanceState)
        enableEdgeToEdge()
        setContent {
          // ....
        }
        // ここから追加
        val content: View = findViewById(android.R.id.content)
        content.viewTreeObserver.addOnPreDrawListener(
            object : ViewTreeObserver.OnPreDrawListener {
                override fun onPreDraw(): Boolean {
                    return if (isReady) {
                        // 描画を終了させる
                        content.viewTreeObserver.removeOnPreDrawListener(this)
                        true
                    } else {
                        // isReady = falseの間は描画させる
                        false
                    }
                }
            }
        )
        lifecycleScope.launch {
            delay(10000)  // 10秒待つ ※ここで初期化処理などを行う
            isReady = true
        }
    }
}
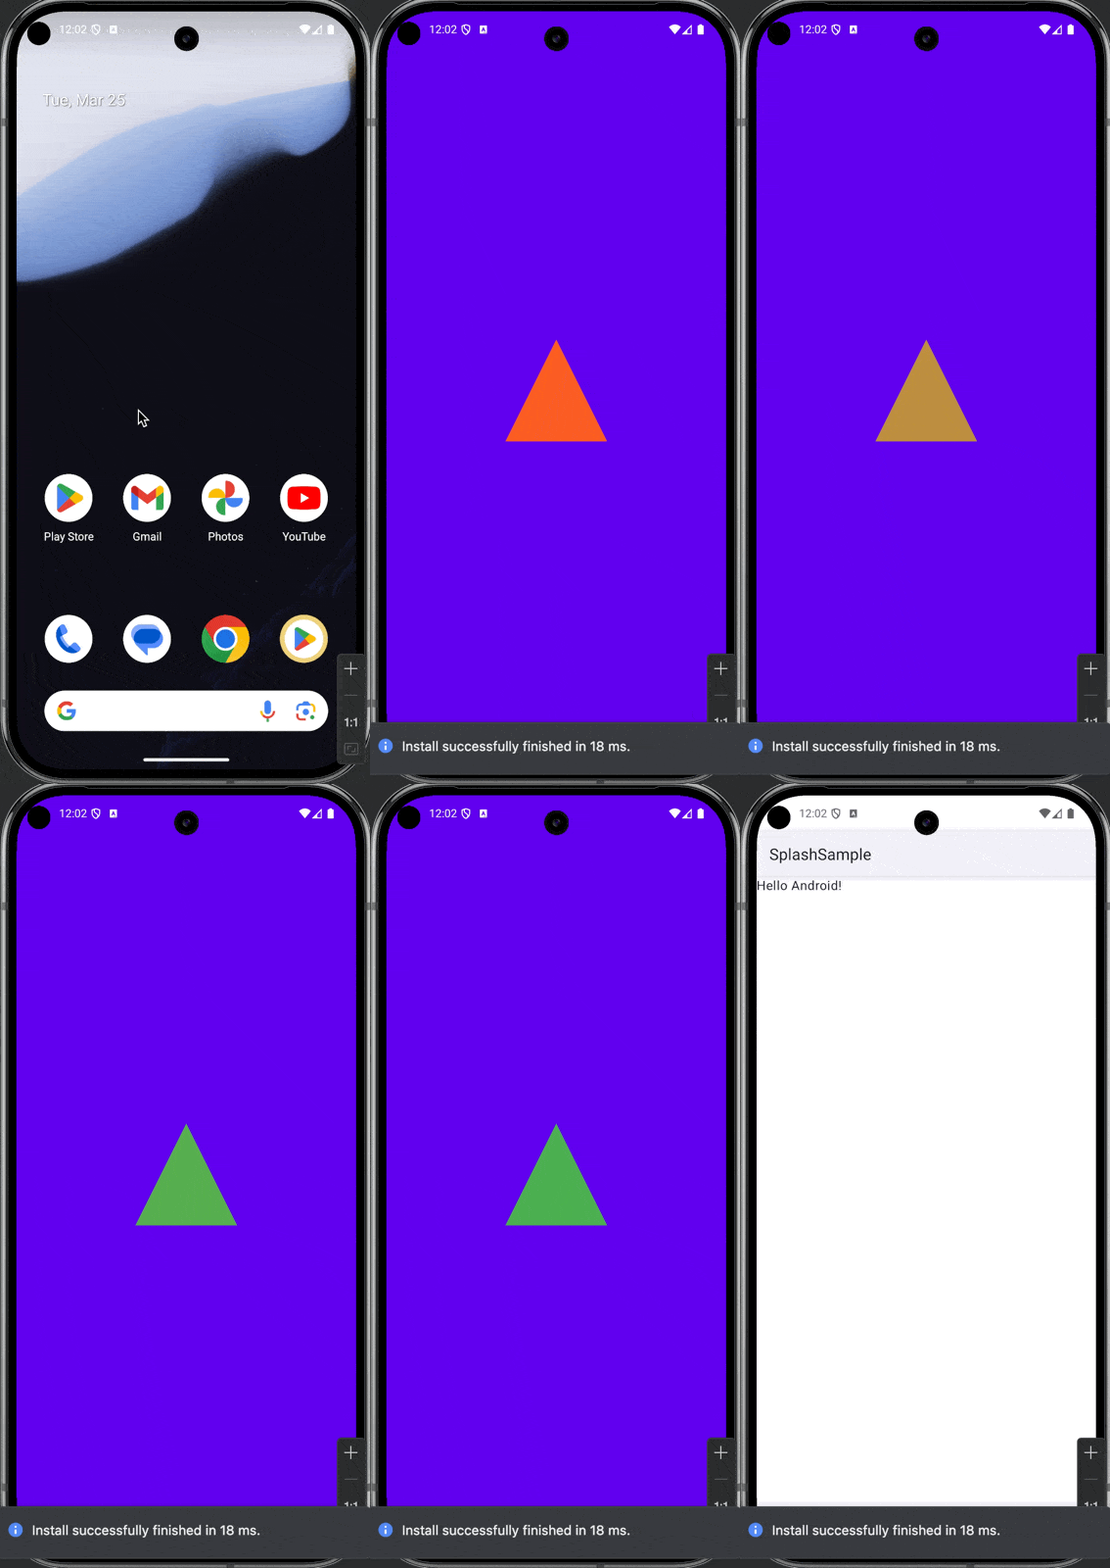
これでアプリ起動するとこちらも同様に10秒間表示されると思います。
参考URL
Discussion