【Flutter】画面上でTheme編集し編集されたJSONを使って動的にテーマを切り替える
概要
今回Flutterアプリでユーザーがテーマカラーを切り替えられる機能を実装する際、画面上で直感的にテーマカラーを修正し、アプリ内で修正したデータを取り込み、簡単に切り替えができる実装方法を試しました。
動作環境
- flutterSdkVersion: 3.7.12
- simulator iPhone 14 (iOS 16.0)
- macOS Ventura バージョン13.3.1 Apple Intel
今回使用するツール
https://github.com/zeshuaro/appainter
今回は appainter というツールを使って進めてみたいと思います。 appainter の特徴としては以下になります。
- 画面上でThemeを編集
- Flutter製でDesktopやWebで使える
- Web版をこちらにデプロイされているので今回はデプロイされたWeb版を使用
- 主な流れとしては以下
- テーマ作成 → jsonダウンロード → Flutter内でjsonをdecodeしてThemeDataとして使う
実装
まずはAppainterでデフォルトのThemeを表示させてみる
以下で一旦デフォルトのままExportしてjsonをダウンロードしてみます
次に pubspec.yaml にダウンロードしたjsonをassetとして設定します
flutter:
  assets:
    - assets/appainter_theme.json
decode用に pubspec.yaml に json_theme を追加します
dependencies:
  json_theme: ^4.0.0
main.dart を以下の様に修正し、実行させてみます
void main() async {
WidgetsFlutterBinding.ensureInitialized();
final themeStr = await rootBundle.loadString('assets/appainter_theme.json');
final themeJson = jsonDecode(themeStr);
final theme = ThemeDecoder.decodeThemeData(themeJson)!;
runApp(MyApp(theme: theme));
}
class MyApp extends StatelessWidget {
const MyApp({super.key, required this.theme});
final ThemeData theme;
// This widget is the root of your application.
Widget build(BuildContext context) {
return MaterialApp(
title: 'Flutter Demo',
theme: theme,
home: const MyHomePage(title: 'Flutter Demo Home Page'),
);
}
}
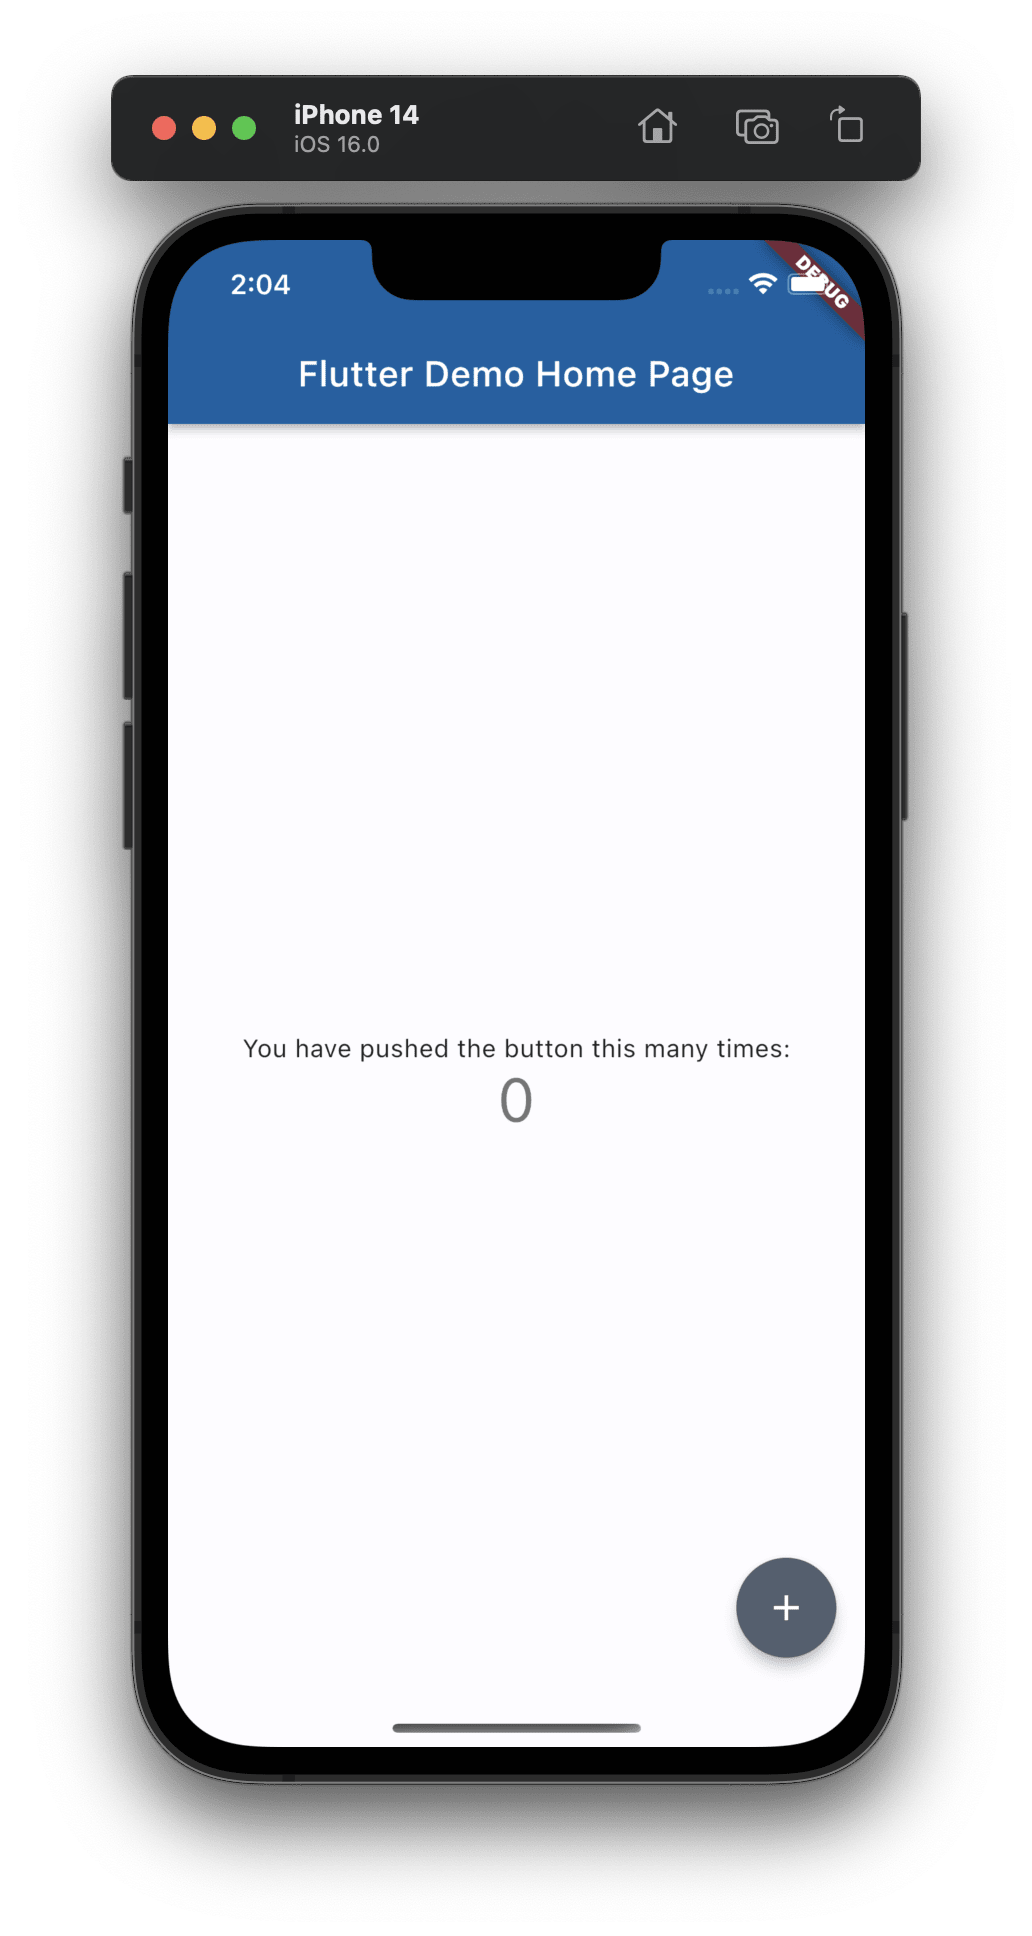
↓実行結果 ちゃんとダウンロードしたThemeが反映されてます ✨
RiverpodとSharedPreferencesを使って動的にThemeを切り替えれるようにする
まずは必要なパッケージをインストールします
dependencies:
  flutter_hooks: ^0.18.6
 hooks_riverpod: ^2.3.5
 shared_preferences: ^2.1.0
 freezed: ^2.3.2
 freezed_annotation: ^2.2.0

dev_dependencies:
  build_runner: ^2.1.0
次にAppainterのサイトで先ほどのthemeカラーとは異なるthemeを作成し、ダウンロードします

Seed colorが赤っぽい色のThemeを作成してみました。これを assets/appainter_theme_red.json のパスで保存します。 次に theme_state.dart を以下内容で作成します
import 'package:flutter/material.dart';
import 'package:freezed_annotation/freezed_annotation.dart';
part 'theme_state.freezed.dart';
class ThemeState with _$ThemeState {
const ThemeState._();
const factory ThemeState({
('') String currentTheme,
({}) Map<String, ThemeData> themes,
({}) Map<String, ThemeData> darkThemes,
}) = _ThemeState;
ThemeData currentLightTheme() => themes[currentTheme] ?? ThemeData.light();
ThemeData currentDarkTheme() => darkThemes[currentTheme] ?? ThemeData.dark();
}
freezed を使用しているので、build_runnerを走らせておきます。
次に theme_notifier.dart を以下内容で作成します。
import 'package:appainter_example/theme_state.dart';
import 'package:flutter/material.dart';
import 'package:hooks_riverpod/hooks_riverpod.dart';
import 'package:shared_preferences/shared_preferences.dart';

final themeNotifierProvider = StateNotifierProvider<ThemeNotifier, ThemeState>(
  (ref) => ThemeNotifier(const ThemeState()),
);

class ThemeNotifier extends StateNotifier<ThemeState> {
  ThemeNotifier(ThemeState initState) : super(initState);

  static const preferenceKey = "currentTheme";

  ThemeData get currentTheme =>
      state.themes[state.currentTheme] ?? ThemeData.light();

  ThemeData get currentDarkTheme =>
      state.darkThemes[state.currentTheme] ?? ThemeData.dark();

  Future<void> apply(String theme) async {
    final preference = await SharedPreferences.getInstance();
    await preference.setString(preferenceKey, theme);
    state = state.copyWith(currentTheme: theme);
  }

  Future<String> initialize() async {
    final theme = await _savedPreferenceTheme();
    state = state.copyWith(currentTheme: theme);
    return theme;
  }

  Future<String> _savedPreferenceTheme() async {
    final preference = await SharedPreferences.getInstance();
    return preference.getString(preferenceKey) ?? "default";
  }
}
main.dart で ThemeNotifier を使うように修正します。
Future<ThemeData> loadTheme(String path) async {
final themeStr = await rootBundle.loadString(path);
final themeJson = jsonDecode(themeStr);
final theme = ThemeDecoder.decodeThemeData(themeJson)!;
return theme;
}
void main() async {
WidgetsFlutterBinding.ensureInitialized();
final defaultTheme = await loadTheme('assets/appainter_theme.json');
final redTheme = await loadTheme('assets/appainter_theme_red.json');
final themeState =
ThemeState(themes: Map.of({'default': defaultTheme, 'red': redTheme}));
runApp(ProviderScope(
overrides: [
themeNotifierProvider.overrideWith((ref) => ThemeNotifier(themeState)),
],
child: const MyApp(),
));
}
class MyApp extends HookConsumerWidget {
const MyApp({super.key});
// This widget is the root of your application.
Widget build(BuildContext context, WidgetRef ref) {
final themeProvider = ref.watch(themeNotifierProvider.notifier);
final themeState = ref.watch(themeNotifierProvider);
return FutureBuilder(
future: themeProvider.initialize(),
builder: (context, snapshot) {
if (!snapshot.hasData) {
return const SizedBox.shrink();
}
return MaterialApp(
title: 'Flutter Demo',
theme: themeState.currentLightTheme(),
home: const HomePage(),
);
});
}
}
最後に HomePage を作成します。
class HomePage extends HookConsumerWidget {
const HomePage({Key? key}) : super(key: key);
Widget build(BuildContext context, WidgetRef ref) {
final provider = ref.watch(themeNotifierProvider.notifier);
return Scaffold(
appBar: AppBar(title: const Text('Home')),
body: Padding(
padding: const EdgeInsets.all(8.0),
child: Column(
crossAxisAlignment: CrossAxisAlignment.start,
children: [
ElevatedButton(
onPressed: () => provider.apply('default'),
child: const Text('デフォルトに切り替え'),
),
const SizedBox(height: 18),
ElevatedButton(
onPressed: () => provider.apply('red'),
child: const Text('REDに切り替え'),
),
],
),
),
);
}
}
これで最低限の実装が完了しました。早速実行してみます!
↓実行結果 ちゃんとThemeが切り替わっているのが確認できるかと思います ✨

まとめ
Theme作成を画面上で簡単に行えjsonファイルとしてダウンロードできるので、jsonファイルを置き換えるだけでテーマの修正ができ、新たなテーマの追加も比較的簡単に追加できるかと思います。この方法により、デザインの調整などに集中してできるようになるので、結構良さそうな構成かなと思っています!
Discussion