Starshipでターミナルをリッチにする
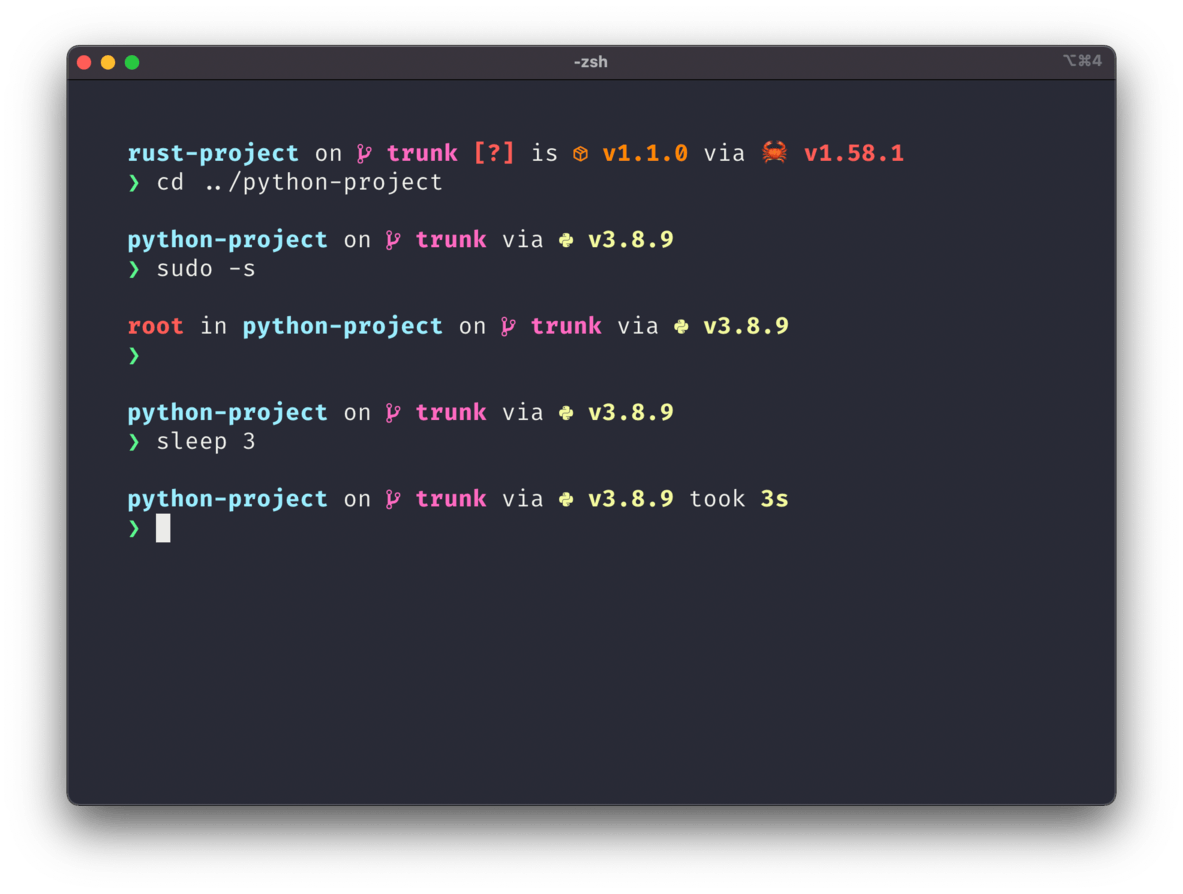
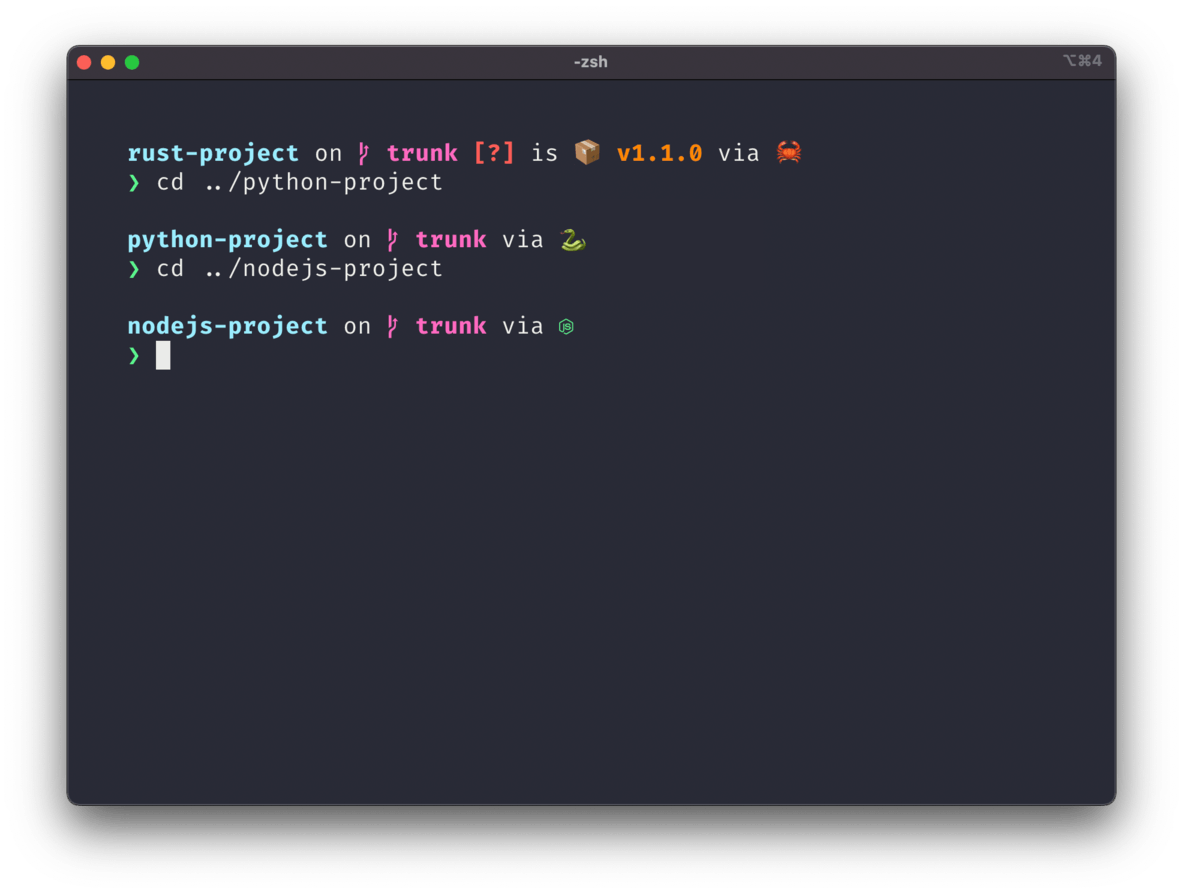
デモのターミナルの環境を目指してみる。

環境
- MacBook Pro
- Ventura 13.5
プリセットのテーマを当てただけだと、スタイルしか当たらないのでいろいろと設定する必要がありそう。
「よくある質問」のところに構成が書いてあったのでそれを真似する。
デモGIFで使用される構成は何ですか?
- ターミナルエミュレータ: iTerm2
- テーマ: Minimal
- カラースキーム: Snazzy
- フォント: FiraCode Nerd Font
- シェル: Fish Shell
- 設定: matchaiのDotfiles
- プロンプト: Starship
ターミナルエミュレータ
iTerm2 はもとから入っているので割愛。
テーマ
以下のリポジトリに書いてあるとおり、Snazzy.itermcolors を落としてきてインポートする。
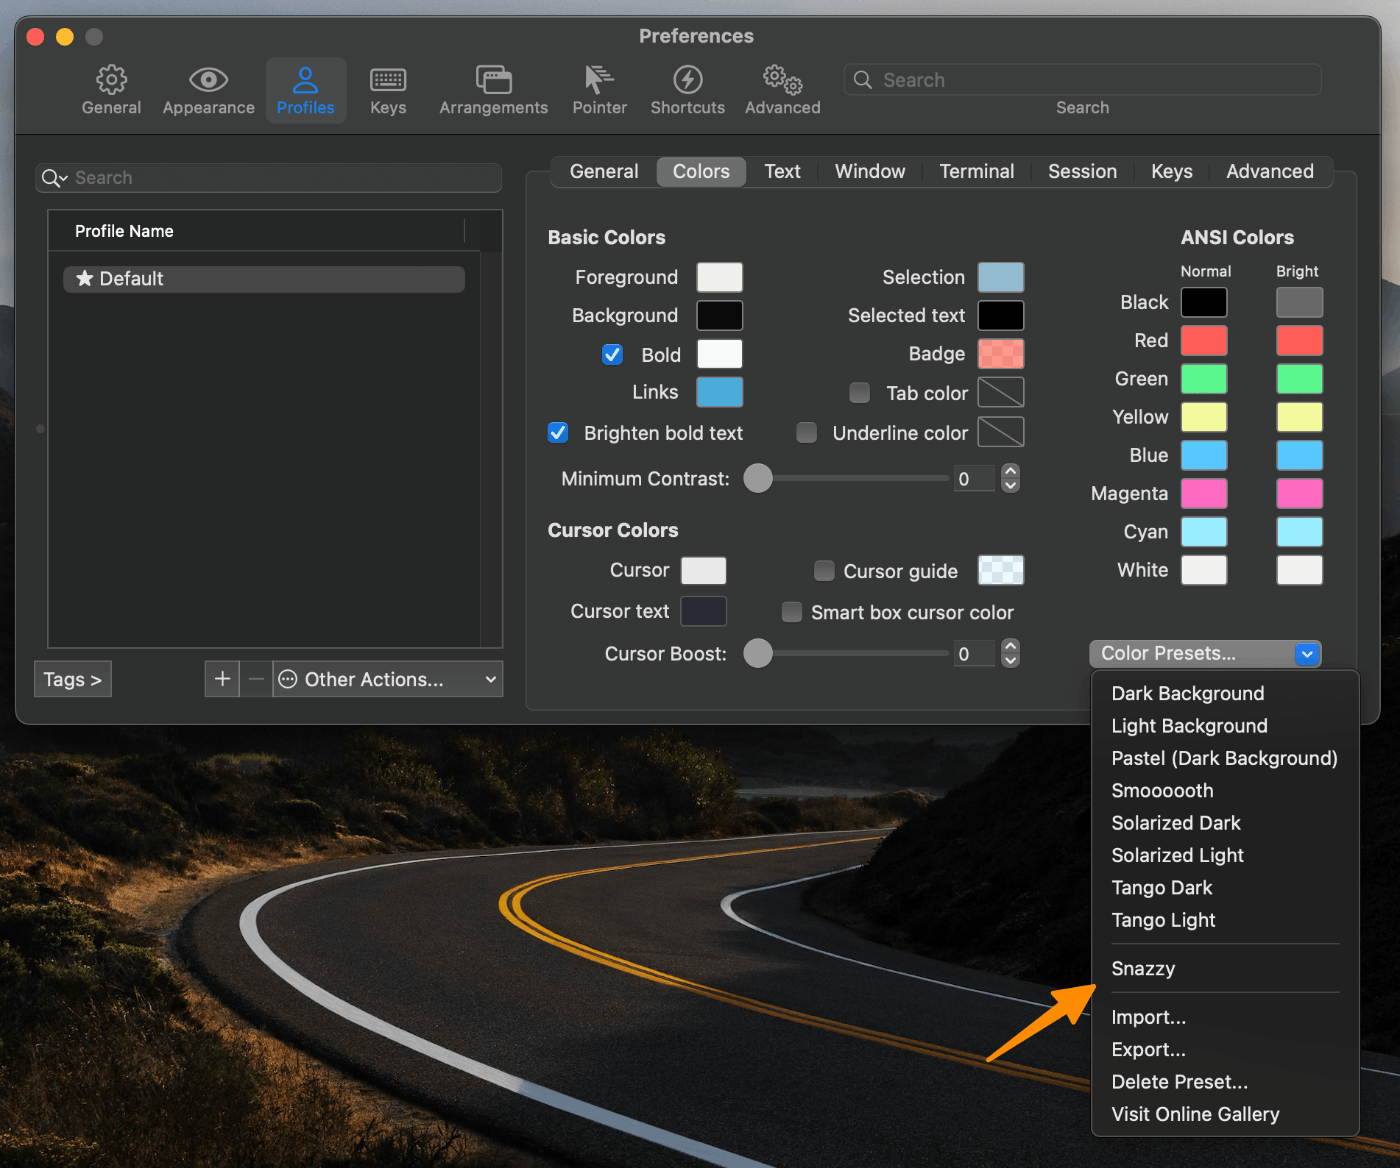
iTerm2 の Preference > Profiles > Colors > Color Presets からインポートした Snazzy を選択する。

フォント
以下のサイトから FiraCode Nerd Font を探してダウンロードする。
zip ファイルを解凍して、フォント (.ttf) をダブルクリックしてインストールする。
ちなみに、Nerd Fonts とは
Nerd Fonts は、たくさんのグリフ (アイコン) を開発者向けのフォントに追加するためのプロジェクトです。とりわけ、著名な「アイコンフォント」からたくさんのグリフを追加することを目的としています。
nerd-fonts/readme_ja.md
とのこと。
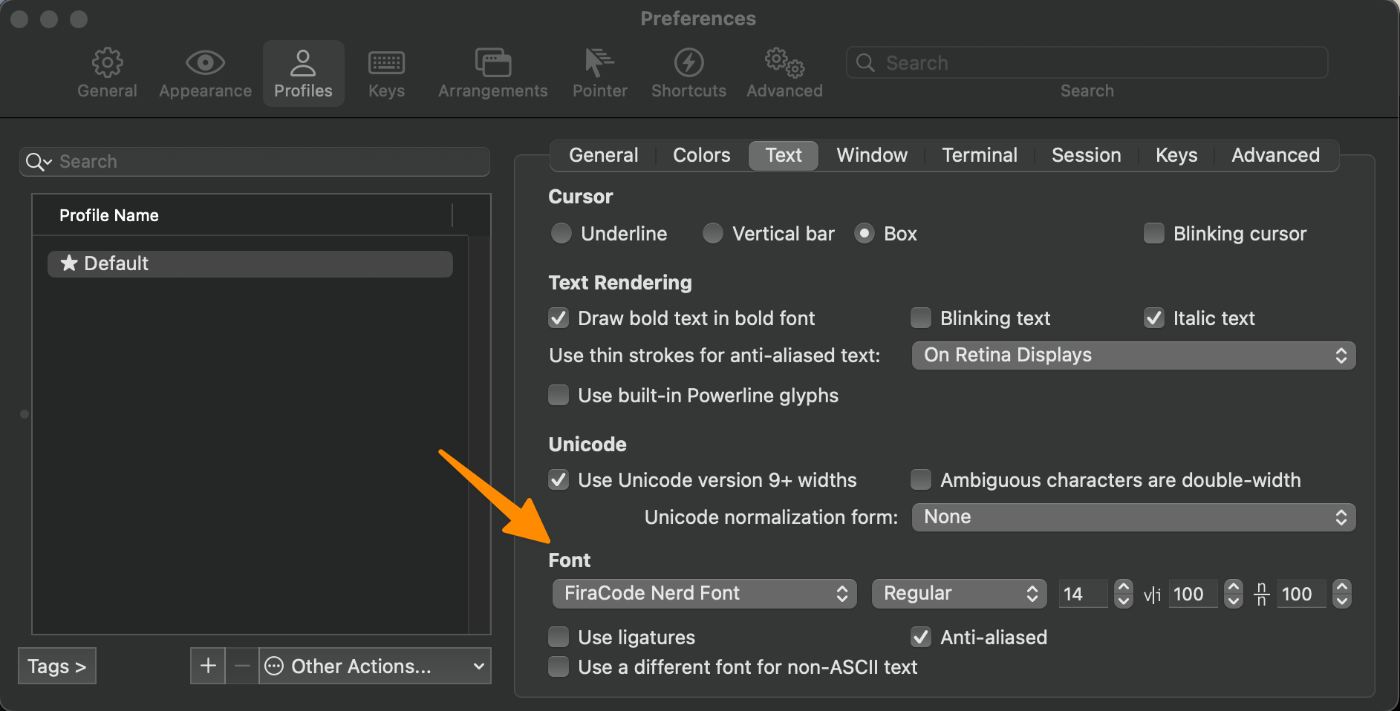
フォントをインストールできたら、iTerm2 の Preference > Profiles > Text > Font から選択して設定する。

シェル
Fish Shell の設定の前に、プロンプトの Starship をガイドに沿って設定する。
Step 1. Starshipをインストール
brew でインストール。
$ brew install starship
Step 2. Starshipをシェルにセットアップ
$ echo 'eval "$(starship init zsh)"' >> ~/.zshrc
Step 3. Starshipの設定
設定ファイルを作成する。
$ mkdir -p ~/.config && touch ~/.config/starship.toml
プリセットを設定する。
No Runtime Versions を設定してみる。
$ starship preset no-runtime-versions -o ~/.config/starship.toml

Fish Shell
Fish Shell を brew でインストールする。
$ brew install fish
Fish Shell の設定
以下のリポジトリを参考に .config/fish 設定する。
ないコマンドを入れたり、不要な行は削除する。
config.fish の最後に starship を fish の環境にも設定しているので通常時と遜色なくなる。
...

# Install Starship
starship init fish | source
Rust 製の ls コマンドの拡張の lsd が便利。
fish コマンドで確認。
$ fish
$ exit
Fish をログインシェルにする
Warning Setting fish as your login shell may cause issues, such as an incorrect PATH. Some operating systems, including a number of Linux distributions, require the login shell to be Bourne-compatible and to read configuration from /etc/profile. fish may not be suitable as a login shell on these systems.
.zshrc の末尾に以下を記載すると、毎回 fish コマンドを叩かなくてもよくなる。
exec fish