本記事は SimpleForm Advent Calendar 2024 の 2 日目の記事です。
1 日目の記事では、筆者が dotfiles を管理し始めたきっかけや使っているツールなどを紹介しました。
本日の記事では、dotfiles で管理している Neovim の設定のこだわりの 1 つである Python での開発を便利にする設定を紹介します。
具体的には、Python ファイルを開いた時に自動的に適切な仮想環境で LSP を起動し、linter と formatter も当該環境にインストールされているものを使うようにする設定を紹介します。
解決したかった課題
業務で Python で開発をする場合、システムの Python を使うことは基本的になく、仮想環境で Python や pip のパッケージをインストールすることが多いです。
モノレポなど仮想環境がたくさん存在する場合、特定の Python ファイルを開いた時に本来使いたいものではない仮想環境で LSP や linter / formatter が実行されることがあります。
この場合に困ることとして、適切な仮想環境を使っていればインポートできるはずのモジュールがインポートエラーになることが挙げられます。
無駄なインポートエラーが煩わしいだけでなく、インポートエラーになったモジュールからインポートしたメソッドやクラス、定数などは定義ジャンプできず型ヒント情報もありません。
このような状態でコードを書いていると、うっかり不具合を混入させてしまう可能性も上がってしまいます。
また、Python で linter / formatter というと、以前は black / flake8 / isort / mypy が定番のツールでした。
しかし、最近は ruff が出てきて ruff と mypy (またはそのほかのタイプチェッカー) の組み合わせを導入することも増えている印象です。
シンプルフォームではまだ前者の組み合わせを使っていますが、どの linter / formatter を使うかもプロジェクトディレクトリにより自動で判定して使い分けてもらえると非常に便利です。
Neovim では venv-selector.nvim などのプラグインを使うと有効化する仮想環境を選ぶことができます。ただ、ファイルを開くたびに自分で適切な仮想環境を選んで有効化しなければならないのはかなり手間です。
自動的に適切な仮想環境が選ばれ、その仮想環境にインストールされている linter / formatter が使われるようにすることで、Python での開発体験を上げたいと考えていました。
考えた解決策
仮想環境が .venv という名前のディレクトリに格納されると仮定します。
Python の仮想環境は、開いたファイルのパスをさかのぼっていく中で初めて見つかった .venv ディレクトリのものが使われると考えられます。
したがって、以下のような挙動が実現できると良いかなと考えました。
- 開いたファイルの親ディレクトリのパスを取得する。
- 取得したディレクトリに
.venvディレクトリが存在するかを判定する。.venvディレクトリが存在しない場合 3 に進み、存在する場合 4 に進む。 - さらに親ディレクトリを 1 つさかのぼり、2 に戻る。さかのぼる親ディレクトリがなくなったら、仮想環境がないと判断する。
- 発見された仮想環境で LSP を有効化する。さらに、当該環境に black / isort / ruff がインストールされているかを確認し、インストールされているものを formatter として使う。また、当該環境に flake8 / mypy / ruff がインストールされているかを確認し、インストールされているものを linter として使う。
処理の流れを整理したところで、実装方法を考えてみます。
具体的な実装
ディレクトリをさかのぼって project root を見つけるメソッド
まず、上でいう 2, 3 にあたる処理を行うメソッドを実装してみます。
local M = {}

-- Function to check for a project root in the current and parent directories
function M.recursive_find_project_root(start_path, folder_name)
  local current_path = start_path

  while current_path ~= "" do
    local target_path = string.format("%s/%s", current_path, folder_name)
    if vim.fn.isdirectory(target_path) == 1 then
      return target_path
    end

    -- Move up to the parent directory
    local parent_path = vim.fn.fnamemodify(current_path, ":h")
    if parent_path == current_path then
      break
    end
    current_path = parent_path
  end
  return nil -- No virtual environment found
end

return M
project root の探索を開始するディレクトリのパスと、project root に存在するディレクトリ名[1]を引数として受け取ります。
vim.fn.isdirectory(target_path) は、target_path がディレクトリの場合は 1、ディレクトリでない / 存在しない場合は 0 が返るビルトインメソッドです。[2]
親ディレクトリにさかのぼるところでは vim.fn.fnamemodify(current_path, ":h") というメソッドを使っています。
:h はパスの最後のコンポーネントを取り除く操作を指します。
fnamemodify は第二引数で指定された通りに第一引数で受け取った current_path を変えて返すビルトインメソッドです。
ここでは、パスの最後のコンポーネントを取り除くのでディレクトリを一階層さかのぼる処理になります。
LSP がアタッチされるのを待つメソッド
4 の手順で LSP で仮想環境を有効化するのは venv-selector.nvim を使いますが、この際に LSP がアタッチされている必要があります。
そのため、LSP がアタッチされるのを待つメソッドを実装します。
-- Helper function to check if specified LSP is attached to the current buffer
local function is_lsp_attached(lsp_name)
  local clients = vim.lsp.get_clients()
  for _, client in ipairs(clients) do
    if client.name == lsp_name and vim.lsp.buf_is_attached(0, client.id) then
      return true
    end
  end
  return false
end

-- Function that waits for specified LSP to attach and then calls the provided callback
function M.wait_for_lsp(lsp_name, callback)
  local timer = vim.uv.new_timer()
  local interval = 100 -- Check every 100ms
  local max_attempts = 50 -- Maximum attempts before timeout (e.g., 5 seconds)

  local attempts = 0

  -- Start the polling loop
  if timer ~= nil then
    timer:start(
      0,
      interval,
      vim.schedule_wrap(function()
        attempts = attempts + 1

        if is_lsp_attached(lsp_name) then
          -- If LSP is attached, stop the timer and run the callback
          timer:stop()
          if not timer:is_closing() then
            timer:close()
          end
          callback()
        elseif attempts >= max_attempts then
          -- Stop checking after max attempts (timeout)
          timer:stop()
          if not timer:is_closing() then
            timer:close()
          end
          vim.notify(string.format("%s not activated in time", lsp_name), vim.log.levels.WARN)
        end
      end)
    )
  end
end
まず、LSP がアタッチされているかを検証する is_lsp_attached() というメソッドを実装しています。
vim.lsp.get_clients() はアクティブな LSP クライアントを取得するメソッドです。
ここで取得されるアクティブなクライアントに、lsp_name の引数で受け取ったクライアントが含まれているかを検証します。
さらにそのクライアントが現在のバッファにアタッチされているかを vim.lsp.buf_is_attached(0, client.id) で検証しています。
is_lsp_attached() のメソッドを使って LSP がアタッチされるまでポーリングするメソッドを wait_for_lsp() として実装しています。
ここでは vim.uv で公開されている new_timer メソッドを使って、100ms ごとに最大 5 秒ポーリングして LSP の起動を待つように実装しています。
Python ファイルがバッファにロードされた時に自動的に適切な仮想環境を有効化するメソッド
上で実装した 2 つのメソッドを使い、Python ファイルがバッファにロードされた (BufEnter) 時に自動的に適切な仮想環境を有効化するメソッドを実装します。
vim.api.nvim_create_autocmd("BufEnter", {
  pattern = "*.py",
  callback = function()
    local utils = require "utils"
    utils.wait_for_lsp("pyright", function()
      local current_file_path = vim.fn.expand "%:p:h"
      local venv_path = utils.recursive_find_project_root(current_file_path, ".venv")

      if venv_path == nil then
        vim.notify("No virtual environment found in current or parent directories.", vim.log.levels.WARN)
        return
      end

      require("venv-selector").activate_from_path(string.format("%s/bin/python", venv_path))
    end)
  end,
})
ファイルがバッファへロードされた時に自動的に実行される処理を定義する際は vim.api.nvim_create_autocmd() メソッドを使います。
今回は .py の拡張子のファイルで BufEnter イベントが発生した際に、特定の callback を実行します。
上で定義した wait_for_lsp() を使って Pyright の起動を待ち、vim.fn.expand "%:p:h" でバッファにロードされたファイルの親ディレクトリのフルパスを取得します。[3]
ここで得られたディレクトリのパスを、上で実装した recursive_find_project_root メソッドの第一引数で渡し、仮想環境のディレクトリのパスを取得します。
得られた仮想環境のディレクトリのパスを使い、venv-selector.nvim で公開されている activate_from_path() メソッドで仮想環境を有効化する流れになります。
ファイル保存時に、適切な仮想環境にインストールされた formatter を実行する
formatter は conform.nvim を使って実行します。
まずは conform.nvim をインストールして、ファイル保存時に起動するよう設定します。
return {
  {
    "stevearc/conform.nvim",
    event = "BufWritePre",
    opts = require "configs.conform",
  },
}
設定の中身は長くなるので別ファイルに切り出します。
local options = {
  formatters_by_ft = {
    python = { "black", "isort", "ruff_fix", "ruff_format", "ruff_organize_imports" },
  },
  formatters = {
    black = {
      command = function()
        local venv = vim.env.VIRTUAL_ENV
        if venv and vim.fn.filereadable(string.format("%s/bin/black", venv)) == 1 then
          return string.format("%s/bin/black", venv)
        else
          return "black"
        end
      end,
      prepend_args = { "--fast" },
    },
    isort = {
      command = function()
        local venv = vim.env.VIRTUAL_ENV
        if venv and vim.fn.filereadable(string.format("%s/bin/isort", venv)) == 1 then
          return string.format("%s/bin/isort", venv)
        else
          return "isort"
        end
      end,
    },
    ruff_fix = {
      command = function()
        local venv = vim.env.VIRTUAL_ENV
        if venv and vim.fn.filereadable(string.format("%s/bin/ruff", venv)) == 1 then
          return string.format("%s/bin/ruff", venv)
        else
          return "ruff"
        end
      end,
    },
    ruff_format = {
      command = function()
        local venv = vim.env.VIRTUAL_ENV
        if venv and vim.fn.filereadable(string.format("%s/bin/ruff", venv)) == 1 then
          return string.format("%s/bin/ruff", venv)
        else
          return "ruff"
        end
      end,
    },
    ruff_organize_imports = {
      command = function()
        local venv = vim.env.VIRTUAL_ENV
        if venv and vim.fn.filereadable(string.format("%s/bin/ruff", venv)) == 1 then
          return string.format("%s/bin/ruff", venv)
        else
          return "ruff"
        end
      end,
    },
  },
  format_on_save = {
    -- These options will be passed to conform.format()
    lsp_format = "fallback",
    timeout_ms = 1000,
  },
}
formatters_by_ft に各言語で使う formatter の名前を指定します。
今回は black, isort, ruff を使う可能性のある選択肢として設定しておきます。
ここで、フォーマッタごとに有効化されている仮想環境にフォーマッタがインストールされていれば利用するように実装します。
venv-selector.nvim で仮想環境を有効化すると VIRTUAL_ENV という環境変数に仮想環境のパスが入ります。
この性質を利用すると、仮想環境にフォーマッタがインストールされていればそれを使い、そうでなければグローバルにインストールされているフォーマッタを使う実装ができます。
なお、筆者はグローバル環境には black, isort, ruff をインストールしていないので、仮想環境にインストールされていなければ当該フォーマッタは使われなくなります。
ファイルを開いた時と保存時に、適切な仮想環境にインストールされた linter を実行する
linter は nvim-lint を使って実行します。
こちらもまずはプラグインをインストールします。
return {
  {
    "mfussenegger/nvim-lint",
    event = { "BufReadPre", "BufNewFile" },
    config = function()
      require "configs.lint"
    end,
  },
}
設定の中身は別ファイルに書きます。
local lint = require "lint"

lint.linters_by_ft = {
  python = { "flake8", "mypy", "ruff" },
}

lint.linters.flake8.cmd = function()
  local venv = vim.env.VIRTUAL_ENV
  if venv and vim.fn.filereadable(string.format("%s/bin/flake8", venv)) == 1 then
    return string.format("%s/bin/flake8", venv)
  else
    return "flake8"
  end
end

lint.linters.mypy.cmd = function()
  local venv = vim.env.VIRTUAL_ENV
  if venv and vim.fn.filereadable(string.format("%s/bin/mypy", venv)) == 1 then
    return string.format("%s/bin/mypy", venv)
  else
    return "mypy"
  end
end

lint.linters.ruff.cmd = function()
  local venv = vim.env.VIRTUAL_ENV
  if venv and vim.fn.filereadable(string.format("%s/bin/ruff", venv)) == 1 then
    return string.format("%s/bin/ruff", venv)
  else
    return "ruff"
  end
end

vim.api.nvim_create_autocmd({ "BufEnter", "BufWritePost" }, {
  callback = function()
    lint.try_lint(nil, { ignore_errors = true })
  end,
})
環境変数 VIRTUAL_ENV に設定されているパスを使い、有効化されている仮想環境に linter がインストールされていればそれを、なければグローバルの linter を使う考え方は同じです。
筆者は flake8, mypy もグローバルにはインストールしていないので、仮想環境にインストールされていない linter は使われなくなります。
conform.nvim の場合は仮想環境、グローバルいずれにもインストールされていない formatter は勝手に無視してくれていました。
しかし、nvim-lint では仮想環境、グローバルいずれにもインストールされていない linter はエラーが送出されてしまいます。
そこで、vim.api.nvim_create_autocmd() の callback で try_lint メソッドを実行する際、{ ignore_errors = true } を渡します。
これにより、conform.nvim 同様にエラーを無視する挙動が実現できます。
実際の画面の挙動
実際に Neovim で Python ファイルを起動すると以下の gif のような挙動になります。
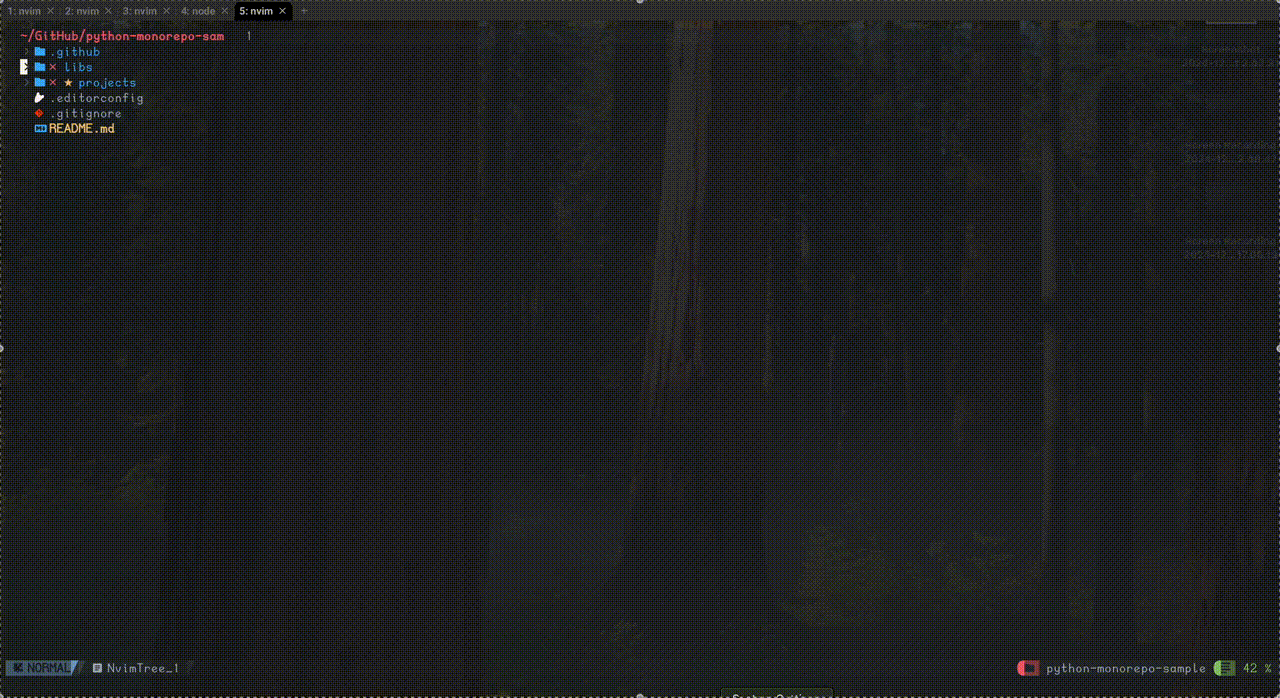
ファイルを開いた瞬間に一瞬インポートエラーが出ますが、仮想環境が有効化される時間差によるものと思われます。
右下に通知が出ているように、ファイルを開くと Pyright に適切な仮想環境が登録され、linter が実行されます。
ファイルを保存すると formatter と linter が実行されます (この仮想環境には mypy と ruff しかインストールされていないので、その 2 つが実行されます)。
なお、右下の通知は fidget.nvim で出しているものであり、今回紹介した実装の中には含まれていないのでご了承ください。
終わりに
最後まで読んでいただきありがとうございました。
この設定を入れたことでいろいろな Python のプロジェクトディレクトリを触る場面でも仮想環境の切り替えを意識する必要がなくなり、かなり開発体験が向上したと感じます。
同じような課題感をお持ちの方はぜひ試してみてください。
アドベントカレンダー 1 日目の記事に引き続き再掲ですが、以下のディレクトリで公開している dotfiles でも今回紹介している実装内容をご覧いただけます。
-
Python なら
.venv、Node.js ならnode_modulesを想定 ↩︎ -
https://neovim.io/doc/user/builtin.html#isdirectory() を参照 ↩︎
-
https://neovim.io/doc/user/builtin.html#expand() を参照。
%はいまバッファにロードされたファイル名を指し、:pでフルパス展開、:hでパスの最後のコンポーネントを削除することを指す ↩︎

Discussion