SwiftUIやFirebase
SwiftUIでAppDelegateの処理を実装
import SwiftUI

@main
struct FirebaseTestApp: App {
    @UIApplicationDelegateAdaptor(AppDelegate.self) var appDelegate

    var body: some Scene {
        WindowGroup {
            ContentView()
        }
    }
}


class AppDelegate: UIResponder, UIApplicationDelegate {
    func application(_ application: UIApplication, didFinishLaunchingWithOptions launchOptions: [UIApplication.LaunchOptionsKey : Any]? = nil) -> Bool {
        print("Launch!!")
        return true
    }
}
目標: SwiftUIでFirebase認証してみる
cocoapodsでも良いがSPMでもすでに利用可能になっていそう。
import SwiftUI
import Firebase

struct ContentView: View {

    var body: some View {
        VStack {
            Text("Hello, world!")
                .padding()
            Button("signIn") {
                print("signIn")
                Auth.auth().createUser(withEmail: "test@gmail.com", password: "testtest") { authResult, error in
                    print("Auth result")
                    print(authResult)
                    print("Auth Error")
                    print(error)
                }
            }
            Button("signOut"){
                print("signOut")
            }
        }.onAppear {
            print("on Appear")
            addListener()
        }.onDisappear {
            print("on Disappear")
            removeListener()
        }
    }

    private func addListener() {
        var handle: AuthStateDidChangeListenerHandle
        handle = Auth.auth().addStateDidChangeListener { auth, user in
            print(auth, user)

        }
    }

    private func removeListener() {
//        Auth.auth().removeStateDidChangeListener(handle)
    }
}

struct ContentView_Previews: PreviewProvider {
    static var previews: some View {
        ContentView()
    }
}
とりあえずこんな感じでかくと、エラー
Optional(Error Domain=FIRAuthErrorDomain Code=17999 "An internal error has occurred, print and inspect the error details for more information." UserInfo={FIRAuthErrorUserInfoNameKey=ERROR_INTERNAL_ERROR, NSLocalizedDescription=An internal error has occurred, print and inspect the error details for more information., NSUnderlyingError=0x600003f61740 {Error Domain=FIRAuthInternalErrorDomain Code=3 "(null)" UserInfo={FIRAuthErrorUserInfoDeserializedResponseKey={
    code = 400;
    errors =     (
                {
            domain = global;
            message = "CONFIGURATION_NOT_FOUND";
            reason = invalid;
        }
    );
    message = "CONFIGURATION_NOT_FOUND";
}}}})
サンプルコードもあるということでこちらを試したい
FirebaseUIをSwiftUIで表示する - Qiita
podsじゃなくてSPMでFirebase入れてみる
cocoapodsから卒業する方法
pod deintegrate- Podfileとxccworkspaceなど削除
SPMのchoose packageの際に
Communication with the service was interrupted. というエラーが発生
こちらで解決した。
よく気づいたなこの方
反転クライアント ID を Xcode プロジェクトの URL スキームとして追加します。この値は、GoogleService-Info.plist ファイルにあります。
GoogleService-Info.plist ファイルはfirebaseにios appを登録したときに発行され、フォルダに置いたplistファイル。
その中にREVERSED_CLIENT_IDがある。
それをProject > Info > URL Typesに追加すれば良い。
ふとVSCodeでiOS開発ができるのか気になった。
VSCodeでのiOS開発
一応できるのか??
デフォルトがipodになっているのがうざかったのでsimulatorのdestinationから外した
FirebaseのAuthentication(認証)のUsersに自分の入れたgmailアカウントが入っていることを確認した。
エラーハンドリング復習用
公式のFirebaseUI
現状のコード
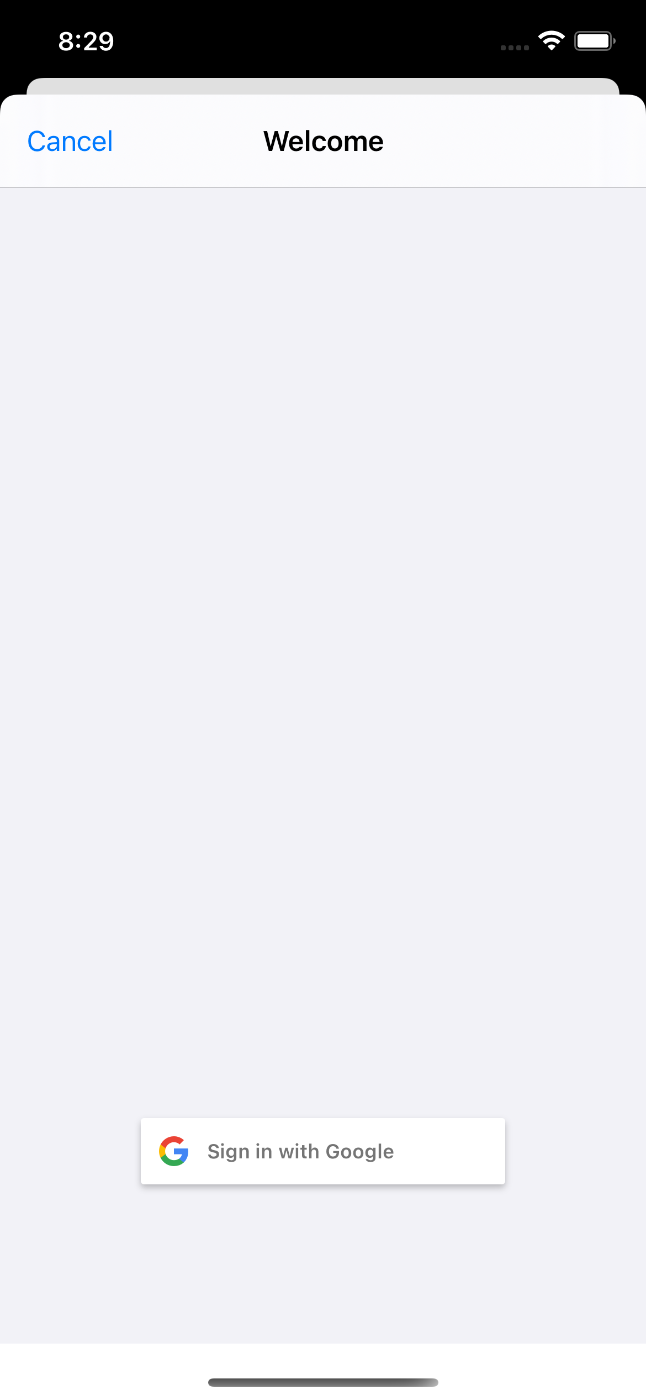
- ContentViewで下記のUIViewControllerRepresentableをsheetで表示する。
import SwiftUI
import FirebaseAuthUI
import FirebaseGoogleAuthUI

struct FirebaseUIView: UIViewControllerRepresentable {

    @Binding var isShowSheet: Bool

    class Coordinator: NSObject, FUIAuthDelegate {
        let parent: FirebaseUIView

        init(_ parent: FirebaseUIView) {
            self.parent = parent
        }

        func authUI(_ authUI: FUIAuth, didSignInWith user: User?, error: Error?)  {
            if let error = error {
                print(error)
            }

            parent.isShowSheet = false
        }
    }

    func makeCoordinator() -> Coordinator {
        Coordinator(self)
    }

    func makeUIViewController(context: Context) -> some UINavigationController {
        let authUI = FUIAuth.defaultAuthUI()!

        authUI.delegate = context.coordinator

        authUI.providers = [
            FUIGoogleAuth(authUI: authUI)
        ]

        return authUI.authViewController()
    }

    func updateUIViewController(_ uiViewController: UIViewControllerType, context: Context) {
        // do nothing
    }
}
- このObservableObjectもContentViewに持たせる
class FirebaseAuthStateManager: ObservableObject {
    @Published var signInState: Bool = false
    private var handle: AuthStateDidChangeListenerHandle!

    init() {
        handle = Auth.auth().addStateDidChangeListener { auth, user in
            if let _ = user {
                print("sign in")
                self.signInState = true
            }
        }
    }

    deinit {
        Auth.auth().removeStateDidChangeListener(handle)
    }
}
- AppDelegateの設定
class AppDelegate: UIResponder, UIApplicationDelegate {


    func application(_ application: UIApplication, didFinishLaunchingWithOptions launchOptions: [UIApplication.LaunchOptionsKey: Any]?) -> Bool {
        // Override point for customization after application launch.

        FirebaseApp.configure()

        return true
    }

    // MARK: UISceneSession Lifecycle

    func application(_ application: UIApplication, configurationForConnecting connectingSceneSession: UISceneSession, options: UIScene.ConnectionOptions) -> UISceneConfiguration {
        // Called when a new scene session is being created.
        // Use this method to select a configuration to create the new scene with.
        return UISceneConfiguration(name: "Default Configuration", sessionRole: connectingSceneSession.role)
    }

    func application(_ application: UIApplication, didDiscardSceneSessions sceneSessions: Set<UISceneSession>) {
        // Called when the user discards a scene session.
        // If any sessions were discarded while the application was not running, this will be called shortly after application:didFinishLaunchingWithOptions.
        // Use this method to release any resources that were specific to the discarded scenes, as they will not return.
    }

    // MARK: URL Schemes
    func application(_ app: UIApplication, open url: URL, options: [UIApplication.OpenURLOptionsKey : Any]) -> Bool {
        let sourceApplication = options[UIApplication.OpenURLOptionsKey.sourceApplication] as! String?
        if FUIAuth.defaultAuthUI()?.handleOpen(url, sourceApplication: sourceApplication) ?? false {
            return true
        }
        // other URL handling goes here.
        return false
    }
}
@main
struct FirebaseTestApp: App {
    @UIApplicationDelegateAdaptor(AppDelegate.self) var appDelegate

    var body: some Scene {
        WindowGroup {
            ContentView()
        }
    }
}
なんか良さげなproperty
authStateManager.user?.email
authStateManager.user?.displayName
authStateManager.user?.uid
authStateManager.user?.photoURL?.absoluteString
photoが出したいのでphotoURLからImageを表示する方法を調べる
いいのか悪いのかわからないがとりあえずこんな感じで表示はできた
class FirebaseAuthStateManager: ObservableObject {
    @Published var signInState: Bool = false
    private var handle: AuthStateDidChangeListenerHandle!

    @Published var user: User? = nil
    @Published var auth: Auth? = nil

    @Published var image: UIImage? = nil


    init() {
        handle = Auth.auth().addStateDidChangeListener { auth, user in
            self.user = user
            self.auth = auth
            if let user = user {
                print("sign in")
                self.signInState = true

                let session = URLSession(configuration: .default)

                session.dataTask(with: user.photoURL!) { [weak self] data, _, _ in
                    guard let imageData = data, let networkImage = UIImage(data: imageData) else {
                        return
                    }

                    DispatchQueue.main.async {
                        self?.image = networkImage
                    }
                    session.invalidateAndCancel()
                }.resume()

            } else {
                self.signInState = false
            }
        }
    }

    deinit {
        Auth.auth().removeStateDidChangeListener(handle)
    }
}
Admobやりたい
時々必要なpodをm1で実行するやつ
arch -x86_64 pod install
Admobは別で作成
