💨
【Dockerで環境構築】Rails 6 & MySQL 8
1. はじめに
Railsで新しくアプリケーションをつくってみようと思いたち環境構築をしたので、備忘録用の記事です。
エンジニア歴 & Rails歴が1年弱ですので、間違いやよりベターな書き方があればご指摘ください。
動作環境
- macOS Catalina 10.15.7
- Ruby 2.7.2
- Rails 6.0.3
- MySQL 8.0.20
- Docker 19.03.13
- docker-compose 1.27.4
2. 必要なファイルを準備
まずは任意のディレクトリを作成し、ファイルを作成します。
mkdir rails_app
cd rails_app

# 複数ファイルを一気に作成します
touch {Dockerfile,docker-compose.yml,Gemfile,Gemfile.lock,entrypoint.sh,.env}
Dockerfile
Dockerfile
FROM ruby:2.7.2

ENV LANG C.UTF-8
ENV APP_ROOT /app

# install required libraries
RUN curl -sS https://dl.yarnpkg.com/debian/pubkey.gpg | apt-key add - && \
  echo "deb https://dl.yarnpkg.com/debian/ stable main" | tee /etc/apt/sources.list.d/yarn.list && \
  apt-get update -qq && \
  apt-get install -y --no-install-recommends \
  build-essential \
  nodejs \
  yarn && \
  apt-get clean && \
  rm --recursive --force /var/lib/apt/lists/*

# create working directory
RUN mkdir $APP_ROOT
WORKDIR $APP_ROOT

# bundle install
COPY Gemfile $APP_ROOT/Gemfile
COPY Gemfile.lock $APP_ROOT/Gemfile.lock
RUN bundle install --jobs 4 --retry 3

# create app in container
COPY . $APP_ROOT

# script to be executed every time the container starts
COPY entrypoint.sh /usr/bin/
RUN chmod +x /usr/bin/entrypoint.sh
ENTRYPOINT ["entrypoint.sh"]
EXPOSE 3000

# Start the main process
CMD ["rails", "server", "-b", "0.0.0.0"]
docker-compose.yml
docker-compose.yml
version: '3.7'
services:
  db:
    image: mysql:8.0.20
    volumes:
      - mysql:/var/lib/mysql:delegated
    ports:
      - '3307:3306'
    command: --default-authentication-plugin=mysql_native_password
    env_file: .env

  web:
    build:
      context: .
      dockerfile: Dockerfile
    command: bash -c "rm -f tmp/pids/server.pid && bundle exec rails s -p 3000 -b '0.0.0.0'"
    tty: true
    stdin_open: true
    env_file: .env
    depends_on:
      - db
    ports:
      - '3000:3000'
    volumes:
      - .:/app:cached
      - bundle:/usr/local/bundle:delegated
      - node_modules:/app/node_modules
      - tmp-data:/app/tmp/sockets

volumes:
  mysql:
  bundle:
  node_modules:
  tmp-data:
.env
.env
MYSQL_ROOT_PASSWORD=password
TZ=Japan
Gemfile
Gemfile
source 'https://rubygems.org'
gem 'rails', '6.0.3'
Gemfile.lock
Gemfile.lock
# 空のままでOK
entrypoint.sh
entrypoint.sh
#!/bin/bash
set -e

# Remove a potentially pre-existing server.pid for Rails.
rm -f /myapp/tmp/pids/server.pid

# Then exec the container's main process (what's set as CMD in the Dockerfile).
exec "$@"
3. Railsプロジェクトを作成する
必要なファイルが作成できたら、rails newコマンドを実行します。
docker-compose run --rm web rails new . --force --no-deps --database=mysql --skip-turbolinks --skip-test
docker-compose run --rm web bin/rails webpacker:install
オプションは自由につければいいと思いますが、ここでいろいろ指定しておくと楽です。
4. database.ymlの編集
database.yml
default: &default
  adapter: mysql2
  encoding: utf8mb4
  pool: <%= ENV.fetch("RAILS_MAX_THREADS") { 5 } %>
  username: <%= ENV.fetch('MYSQL_USERNAME') { 'root' } %>
  password: <%= ENV.fetch('MYSQL_PASSWORD') { 'password' } %>
  host: <%= ENV.fetch('MYSQL_HOST') { 'db' } %>

development:
  <<: *default
  database: rails_app_dev

test:
  <<: *default
  database: rails_app_test

production:
  <<: *default
  database: rails_app_prd
  username: app
  password: hoge
docker-compose.ymlで設定した情報でアクセスできるようにpassword等の記述を行います。
hostはdbコンテナです。
5. Dockerイメージをビルドし、DB作成
docker-compose build
docker-compose run web bin/rails db:create
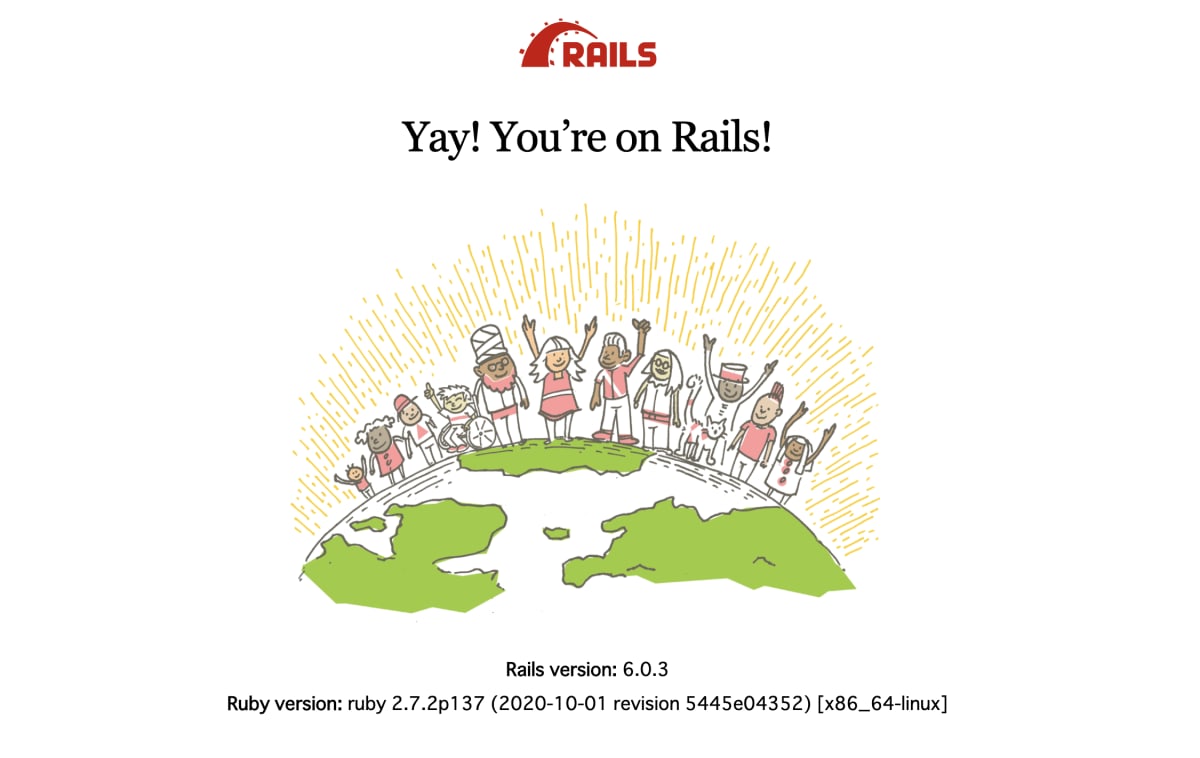
6. Yay! You’re on Rails!
docker-compose up -d
コンテナを起動させ、Railsの初期画面が表示されたら完成です。

参考
- 【Rails】Rails 6.0 x Docker x MySQLで環境構築
- 参画中のプロジェクト 他
Discussion