Firebase Local Emulator Suiteを使ってFlutterアプリの開発をする準備
何をしたいか
サーバーレスでアプリを作成する際にFirebaseはモバイルアプリを開発する際にサポートも多く候補になってくると思います。
新規のプロダクトであればまっさらな状態からデータ構築などができるのですが、一度リリースしてしまうとアプリ利用者のデータだったり開発中に誤って削除したら大惨事なデータがあるかと思います。
その際に、本番環境に影響を与えず、ローカル環境でFirebaseの機能が利用できることができる「Firebase Local Emulator Suite」というものが用意されています。
Firebase Local Emulator Suite の概要
こちらを使ってみようと、メモとしてセットアップ手順を記していきます。
Flutterアプリの実装詳細についてはあまり書かずFirebaseの連携部についてが主になります。
環境
- macOS Ventura 13.4
- Flutter (fvmというツールを使ってFlutterのバージョンを管理しているため、fvmコマンドが頭についています。)
~/D/w/test ❯❯❯ fvm flutter doctor
Doctor summary (to see all details, run flutter doctor -v):
[✓] Flutter (Channel stable, 3.10.1, on macOS 13.4 22F66 darwin-x64, locale ja-JP)
[✓] Android toolchain - develop for Android devices (Android SDK version 30.0.3)
[✓] Xcode - develop for iOS and macOS (Xcode 14.2)
[✓] Chrome - develop for the web
[✓] Android Studio (version 2021.1)
[✓] VS Code (version 1.77.0)
[✓] Connected device (2 available)
[✓] Network resources

• No issues found!
想定フォルダ構成
├── firebase_test <-- `fvm flutter create memo_app`をコマンドする場所
│   ├── firebase_emulator <-- `firebase ~`をコマンドする場所
│   └── memo_app <-- Flutterのアプリプロジェクト
1. 「Firebase Local Emulator Suite」のセットアップ
Firebase CLIをインストールします。
以降操作はfirebaseコマンドを利用して操作をしていきます。
また、本投稿時は12.2.1でした。
~/D/w/test ❯❯❯ curl -sL firebase.tools | bash

~/D/w/test ❯❯❯ firebase --version
12.2.1
firebase initのコマンドを使って、Firebaseのプロジェクトを作成していきます。
$ firebase init

     ######## #### ########  ######## ########     ###     ######  ########
     ##        ##  ##     ## ##       ##     ##  ##   ##  ##       ##
     ######    ##  ########  ######   ########  #########  ######  ######
     ##        ##  ##    ##  ##       ##     ## ##     ##       ## ##
     ##       #### ##     ## ######## ########  ##     ##  ######  ########

You're about to initialize a Firebase project in this directory:

  /Users/useruser/Documents/workspace/firebase_test/firebase_emulator

? Which Firebase features do you want to set up for this directory? Press Space to select features, then E
nter to confirm your choices. (Press <space> to select, <a> to toggle all, <i> to invert selection, and <e
nter> to proceed)
 ◯ Functions: Configure a Cloud Functions directory and its files
 ◯ Hosting: Configure files for Firebase Hosting and (optionally) set up GitHub Action deploys
 ◯ Hosting: Set up GitHub Action deploys
❯◯ Storage: Configure a security rules file for Cloud Storage
 ◯ Emulators: Set up local emulators for Firebase products
 ◯ Remote Config: Configure a template file for Remote Config
 ◯ Realtime Database: Configure a security rules file for Realtime Database and (optionally) provision def
(Move up and down to reveal more choices)
以下のEmulatorsを選択しエンターキーを押します。
◉ Emulators: Set up local emulators for Firebase products
選択するとプロジェクトを新規作成するか、既存のプロジェクトをするかを選択することができるのでプロジェクトを新規作成します。
? Please select an option:
  Use an existing project
❯ Create a new project
  Add Firebase to an existing Google Cloud Platform project
  Don't set up a default project
Create a new projectを選択した状態でEnterを押すと、プロジェクト名を入力します。
今回はsample-emulator-44494を入力します。(名称は全体含め重複なしなので適当です)
? Please select an option: Create a new project
i  If you want to create a project in a Google Cloud organization or folder, please use "firebase projects:create" instead, and return to this command when you've created the project.
? Please specify a unique project id (warning: cannot be modified afterward) [6-30 characters]:
 sample-emulator-44494
入力して、Enterを押すと、以下の文章がでてきます。
defaultsで問題ないので何も入力せずにEnterを押します。
? What would you like to call your project? (defaults to your project ID) ()
これでFirebaseプロジェクトの作成が完了しました。
次にEmulators Setupをしていきます。
Authentication EmulatorとFirestore Emulatorを選択した状態でエンターキーを押します。
=== Emulators Setup
? Which Firebase emulators do you want to set up? Press Space to select
emulators, then Enter to confirm your choices. (Press <space> to select, <a> to
toggle all, <i> to invert selection, and <enter> to proceed)
 ◯ Eventarc Emulator
 ◉ Authentication Emulator
 ◯ Functions Emulator
❯◉ Firestore Emulator
 ◯ Database Emulator
 ◯ Hosting Emulator
 ◯ Pub/Sub Emulator
(Move up and down to reveal more choices)
Port関連の質問をされますが、全てデフォルト(何も入力しないでエンター)を選択しています。
=== Emulators Setup
? Which Firebase emulators do you want to set up? Press Space to select
emulators, then Enter to confirm your choices. Authentication Emulator, Firestore
 Emulator

? Which port do you want to use for the auth emulator? 9099
? Which port do you want to use for the firestore emulator? 8080
? Would you like to enable the Emulator UI? Yes
? Which port do you want to use for the Emulator UI (leave empty to use any
available port)?
? Would you like to download the emulators now? Yes

i  Writing configuration info to firebase.json...
i  Writing project information to .firebaserc...
i  Writing gitignore file to .gitignore...

✔  Firebase initialization complete!
これでEmulatorのセットアップも完了しました。
試しに起動してみます。
~/D/w/f/firebase_emulator ❯❯❯ firebase emulators:start
i  emulators: Starting emulators: auth, firestore
⚠  firestore: Cloud Firestore Emulator does not support multiple databases yet.
⚠  firestore: Did not find a Cloud Firestore rules file specified in a firebase.json config file.
⚠  firestore: The emulator will default to allowing all reads and writes. Learn more about this option: https://firebase.google.com/docs/emulator-suite/install_and_configure#security_rules_configuration.
i  firestore: Firestore Emulator logging to firestore-debug.log
✔  firestore: Firestore Emulator UI websocket is running on 9150.
i  ui: Emulator UI logging to ui-debug.log

┌─────────────────────────────────────────────────────────────┐
│ ✔  All emulators ready! It is now safe to connect your app. │
│ i  View Emulator UI at http://127.0.0.1:4000/               │
└─────────────────────────────────────────────────────────────┘

┌────────────────┬────────────────┬─────────────────────────────────┐
│ Emulator       │ Host:Port      │ View in Emulator UI             │
├────────────────┼────────────────┼─────────────────────────────────┤
│ Authentication │ 127.0.0.1:9099 │ http://127.0.0.1:4000/auth      │
├────────────────┼────────────────┼─────────────────────────────────┤
│ Firestore      │ 127.0.0.1:8080 │ http://127.0.0.1:4000/firestore │
└────────────────┴────────────────┴─────────────────────────────────┘
  Emulator Hub running at 127.0.0.1:4400
  Other reserved ports: 4500, 9150

Issues? Report them at https://github.com/firebase/firebase-tools/issues and attach the *-debug.log files.
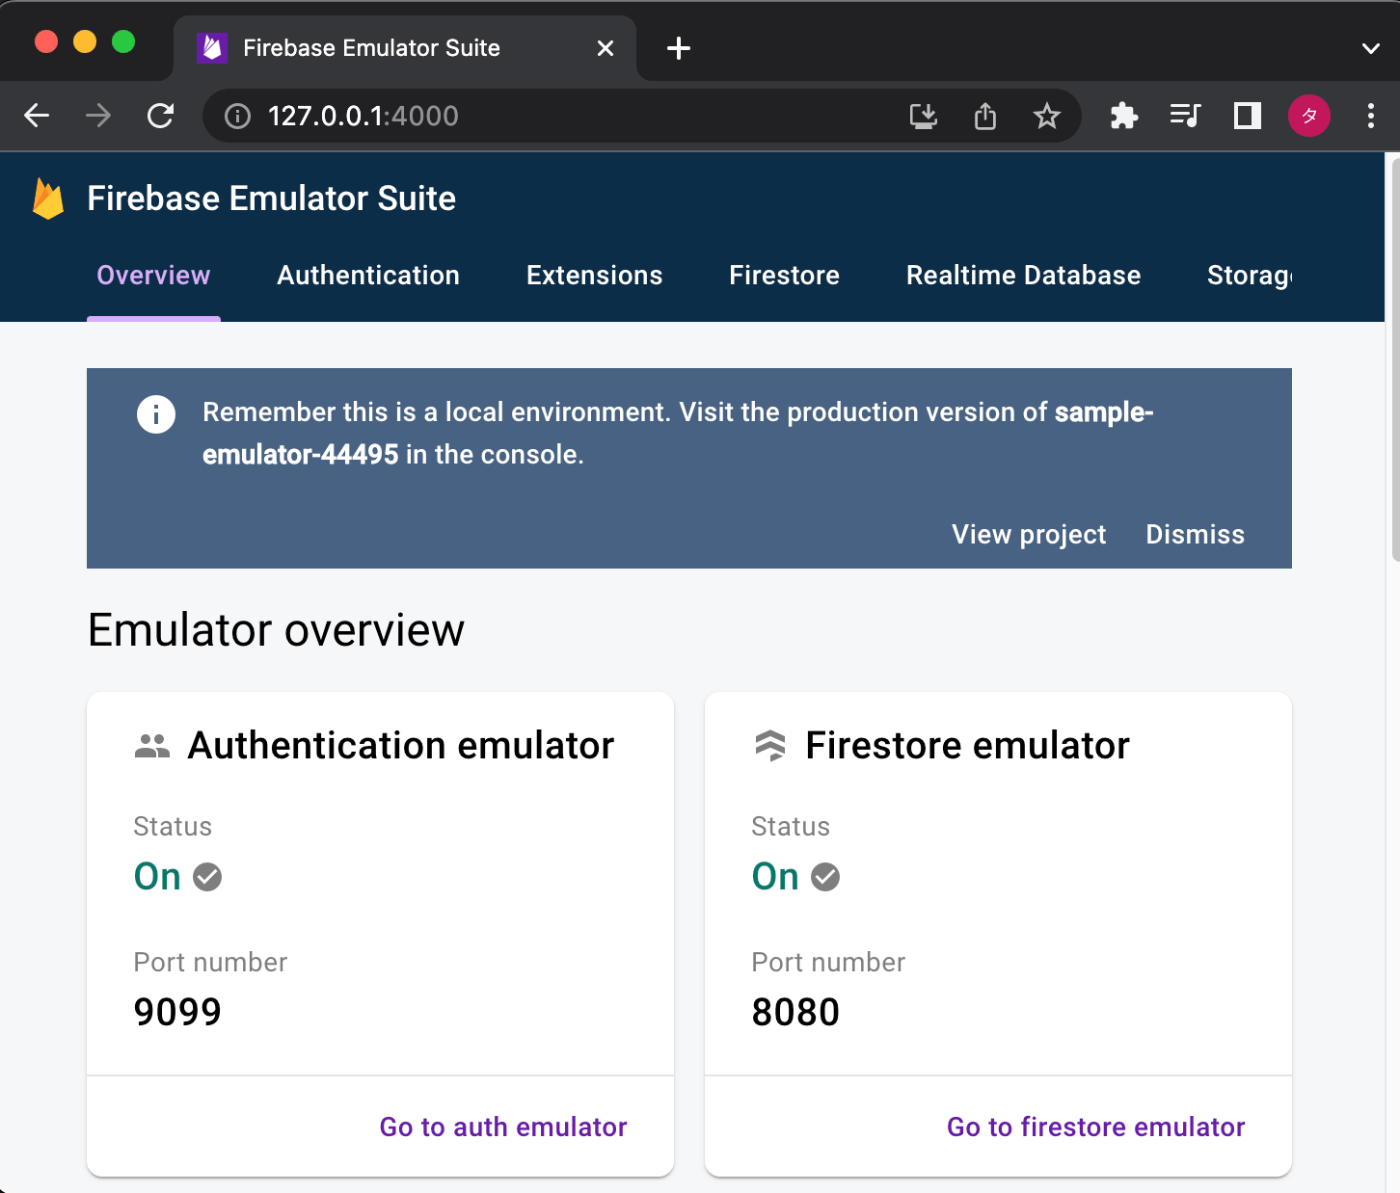
Warningが出ていますが、ブラウザにてhttp://127.0.0.1:4000/にアクセスすると「Firebase Emulator Suite」が起動しているのが確認できればOKです。
次にWarningを解消していきます。
まずはFirebaseプロジェクトのコンソール画面に移動します。
(https://console.firebase.google.com/project/[Project名]/firestore)
Cloud Firestoreのコンソール画面で「データベースの作成」をクリックします。
そうすると以下のように「本番環境」「テスト環境」を選ぶポップアップが表示されるため、テスト環境を選択し「次へ」をクリックします。

ロケーションの設定画面が表示されるので任意のロケーションを選択します。
これでプロジェクトでのFirestore設定が完了したので、Emulator側に反映していきます。
先程firebase initを実行したディレクトリで再びfirebase initを実行します。
何をするのかと候補が出てくるのて以下をスペースで選択し、エンターキーを押します。
Firestore: Configure security rules and indexes files for Firestore
何点かファイル名などを質問されますが、全て空欄のままエンターキーを押していきデフォルトの名称で保存していきます。
この状態で再びEmulatorを起動するとWarningが解消されます。
~/D/w/f/firebase_emulator ❯❯❯ firebase emulators:start
i  emulators: Starting emulators: auth, firestore
i  firestore: Firestore Emulator logging to firestore-debug.log
✔  firestore: Firestore Emulator UI websocket is running on 9150.
i  ui: Emulator UI logging to ui-debug.log

┌─────────────────────────────────────────────────────────────┐
│ ✔  All emulators ready! It is now safe to connect your app. │
│ i  View Emulator UI at http://127.0.0.1:4000/               │
└─────────────────────────────────────────────────────────────┘

┌────────────────┬────────────────┬─────────────────────────────────┐
│ Emulator       │ Host:Port      │ View in Emulator UI             │
├────────────────┼────────────────┼─────────────────────────────────┤
│ Authentication │ 127.0.0.1:9099 │ http://127.0.0.1:4000/auth      │
├────────────────┼────────────────┼─────────────────────────────────┤
│ Firestore      │ 127.0.0.1:8080 │ http://127.0.0.1:4000/firestore │
└────────────────┴────────────────┴─────────────────────────────────┘
  Emulator Hub running at 127.0.0.1:4400
  Other reserved ports: 4500, 9150

Issues? Report them at https://github.com/firebase/firebase-tools/issues and attach the *-debug.log files.
以上で「Firebase Local Emulator Suite」のセットアップが完了しました。
2. FlutterプロジェクトにFirebaseプロジェクトの関連付け及びEmulatorへの関連付け
まずはFlutterプロジェクトを作成します。
以下のディレクトリ構成だと「firebase_test」のところでflutter create memo_appを実行します。
├── firebase_test <-- `fvm flutter create memo_app`をコマンドする場所
│   ├── firebase_emulator <-- `firebase ~`をコマンドする場所
│   └── memo_app <-- Flutterのアプリプロジェクト
Flutterプロジェクトの作成が完了したら、Flutterプロジェクトのディレクトリに移動して次の3つのプラグインをインストールしていきます。
$ flutter pub add firebase_core
$ flutter pub add firebase_auth
$ flutter pub add cloud_firestore
つづいて、同じくFlutterプロジェクトのディレクトにて次のコマンドを実行します。
$ flutterfire configure
そうすると、現在Firebase上に作成しているプロジェクト一覧が表示されるため、今回関連付けるプロジェクトを選択し、エンターキーを押します。
どのプラットフォーム向けに対応するかを確認されます。
デフォルトですべて選択状態になっているので、そのままエンターキーを押します。
~/D/w/f/memo_app ❯❯❯ flutterfire configure
i Found 5 Firebase projects.
✔ Select a Firebase project to configure your Flutter application with · sample-emulator-44494 (sample-emulator-44494)
? Which platforms should your configuration support (use arrow keys & space to select)? ›                                                                 ✔ android
✔ ios
✔ macos
✔ web
そうすると、libフォルダの直下にfirebase_options.dartが作成されます。
このファイルはFirebaseのプロジェクトのIDが記載されています。
このIDが公開されてしまうと他の人からアクセスできてしまうため、.gitignoreなどに登録してgitなどにアップしないほうがいいかもです。
次にFlutterでFirebaseの初期化をしてきます。
今回は作成したてのコードを想定しているため、main関数に設定していきます。
void main() async {
 WidgetsFlutterBinding.ensureInitialized();
 await Firebase.initializeApp(
   options: DefaultFirebaseOptions.currentPlatform,
 );

 if (kDebugMode) {
   try {
     FirebaseFirestore.instance.useFirestoreEmulator('localhost', 8080);
     await FirebaseAuth.instance.useAuthEmulator('localhost', 9099);
   } catch (e) {
     // ignore: avoid_print
     print(e);
   }
 }

 runApp(const MyApp());
}
Firebase.initializeApp関数でFirebaseプラグインの初期化をします。
引数のDefaultFirebaseOptions.currentPlatformは先程実行したflutterfire configureで生成されたfirebase_options.dart内に記述されています。
WidgetsFlutterBinding.ensureInitialized();
await Firebase.initializeApp(
  options: DefaultFirebaseOptions.currentPlatform,
);
WidgetsFlutterBinding.ensureInitialized();
は、runAppの関数よりも前にDartのコードを利用する場合に呼ぶ必要がある関数になります。
今回はFirebase.initializeAppをrunAppよりも前に実行するために呼んでいます。
最後にEmulator向けにデータを送信するために、以下のコードを追加します。
ここに設定する値はEmulator起動時にコンソールに表示される値を設定します。
    FirebaseFirestore.instance.useFirestoreEmulator('localhost', 8080);
    await FirebaseAuth.instance.useAuthEmulator('localhost', 9099);
これでAuth及び、Firestoreの連携をEmulator上で行うことができるようになりました。
あとは通常のFirebaseのTutorial通りの実装をすれば「Firebase Local Emulator Suite」とFlutterアプリを連携することができます。
またユーザーごとにデータの出し分けをする場合の「ルール」設定はfirestore.rulesのファイルを編集すればエミュレータに反映することができ、本番環境で確認する前にローカル環境で確認することができます。
Discussion