5分でできるPrismaとSupabaseをさくっと連携!
この記事ではデータベースを使った開発でSupabaseを使いたいなーと思ったときにさっと連携して開発に入れるための備忘録になります。
Prismaのインストール
npm install prisma --save-dev
Prismaの初期化
 npx prisma init

 # 下記のように出力されます

 ✔ Your Prisma schema was created at prisma/schema.prisma

warn You already have a .gitignore file. Don't forget to add `.env` in it to not commit any private information.

Next steps:
1. Set the DATABASE_URL in the .env file to point to your existing database. If your database has no tables yet, read https://pris.ly/d/getting-started
2. Set the provider of the datasource block in schema.prisma to match your database: postgresql, mysql, sqlite, sqlserver, mongodb or cockroachdb.
3. Run prisma db pull to turn your database schema into a Prisma schema.
4. Run prisma generate to generate the Prisma Client. You can then start querying your database.
More information in our documentation:
https://pris.ly/d/getting-started
上記のコマンドを打つと「.env」ファイルと「prisma」ディレクトリ内に「schema.prisma」ができていると思います。
Supabaseに登録
下記からSupabaseにアクセス
もしまだ登録が済んでいなければSignUpから登録してください。
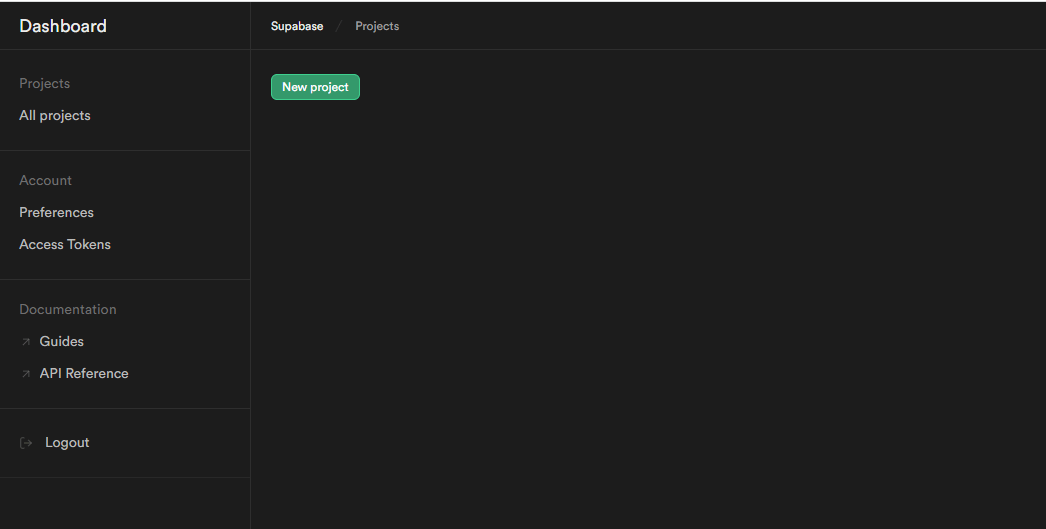
登録が終われば「New project」からプロジェクトを作成してください。
Nameを入力して「Create organaization」をクリックしてください。
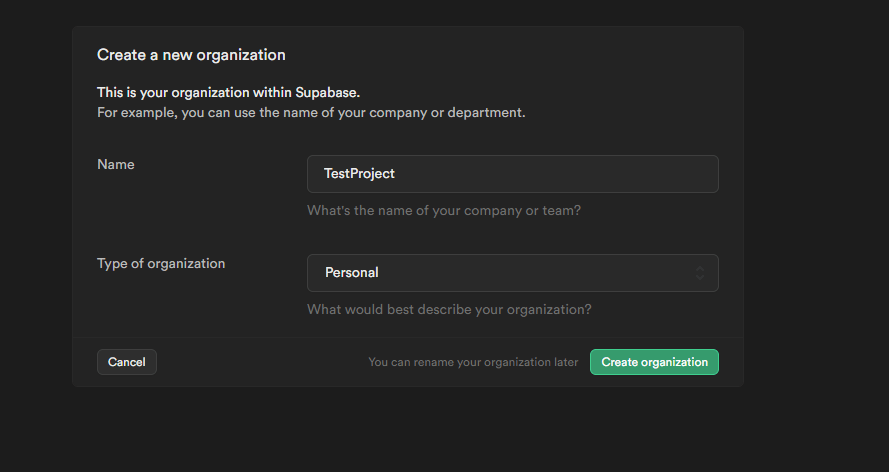
その後、もう少し入力を求められますので入力後「Create organaization」を押下。
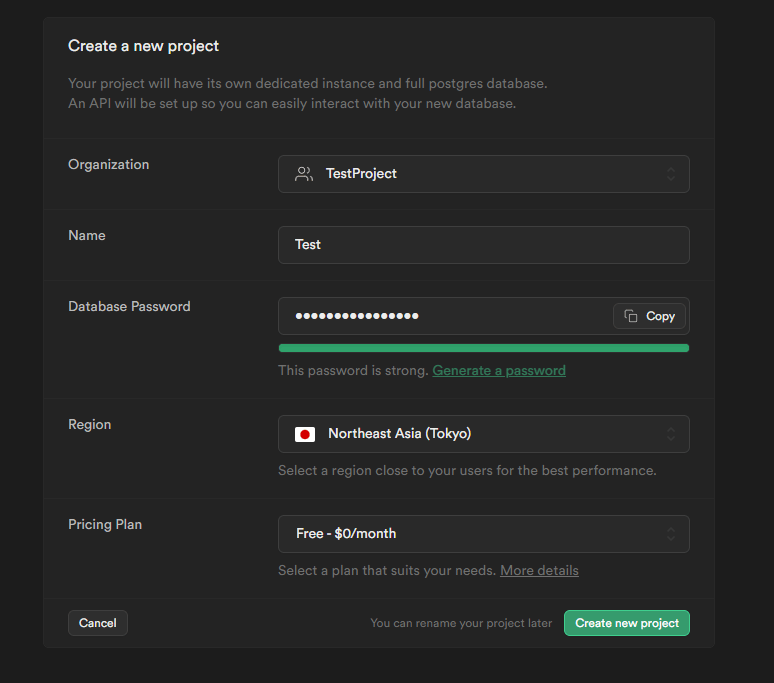
Database PasswordはGenerateで作ってしまったほうが楽です。
このときのパスワードはメモっておいてください。
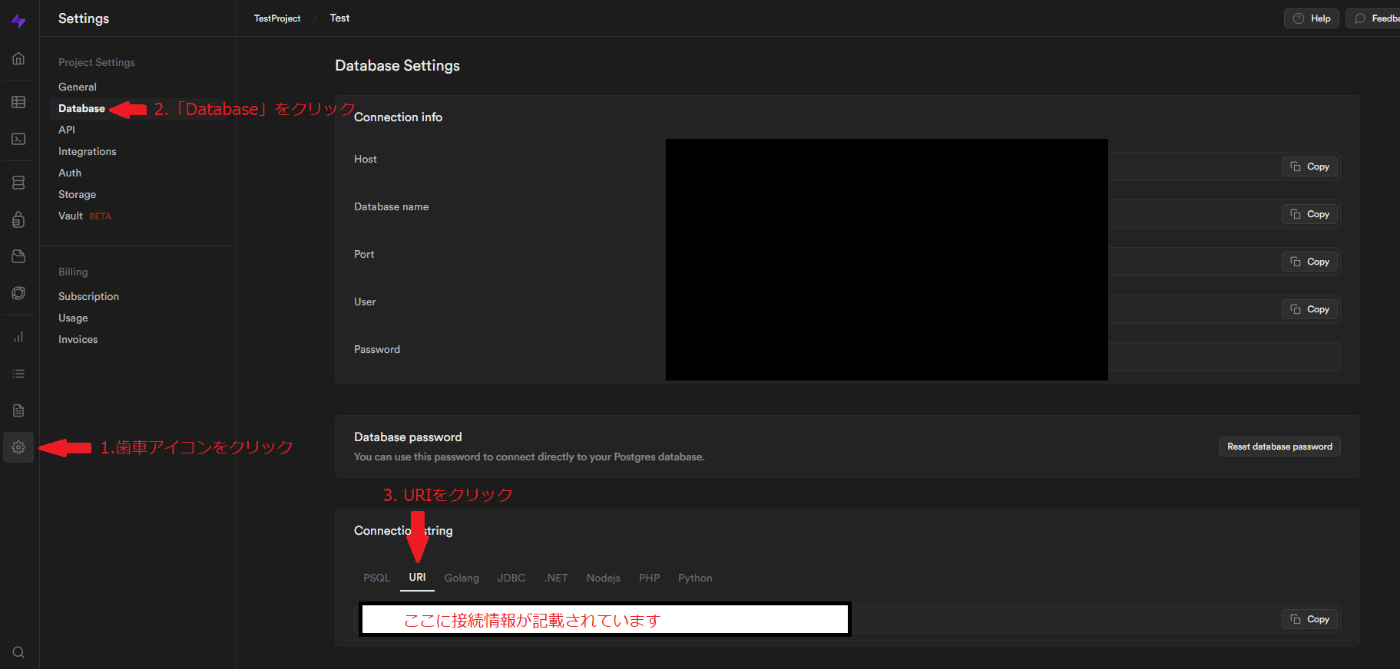
DB接続情報の確認
プロジェクト作成が終わるとサイドバーから接続情報を確認しにいきます。
少し分かりづらい場所に書いてあるので、下記の画像を参考に接続情報を確認しに行ってください。
このときのURIを.envに記載しにいきます
.envに接続情報を記載
initした際に作成された.envに先程のURI情報を記述しにいきましょう。
# Environment variables declared in this file are automatically made available to Prisma.
# See the documentation for more detail: https://pris.ly/d/prisma-schema#accessing-environment-variables-from-the-schema

# Prisma supports the native connection string format for PostgreSQL, MySQL, SQLite, SQL Server, MongoDB and CockroachDB.
# See the documentation for all the connection string options: https://pris.ly/d/connection-strings

DATABASE_URL="postgresql://postgres:[YOUR-PASSWORD]@db.vxpxuveqbxxcaosiluzt.supabase.co:5432/postgres"
ここで指定されている「[YOUR-PASSWORD]」が先程メモしていたパスワードですので書き換えてください。
schemaの記述
こちらもinitを行った際に生成されたprismaディレクトリ配下の「schema.prisma」ファイルを書き換えていきます。
初期の開いた状態は下記の内容が記述されていると思います。
// This is your Prisma schema file,
// learn more about it in the docs: https://pris.ly/d/prisma-schema

generator client {
  provider = "prisma-client-js"
}

datasource db {
  provider = "postgresql"
  url      = env("DATABASE_URL")
}
この配下にschema情報を記述していきましょう。今回はPrismaの公式に記載のあるschemaを使ってテストしていきます。
最終的にこんな感じになりました。
// This is your Prisma schema file,
// learn more about it in the docs: https://pris.ly/d/prisma-schema

generator client {
  provider = "prisma-client-js"
}

datasource db {
  provider = "postgresql"
  url      = env("DATABASE_URL")
}

model User {
  id    Int     @id @default(autoincrement())
  email String  @unique
  name  String?
  posts Post[]
}

model Post {
  id        Int     @id @default(autoincrement())
  title     String
  content   String?
  published Boolean @default(false)
  author    User    @relation(fields: [authorId], references: [id])
  authorId  Int
}
マイグレーション
諸々の設定が終わりましたので最後に下記のmigrateコマンドを実行してください。
npx prisma migrate dev --name init
設定ができていれば下記のように成功します。
$ npx prisma migrate dev --name init
Environment variables loaded from .env
Prisma schema loaded from prisma\schema.prisma
Datasource "db": PostgreSQL database "postgres", schema "public" at "db.pcjcpclvzffizonxmxnr.supabase.co:5432"

Applying migration `20230812093047_init`

The following migration(s) have been created and applied from new schema changes:

migrations/
  └─ 20230812093047_init/
    └─ migration.sql

Your database is now in sync with your schema.

✔ Generated Prisma Client (5.1.1 | library) to .\node_modules\@prisma\client in 43ms
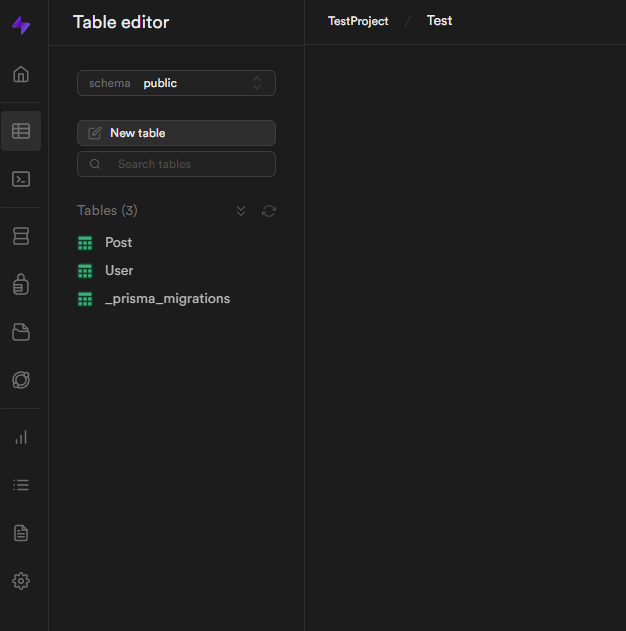
またSupabase側にも確認しにいくと先程記述したテーブルが作成されていることがわかります
Discussion