🐴
Claude3 APIを使った画像解析アプリを50行で実装する
データサイエンティストのせきとばです。
Claude3は画像解析も精度が高いと話題ですね。
デモ用にClaude 3 APIを用いた画像解析アプリを開発したので紹介します。
APIキー取得
以下の記事で紹介しています。ご参照ください。
実装
streamlitで実装します。
50行でした。
インストール
必要なライブラリをインストールします。
ご自身の環境に合わせて不足モジュールをインストールしてください。
%pip install -qU langchain-anthropic streamlit
APIキー読み込み
.envファイルにAPIキーを設定して読み込んでください。
from dotenv import load_dotenv
load_dotenv()  # .env ファイルから環境変数を読み込む
実装コード
import streamlit as st
import base64
import json
from langchain_anthropic import ChatAnthropic
from langchain_core.prompts import ChatPromptTemplate
from dotenv import load_dotenv
load_dotenv() # .env ファイルから環境変数を読み込む
# Streamlitアプリのタイトルとサイドバーの設定
st.set_page_config(page_title="Image Analysis with Claude 3", layout="wide")
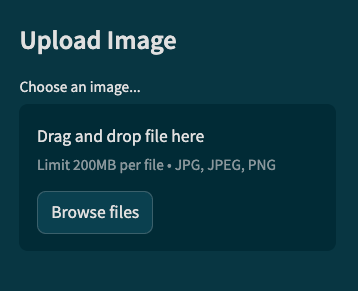
st.sidebar.title("Upload Image")
def upload_image():
uploaded_file = st.sidebar.file_uploader("Choose an image...", type=["jpg", "jpeg", "png"])
if uploaded_file is not None:
return uploaded_file
return None
# Base64エンコードのための関数
def get_base64_encoded_image(image_file):
encoded_string = base64.b64encode(image_file.read()).decode('utf-8')
return encoded_string
def analyze_image(image_file, prompt):
chat = ChatAnthropic(temperature=0.5, model_name="claude-3-opus-20240229")
system = "You are an AI assistant that analyzes images based on the given prompt."
human = "{text}"
prompt_template = ChatPromptTemplate.from_messages([("system", system), ("human", human)])
chain = prompt_template | chat
result = chain.invoke(input={"text": json.dumps({"image": get_base64_encoded_image(image_file), "prompt": prompt})})
return result
# メインの処理
def main():
image_file = upload_image()
if image_file:
# 画像を表示
st.image(image_file, caption='Uploaded Image', use_column_width=True)
# プロンプトの入力欄
prompt = st.text_input("Enter a prompt for image analysis:")
if st.button("Analyze"):
# 画像解析を実行し、結果を表示
result = analyze_image(image_file, prompt)
st.write("Analysis Result:")
st.write(result)
if __name__ == "__main__":
main()
アプリ起動
streamlit run app.py
アプリ画面
サイドバーから画像をアップロードできます。

画像をアップロードすると、メイン画面に画像が表示されます。
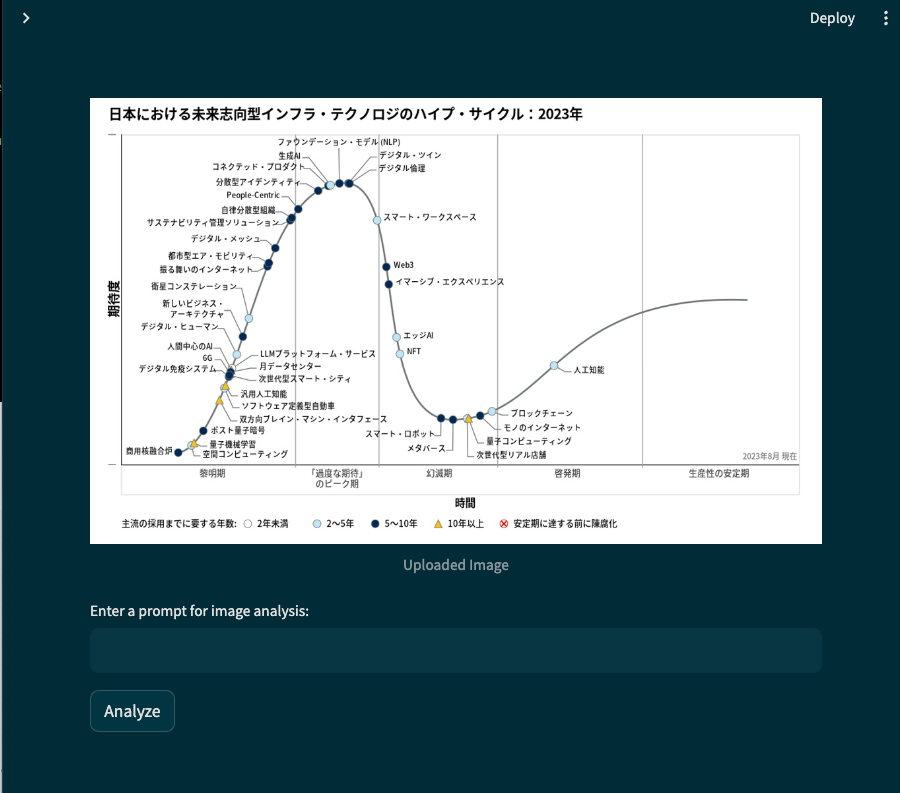
[出典]ガートナーレポート
プロンプトを入力してAnalyzeを押すと出力結果が返されます。
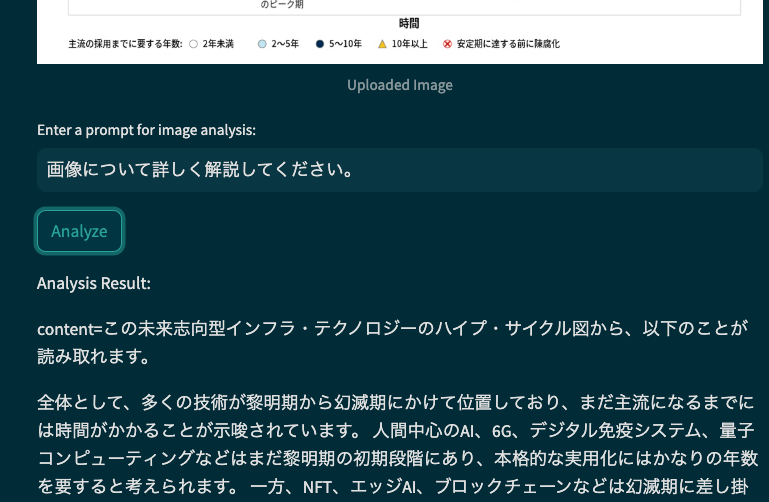
コード50行で画像解析アプリが完成しました。
紹介したのは基本コードですが、モデル名やパラメータなど調整することで精度を高めることができます。
社内デモなどに活用して生成AIを推進していきましょう。
Discussion