【Kubernetes】Nginx経由でAPIに接続
はじめに
KubernetesとGoの勉強にため、以下のようなアプリを作成しました。
実装の詳細は、以下のリポジトリをご覧いただけますと幸いです。 今回は、フロントエンドのリクエストを、バックエンドAPIのエンドポイントにリバースプロキシする流れをつらつら書いていこうと思います。
使用技術
フロントエンドはReact、バックエンドはGoで実装します。APIには、Nginx経由でリクエストを投げます。何の変哲のないシンプルな構成です。
この記事で説明しないこと
今回は、Reactの具体的な実装や、Goのコードの詳細には触れません。
実装
クラスタ作成
APIを公開するPodを作成するために、以下のDeploymentを定義します。
apiVersion: v1
kind: Service
metadata:
  name: goapi
  labels:
    app: goapi
spec:
  selector:
    app: goapi
  ports:
    - protocol: TCP
      port: 8080
---
apiVersion: apps/v1
kind: Deployment
metadata:
  name: goapi
  labels:
    app: goapi
spec:
  replicas: 1
  selector:
    matchLabels:
      app: goapi
  template:
    metadata:
      labels:
        app: goapi
    spec:
      containers:
        - name: goapi
          image: wakabaseisei/goapi:latest
          resources:
            limits:
              memory: "128Mi"
              cpu: "500m"
          ports:
            - containerPort: 8080
              protocol: TCP
続いて、Nginxの設定ファイルを、ConfigMapで記述します。これを使って、後述のNginxコンテナにVolumeとしてマウントします。
apiVersion: v1
kind: ConfigMap
metadata:
  name: nginx-conf
data:
  nginx.conf: |
    user nginx;
    worker_processes  auto;
    error_log  /var/log/nginx/error.log;
    events {
      worker_connections  10240;
    }
    http {
      log_format  main
              'remote_addr:$remote_addr\t'
              'time_local:$time_local\t'
              'method:$request_method\t'
              'uri:$request_uri\t'
              'host:$host\t'
              'status:$status\t'
              'bytes_sent:$body_bytes_sent\t'
              'referer:$http_referer\t'
              'useragent:$http_user_agent\t'
              'forwardedfor:$http_x_forwarded_for\t'
              'request_time:$request_time';

      access_log    /var/log/nginx/access.log main;

      # バーチャルサーバを立てる
      server {
          listen       80;

	  # APIへのリクエストは、"/users"から始まる
	  # ”/users(/:id)”のリクエストは、http://goapi:8080(/:id)にリバースプロキシする
          location /users {
            proxy_pass  http://goapi:8080;
          }

          # rootのコンテンツを返す
	  # これは、後述するReactプロジェクトでyarn buildしたファイルをコピーしたもの
          location / {
            root  /usr/share/nginx/html;
            index index.html;
          }
      }
    }
フロントエンド用のPodを、Deploymentで宣言します。
Serviceを、NodePortで設定しており、ブラウザでは、以下でアクセスします。
"https://localhost:30090"
まだ、アクセスしても、何も起こりません。
apiVersion: v1
kind: Service
metadata:
  name: node
spec:
  type: NodePort
  selector:
    app: node
  ports:
    - port: 80
      targetPort: node-port
      nodePort: 30090
---
apiVersion: apps/v1
kind: Deployment
metadata:
  name: node
  labels:
    app: node
spec:
  replicas: 1
  selector:
    matchLabels:
      app: node
  template:
    metadata:
      labels:
        app: node
    spec:
      containers:
        - name: node
          image: wakabaseisei/reactapp:latest
          resources:
            limits:
              memory: "128Mi"
              cpu: "500m"
          ports:
            - containerPort: 80
              name: node-port
              protocol: TCP
	  # 下記のvolumesを、/etc/nginxにマウントすることで、nginxの設定ファイルとして読み込まれる
          volumeMounts:
            - mountPath: /etc/nginx
              readOnly: true
              name: nginx-conf
      # 先ほど定義したConfigMapをvolumesとして宣言している
      volumes:
        - name: nginx-conf
          configMap:
            name: nginx-conf
            items:
              - key: nginx.conf
                path: nginx.conf
フロントエンド
axiosを使って、Nginxサーバにリクエストを送信しています。
axiosの共通設定部分です。
export const BASE_URI = "http://localhost:30090";

export enum ResponseStatusCode {
  Success = 200,
  Fail = 500,
}
import axios from "axios";
import { BASE_URI } from "../Config/const";

const instance = axios.create({
  baseURL: BASE_URI,
  headers: {
    "Content-Type": "application/json",
  },
});

export default instance;
以下は、Userの削除リクエストを送信している箇所です。
 const deleteUser = async (userId: number) => {
    try {
      const apiResponseResult = await instance.delete(`/users/${userId}`);
      console.log(apiResponseResult);
      await fetchUsers(true);
    } catch (error) {
      alert("削除に失敗しました");
      console.error("ユーザー削除失敗");
    }
  };
これで、
"http://localhost:30090/users/${userId}"
にDELETEリクエストが投げられます。
リクエストは、外部公開用のNodePortタイプのServiceが受け入れます。
NodePortは、0.0.0.0:30090で公開されており、受け入れられた後、ClusterIPの80番ポートに転送されます。
次は、同じラベル・セレクター(app: node)を持つPodの中の、targetPortに指定されている、Nginxコンテナに向かって転送され、containerPortの80でNginxコンテナまで辿り着きます。
Nginxは、設定ファイルで定義した通り、80番ポートでリクエストを待ち受けており、"/users/:userId"へのリクエストは、バックエンドAPIに転送されます。
今回の例だと、無事に削除処理が実行されて、結果がクライアントに返されます。
それでは、Podで扱えるように、コンテナのイメージを作成します。
FROM node:14 AS builder
RUN apt-get update && apt-get install -y build-essential && apt-get install -y openjdk-8-jdk && apt-get install -y lsof
WORKDIR /frontend
COPY ./frontend .
WORKDIR /frontend/app
RUN yarn install && \
yarn build
FROM nginx:1.20-alpine AS prod
COPY /frontend/app/build /usr/share/nginx/html
CMD [ "nginx", "-g", "daemon off;" ]
ビルド用と配布用とで、ターゲットを分けています。
配布用は、yarn buildで生成されたファイルを、nginxイメージの/usr/share/nginx/htmlにコピーしています。
マルチステージビルドに関しては、以下をご参照ください。
Dockerfileをもとに、ビルドして、DockerHubにプッシュしています。
$ docker build . --target prod -t wakabaseisei/reactapp -f docker/node/Dockerfile
$ docker push wakabaseisei/goapi:latest
バックエンド
今回は、GoのWebフレームワークとして、Ginを使っています。ルーティング処理をしている箇所を以下に掲載します。
package infrastructure

import (
	"github.com/gin-gonic/gin"
	"github.com/wakabaseisei/runapp/interfaces/controllers"
)

type Routing struct {
	DB   *DB
	Gin  *gin.Engine
	Port string
}

func NewRouting(db *DB) *Routing {
	c := NewConfig()
	r := &Routing{
		DB:   db,
		Gin:  gin.Default(),
		Port: c.Routing.Port,
	}
	r.setRouting()
	return r
}

func (r *Routing) setRouting() {
	userController := controllers.NewUserController(r.DB)
	r.Gin.GET("/users", func(c *gin.Context) { userController.GetAll(c) })
	r.Gin.GET("/users/:id", func(c *gin.Context) { userController.Get(c) })
	r.Gin.POST("/users", func(c *gin.Context) { userController.Post(c) })
	r.Gin.DELETE("/users/:id", func(c *gin.Context) { userController.Delete(c) })
	r.Gin.PUT("/users/:id", func(c *gin.Context) { userController.Update(c) })
}

func (r *Routing) Run() {
	r.Gin.Run(r.Port)
}
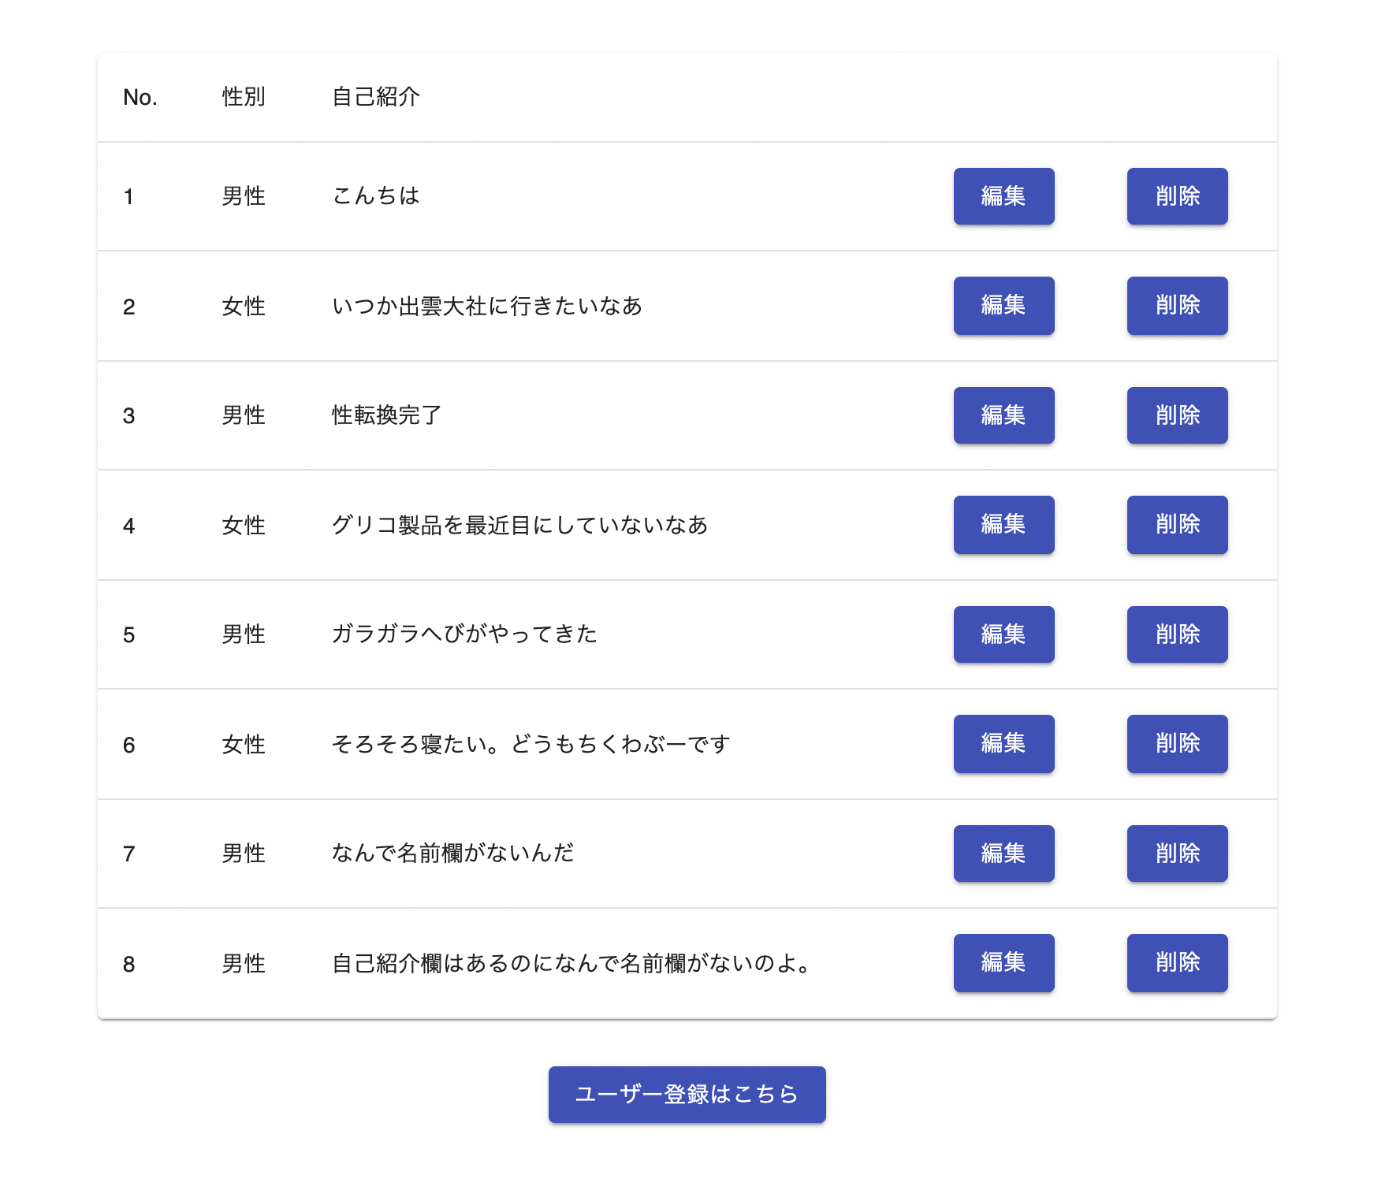
Userの作成・取得(全件・個別)・更新・削除を受け付ける、エンドポイントを用意しています。各APIは、"/users"で始まっています。
他の実装部分もご覧になりたい場合は、以下のリポジトリをご覧ください。
Dockerfileです。
開発用とビルド用と配布用とで、ターゲットを分けています。
# 開発用イメージ
FROM golang:1.17.2-alpine3.14 as dev
ENV CGO_ENABLED=0
COPY ./src/go.mod /go/src/go.mod
COPY ./src/go.sum /go/src/go.sum
RUN apk update \
&& apk add --no-cache git
WORKDIR /go/src
RUN go mod download
COPY src/ /go/src/
# ビルド用イメージ
FROM golang:1.17.2-alpine3.14 as builder
ENV CGO_ENABLED=0
COPY src/go.mod /go/src/go.mod
COPY src/go.sum /go/src/go.sum
RUN apk update \
&& apk add --no-cache git
WORKDIR /go/src
RUN go mod download
COPY src/ /go/src/
RUN GOOS=linux go build -o ./binary
# 本番用イメージ
FROM scratch as prod
COPY /go/src/binary /go/src/
EXPOSE 8080
CMD ["/go/src/binary"]
Podのコンテナで扱うイメージをビルドして、DockerHubにプッシュしています。
$ docker build . --target prod -t wakabaseisei/goapi -f docker/go/Dockerfile
$ docker push wakabaseisei/goapi:latest
あとは、Kubernetesの各リソースをアプライしていきます。
Discussion