Oracle Cloud Free Tier Sign Up
Abstract
In this article, I will be talking about my experience of trying to get a oracle cloud free tier account, and how I got mine setup. It's the cloud provider with the most generous always free tier plan as far as I know. You can have a total of 2 x86 dual core VM (AMD EPYC 75) with around 1GB of ram each, and machines with a total of 4 core ARM (Ampere) with 24GB of ram.
Most of the detailed guides (except for reddit posts) that I saw online are in Simplified Chinese, which isn't particularly accessible to most of the people. Fortunately being a native in Traditional Chinese means I can almost understand Simplified Chinese as well, so, I figured I might do a walkthrough guide along with some debugging process for the problems that I encountered while setting things up.
In this first article, I will be going through how to set things up, and some pitfalls to avoid while doing it.
Note: Setting up an oracle cloud free tier account requires a valid credit card.
Setting Up
Registration
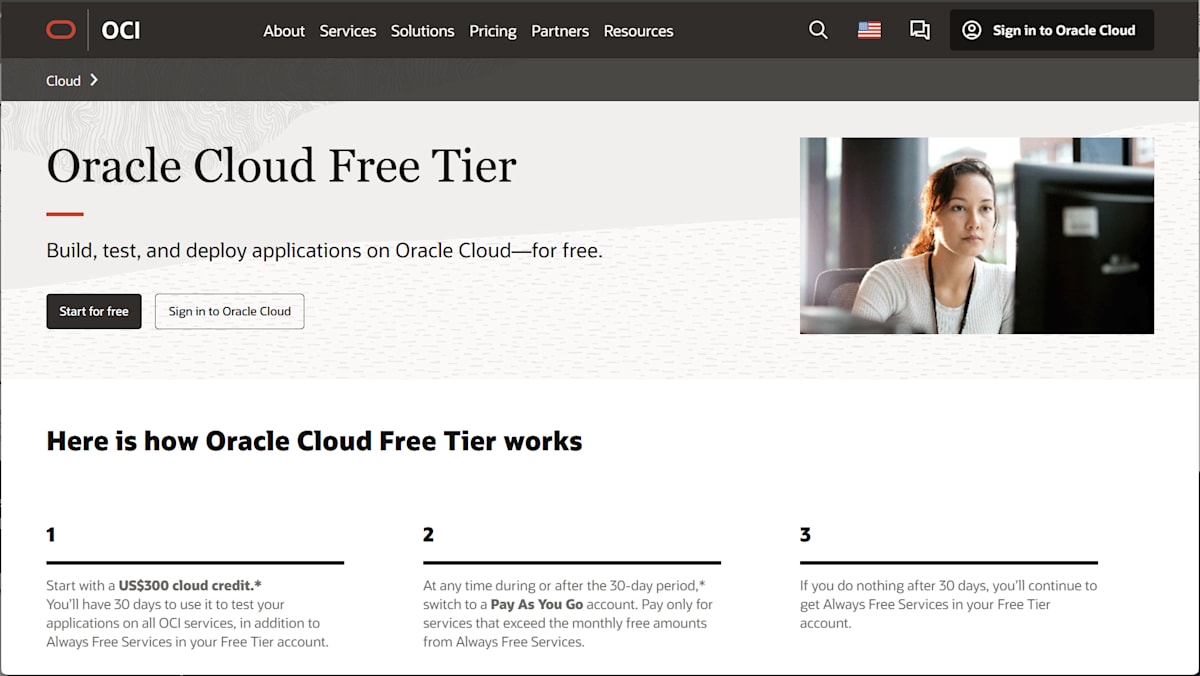
To get started, visit https://oracle.com/tw/cloud/free in either chrome or the browser of your choice. I created mine using chrome.
Note that you should replace
tw(Taiwan) with your country code, Japan:jp, South Korea:kr, China:cn, Australia:au. You don't need anything if you're in United States.
For readers from China: Use your phone to register and DO NOT use any VPN services and proxy for higher success rate. The link is unblocked. (This is untested, I got this information from this video).
This resgistration part is supposedly the hardest one, lots of people failed to register their account. Please make sure to follow the steps closely.
Press the Start for free button to get started.
Next, fill in your location, first name, last name and your email. Note that you'll have to fill in your actual location, otherwise it is rumored that it's extremely likely to fail. Since I am from Taiwan, I chose Taiwan for the first field.
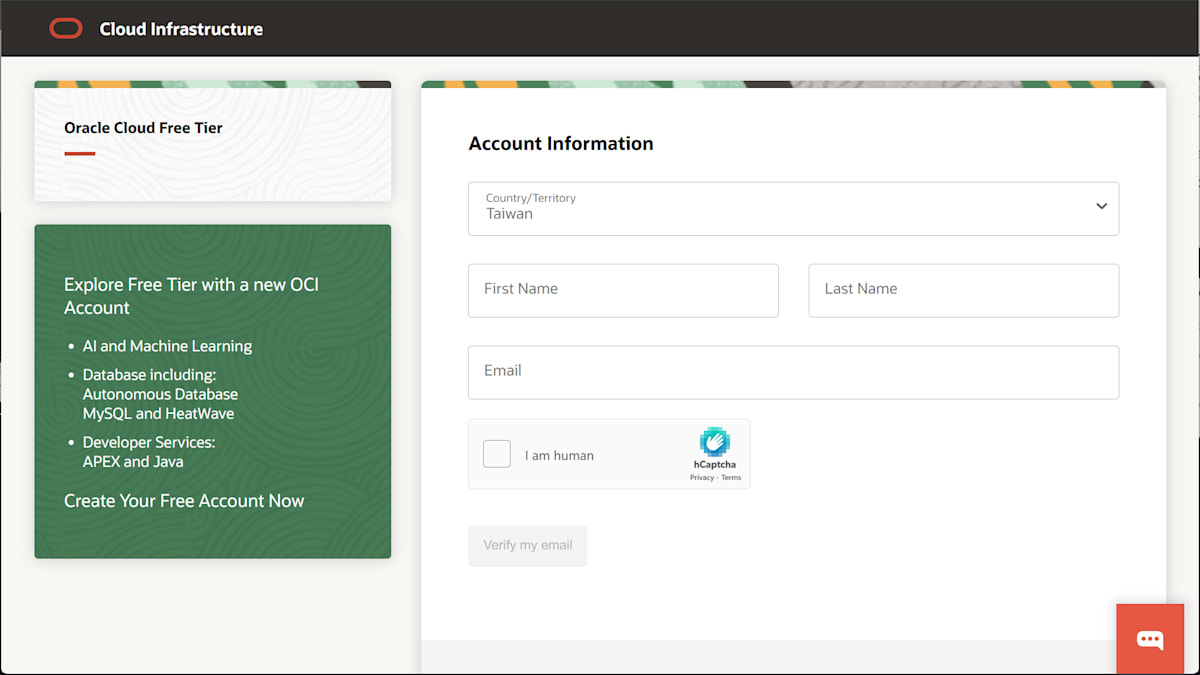
After verifying your email, you can continue to fill out the rest of the form. I choose Individual for the Customer Type selection.
At the bottom of the page, it will typically show this
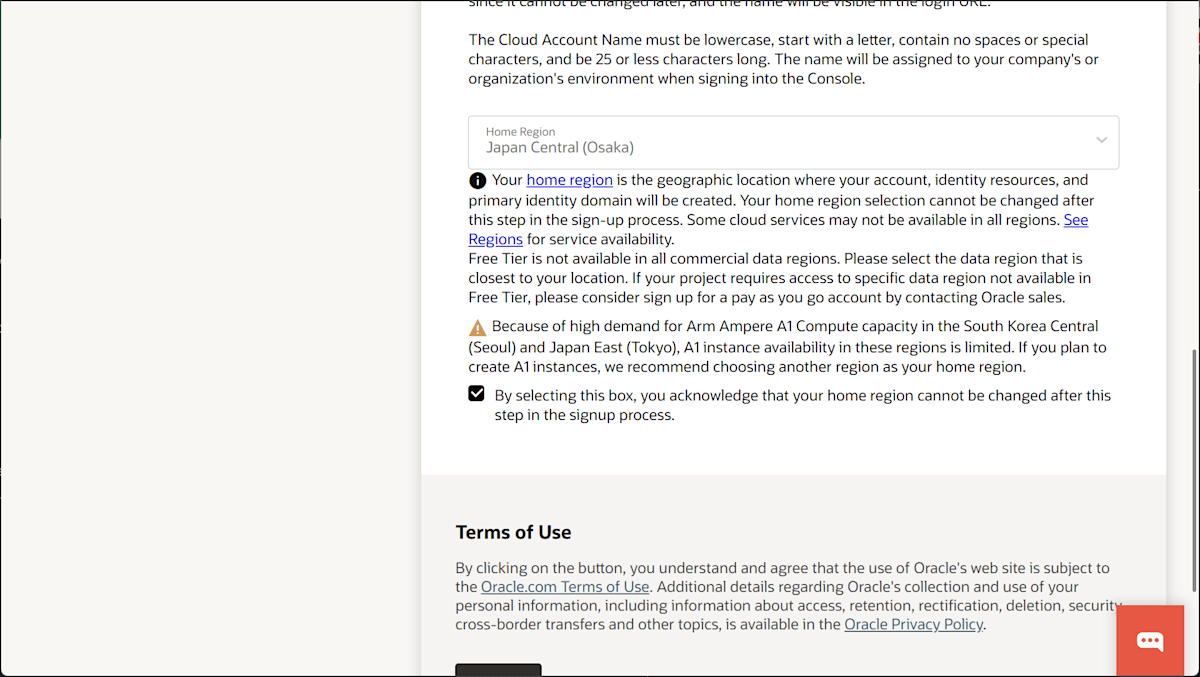
I actually created my account in Japan East (Tokyo) a while back (this cannot be changed later on), when this isn't a thing (and as a consequence it's hard for me to register an ARM machine right now). I recommend choosing regions close enough to you (for lower ping). And if you want ARM machines, I strongly recommend choosing regions that's not Japan East (Tokyo) or South Korea Central (Seoul), since just like the text said, it is basically impossible to get an ARM machine in these 2 regions due to capacity limits. You can choose Japan Central (Osaka), Singapore (Singapore), Singapore West (Singapore) or South Korea North (Chuncheon) instead.
Onto the next section, fill out your address information. Again, use your real address for higher success rate.
And for the Payment method section, fill out your credit/debit card details and it will deduct a small amount for verification purposes. After that, it will return to you. It will not cost you anything before you decided to upgrade.
After logging in, it will probably show a banner on the top prompting you to upgrade. If you want the free tier to be permanent, do not click on upgrade. Your account is now successfully created!
Creating a Virtual Machine
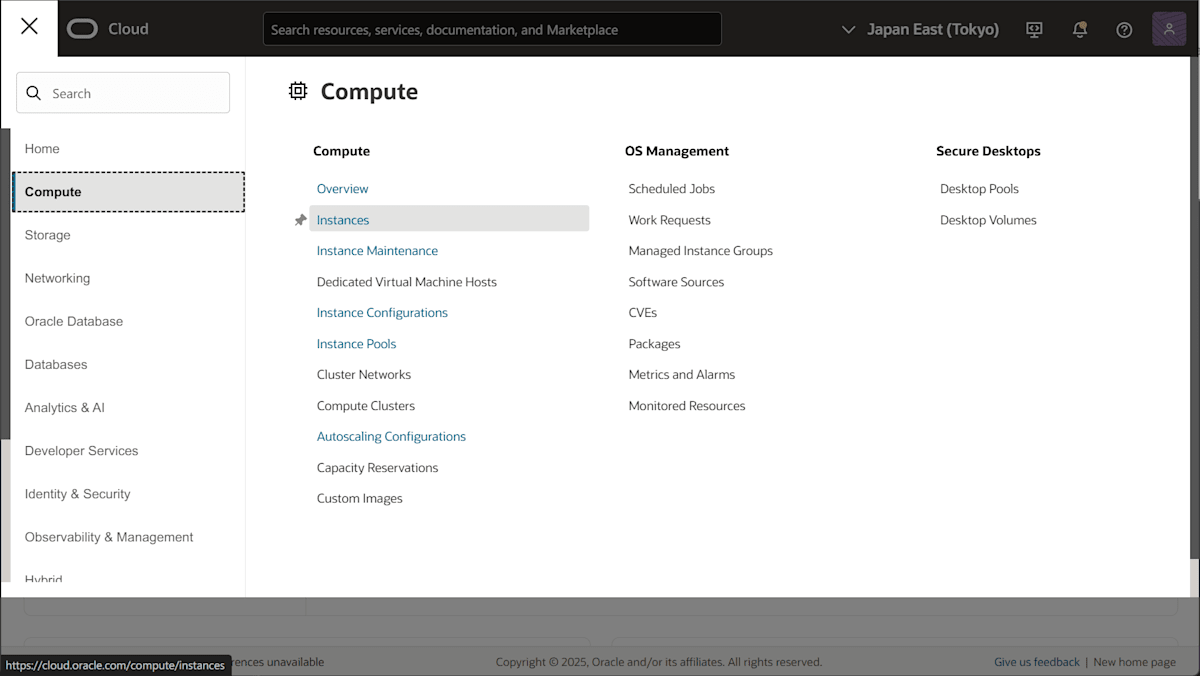
To create a machine, click on the hamburger icon on the top left, then Compute > Instances.
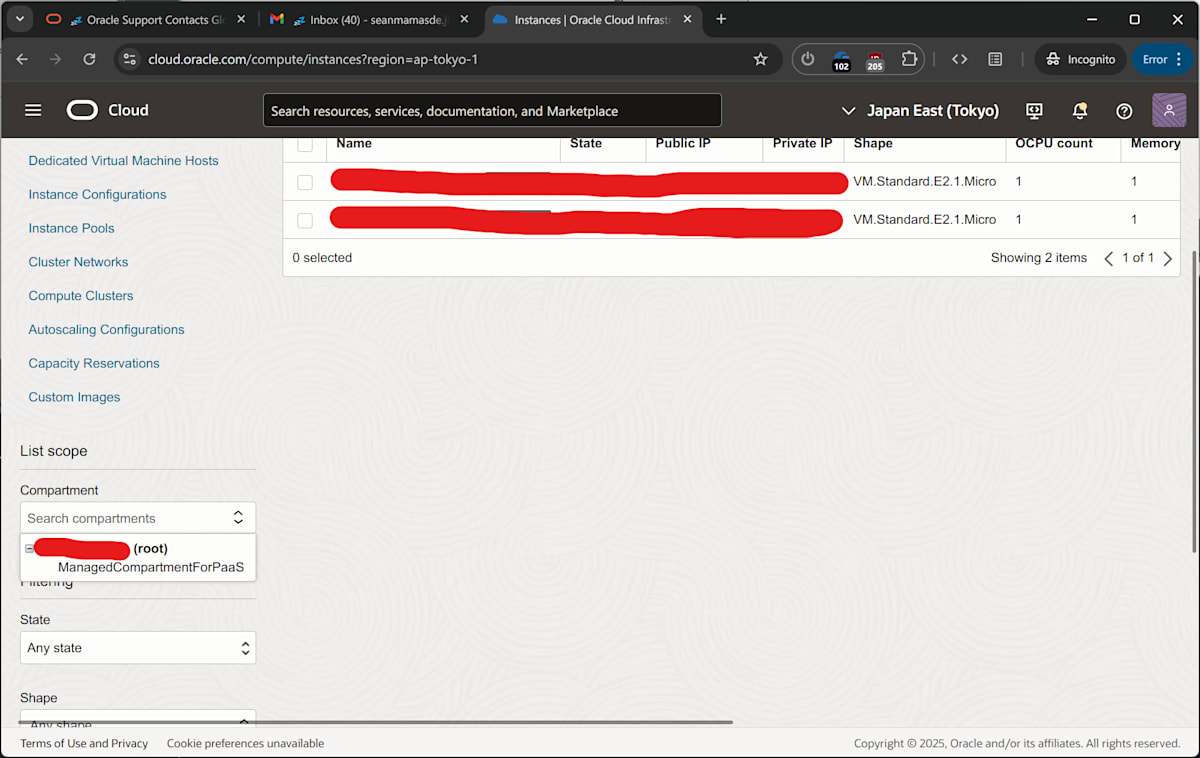
After that, you will be able to see a gray Create Instance icon, that's where we can create our VMs. If you don't see anything, try select the compartment like this
Clicking on the Create Instance icon, it will get you to this page
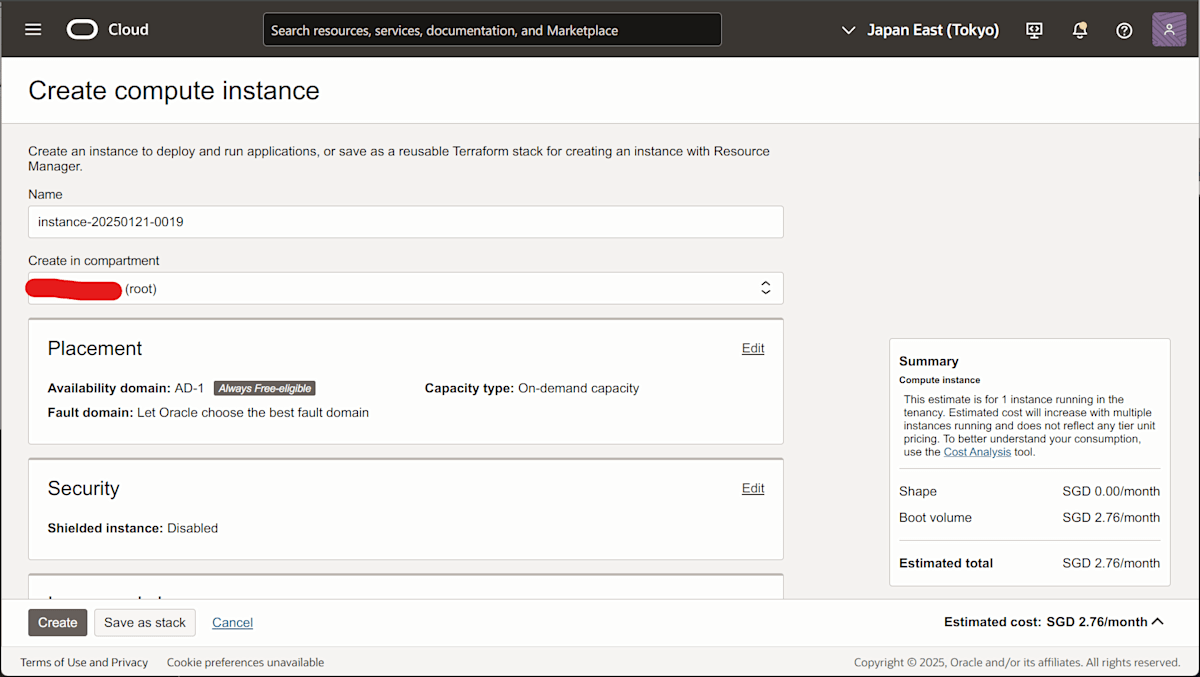
You can configure your VM in this page. If you see something like "service limit will be reached", you don't have to worry about it, as long as it shows a dark gray Always Free-eligible badge it's okay. Do remember to upload or paste in your public key for ssh access. Oracle cloud does not provide a straightforward way to regain access to your VM if you forgot to upload before creation or lost your private key.
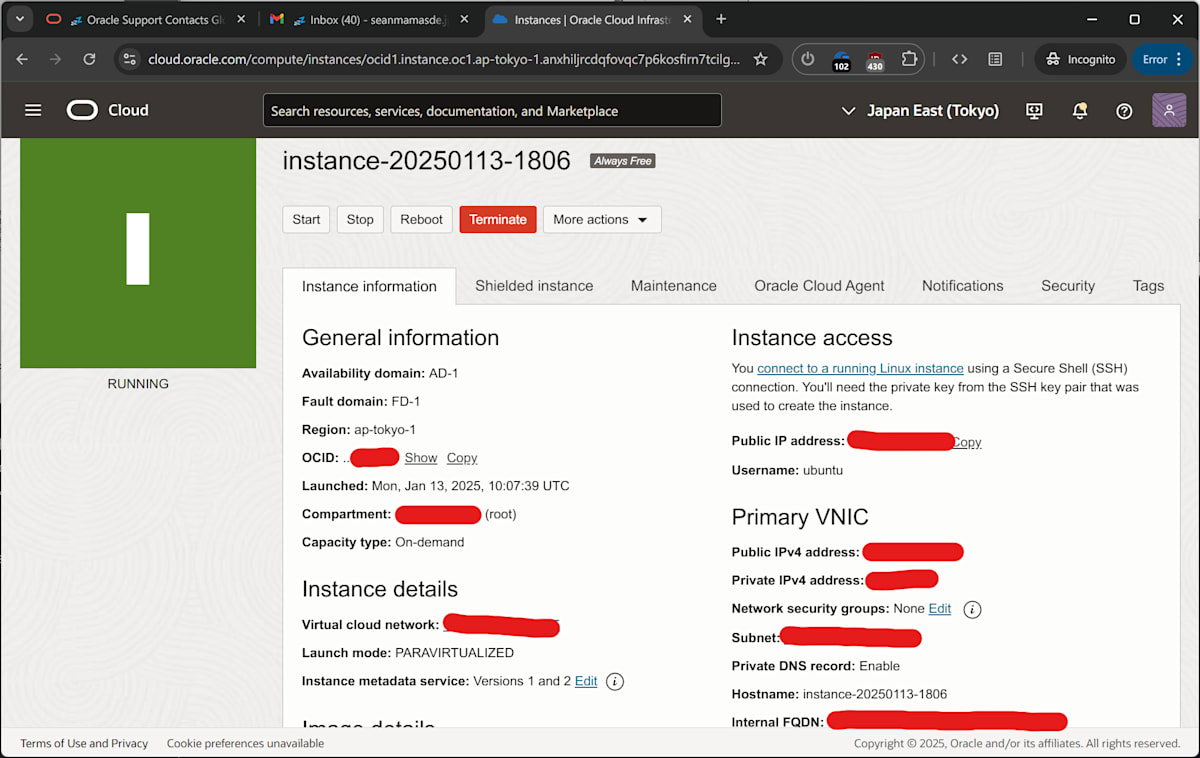
After creation, you can ssh into your VM in terminal like ssh <username>@<public IP address>. Your username and public IP address is available here (click into the VM in the list)
That's it for this article! you can now play around with your VM and don't have to worry about costs!
For the next article, I planned to write something about what I am currently doing with my free machines, and some other tips and tricks. See you in the next one!
FAQ
-
My card declined/Oracle declined my card during registration process
You will have to contact Oracle support for this. I have heard it's a painstaking process 😢. If you didn't encounter this during setup, then congratulations! -
The bottom of the page says 'Out of capacity for shape VM.Standard.A1.Flex in availability domain'
That means you have probably chosen a home region that's too loaded. An automated solution will be provided in the next article! (Come back here a few days later, after the solution article is created, I will link it here!) -
I don't have public/private key
See How to Create a Public/Private Key Pair -
I don't want to upload my public key/I don't want to use ssh/I lost my access to the virtual machine
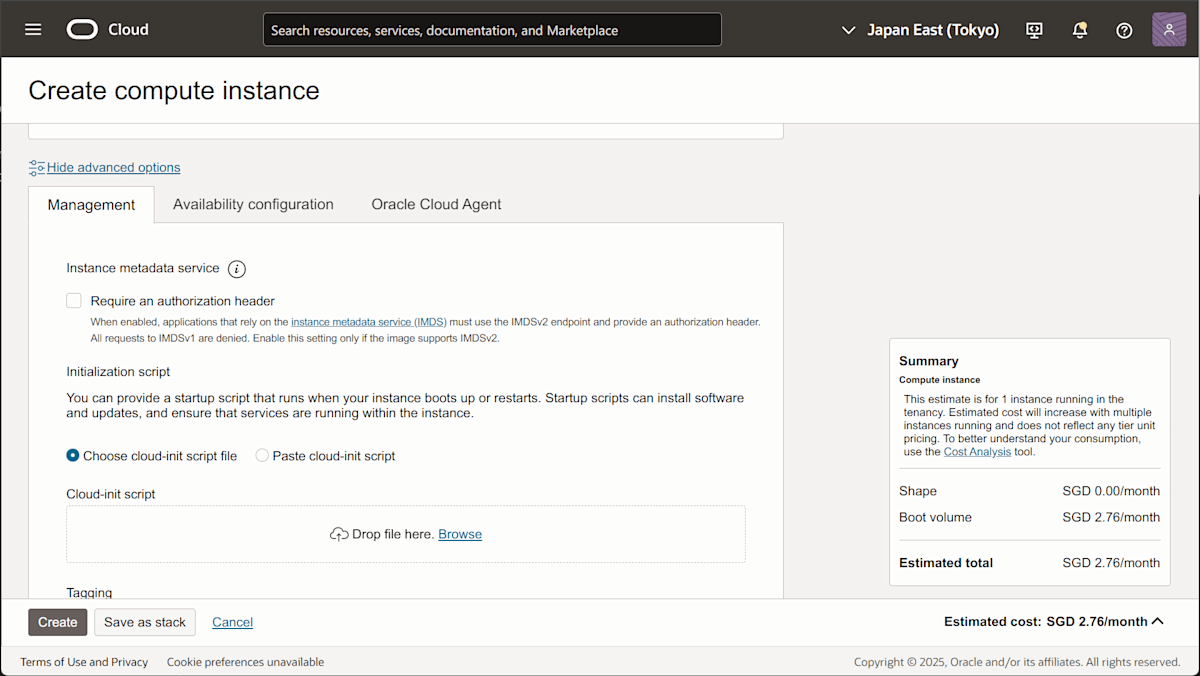
If for some reasons, you don't want to usesshor cannot usessh(probably misconfigured networking options like me 🥲), there is still one way to go, which is by using thecloud-init script.- For users that either doesn't want to upload their public key or don't want to use
ssh(although it's recommended for safer access), when you on machine creation page, click on theShow advanced optionsbutton at the bottom of the page, and you should see aInitialization scriptsection like this
SelectPaste cloud-init scriptand paste this in it
#cloud-config
users:
  - name: <your username>
    sudo: ALL=(ALL) NOPASSWD:ALL
    groups: sudo
    shell: /bin/bash
    lock_passwd: false
    passwd: <password hash>
This will create a user called
<your username>with password<password hash>. You can choose the username of your liking, and for the password hash, use the commandopenssl passwd -6to retrieve your password hash. Then you can login via username and the password!- For users that lost access to ssh,
Terminateyour machine but do NOT check thePermanently delete the attached boot volumebox
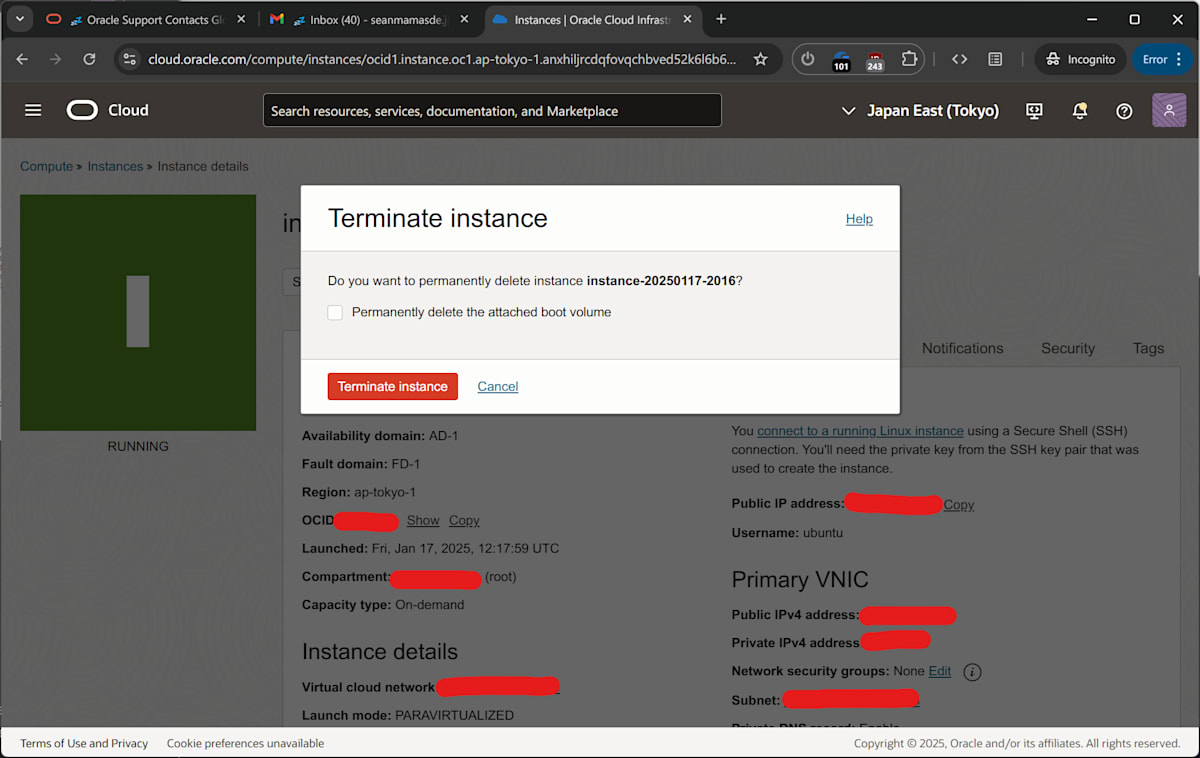
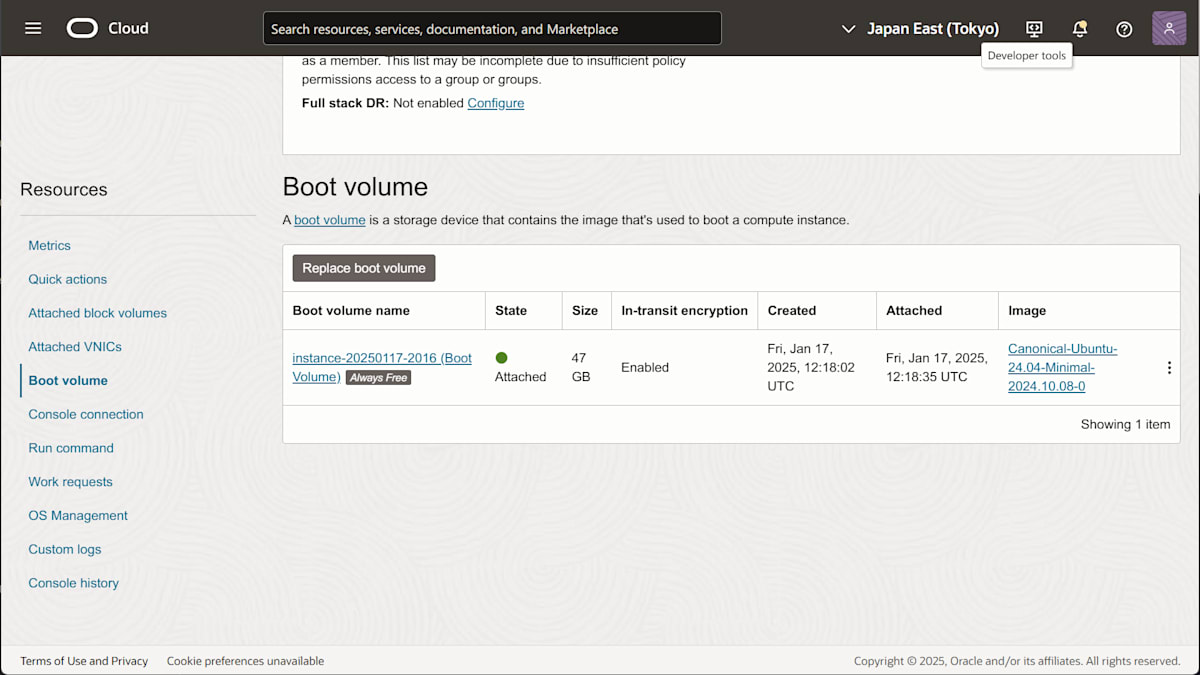
Create a new machine and paste in the cloud-init script. After the machine creation, scroll down to the bottom on the machine page, click on Boot volume > Replace boot volume, and choose your boot volume from the previous machine.
After that, Click on Console connection button right below the Boot volume one, and then Launch Cloud Shell connection. This should give you a console in the browser. After that, you can login via the username and password you specified in the cloud-init script!
- For users that either doesn't want to upload their public key or don't want to use
If you still have problems or it's not covered in this section, feel free to leave it in the comment section! I will try my best to help! Furthermore, if you have something else to add to this or suggestions to make, you can also leave a comment below!
Discussion