🛠️
Building Kubernetes cluster on AWS cloud using Terraform
0. Prerequisite
- Install Homebrew
- Install AWS CLI
1. Install Terraform with Homebrew on macOS
FYI:
% brew tap hashicorp/tap
% brew tap | grep hashicorp
hashicorp/tap
%
% brew install hashicorp/tap/terraform

Warning: hashicorp/tap/terraform 1.2.9 is already installed and up-to-date.
To reinstall 1.2.9, run:
  brew reinstall terraform
%
% brew list | grep terraform
terraform
%
% which terraform
/opt/homebrew/bin/terraform
%
% terraform -version
Terraform v1.2.9
on darwin_arm64
%
% brew update
Already up-to-date.
% brew upgrade hashicorp/tap/terraform
Warning: hashicorp/tap/terraform 1.2.9 already installed
%
2. Install kubectl with Homebrew on macOS
FYI:
% brew install kubectl
% which kubectl
/opt/homebrew/bin/kubectl
% kubectl version --output=yaml
clientVersion:
  buildDate: "2022-09-14T19:40:59Z"
  compiler: gc
  gitCommit: e4d4e1ab7cf1bf15273ef97303551b279f0920a9
  gitTreeState: clean
  gitVersion: v1.25.1
  goVersion: go1.19.1
  major: "1"
  minor: "25"
  platform: darwin/arm64
kustomizeVersion: v4.5.7

The connection to the server localhost:8080 was refused - did you specify the right host or port?
%
3. Building VPC resources using Terraform
- Execute the
terraform <subcommand>command in theterraformdirectory.
FYI:
% cd terraform
# The `terraform init` command performs several different initialization steps
# in order to prepare the current # working directory for use with Terraform.
%
% terraform init

Initializing modules...

Initializing the backend...

Initializing provider plugins...
- Reusing previous version of hashicorp/aws from the dependency lock file
- Using previously-installed hashicorp/aws v4.31.0

Terraform has been successfully initialized!

You may now begin working with Terraform. Try running "terraform plan" to see
any changes that are required for your infrastructure. All Terraform commands
should now work.

If you ever set or change modules or backend configuration for Terraform,
rerun this command to reinitialize your working directory. If you forget, other
commands will detect it and remind you to do so if necessary.
%
% ls -a
.                       .gitignore              .terraform.lock.hcl     modules
..                      .terraform              main.tf
%
# The `terraform plan` command creates an execution plan,
# which lets you preview the changes that Terraform plans to make to your infrastructure.
% terraform plan -json | jq -r '.' > terraform-plan-output.json
%
% ls | grep terraform-plan-output.json
terraform-plan-output.json
%
# The terraform apply command executes the actions proposed in a Terraform plan.
% terraform apply

Terraform used the selected providers to generate the following execution plan. Resource actions are indicated with the following symbols:
  + create

Terraform will perform the following actions:
...
...
Plan: 16 to add, 0 to change, 0 to destroy.

Do you want to perform these actions?
  Terraform will perform the actions described above.
  Only 'yes' will be accepted to approve.

  Enter a value: yes

module.k8s-vpc.module.k8s-vpc.aws_eip.nat[0]: Creating...
...
...
module.k8s-vpc.module.k8s-vpc.aws_route.private_nat_gateway[0]: Creation complete after 1s [id=r-rtb-06050378aeb063c441080289494]

Apply complete! Resources: 16 added, 0 changed, 0 destroyed.
%
Appendix: terraform validate/destroy
% terraform validate
Success! The configuration is valid.

%
% terraform destroy
...
...
Plan: 0 to add, 0 to change, 16 to destroy.

Do you really want to destroy all resources?
  Terraform will destroy all your managed infrastructure, as shown above.
  There is no undo. Only 'yes' will be accepted to confirm.

  Enter a value:

Destroy cancelled.
%
4. Building EKS resources using Terraform
- Execute the
terraform <subcommand>command in theterraformdirectory.
FYI:
% cd terraform
# The `terraform init` command performs several different initialization steps
# in order to prepare the current # working directory for use with Terraform.
%
% terraform init -upgrade
Upgrading modules...
...
...
Initializing the backend...
...
...

Initializing provider plugins...
...
...

Terraform has been successfully initialized!

You may now begin working with Terraform. Try running "terraform plan" to see
any changes that are required for your infrastructure. All Terraform commands
should now work.

If you ever set or change modules or backend configuration for Terraform,
rerun this command to reinitialize your working directory. If you forget, other
commands will detect it and remind you to do so if necessary.
%
%
% terraform plan -json | jq -r '.' > terraform-plan-output.json
% terraform apply
...
...
Apply complete! Resources: 47 added, 0 changed, 0 destroyed.
%
5. Confirmation of Kubernetes operation
FYI:
% aws eks --region ap-northeast-1 update-kubeconfig --name sample-cluster
% kubectl get namespaces
NAME              STATUS   AGE
default           Active   18m
kube-node-lease   Active   18m
kube-public       Active   18m
kube-system       Active   18m
%
6. Install ArgoCD
FYI:
% brew install argocd
% which argocd
/opt/homebrew/bin/argocd
% kubectl create namespace argocd
namespace/argocd created
% kubectl get namespaces
NAME              STATUS   AGE
argocd            Active   4s
default           Active   7m56s
kube-node-lease   Active   7m59s
kube-public       Active   7m59s
kube-system       Active   7m59s
%
% kubectl apply -n argocd -f https://raw.githubusercontent.com/argoproj/argo-cd/stable/manifests/install.yaml
...
...
% kubectl get pods -n argocd
NAME                                               READY   STATUS    RESTARTS   AGE
argocd-application-controller-0                    1/1     Running   0          61s
argocd-applicationset-controller-bf6bf659d-vbfzj   1/1     Running   0          61s
argocd-dex-server-787dcc5fd7-lfx28                 1/1     Running   0          61s
argocd-notifications-controller-78cffff85c-mvmvg   1/1     Running   0          61s
argocd-redis-65596bf87-pc58z                       1/1     Running   0          61s
argocd-repo-server-5444cd8878-9j5fm                1/1     Running   0          61s
argocd-server-6b567b5949-7wr2j                     1/1     Running   0          61s
% kubectl get services -n argocd
NAME                                      TYPE        CLUSTER-IP       EXTERNAL-IP   PORT(S)                      AGE
argocd-applicationset-controller          ClusterIP   172.20.66.62     <none>        7000/TCP,8080/TCP            68s
argocd-dex-server                         ClusterIP   172.20.94.34     <none>        5556/TCP,5557/TCP,5558/TCP   68s
argocd-metrics                            ClusterIP   172.20.218.86    <none>        8082/TCP                     68s
argocd-notifications-controller-metrics   ClusterIP   172.20.175.21    <none>        9001/TCP                     68s
argocd-redis                              ClusterIP   172.20.152.222   <none>        6379/TCP                     68s
argocd-repo-server                        ClusterIP   172.20.129.147   <none>        8081/TCP,8084/TCP            68s
argocd-server                             ClusterIP   172.20.9.254     <none>        80/TCP,443/TCP               68s
argocd-server-metrics                     ClusterIP   172.20.191.237   <none>        8083/TCP                     68s
%
% kubectl patch svc argocd-server -n argocd -p '{"spec": {"type": "LoadBalancer"}}'
service/argocd-server patched
%
% export ARGOCD_SERVER=`kubectl get svc argocd-server -n argocd -o json | jq --raw-output '.status.loadBalancer.ingress[0].hostname'`
% export ARGO_PWD=`kubectl -n argocd get secret argocd-initial-admin-secret -o jsonpath="{.data.password}" | base64 -d`
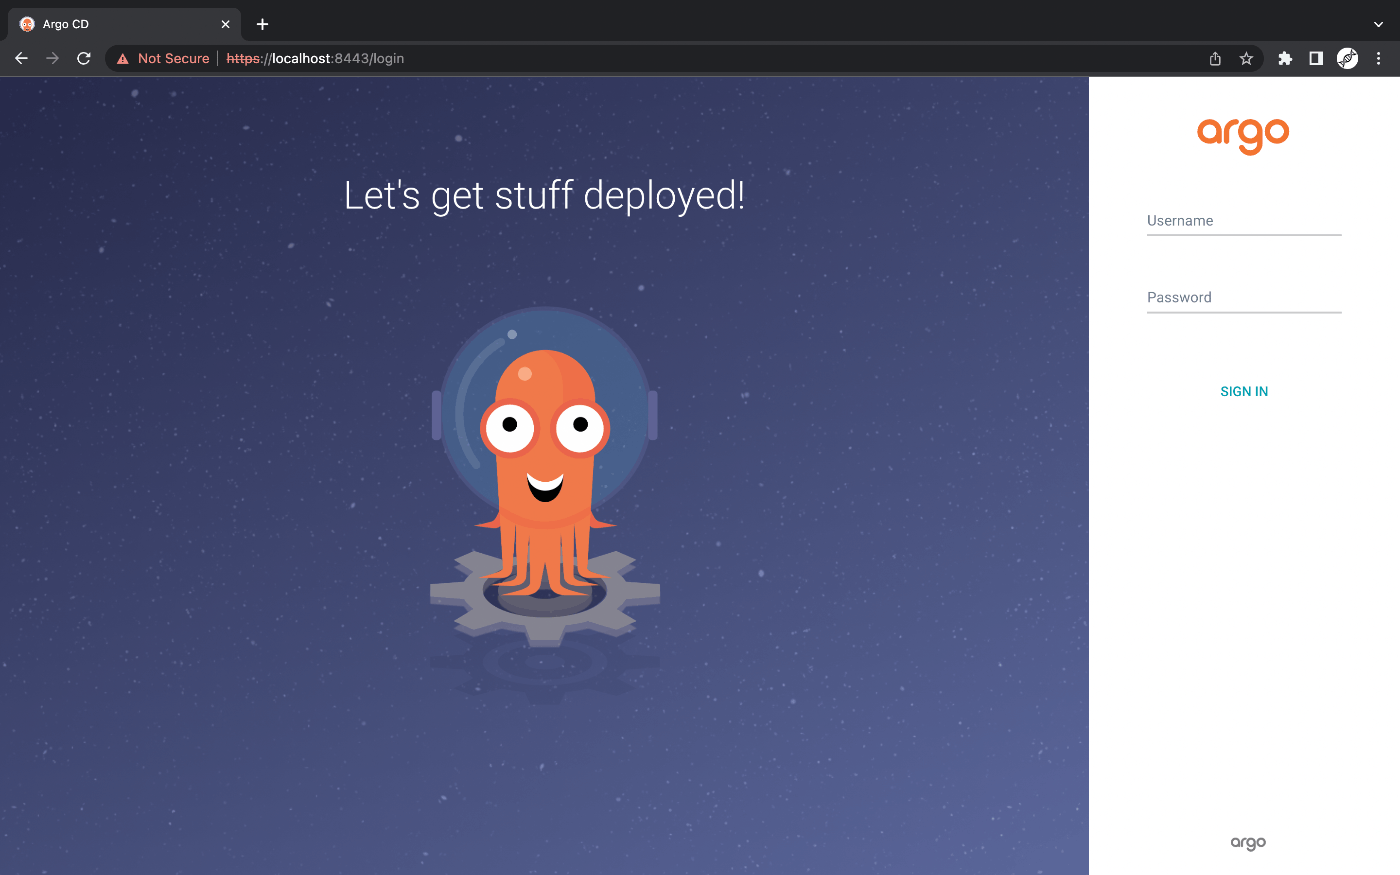
% argocd login $ARGOCD_SERVER --username admin --password $ARGO_PWD --insecure
'admin:login' logged in successfully
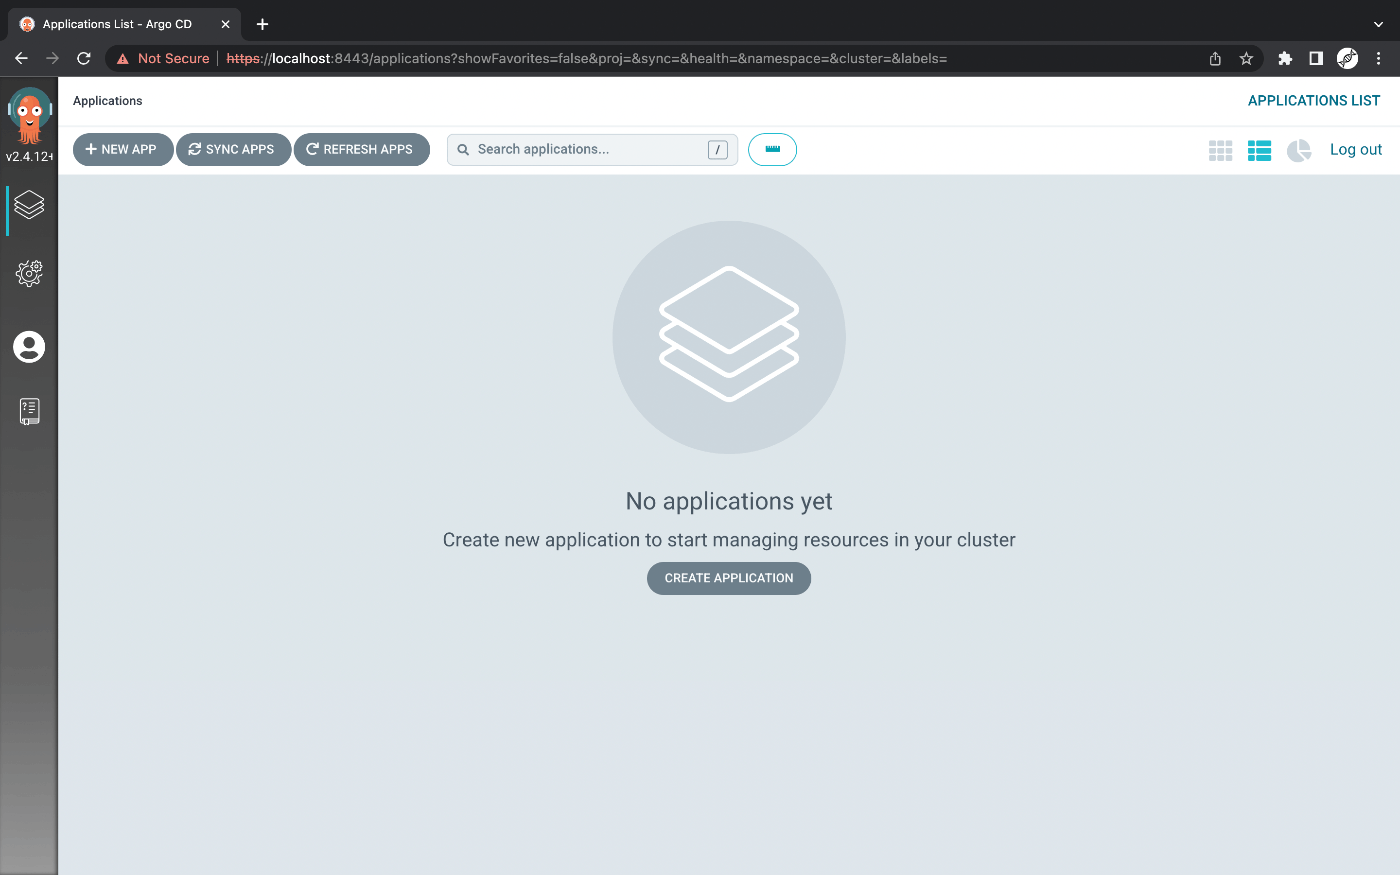
% argocd app list
NAME  CLUSTER  NAMESPACE  PROJECT  STATUS  HEALTH  SYNCPOLICY  CONDITIONS  REPO  PATH  TARGET
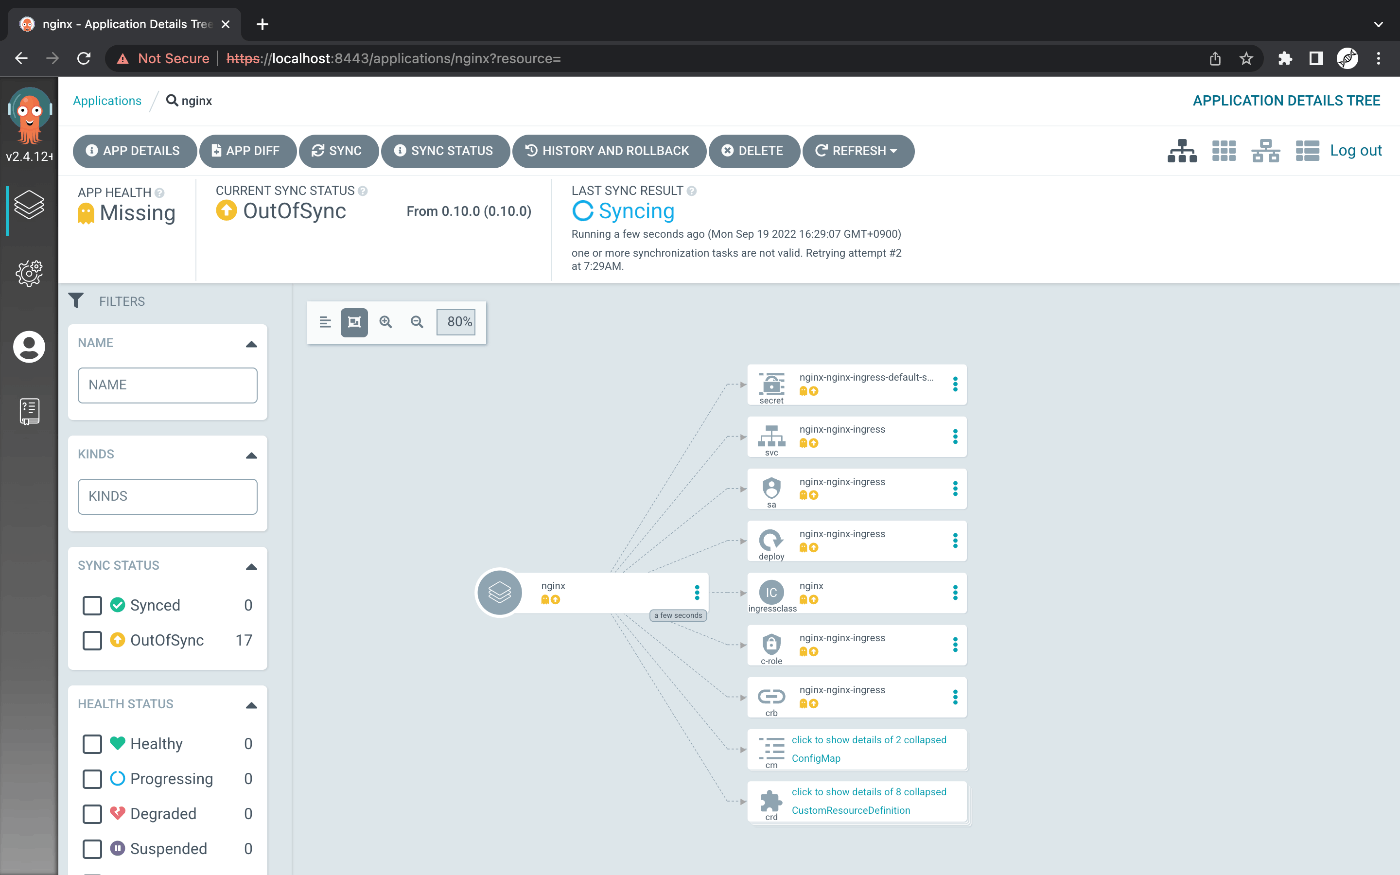
% kubectl apply -f manifest/nginx-ingress-controller.yaml
application.argoproj.io/nginx created
%
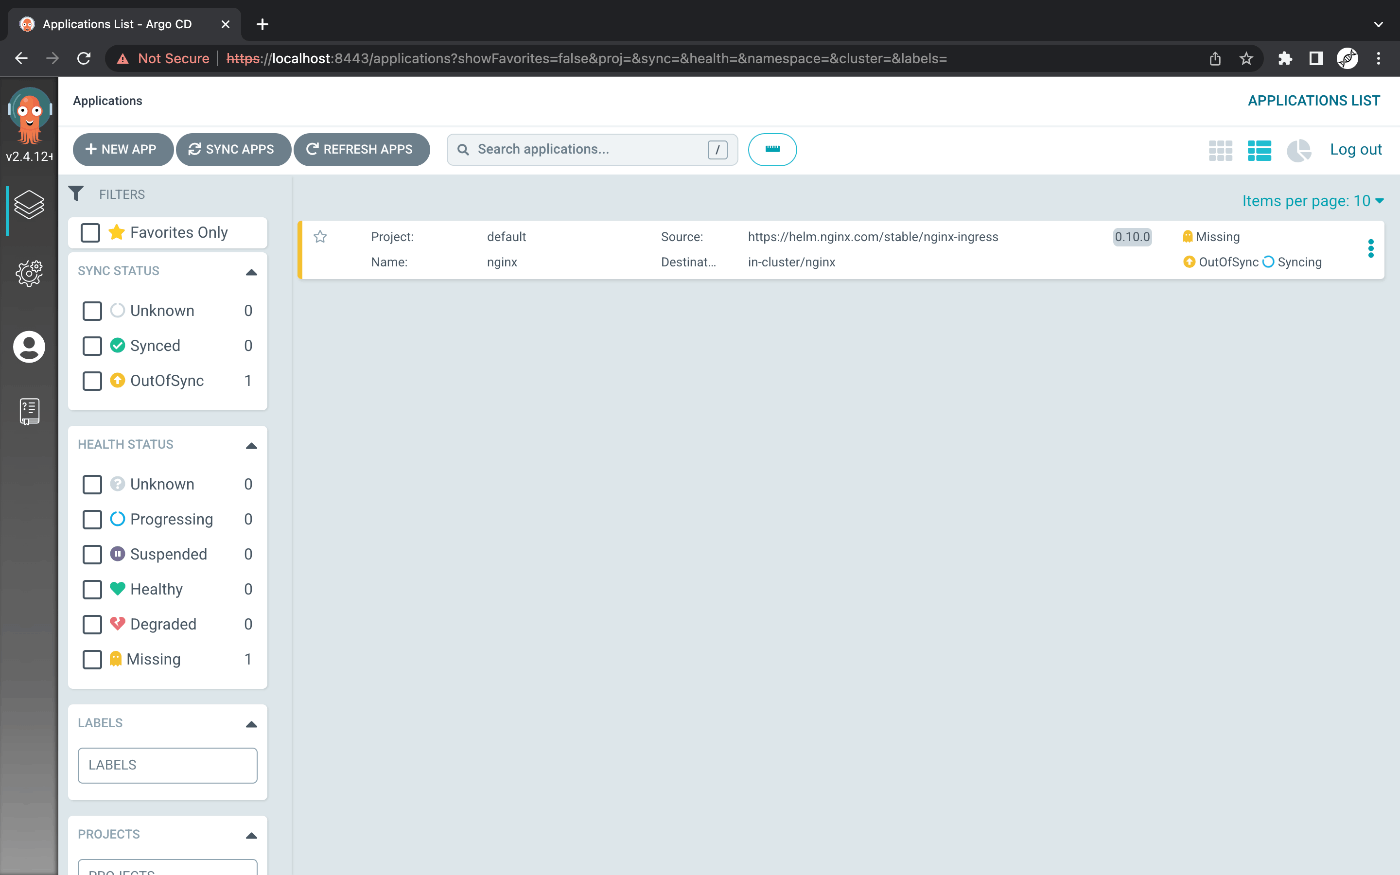
% argocd app list
NAME   CLUSTER                         NAMESPACE  PROJECT  STATUS     HEALTH   SYNCPOLICY  CONDITIONS  REPO                           PATH  TARGET
nginx  https://kubernetes.default.svc  nginx      default  OutOfSync  Missing  Auto-Prune  <none>      https://helm.nginx.com/stable        0.10.0
%
ArgoCD Console


Repository
Discussion