😎
visionOS Tips: Boxの6面に異なるテクスチャを貼る
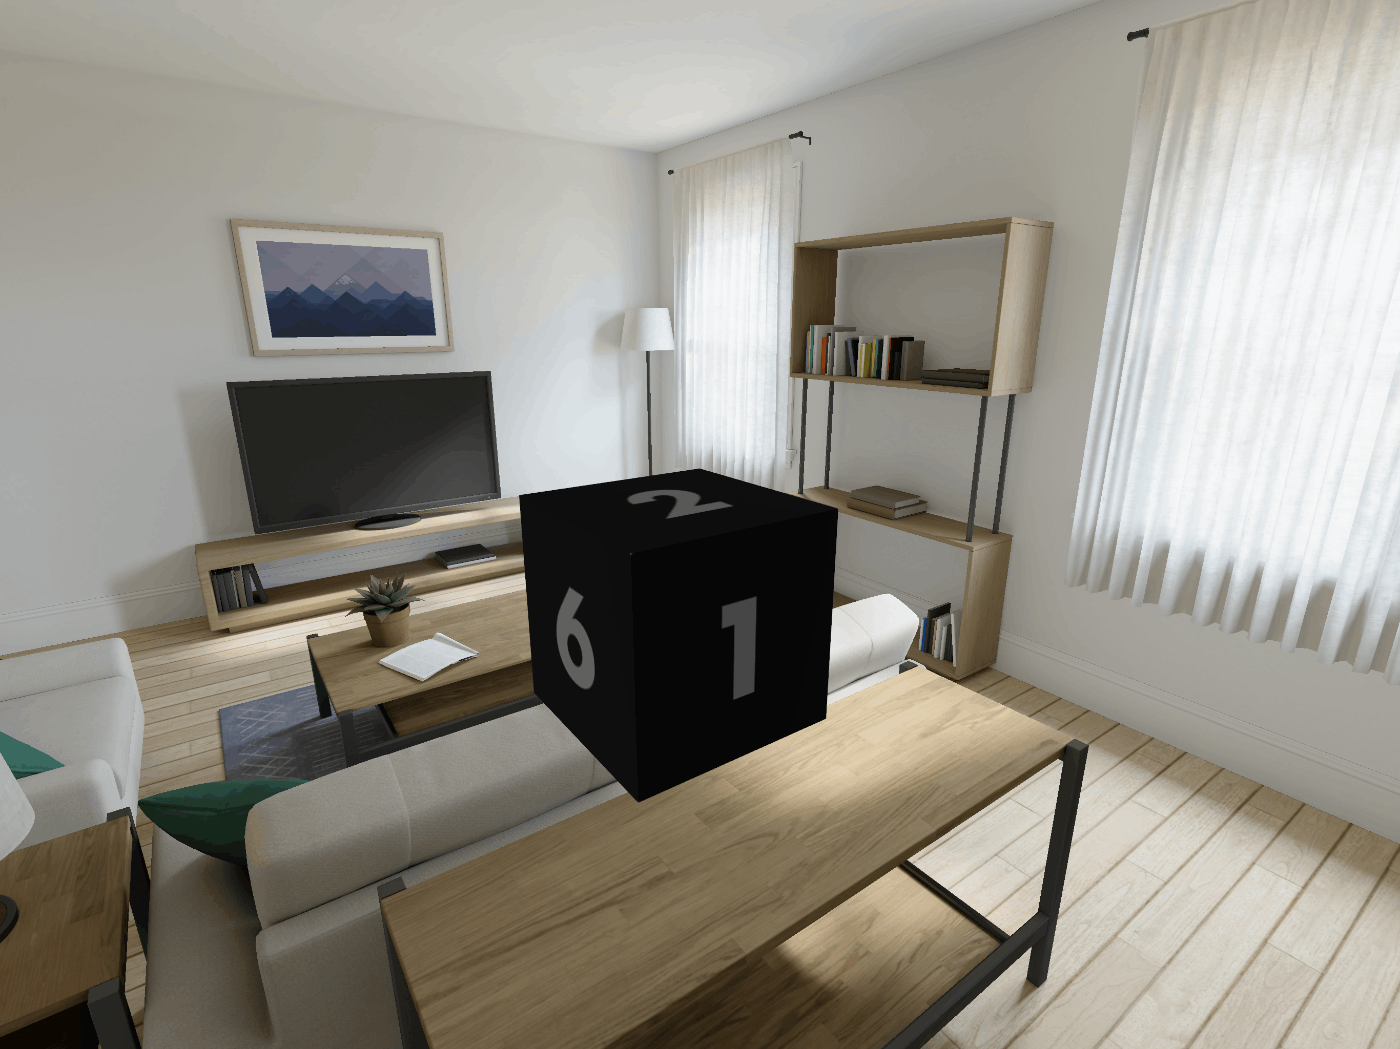
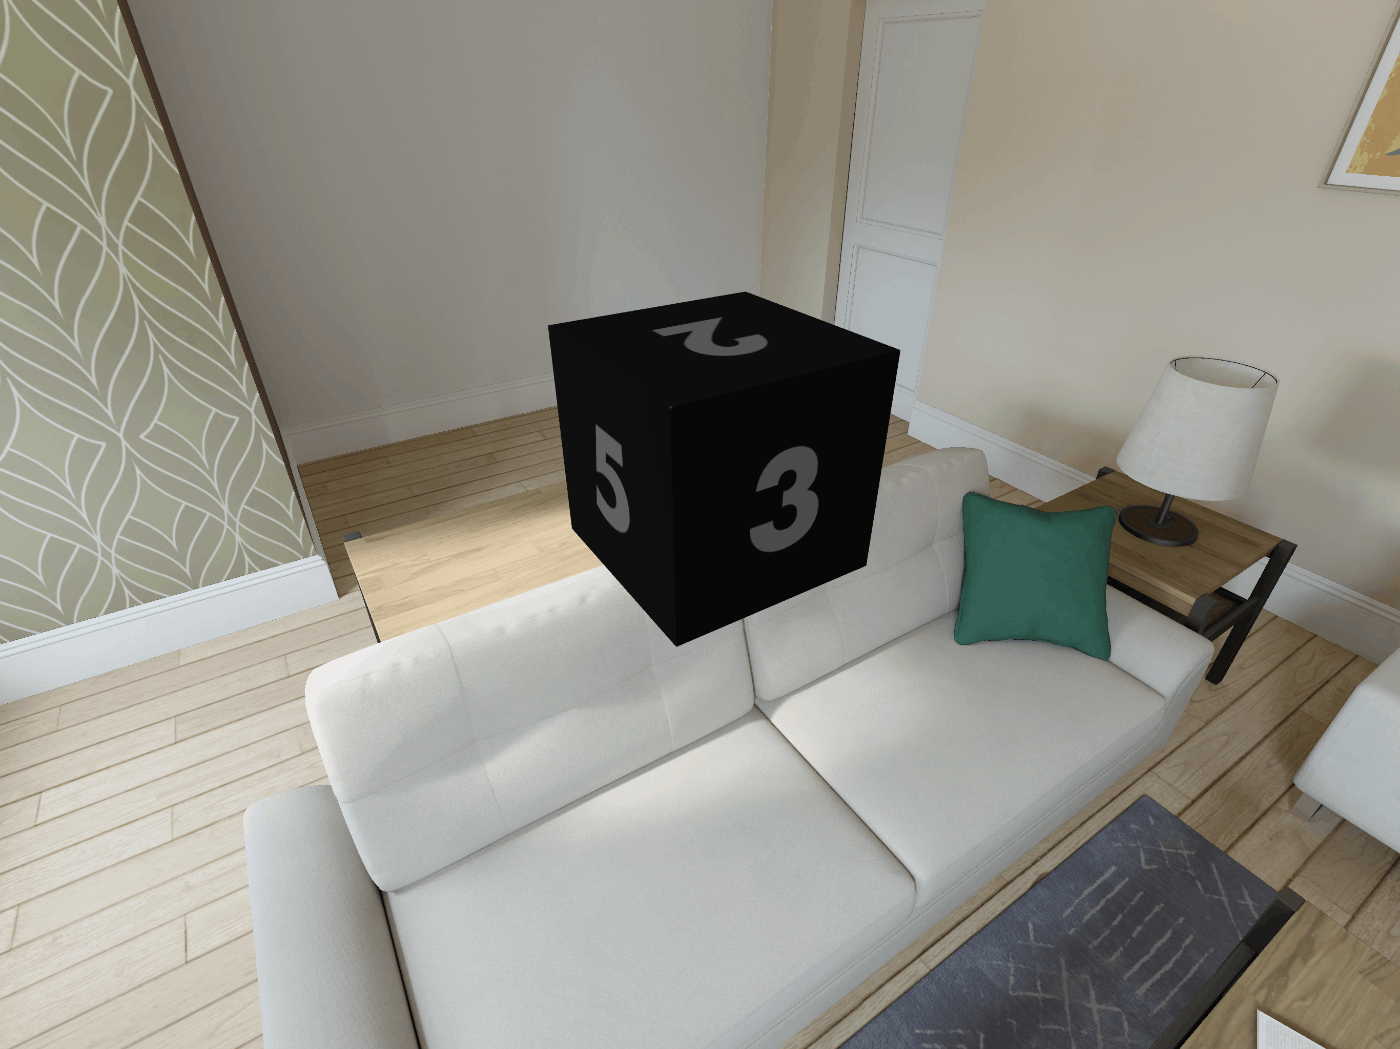
RealityKitのBoxの6面にそれぞれ異なるテクスチャを貼る方法です。

実装
    func addCube() {
        guard
            let texture1 = try? TextureResource.load(named: "Number_1"),
            let texture2 = try? TextureResource.load(named: "Number_2"),
            let texture3 = try? TextureResource.load(named: "Number_3"),
            let texture4 = try? TextureResource.load(named: "Number_4"),
            let texture5 = try? TextureResource.load(named: "Number_5"),
            let texture6 = try? TextureResource.load(named: "Number_6")
        else {
            fatalError("Unable to load texture.")
        }

        let entity = Entity()

        var material1 = SimpleMaterial()
        var material2 = SimpleMaterial()
        var material3 = SimpleMaterial()
        var material4 = SimpleMaterial()
        var material5 = SimpleMaterial()
        var material6 = SimpleMaterial()

        material1.color = .init(texture: .init(texture1))
        material2.color = .init(texture: .init(texture2))
        material3.color = .init(texture: .init(texture3))
        material4.color = .init(texture: .init(texture4))
        material5.color = .init(texture: .init(texture5))
        material6.color = .init(texture: .init(texture6))

        entity.components.set(ModelComponent(
            mesh: .generateBox(width: 0.5, height: 0.5, depth: 0.5, splitFaces: true),
            materials: [material1, material2, material3, material4, material5, material6])
        )

        entity.position = SIMD3(x: 0, y: 1, z: -2)

        contentEntity.addChild(entity)
    }
解説
splitFacesでtrueを指定することでそれぞれ別個のmaterialを設定できるようになります。
指定しない場合、先頭のmaterialが全面に適用されました。
逆方向:

Discussion