🔥
【TypeScript】テーブルへ行を動的に追加・削除
はじめに
TypeScriptの勉強がてらにテーブル行をを動的に追加・削除する処理を作ってみました!
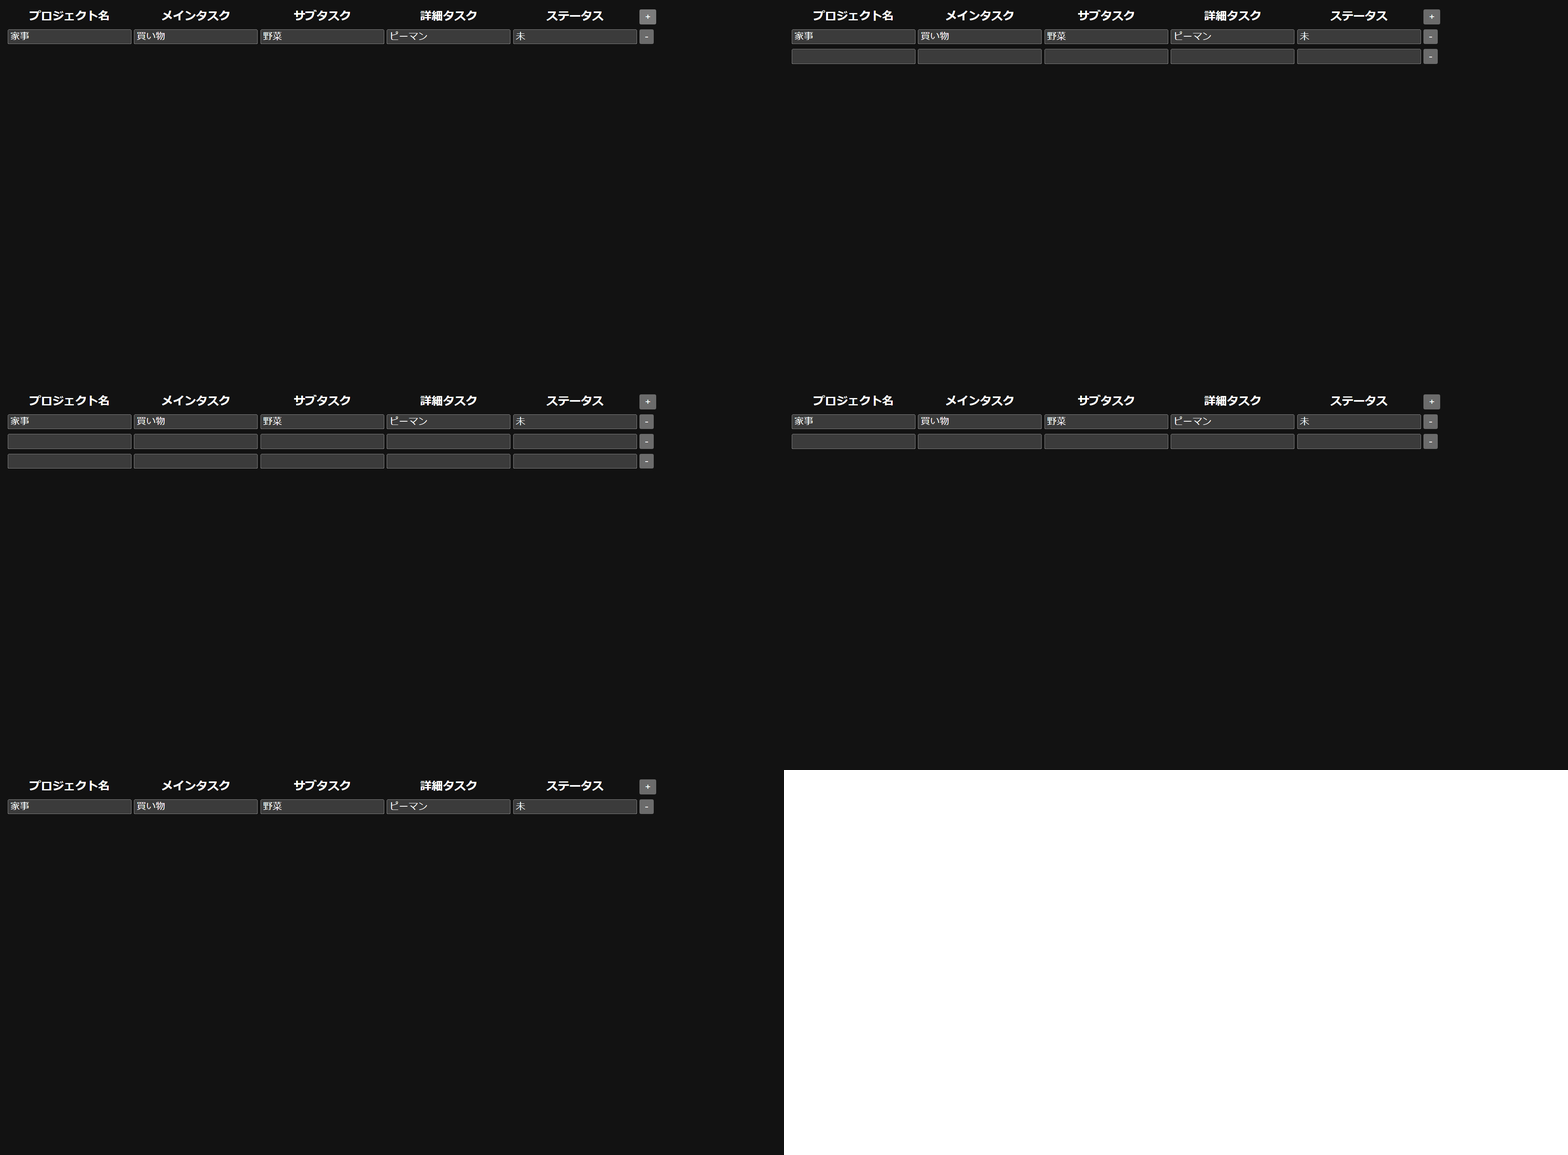
完成系はこんな感じになります!
では、やっていきます💁

HTML
こちらのテーブルに追加・削除の処理を作っていきます。
追加・削除の処理はボタンをクリックすると動くようにします。
<!DOCTYPE html>
<html lang="en">
<head>
    <meta charset="UTF-8">
    <meta name="viewport" content="width=device-width, initial-scale=1.0">
    <title>タスクリスト</title>
    @vite(['resources/ts/taskListDisplay/defaultDisplay.ts'])
</head>
<body>
<table id="taskListTable">
  <thead>
    <tr>
      <th>プロジェクト名</th>
      <th>メインタスク</th>
      <th>サブタスク</th>
      <th>詳細タスク</th>
      <th>ステータス</th>
      <th><button type="button" id="addRowButton">+</button></th>
    </tr>
  </thead>
  <tbody id="tbodySection">
    <tr id="1">
      <td><input type="text" value="家事"name="PROJECT_NM" ></td>
      <td><input type="text" value="買い物" name="TASK_NM"></td>
      <td><input type="text" value="野菜" name="SUB_TASK_NM"></td>
      <td><input type="text" value="ピーマン" name="DETAIL_TASK_NM"></td>
      <td><input type="text" value="未" name="STATUS"></td>
      <td><button type="button" class="deleteRowButton">-</button></td>
    </tr>
  </tbody>
</table>
</body>
</html>
初期処理
まずDOMを読み込んだ後、追加・削除にクリックイベントを与えていきます!
document.addEventListener('DOMContentLoaded', (event: Event) => {
    //

    //行追加ボタンにクリックイベント付与
    const addRowButton = document.getElementById('addRowButton');
    addRowButton?.addEventListener('click', addTaskListRow);

    //行削除ボタンにクリックイベント付与
    const deleteRowButtons = Array.from(document.querySelectorAll('.deleteRowButton'));
    deleteRowButtons.forEach(deleteRowButton => deleteRowButton.addEventListener('click', () => deleteTaskListRow(deleteRowButton)));
});
行追加処理
「tr → td → tdの中身」という順序で行追加処理を作っていきます。
//タスクリストの行のinputタグのname属性の型
type rowInputNamePropertyObj = {
    projectNm: string;
    taskNm: string;
    subtaskNm: string;
    detailNm: string;
    status: string;
};

//行追加処理
const addTaskListRow = function () {
    //tr追加
    const taskListTable: HTMLTableElement = document.getElementById('taskListTable') as HTMLTableElement;
    let rowNumber = getCurrentAllRowNumber() + 1;
    const addNewTrElement = taskListTable?.insertRow();
    addNewTrElement.setAttribute('id', `${rowNumber}`);

    //tdとその中身(input)を追加
    const tableRowNameProperty: rowInputNamePropertyObj = {
        projectNm: 'PROJECT_NM',
        taskNm: 'TASK_NM',
        subtaskNm: 'SUB_TASK_NM',
        detailNm: 'DETAIL_TASK_NM',
        status: 'STATUS',
    };

    for (const nameProperty in tableRowNameProperty) {
        const addNewTdElement: HTMLTableCellElement = addNewTrElement.insertCell();
        const addNewTdIntoInput = addNewTdElement.appendChild(createInputElementTypeText());
        addNewTdIntoInput.setAttribute('name', tableRowNameProperty[nameProperty]);
    }
    //tdとその中身(button)を追加
    const addNewTdElement = addNewTrElement.insertCell();
    const addNewButtonElement = addNewTdElement.appendChild(createButtonElementTypeButton());
    addNewButtonElement.className = 'deleteRowButton';
    addNewButtonElement.textContent = '-';
    addNewButtonElement.addEventListener('click', () => deleteTaskListRow(addNewButtonElement));
};
行削除処理
削除ボタンを押した要素から一番近いtrを探し、削除する流れになります。
remove()は指定した要素に加え、その子要素も削除します。
const deleteTaskListRow = function (deleteRowButton: Element) {
    deleteRowButton.closest('tr')?.remove();
};
td内の要素を作成
今回、<input type="text">と<button type="button">をtd内の要素として使用しているので、それらを作る処理になります。
//<input type="text">の生成
const createInputElementTypeText = function (): HTMLInputElement {
    const inputElement = document.createElement('input');
    inputElement.type = 'text';
    return inputElement;
};

//<button type="button">の生成
const createButtonElementTypeButton = function (): HTMLButtonElement {
    const buttonElement = document.createElement('button');
    buttonElement.type = 'button';
    return buttonElement;
};
現在の行数の取得
tr要素のidに行数を与えているので、追加ボタンを押した際にidを動的に付与するために作成しています。
const getCurrentAllRowNumber = function (): number {
    const tbody = document.getElementById('tbodySection') as HTMLTableElement;
    return tbody.rows.length;
};
以上です!
ありがとうございました!🙌
Discussion