【Flutter】Serverpodをちょっとだけ触ってみた
はじめに
ご覧いただきありがとうございます。ganです。
今回はServerpodというパッケージが出たのでそれについて書きました。
どうやらServerpodを使えばサーバーサイドもDartで書ける?らしいので気になり少しでけ触ってみました。
まだまだ試せていない部分も多いのでコメント等していただけると嬉しいです。
この記事は、
の前半部分をまとめたものです。この記事ではデータベースとのやりとりなどは記述していません。ご了承ください。
後半部分位ついてもいずれは出そうと思います。
Serverpodとは?
Serverpodとは、DartとFlutterを使用したアプリとWebサーバーを構築するパッケージです。これはサーバーサイドをDartで書け、またAPIの自動生成でき、データベースとの接続を最小限の力で可能にします。このパッケージのテストはMacで行われているのでMacが推奨されていますがWindowsでも動くようです。
事前準備(インストール)
- FlutterとDart
バージョンは2.0以降です。
- Docker
PostgresとRedis(データベース)を使用するのに使います。
PostgreSQLとRedisについて以下の記事が参考になりそうです。
-
PostgreSQLとは? 初めてデータベースに触る人のための『PostgreSQL徹底入門 第4版』から紹介
https://postgresweb.com/what-is-postgresql -
Redisとはどのようなデータベース?3つの特徴や使い方についても解説
https://www.fenet.jp/infla/column/未分類/redisとはどのようなデータベース?3つの特徴や使い/
Serverpodのインストール
以下のコマンドを実行します。
$ dart pub global activate serverpod_cli
自分の場合以下のWarningが出ました。
Warning: Pub installs executables into $HOME/.pub-cache/bin, which is not on your path.
You can fix that by adding this to your shell's config file (.bashrc, .bash_profile, etc.):

  export PATH="$PATH":"$HOME/.pub-cache/bin"

Activated serverpod_cli 0.9.5.
どうやらパスが通っていないので、.bashrcや.zshrcへ次を追記します。
export PATH="$PATH":"$HOME/.pub-cache/bin"
無事うまく行きました。
うまくいくとserverpodと入力したら以下のようなHELPがでます。
わからなくなった時に使いましょう。
$ serverpod
SERVERPOD HELP

Serverpod is a utility for generating serverpod bindings, testing and deploying serverpods.

Usage: serverpod <command> [arguments]


COMMANDS

create: Creates a new Serverpod project, specify project name (must be lowercase with no special characters).

-v, --verbose     Output more detailed information
-f, --force       Create the project even if there are issues that prevents if from running out of the box
-t, --template    Template to use when creating a new project, valid options are "server" or "module"
                  [server (default), module]


generate: Generate code from yaml files for server and clients

-v, --verbose    Output more detailed information


run: Run server in development mode. Code is generated continuously and server is hot reloaded when source files are edited.

-v, --verbose    Output more detailed information


generate-certs: Generate certificates for servers specified in configuration files. Generated files are saved in the certificates directory

-c, --config     Specifies config file used to connect to serverpods
                 [development (default), staging, production]
-v, --verbose    Output more detailed information


logs: Print logs from a serverpod or a serverpod cluster

-c, --config         Specifies config file used to connect to serverpods
                     [development (default), staging, production]
-n, --num-entries    Number of log entries to print
                     (defaults to "100")


sessionlog: Print logs from a serverpod or a serverpod cluster listed by session

-c, --config         Specifies config file used to connect to serverpods
                     [development (default), staging, production]
-n, --num-entries    Number of log entries to print
                     (defaults to "100")


cacheinfo: Print info about what is stored in a server's caches

-c, --config             Specifies config file used to connect to serverpods
                         [development (default), staging, production]
-k, --[no-]fetch-keys    Fetch all keys stored in the caches of the specificed server

shutdown: Shutdown a server cluster

-v, --verbose    Output more detailed information
プロジェクトの作成
ローカルサーバーを立ち上げて起動させるために、新しいプロジェクトが必要です。なので以下のコマンドで新しいプロジェクトを作ってみましょう。mypodの部分はフォルダの名前になります。
$ serverpod create mypod
少し時間がかかりますが気長に待ちましょう。
フォルダ構成
これでmypodという名前のフォルダが作成されます。中には、mypod_server、mypod_client、mypod_flutterという3つのdartのパッケージが含まれます。
mypod_server:
This package contains your server-side code. Modify it to add new endpoints or other features your server needs.
このパッケージにはサーバーサイドのコードが入ってるよ。新しいエンドポイントやサーバーに必要な他の特徴追加したりしたりしたかったらここを編集してね。
mypod_client:
This is the code needed to communicate with the server. Typically, all code in this package is generated automatically, and you should not edit the files in this package.
サーバーとのやりとりを行うのに必要なコードが入ってるよ。このパッケージないの全てのコードは自動で生成されるから、みんなはこのパッケージを編集しなくていいよ。
mypod_flutter:
This is the Flutter app, pre-configured to connect to your local server.
ローカルサーバーに繋ぐFlutterのアプリと設定が含まれてるよ。
DockerでPostgresとRedisを起動
起動
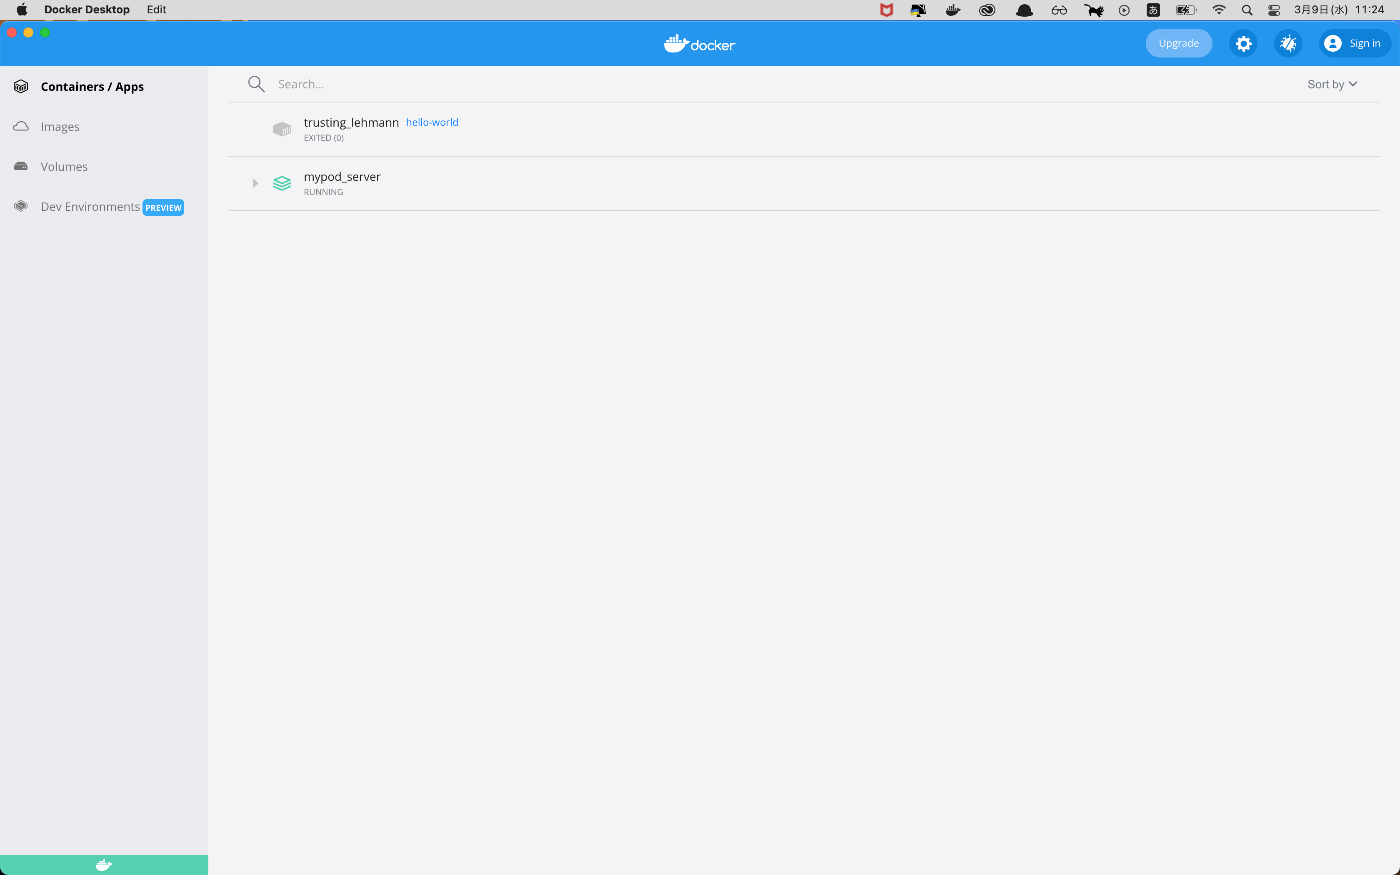
PostgrとRedisを起動させるためにmypod_serverフォルダに移動し、docker-composeを起動します。これによってdocker上でサーバーが立ち上がります。
dockerのダッシュボードを見ればちゃんと起動できていることを確認することもできます。
$ cd mypod_server
$ docker-compose up -d --build

また
$ dart bin/main.dart
とmypod_serverディレクトリで打つことでターミナル上にサーバーのログを表示させることができます。終了したい時はcontrol+Cを押してください。
停止
docker-compose stop
でdocker上のサーバーを止めることができます。
Flutterの起動
IDEはVSCodeを使用しています。
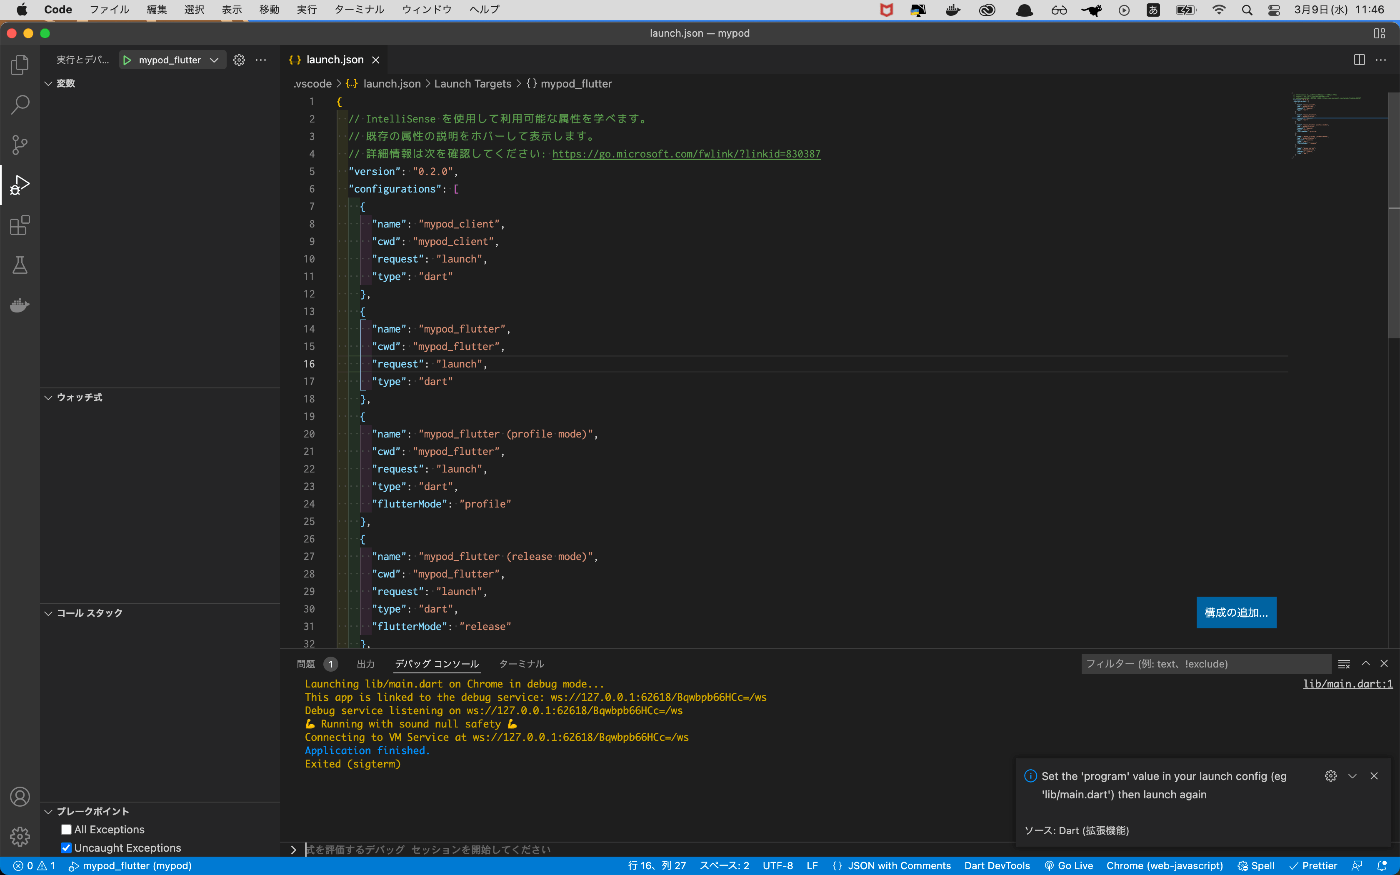
VSCodeの再度バーから実行とデバッグを選択しlaunch.jsonを作成します。そしたらmypod_flutterを選択してビルドします。

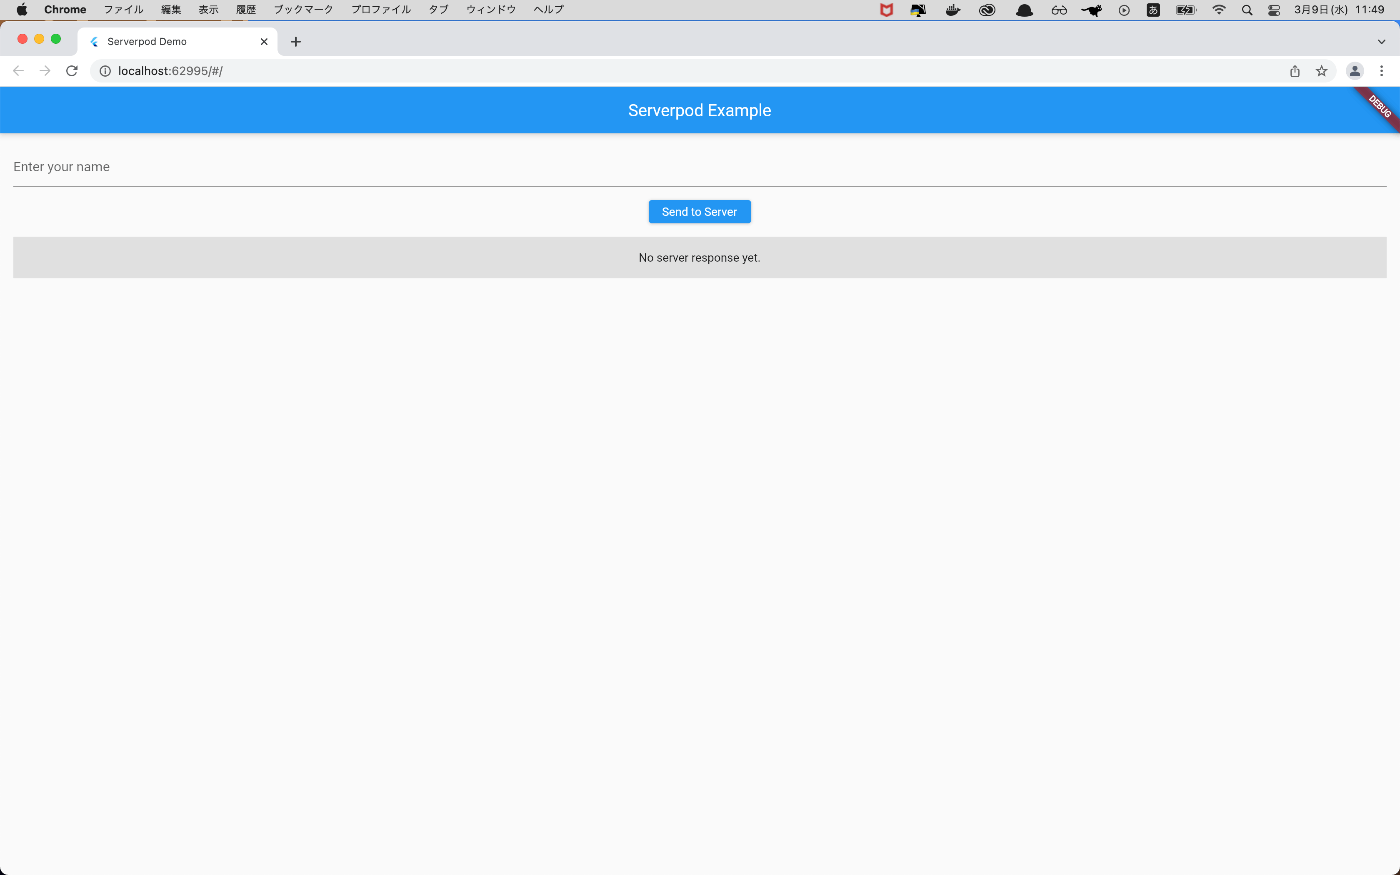
うまくいくと以下のようなページが出ます。

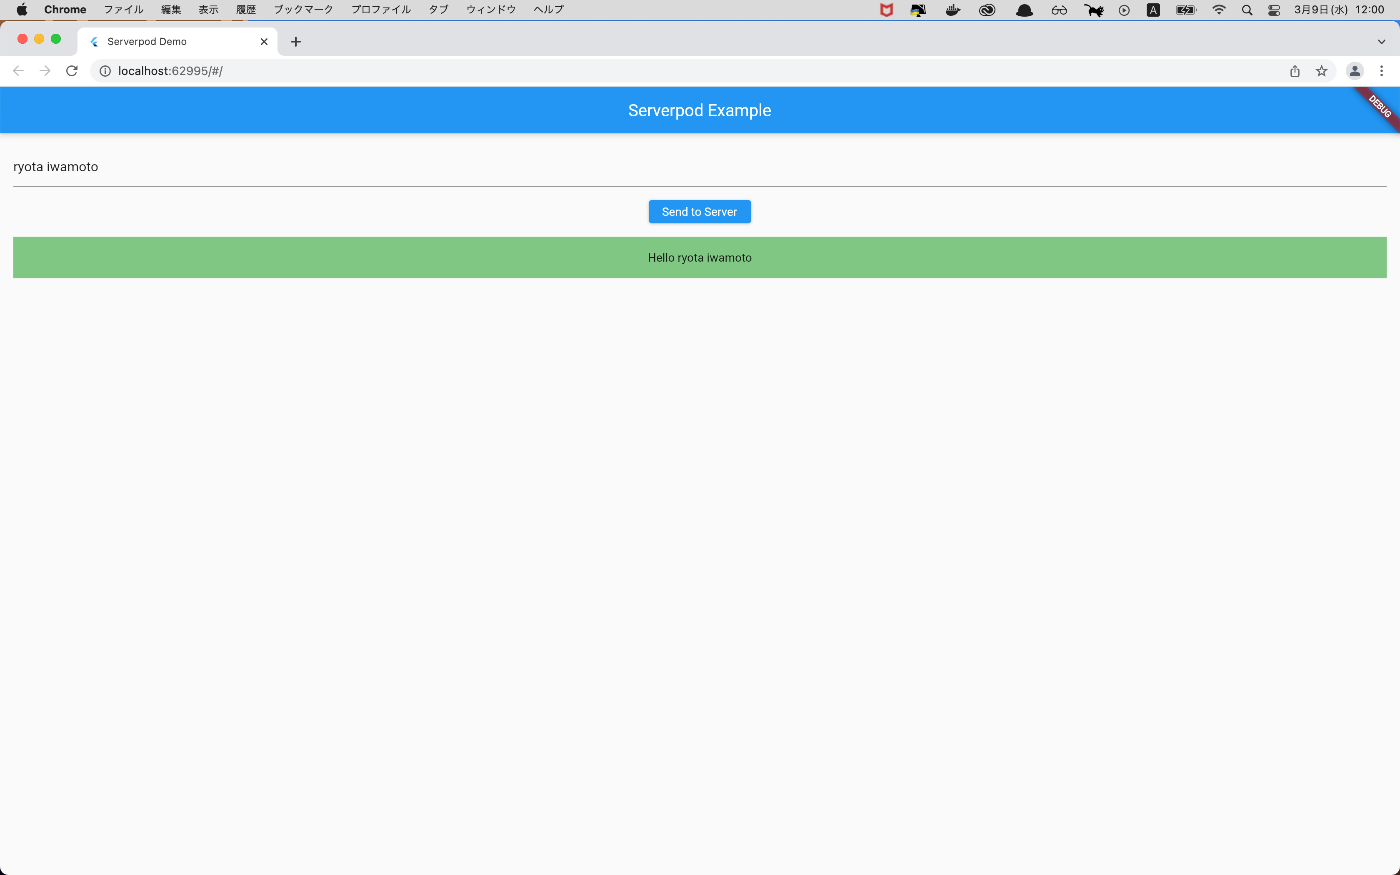
適当に名前を打ってSend to Serverを押してみましょう!すると

というように画面が変わります。
dart bin/main.dartを実行している場合、ターミナルを見てみると
METHOD CALL: example.hello duration: 5ms numQueries: 0 authenticatedUser: null
というログがちゃんと出ています!
まとめ
今回はserverpodというサーバーサイドもDart出かけるパッケージを触ってみました。データベースとのやりとりや認証についてなどもできたら記事にしていこうと思います。興味がある方は是非触ってみてください!
Discussion