Cypress + Serve で Chrome拡張機能のE2Eテストを実装する
Chrome拡張機能のE2Eテストが書いてみたので手法をまとめます。
やってみたこと
Chikamichiという閲覧履歴やタブ、ブックマークを横断検索できるChrome拡張機能を作っているのですが、その拡張機能のリファクタリングの前準備として、E2Eテストを実装してみました。
本記事ではサンプルのChrome拡張機能のPopupページを対象にCypressのE2Eテストを実装していきます。
実際のテストコードについてはChikamichiのリポジトリにあるので、そちらを参照してください。
テスト対象のChrome拡張機能の作成
Vitesse-webextというChrome拡張機能のtemplateリポジトリを使ってサンプルの拡張機能を作成します。
任意のディレクトリで以下コマンドを実行してください。
$ npx degit antfu/vitesse-webext e2e-sample-webext
$ cd e2e-sample-webext
$ pnpm i
$ pnpm dev
これでローカルサーバーが起動します。
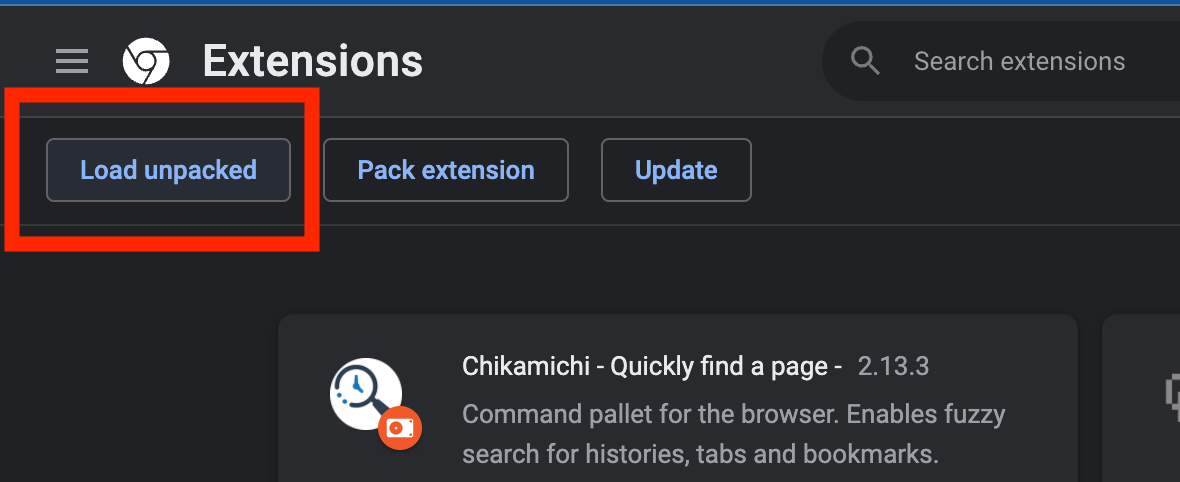
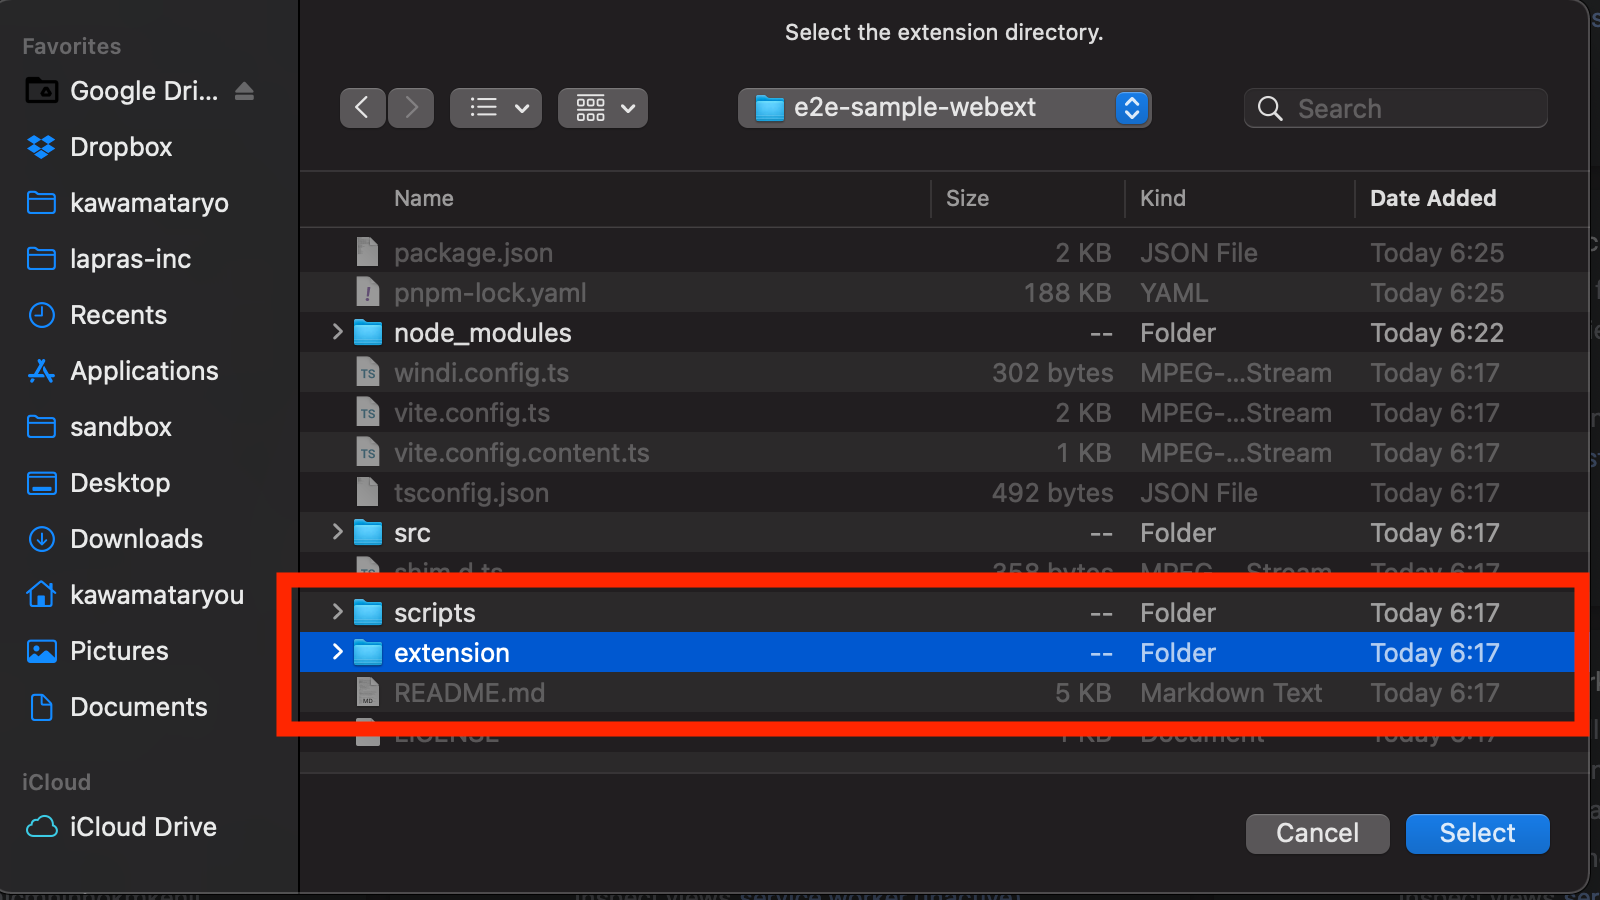
この状態で、Chromeの拡張機能の設定から、Load unpacked を選択して、e2e-sample-webext/extensionsを選択します。
Vitesse WebExtというサンプルの拡張機能がインストールされるはずです。
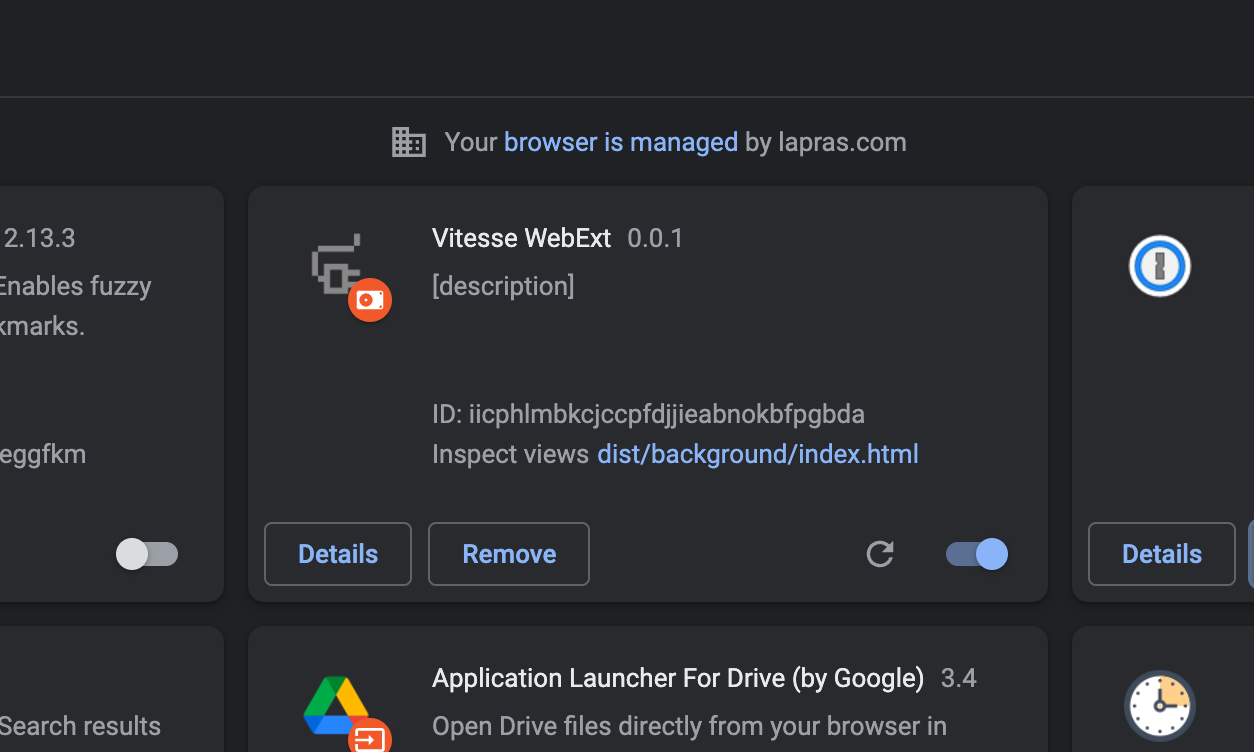
拡張機能のアイコンをクリックして、Popupページが表示されれば準備完了です。

Cypressのセットアップ
続いてE2EテストフレームワークのCypressのセットアップを行います。
まずパッケージを追加します。
$ pnpm i -D cypress
続いて以下コマンドでCypressのダッシュボードを起動します。
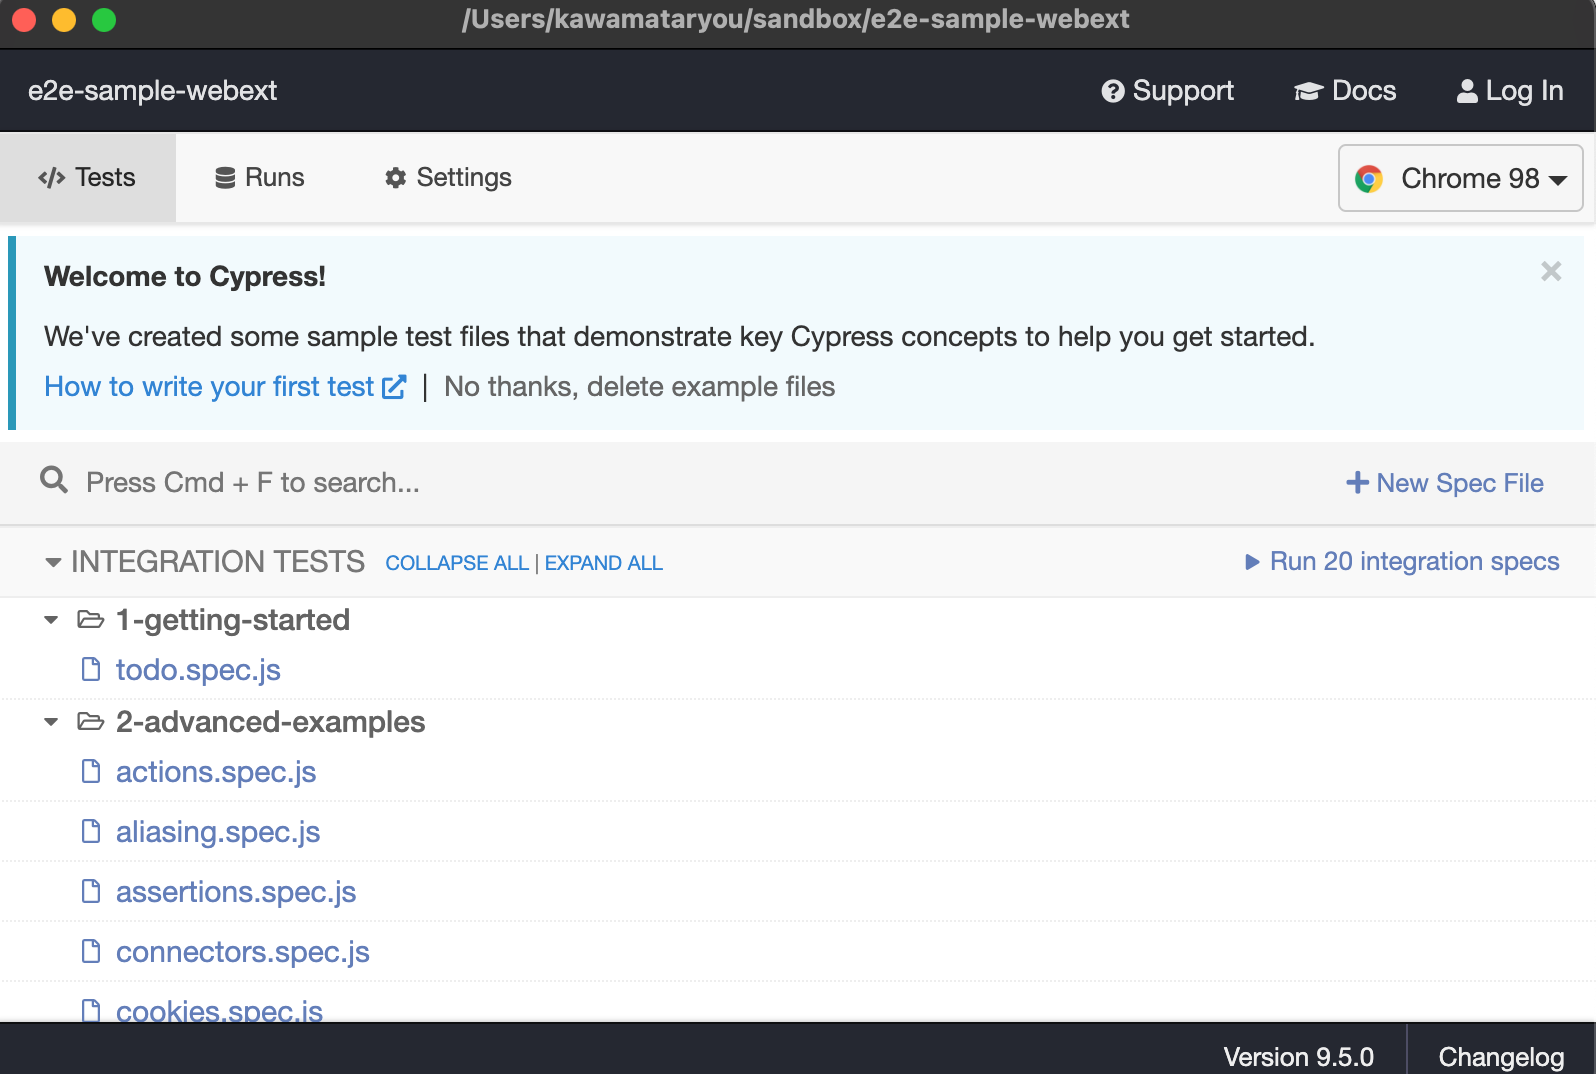
$ npx cypress open
Chromeでダッシュボードが表示されればOKです。
最後にViteのdev serverとの接続設定を行います。これはViteese-webextがViteを使っているからです。
以下を参考に設定します。
$ pnpm i -D @cypress/vite-dev-server
const path = require('path')
const { startDevServer } = require('@cypress/vite-dev-server')

module.exports = (on, config) => {
  on('dev-server:start', (options) => {
    return startDevServer({
      options,
      viteConfig: {
        configFile: path.resolve(__dirname, '..', '..', 'vite.config.js'),
      },
    })
  })
}
{
  "baseUrl": "http://localhost:3000"
}
baseUrlのlocalhost:3000は、次項で追加するserveの起動portの指定です。
Serveのセットアップ
Cypressでテストを実行するためには何らかの方法でテスト対象のページをブラウザからアクセスできるようにする必要があります。今回はPopupページを対象にテストするので、Popupページをレンダリングします。そのために、静的ファイルからコマンド一つで開発サーバーを起動できるserveを利用します。
まずパッケージを追加します。
$ pnpm i -D serve
次に、サーバー起動のスクリプトをpackage.jsonに追記して、起動します。
{
  "scripts": {
    //...
    "serve": "serve extension -l 3000"
  },
}
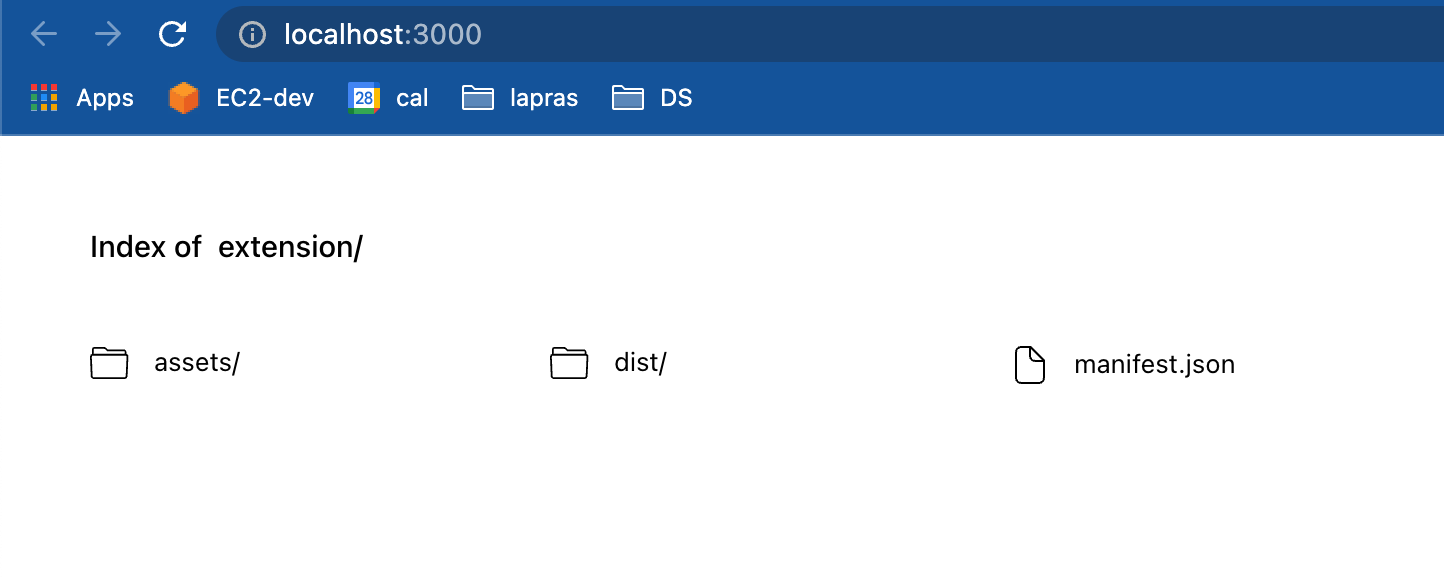
$ pnpm serve
起動後、http://localhost:3000 にアクセスすると以下画面が出るはずです。
テストケースの作成
次に実際にテストケースを書いていきます。
cypress/integration 配下にsample.tsを追加します。
$ touch cypress/integration/sample.spec.js
ここが一番のポイントなのですが、Chrome拡張機能を動かすためには、Cypressのテスト実行時にChromeのランタイムをモックする必要があります。
以下、cy.visitのonBeforeLoadのフックで行っている処理が、chormeのランタイムのモックとなります。
describe('App', () => {
  before(() => {
    // popup.htmlへのパスを指定
    cy.visit('/dist/popup/index.html', {
      onBeforeLoad(win) {
        win.chrome = win.chrome || {}
        win.chrome.runtime = {
          id: '12345',
          // ボタンクリックで実行されるAPI
          openOptionsPage: cy.stub().as('openOptionsPage'),
        }
      },
    })
  })

  it('Popupが表示される', () => {
    cy.get('#app').should('include.text', 'This is the popup page')
  })

  it('Open Optionsのボタンクリックでchrome runtimeのopenOptionPageが実行される', () => {
    cy.contains('Open Options').click()
    cy.window().its('chrome.runtime.openOptionsPage').should('be.called')
  })
})
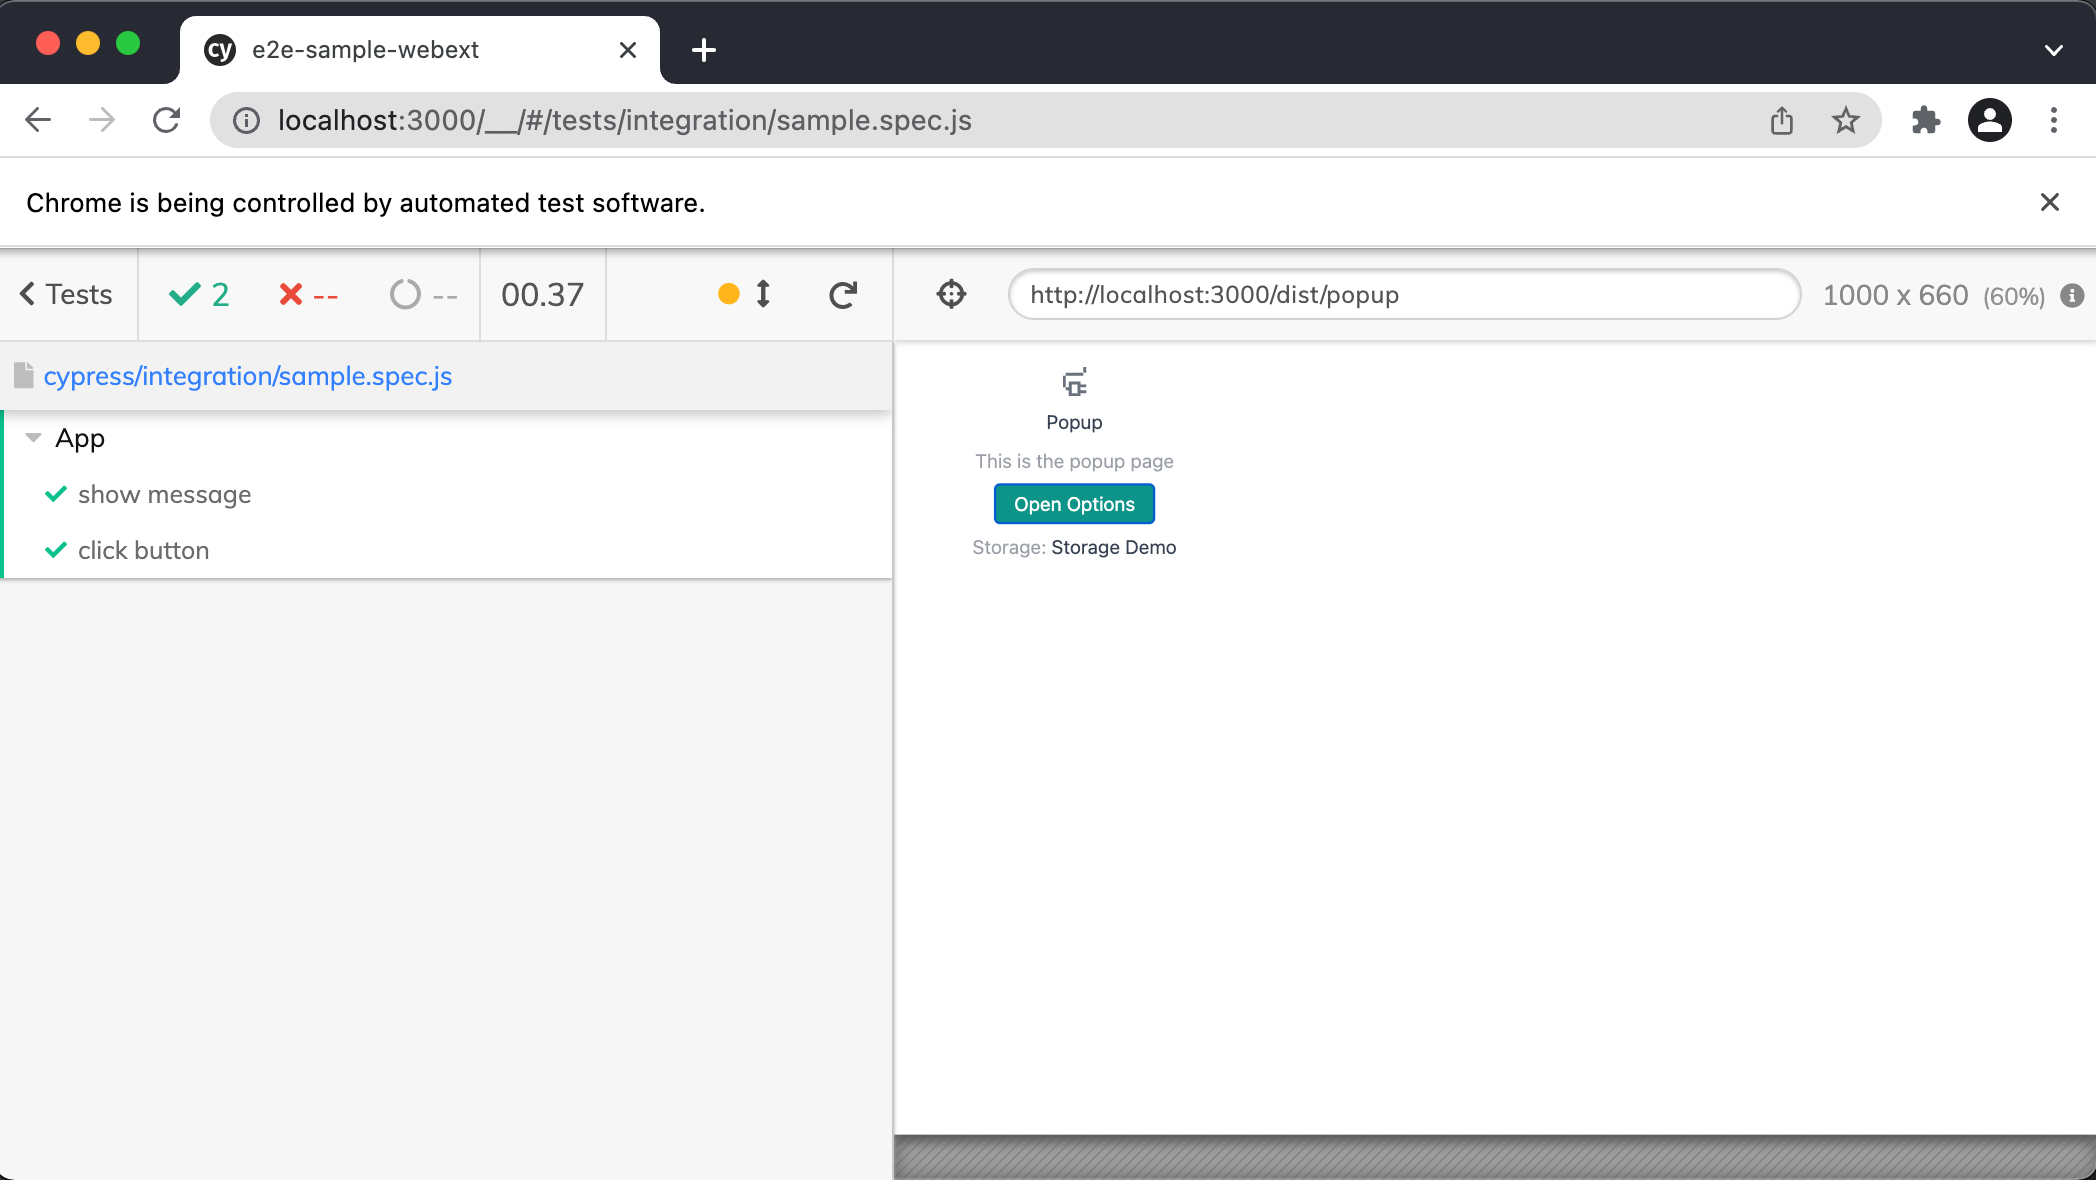
これでpnpm run dev にて開発サーバーを起動してから npx cypress open でsample.spec.tsのテストを実行すると無事Popupの表示の確認と、ボタンクリックの動作の検証が行えるはずです。
CIでの実行
CypressはGitHub Actionsで簡単に実行できます。
CIでもCypressのテストを実行できるように設定します。
$ mkdir -p .github/workflows
$ touch .github/workflows/e2e-test.yaml
name: Cypress Tests

on:
  push:

jobs:
  cypress-run:
    runs-on: ubuntu-latest
    steps:
      - uses: actions/checkout@v2
      - name: Cache pnpm modules
        uses: actions/cache@v2
        with:
          path: ~/.pnpm-store
          key: ${{ runner.os }}-${{ hashFiles('**/pnpm-lock.yaml') }}
          restore-keys: |
            ${{ runner.os }}-
      - uses: pnpm/action-setup@v2.2.1
        with:
          version: 6.30.1
          run_install: true
      - name: Use Node.js 16.x
        uses: actions/setup-node@v3
        with:
          node-version: 16.x
          cache: "pnpm"
      - name: Build extension
        run: pnpm build
      - name: Cypress run on Chrome
        uses: cypress-io/github-action@v2
        with:
          install: false
          start: pnpm run serve
          wait-on: 'http://localhost:3000'
      - uses: actions/upload-artifact@v2
        if: failure()
        with:
          name: cypress-screenshots
          path: cypress/screenshots
      - uses: actions/upload-artifact@v2
        if: always()
        with:
          name: cypress-videos
          path: cypress/videos
これで、pushと同時にCypressのE2Eテストが実行され、CIで動作を担保できます。また、もしテストが失敗した場合は、GitHub ActionsのArtifactに失敗時の実行動画が保存されます。便利!
終わりに
以上、CypressとServeを使ったChrome拡張機能のE2Eテストの実装方法の紹介でした。
実際にこの方法でE2Eテストが書けたおかげで、安心して大規模なリファクタリングが行えました。
(実際のリファクタコミット)
このリファクタリングもE2Eテストがない状態だと、着手に躊躇していたと思います。やはり、E2Eテスト大事ですね。
Discussion
Chrome拡張機能のE2Eテストについてこんな方法があるのかととても参考になりました!
いくつか気になった点がありました。
$ touch cypress/integration/smaple.spec.jsがtypoしてる?$ touch cypress/integration/sample.spec.jsの間違い?npx cypress openにて開発サーバーを起動してから〜」とあるが、おそらく「pnpm run serveにて開発サーバーを起動してから〜」の間違い?うおおお!Typo報告・バッジありがとうございます!!
おっしゃるとおりです 🙏🙏修正します!