Open11
Nuxt4 + NuxtContentでブログを作成
Nuxt3のインストール
# インストール
$ bunx nuxi@latest init ryo-blog

# bunを使用
❯ Which package manager would you like to use?
○ npm
○ pnpm
○ yarn
● bun

# gitも入れる
❯ Initialize git repository?
● Yes / ○ No
Nuxt4へマイグレーション
nuxt.config.ts
export default defineNuxtConfig({
  future: {
    // バージョン4を有効化
    compatibilityVersion: 4,
  },
})
# 提供されているコマンドを実行
npx codemod@latest nuxt/4/migration-recipe

# 全てを実行
? Select the codemods you would like to run. Codemods will be executed in order. (Press <space> to select, <a> to toggle all, <i> to
invert selection, and <enter> to proceed)
❯◉ nuxt/4/absolute-watch-path
 ◉ nuxt/4/default-data-error-value
 ◉ nuxt/4/deprecated-dedupe-value
 ◉ nuxt/4/file-structure
 ◉ nuxt/4/shallow-function-reactivity
 ◉ nuxt/4/template-compilation-changes
# インストール
$ bun install
# 起動
$ bun dev

Nuxt 3.13.2 with Nitro 2.9.7                                                                                               15:35:35
                                                                                                                           15:35:35
  ➜ Local:    http://localhost:3000/
  ➜ Network:  use --host to expose

  ➜ DevTools: press Shift + Option + D in the browser (v1.6.0)                                                             15:35:36

# バージョン4で起動される
ℹ Running with compatibility version 4
NuxtContentを導入
# インストール
$ bunx nuxi@latest module add content
# 記事を配置するディレクトリを作成しておく
$ mkdir content
サンプルの記事を作成
content/index.md
# Hello Content
表示
app.vue
<template>
  <main>
    <ContentDoc />
  </main>
</template>
表示を確認

Nuxt ESLintの導入
# インストール
$ bun add -D @nuxt/eslint eslint
nuxt.config.ts
export default defineNuxtConfig({
  // 追加
  modules: ['@nuxt/content'],
})
bun devを動かすと自動で作成される
eslint.config.mjs
// @ts-check
import withNuxt from './.nuxt/eslint.config.mjs'

export default withNuxt(
  // Your custom configs here
)
ESLint Stylisticの設定
nuxt.config.ts
export default defineNuxtConfig({
  eslint: {
    config: {
      stylistic: true
    }
  }
})
VSCodeの設定
.vscode/settings.json
{
  "editor.codeActionsOnSave": {
    "source.fixAll.eslint": "explicit"
  },
}
VSCodeを再起動して、保存時にフォーマットが動くことを確認
PrimeVueの導入
# インストール
$ bun add primevue
$ bun add -D @primevue/nuxt-module
nuxt.config.ts
export default defineNuxtConfig({
    modules: [
        // 追加
        '@primevue/nuxt-module'
    ],
})
# アイコンとテーマも入れておく
$ bun add primeicons @primevue/themes
nuxt.config.ts
import Aura from '@primevue/themes/aura';

export default defineNuxtConfig({
  primevue: {
    options: {
      theme: {
        // テーマを設定
        preset: Aura
      }
    }
  }
  css: [
    // 追加
    'primeicons/primeicons.css',
  ],
})
app.vue
<Button label="Check" icon="pi pi-check" />
テーマとボタンが表示されることを確認

TailwindCSSの導入
# インストール
$ bun add -D @nuxtjs/tailwindcss
$ bun add tailwindcss-primeui

# 設定ファイルの作成
$ bunx tailwindcss init
nuxt.config.ts
export default defineNuxtConfig({
  // 追加
  modules: ['@nuxtjs/tailwindcss']
})
tailwind.config.js
export default {
  // 追加
  plugins: [require('tailwindcss-primeui')],
}
app.vue
<h2 class="text-4xl mb-4">Blog</h2>
<div class="text-primary">Test</div>
表示を確認

記事一覧の作成
サンプルの記事を作成
content/about-javascript.md
---
title: JavaScriptについて
createdAt: 2024-10-26
tags: ['JavaScript']
---

JavaScriptについての記事
content/about-vue.md
---
title: Vueについて
createdAt: 2024-10-26
tags: ['JavaScript', 'Vue']
---

Vueについての記事
content/about-react.md
---
title: Reactについて
createdAt: 2024-10-26
tags: ['JavaScript', 'React']
---

Reactについての記事
記事一覧コンポーネントを作成
components/BlogList.vue
<script setup lang="ts">
import { format } from '@formkit/tempo'
</script>

<template>
  <div class="flex flex-col gap-8">
    <ContentList
      v-slot="{ list }"
    >
      <div
        v-for="article in list"
        :key="article._path"
      >
        <span>{{ format(article.createdAt, 'YYYY-MM-DD') }}</span>
        <NuxtLink
          :to="article._path"
          class="font-bold text-lg hover:underline"
        >
          <h2>{{ article.title }}</h2>
        </NuxtLink>
        <div class="flex gap-2 mt-2">
          <Button
            v-for="tag in article.tags"
            :key="tag"
            :label="tag"
            :to="`/tag/${tag}`"
            as="router-link"
            severity="secondary"
            size="small"
            rounded
          />
        </div>
      </div>
    </ContentList>
  </div>
</template>
pages/index.vue
<template>
  <div>
    <h2 class="text-4xl mb-4 font-bold">
      Blog
    </h2>
    <!-- 作成した記事一覧コンポーネント -->
    <BlogList />
  </div>
</template>
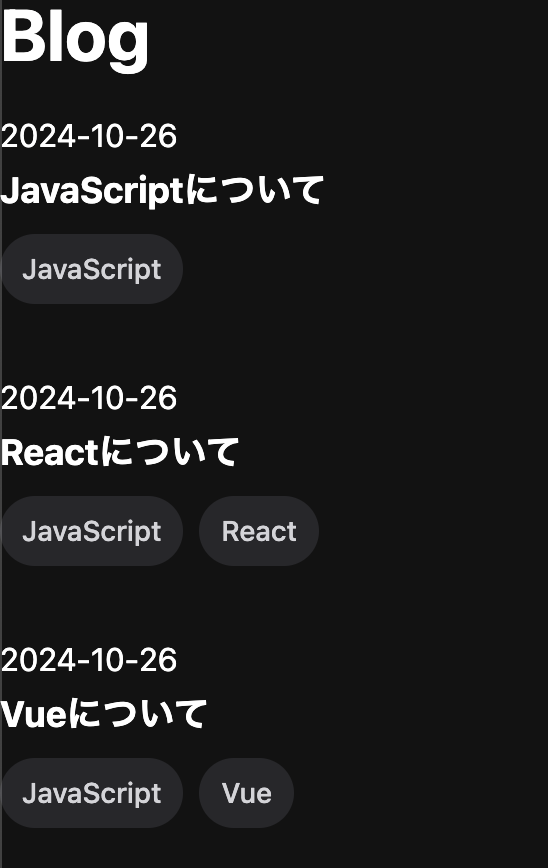
表示されることを確認
記事詳細の作成
記事詳細コンポーネントを作成
components/BlogDetail.vue
<script setup lang="ts">
import { format } from '@formkit/tempo'

// 指定されたpathの記事を表示する
const path = defineModel<string>('/')
</script>

<template>
  <ContentDoc :path="path">
    <template #default="{ doc }">
      <span>{{ format(doc.createdAt, 'YYYY-MM-DD') }}</span>
      <h2 class="text-4xl mb-2 font-bold">
        {{ doc.title }}
      </h2>
      <div class="flex gap-2 my-2">
        <Button
          v-for="tag in doc.tags"
          :key="tag"
          :label="tag"
          :to="`/tag/${tag}`"
          as="router-link"
          severity="secondary"
          size="small"
          rounded
        />
      </div>
      <ContentRenderer :value="doc" />
    </template>
  </ContentDoc>
</template>
記事詳細ページを追加
pages/[...slug].vue
<template>
  <BlogDetail :path="$route.path" />
</template>
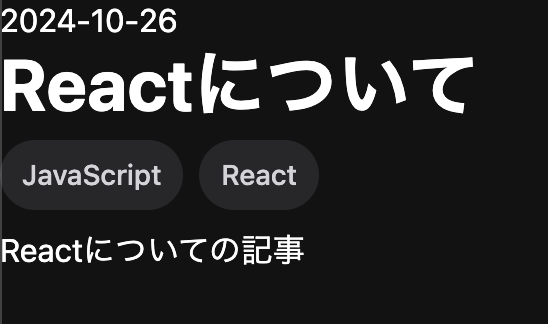
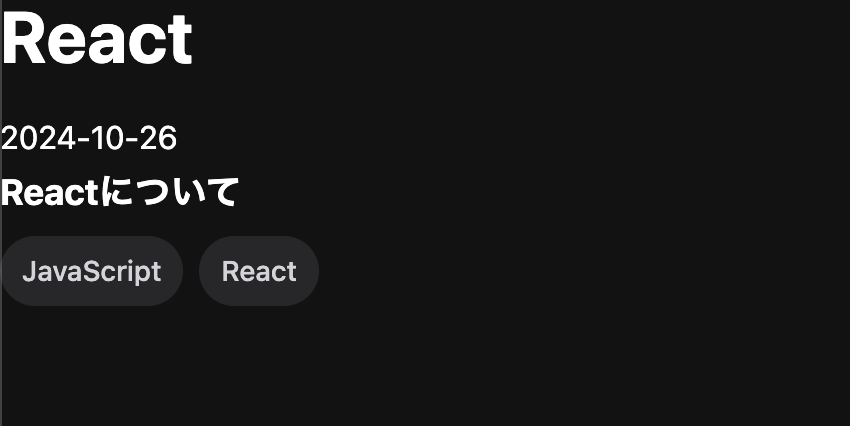
表示されることを確認
タグ一覧の作成
タグに関するcomposablesを作成
composables/tag.ts
export type Tag = {
  key: string
  label: string
}

// タグ一覧データ
export const tags: Tag[] = [
  { key: 'javascript', label: 'JavaScript' },
  { key: 'vue', label: 'Vue.js' },
  { key: 'React', label: 'React' },
]

// キーを元にタグの情報を返す
export const getTag = (key: string): Tag | undefined => tags.find(tag => tag.key === key)
タグのボタンをコンポーネント化
components/TagButton.vue
<script setup lang="ts">
defineProps<{
  tag: Tag
}>()
</script>

<template>
  <Button
    :label="tag.label"
    :to="`/tag/${tag.key}`"
    as="router-link"
    severity="secondary"
    size="small"
    rounded
  />
</template>
タグ一覧コンポーネントを作成
components/tagList
<template>
  <div class="flex gap-2">
    <TagButton
      v-for="tag in tags"
      :key="tag.key"
      :tag="tag"
    />
  </div>
</template>
レイアウトファイルでサイドメニューとして表示
layouts/default.vue
<script setup lang="ts">

</script>

<template>
  <div class="flex lg:justify-between gap-8 flex-col lg:flex-row">
    <main class="flex-1">
      <slot />
    </main>
    <aside class="lg:w-80">
      <div class="text-xl mb-2 font-bold">
        Tag
      </div>
      <TagList />
    </aside>
  </div>
</template>
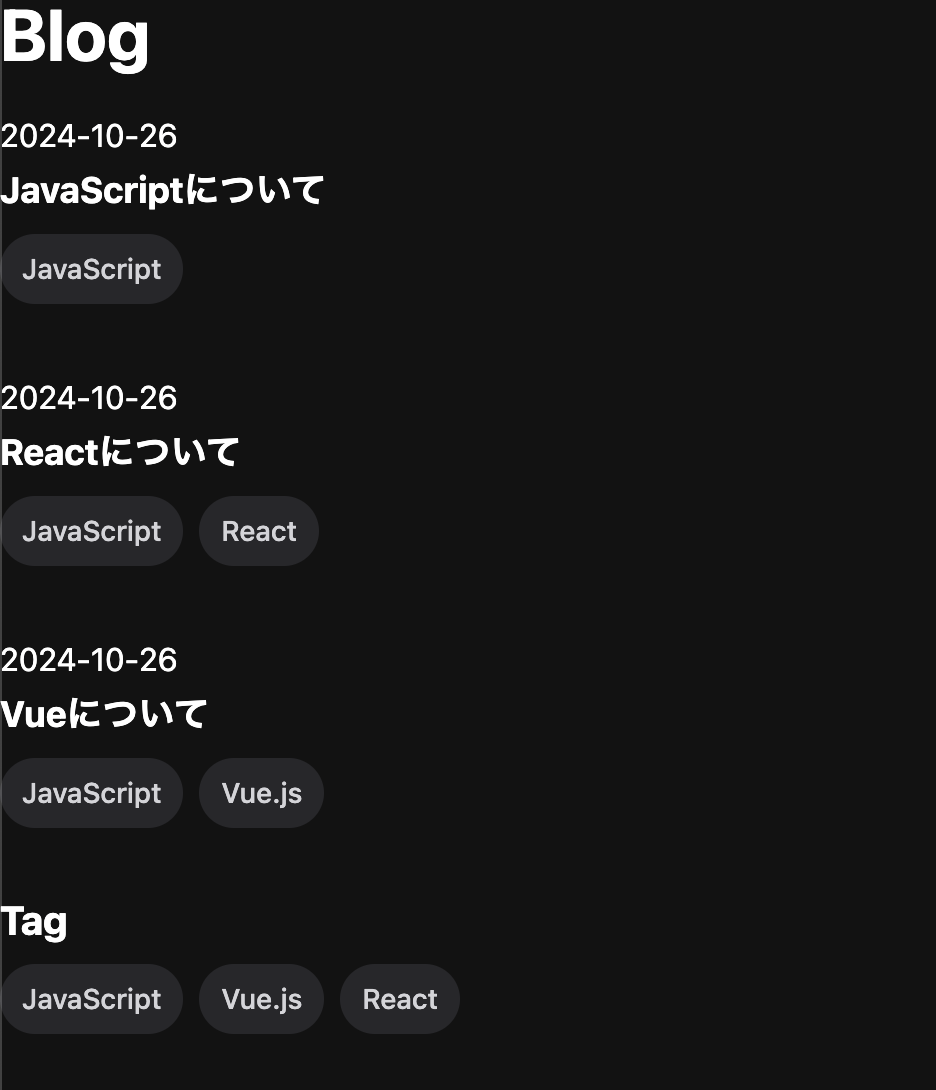
表示されることを確認

タグ別一覧の作成
記事一覧コンポーネントに任意のqueryを渡せるように修正
components/BlogList.vue
<script setup lang="ts">
import type { QueryBuilderParams } from '@nuxt/content'

defineProps<{
  query?: QueryBuilderParams
}>()
</script>

<ContentList
  v-slot="{ list }"
  :query="query"
>
タグ別一覧ページを作成
pages/tag/[...slug].vue
<script setup lang="ts">
const route = useRoute()
const tag = computed(() => {
  const slug = route.params.slug
  if (!slug || !slug[0]) return null
  return getTag(slug[0])
})

const query = computed(() => {
  return {
    where: [
      // タグが含まれる記事を取得
      tag.value ? { tags: { $contains: tag.value.key } } : {},
    ],
  }
})
</script>

<template>
  <div>
    <h2 class="text-4xl mb-4 font-bold">
      {{ tagLabel(tag) }}
    </h2>
    <BlogList :query="query" />
  </div>
</template>
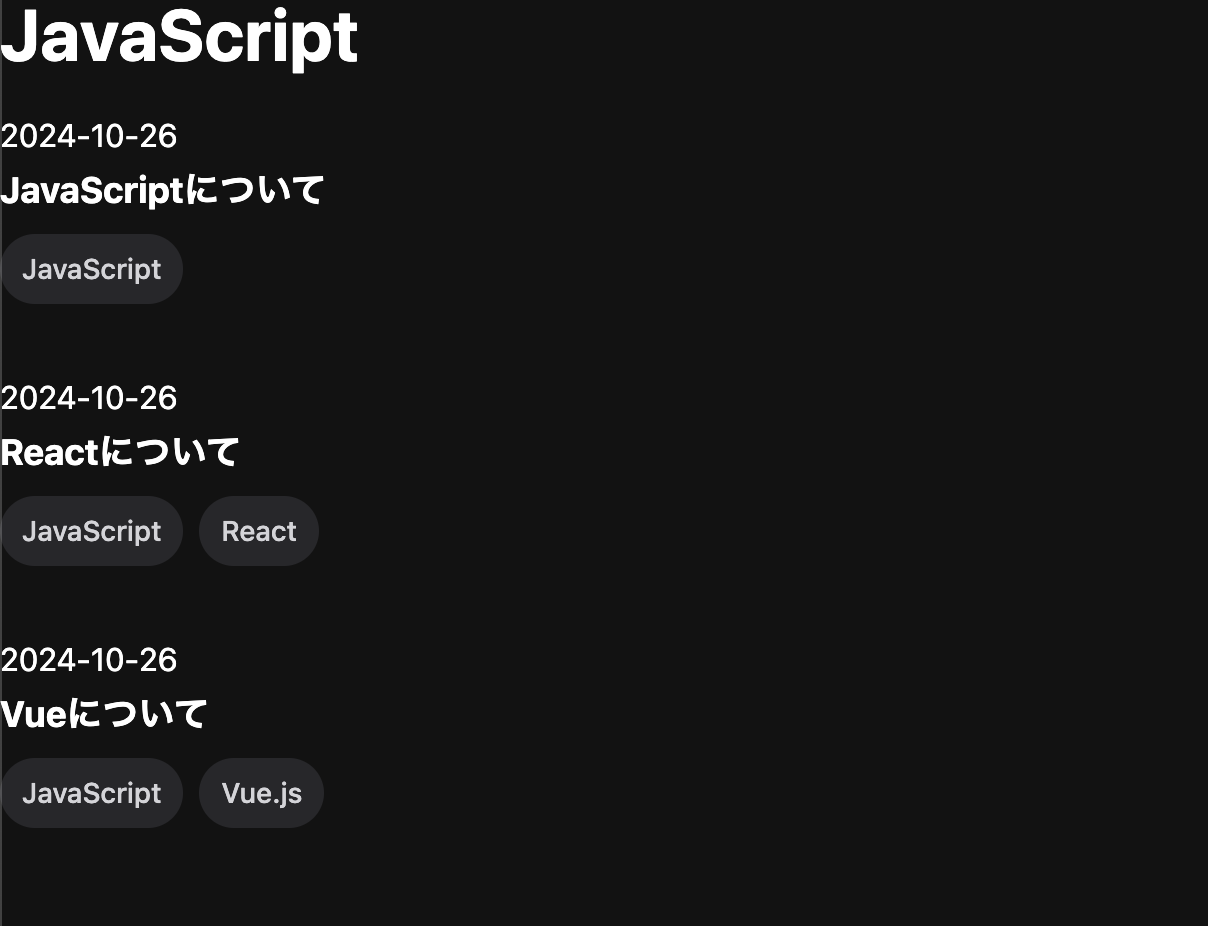
タグで絞り込んだ一覧が表示されることを確認
目次の作成
見出しコンポーネントの作成
components/TableOfContents.vue
<script setup lang="ts">
const path = defineModel<string>('/')
</script>

<template>
  <ContentDoc :path="path">
    <template #default="{ doc }">
      <div v-if="doc.body?.toc?.links?.length">
        <div class="text-xl mb-2 font-bold">
          目次
        </div>
        <!-- 見出し2 -->
        <div
          v-for="link in doc.body.toc.links"
          :key="link.id"
        >
          <NuxtLink :href="`#${link.id}`">
            {{ link.text }}
          </NuxtLink>
          <!-- 見出し3 -->
          <div
            v-for="childLink in link.children"
            :key="childLink.id"
            class="pl-4"
          >
            <NuxtLink :href="`#${childLink.id}`">
              {{ childLink.text }}
            </NuxtLink>
          </div>
        </div>
      </div>
    </template>
  </ContentDoc>
</template>
レイアウトファイルに見出しを追加
layouts/default.vue
<script setup lang="ts">
const route = useRoute()
</script>

<template>
  <div class="flex lg:justify-between gap-8 flex-col lg:flex-row">
    <main class="flex-1">
      <slot />
    </main>
    <aside class="lg:w-80 sticky top-0 h-full">
      <div class="flex flex-col gap-8">
        <!-- 記事詳細のみ表示 -->
        <TableOfContents
          v-if="route.name === 'slug'"
          :path="route.path"
        />
        <TagList />
      </div>
    </aside>
  </div>
</template>
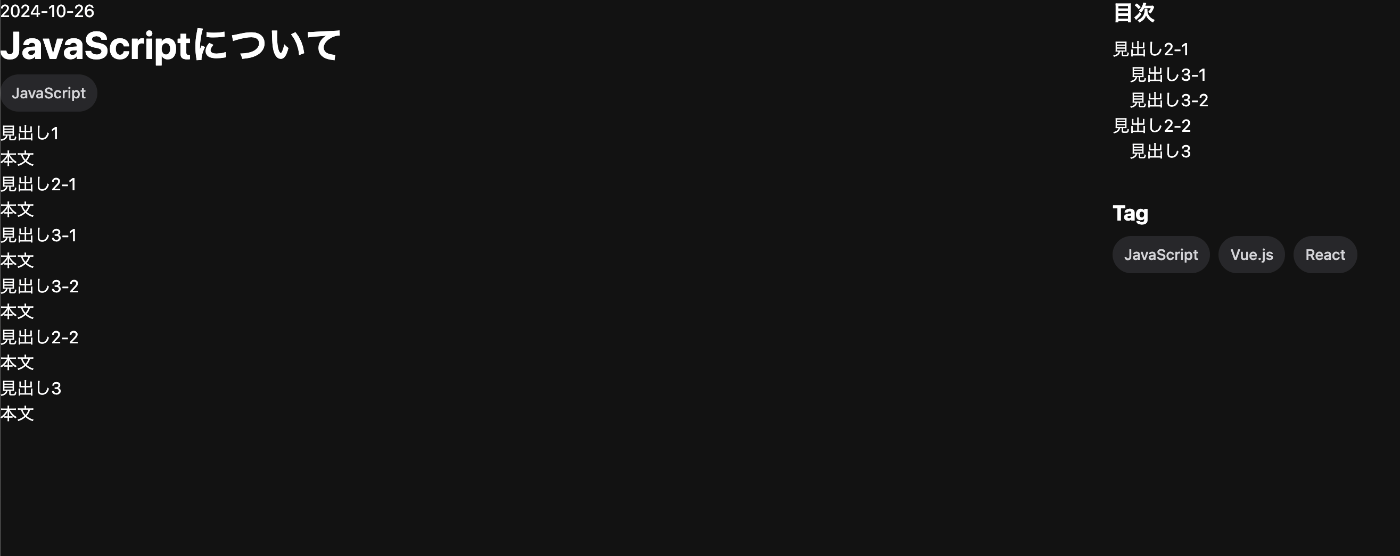
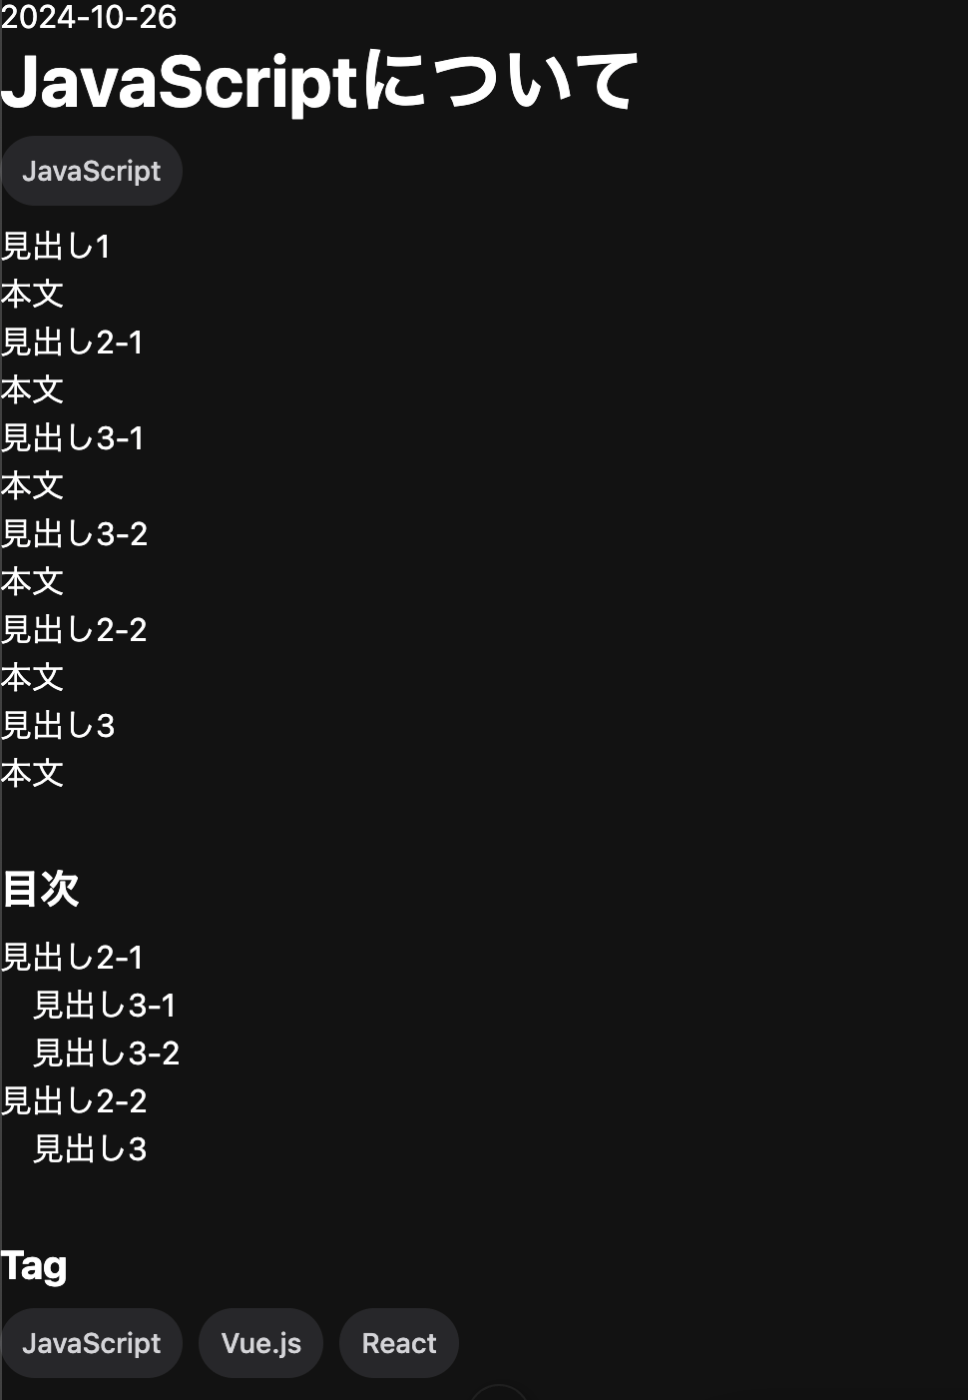
表示されることを確認
