Open10
SvelteKit環境構築メモ
ピン留めされたアイテム
作業レポジトリ
公開先
プロジェクト作成
# bunを使用して最新バージョンでプロジェクト作成
$ bun create svelte@latest svelte-app
# 真っ新な環境が欲しいのでSkeletonで
  Welcome to SvelteKit!
│
◆  Which Svelte app template?
│  ○ SvelteKit demo app
│  ● Skeleton project (Barebones scaffolding for your new SvelteKit app)
│  ○ Library project
# TypeScriptは使う
  Add type checking with TypeScript?
│  ● Yes, using TypeScript syntax
│  ○ Yes, using JavaScript with JSDoc comments
│  ○ No
# 一旦何も入れない
# Svelte5だけ使いたいのでON
 Select additional options (use arrow keys/space bar)
│  ◻ Add ESLint for code linting
│  ◻ Add Prettier for code formatting
│  ◻ Add Playwright for browser testing
│  ◻ Add Vitest for unit testing
│  ◼ Try the Svelte 5 preview (unstable!)
$ cd svelte-app
# インストール
$ bun install
# 起動
$ bun run dev
にアクセスして起動されていることを確認

起動時に自動でブラウザで開くようにしておく
package.json
"scripts": {
  "dev": "vite dev --open"
}
VSCode拡張
- Svelte for VS Code
- svelte
- Svelte Intellisense
- Svelte 3 Snippets
Biomeを導入
# インストール
$ bun add --dev --exact @biomejs/biome
# 設定ファイル作成
$ bunx biome init
Svelteの場合、コンパイルエラーを防ぐために設定ファイルに以下を書いておくと良いらしい
biome.json
  "overrides": [
    {
      "include": ["*.svelte"],
      "linter": {
        "rules": {
          "style": {
            "useConst": "off"
          }
        }
      }
    }
  ]
VSCodeの拡張機能
- Biome
VSCode設定
settings.json
{
  "editor.defaultFormatter": "biomejs.biome",
  "editor.formatOnSave": true,
    "editor.codeActionsOnSave": {
    "quickfix.biome": "explicit",
    "source.organizeImports.biome": "explicit"
  }
}
※noUnusedImports を設定すると、shadcnで追加したコンポーネントが未使用扱いで消えてしまうので、一旦未設定
TailwindCSSを導入
# インストール
$ bun add -D tailwindcss postcss autoprefixer
# 設定ファイル作成
$ bun tailwindcss init -p
tailwind.config.js
// 追加
content: ['./src/**/*.{html,js,svelte,ts}'],
CSSファイル作成
app.css
@tailwind base;
@tailwind components;
@tailwind utilities;
layoutファイルで全体に読み込み
+layout.svelte
<script lang="ts">
import '../app.css'
</script>
反映されることを確認
+page.svelte
<h1 class="text-3xl font-bold underline">
  Hello world!
</h1>

UIライブラリ導入
shadcn-svelteを使用
# インストール
$ bunx  shadcn-svelte@latest init
全てデフォルトで
◆  Which style would you like to use?
│  Default

◆  Which base color would you like to use?
│  ● Slate
│  ○ Gray
│  ○ Zinc
│  ○ Neutral
│  ○ Stone

◆  Where is your global CSS file? (this file will be overwritten)
│  src/app.css

◆  Where is your Tailwind config located? (this file will be overwritten)
│  tailwind.config.js

◆  Configure the import alias for components:
│  $lib/components

◆  Configure the import alias for utils:
│  $lib/utils
VSCode拡張
- shadcn/svelte
使用したいコンポーネントを追加
$ bunx shadcn-svelte@latest add button
 Ready to install components and dependencies?
│  ● Yes / ○ No
表示されることを確認
+page.svelte
<script lang="ts">
import { Button } from '$lib/components/ui/button'
</script>

<Button>Click me</Button>

アイコンライブラリ導入
svelte-material-icons Vercelでビルドエラー発生したので他のライブラリ検討中
# インストール
$ bun add svelte-material-icons
表示されることを確認
+page.svelte
<script lang="ts">
import Check from 'svelte-material-icons/Check.svelte'
</script>

<Check size="24" />

フォームライブラリ導入
Zod
Superforms
# インストール
$ bun add -D sveltekit-superforms zod
以下ログイン画面を例に
スキーマファイルを作成
$lib/schemas/login.ts
import { z } from 'zod'

export const loginSchema = z.object({
  email: z.string().email(),
  password: z.string(),
})

export type LoginSchema = typeof loginSchema
サーバーサイドでフォームを初期化
login/+page.server.ts
import { loginSchema } from '$lib/schemas/login'
import { superValidate } from 'sveltekit-superforms'
import { zod } from 'sveltekit-superforms/adapters'
import type { PageServerLoad } from './$types'

export const load: PageServerLoad = async () => {
  const form = await superValidate(zod(loginSchema))

  return { form }
}
クライアントサイドで使用
login/+page.svelte
<script lang="ts">
import Button from '$lib/components/ui/button/button.svelte'
import { Input } from '$lib/components/ui/input'
import { superForm } from 'sveltekit-superforms'
import type { PageData } from './$types'

let {
  data,
}: {
  data: PageData
} = $props()

const { form } = superForm(data.form)
</script>


<form method="POST">
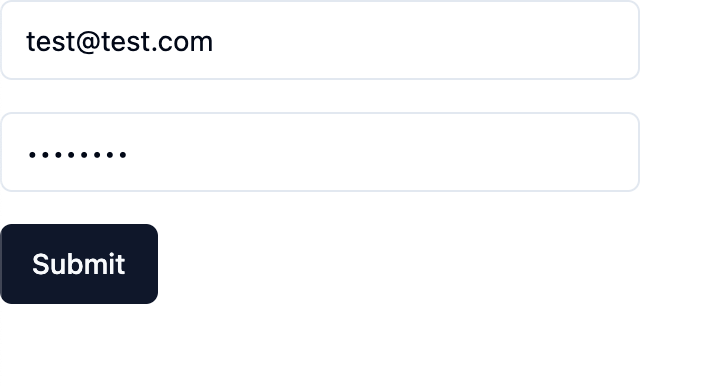
  <Input type="email" name="email" placeholder="email" class="max-w-xs mb-4" bind:value={$form.email} />
  <Input type="password" name="password" placeholder="password" class="max-w-xs mb-4" bind:value={$form.password} />
  <Button type="submit">Submit</Button>
</form>
サーバーサイドで送信された値を元にログイン処理
login/+page.server.ts
export const actions: Actions = {
  default: async (event) => {
    const form = await superValidate(event, zod(loginSchema))
    if (!form.valid) {
      return fail(400, { form })
    }

    // ログイン処理

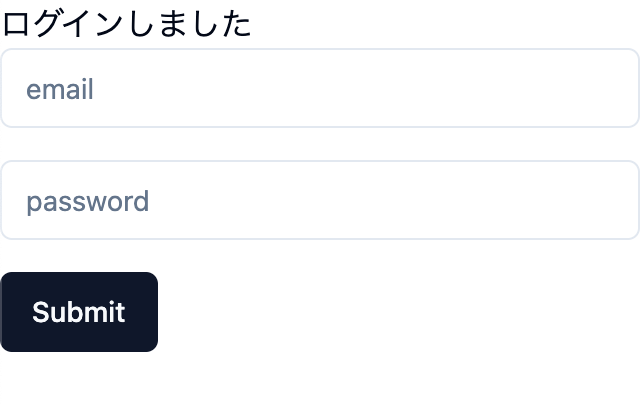
    return message(form, 'ログインしました')
  },
}

messageを受け取って成功したら表示
login/+page.svelte
const { form, message } = superForm(data.form)

{#if $message}
  <div>{$message}</div>
{/if}

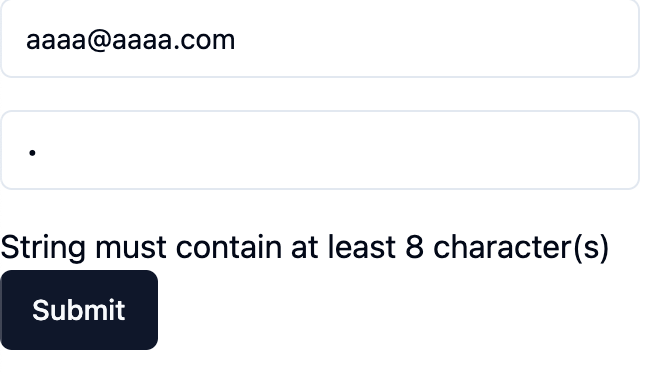
エラーメッセージの表示
$lib/schemas/login.ts
// 8文字以上を追加
password: z.string().min(8),
login/+page.svelte
const { form, errors, message } = superForm(data.form)

{#if $errors.password}
  <div>{ $errors.password }</div>
{/if}

フラッシュメッセージのライブラリ導入
sveltekit-flash-message
# インストール
$ bun add -D sveltekit-flash-message
# トーストのコンポーネントも合わせて入れておく
$ bunx shadcn-svelte@latest add sonner
型定義を追加
app.d.ts
namespace App {
  interface PageData {
    flash?: { type: 'success' | 'error'; message: string }
  }
}
トップレベルのレイアウトファイルのloadを上書き
routes/+layout.server.ts
export { load } from 'sveltekit-flash-message/server'
トップレベルのレイアウトファイルで受け取ったメッセージを表示
routes/+layout.svelte
<script lang="ts">
import { page } from '$app/stores'
import { Toaster } from '$lib/components/ui/sonner'
import { toast } from 'svelte-sonner'
import { getFlash } from 'sveltekit-flash-message'

const flash = getFlash(page)
$effect(() => {
  if (!$flash) return
  switch ($flash.type) {
    case 'success':
      toast.success($flash.message)
      break
    case 'error':
      toast.error($flash.message)
      break
    default:
      break
  }
})
</script>

<Toaster position="top-right" />
実際にメッセージを送信してみる
上記のログイン機能に導入
routes/login/+page.server.ts
import { redirect } from 'sveltekit-flash-message/server'

// 成功後、メッセージを表示してホームへリダイレクト
return redirect('/', { message: 'ログインしました', type: 'success' }, event)
右上に表示されることを表示

エラーメッセージの表示
routes/login/+page.server.ts
import { fail } from '@sveltejs/kit'
import { setFlash } from 'sveltekit-flash-message/server'

  // 失敗後、メッセージを送信
  if (response.status !== 200) {
      setFlash({ message: 'ログインに失敗しました', type: 'error' }, event)
      return fail(400, { form })
    }
  }
トーストのカスタマイズは下記を参照