Moveit2を使ってロボットアームを制御するまで (1)
概要
NuTech-Rというチームでロボカップレスキュー実機リーグに参加している者です。
レスキューロボットには作業用アームが取り付けられている事が多いですが、そのアームの動作計画に
Moveitが使われる場合が多いです(長谷川調べ)
今回は公式チュートリアル(moveit2_tutorials)を使ってロボットアームを動かしてみます。
動作環境
OS : ubuntu22.04LTS
ROS : ROS2 Humble
1. インストール
rosdepとaptのアップデート
rosdep update
sudo apt update
sudo apt dist-upgrade
インストールに必要なツールのインストール
sudo apt install python3-rosdep
sudo apt install python3-colcon-common-extensions
sudo apt install python3-colcon-mixin
colcon mixin add default https://raw.githubusercontent.com/colcon/colcon-mixin-repository/master/index.yaml
colcon mixin update default
sudo apt install python3-vcstool
MoveItのソースコードと依存関係をインストールする
mkdir -p ~/ws_moveit/src
git clone --branch humble https://github.com/ros-planning/moveit2_tutorials
vcs import < moveit2_tutorials/moveit2_tutorials.repos
rosdep install -r --from-paths . --ignore-src --rosdistro $ROS_DISTRO -y
ビルドする
cd ~/ws_moveit
colcon build --mixin release --executor sequential
source ~/ws_moveit/install/setup.bash
ワークスペースのセットアップ
source ~/ws_moveit/install/setup.bash
Cyclone DDSの変更
sudo apt install ros-humble-rmw-cyclonedds-cpp
# You may want to add this to ~/.bashrc to source it automatically
export RMW_IMPLEMENTATION=rmw_cyclonedds_cpp
2. デモ動作
1. デモを起動
ros2 launch moveit2_tutorials demo.launch.py rviz_config:=panda_moveit_config_demo_empty.rviz
最初にRviz上の空の世界が表示されます。

2. MotionPlanningの追加
左下にあるDisplaysタブのAddボタンを押し、MotionPlanningを選択してOKを押す。

3. MotionPlanningの設定
MotionPlanningを追加したら表示されたロボットアームに合わせて以下のように設定を行う。
・Global Options -> Fixed Frame -> panda_link0

・MotionPlanning -> Robot Description -> robot_description
・MotionPlanning -> Planning Scene Topic-> /monitored_planning_scene
・MotionPlanning -> Planned Path -> /display_planned_path

・planning Group -> panda_arm

4. インタラクティブマーカーを動かしてロボットを動かす
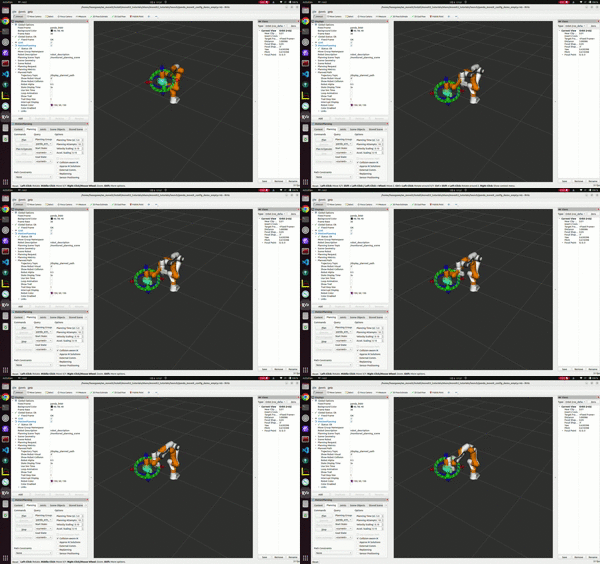
トップメニューのInteractを選択して、マーカーを動かし、Plan&Excuteを押すとロボットアームが動きます。動作の様子はGIFの動画の通りとなります。

またMotionPlanning -> PlanningのCollision-aware IKをONにすると衝突のないエンドエフェクタの姿勢を見つけて動作計画をしてくれます。特段理由がない限りは、この機能をONにしたほうが良さそうです。

参考
NuTech-Rは長岡技術科学大学のレスキューロボット開発チームです。レスキューロボットの競技会を通じてロボットの社会実装を目指して活動しています。sites.google.com/view/nutechr/home
Discussion