HugoからSwiper v10.xを使う
こんにちは。リケイのオコジョです。
Hugoでサイト構築しているので是非見に来てください!
はじめに
HugoからSwiperのv10.xを使う方法をまとめます。
公式ドキュメントでは当然のようにjsからcssファイルがインポートされており、Hugoから使うには工夫が必要です。
HugoからSwiperを使う
SwiperはCDNから読み込む方法とNPMでインストールする方法があります。
今回はNPMでインストールします。
HugoからTypescriptとSCSSを使う
私はHugoからTypescriptとSCSSを使っています。
環境を揃えたい場合は以下の記事を参考にしてください。
Swiperのインストール
何はともあれHugo環境にSwiperをインストールします。
今回はswiper-demoというHugoのサイトを新設し、swiperをインストールしています。
$ hugo new site swiper-demo & cd swiper-demo
$ npm init -y
$ npm install swiper
Swiperを使う
今回はindex.htmlに全てを書いていきます。
公式ドキュメントのHTML Layoutに画像を割り当てるためのクラス名を追加しています。
<!DOCTYPE html>
<html lang="ja">
  <head>
    <meta charset="UTF-8" />
    <meta name="viewport" content="width=device-width, initial-scale=1" />

    <!-- jsのインポートをここに -->
    <!-- cssのインポートをここに -->

  </head>
  <!-- 公式ドキュメントのHTML Layout -->
    <div class="swiper">
      <div class="swiper-wrapper">
        <div class="swiper-slide slide1">Slide 1</div>
        <div class="swiper-slide slide2">Slide 2</div>
        <div class="swiper-slide slide3">Slide 3</div>
      </div>
      <div class="swiper-pagination"></div>
      <div class="swiper-button-prev"></div>
      <div class="swiper-button-next"></div>
      <div class="swiper-scrollbar"></div>
    </div>

  </body>
</html>
CSS/SCSSのインポート
今回NPMを利用したためSwiperから提供されるアセットはnode_modules配下にあります。
node_modules配下のcssファイルをSCSSから読み込むには以下のdiscourseを参考にします。
swiperのcssは機能に応じてmodules分割されています。
.cssという拡張子を除いた形式でimportすることができます。
また、今回はスライドにunsplashというお洒落な画像をcssから指定してます。
@import "swiper/swiper.min";
@import "swiper/modules/autoplay.min";
@import "swiper/modules/navigation.min";
@import "swiper/modules/pagination.min";

.swiper {
  width: 600px;
  height: 300px;
}

.slide1 {
  background-image: url("https://source.unsplash.com/random/1920x960?nature");
  background-repeat: no-repeat;
  background-size: 100% auto;
}
.slide2 {
  background-image: url("https://source.unsplash.com/random/1920x960?portrait");
  background-repeat: no-repeat;
  background-size: 100% auto;
}
.slide3 {
  background-image: url("https://source.unsplash.com/random/1920x960");
  background-repeat: no-repeat;
  background-size: 100% auto;
}
このSCSSファイルをindex.htmlから以下のように読み込みます。
ポイントとしては
-
includePathsにnode_modulesを指定しnode_modules配下のパスをHugoに追加する$options変数を定義しています。 -
resources.Get "css/main.scss"でmain.scssを読み込みますが、$options変数はresources.ToCSSに渡す必要があります。
<!DOCTYPE html>
<html lang="ja">
  <head>
    ...(略)...

    <!-- cssのインポートをここに -->
    {{ $options := dict "inlineImports" true "includePaths" (slice "node_modules") }}
    {{ $style := resources.Get "css/main.scss" | resources.ToCSS $options | resources.PostCSS }}
    {{ $styles = $styles | minify | fingerprint | resources.PostProcess }}
    <link href="{{ $style.RelPermalink }}" rel="stylesheet" />

    ...(略)...
  </head>
</html>
javascript/typescript のインポート
swiperはjavascriptも機能に応じてmodules分割されています。
今回はNavigationとPaginationとAutoplayを読み込んでいます。
import Swiper from 'swiper';
import { Navigation, Pagination, Autoplay } from 'swiper/modules';

window.addEventListener('DOMContentLoaded', () => {
  // init Swiper:
  const swiper = new Swiper('.swiper', {
    direction: 'horizontal',
    loop: true,
    speed: 1000,
    centeredSlides: true,
    modules: [Navigation, Pagination, Autoplay],
    autoplay: {
      delay: 1500,
      disableOnInteraction: false,
    },
    pagination: {
      el: '.swiper-pagination',
    },
    navigation: {
      nextEl: '.swiper-button-next',
      prevEl: '.swiper-button-prev',
    },
    scrollbar: {
      el: '.swiper-scrollbar',
    },
  })
});
このjavascript/typescriptファイルをhtmlから読み込みます。
<!DOCTYPE html>
<html lang="ja">
  <head>
    ...(略)...

    <!-- js/tsのインポートをここに -->
    {{ with resources.Get "js/index.ts" }}
    {{ $js := resources.Get . | js.Build}}
    <script src="{{ $js.Permalink }}"></script>
    {{ end }}

    ...(略)...
  </head>
</html>
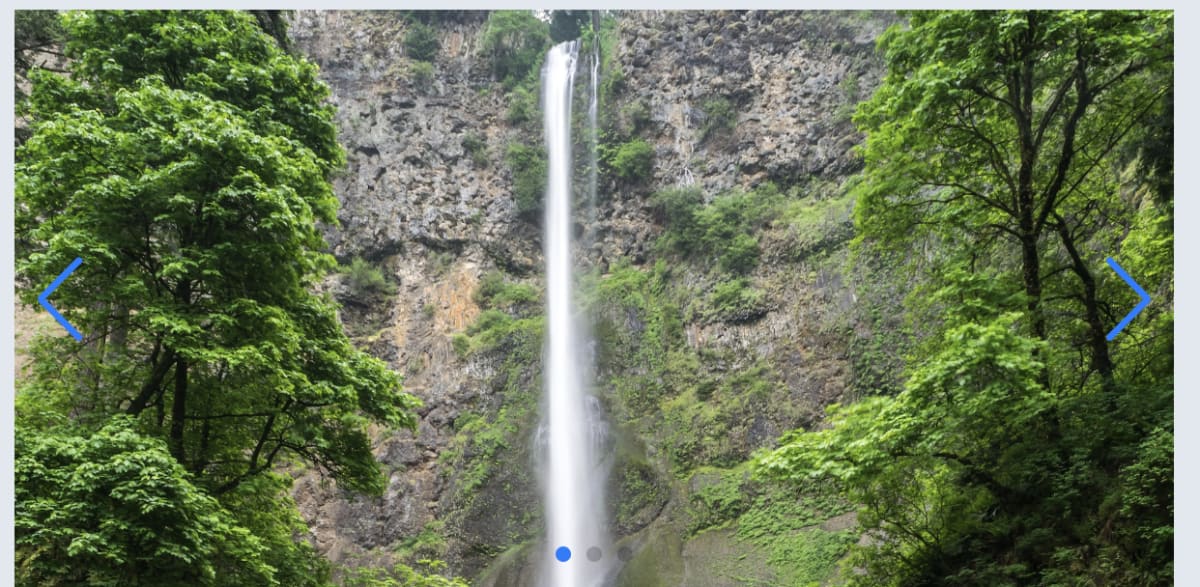
これで画像のような自動スクロールするスライダーができました。

まとめ
HugoからSwiperのv10.xを使う方法をまとめました。
CSSの読み込み周りに少しクセがありますね。
HugoでWebサイトを作っているので良かったら見に来てください!


Discussion