はじめに
今回は、プログラムで画像を加工して、任意のテキストを描画する方法について調査しました。
Pythonで画像にテキストを描画する
Pythonで画像処理を行う為に必要なライブラリをインストールします。
pip install pillow
画像の任意の位置に、任意のテキストを描画するプログラムを作成します。
from PIL import Image, ImageDraw, ImageFont

def draw_text_on_image(image_path, output_path, text, position=None,
                       font_path=None, font_size=40, color=(255, 255, 255)):
    # 画像を開く
    image = Image.open(image_path).convert("RGBA")
    width, height = image.size

    # テキストを描画するためのレイヤーを作成
    txt_layer = Image.new("RGBA", image.size, (255, 255, 255, 0))
    draw = ImageDraw.Draw(txt_layer)

    # フォントを指定
    if font_path:
        font = ImageFont.truetype(font_path, font_size)
    else:
        font = ImageFont.load_default()

    # テキストを描画
    draw.text(position, text, font=font, fill=color + (255,))

    # 元の画像と合成
    combined = Image.alpha_composite(image, txt_layer)

    # 画像を保存
    combined.save(output_path, format="PNG")

# 使用例
draw_text_on_image(
    image_path="input.png",          # 入力画像のパス
    output_path="output.png",        # 出力画像のパス
    text="Hello World !",            # 描画するテキスト
    position=(20, 20),               # 画像内のテキスト位置 (x, y)
    font_path="meiryo.ttc",          # フォントファイルのパス
    font_size=30,                    # フォントサイズ
    color=(255, 255, 255)            # テキストの色(RGB)
)
このプログラムを実行すると、画像の左上にテキストを描画することができます。

次は、右下にテキストを描画してみます。
draw.textbbox でテキストのサイズを取得し、調整した描画位置を position に設定する処理を追加します。
    # テキストのサイズを取得
    bbox = draw.textbbox((0, 0), text, font=font)
    text_width = bbox[2] - bbox[0]
    text_height = bbox[3] - bbox[1]

    # 位置を左下に調整
    if position is None:
        margin = 20
        x = width - text_width - margin
        y = height - text_height - margin
        position = (x, y)
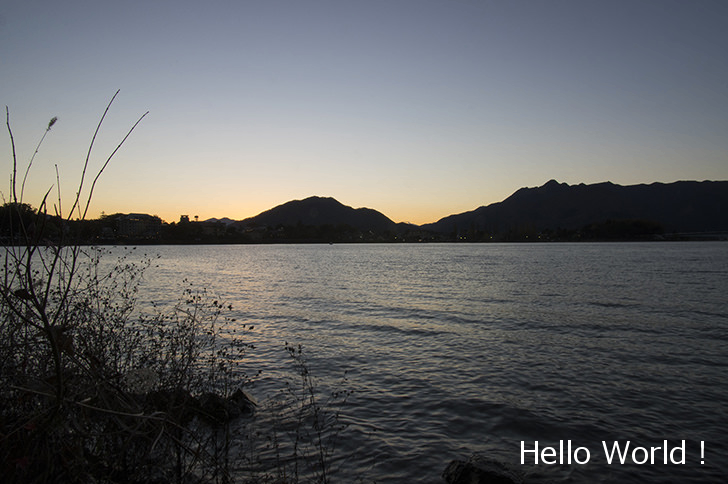
右下にテキストを描画するプログラムの例です。
from PIL import Image, ImageDraw, ImageFont

def draw_text_on_image(image_path, output_path, text, position=None,
                       font_path=None, font_size=40, color=(255, 255, 255)):
    # 画像を開く
    image = Image.open(image_path).convert("RGBA")
    width, height = image.size

    # テキストを描画するためのレイヤーを作成
    txt_layer = Image.new("RGBA", image.size, (255, 255, 255, 0))
    draw = ImageDraw.Draw(txt_layer)

    # フォントを指定
    if font_path:
        font = ImageFont.truetype(font_path, font_size)
    else:
        font = ImageFont.load_default()

    # テキストのサイズを取得
    bbox = draw.textbbox((0, 0), text, font=font)
    text_width = bbox[2] - bbox[0]
    text_height = bbox[3] - bbox[1]

    # 位置を左下に調整
    if position is None:
        margin = 20
        x = width - text_width - margin
        y = height - text_height - margin
        position = (x, y)

    # テキストを描画
    draw.text(position, text, font=font, fill=color + (255,))

    # 元の画像と合成
    combined = Image.alpha_composite(image, txt_layer)

    # 画像を保存
    combined.save(output_path, format="PNG")

# 使用例
draw_text_on_image(
    image_path="input.png",          # 入力画像のパス
    output_path="output.png",        # 出力画像のパス
    text="Hello World !",            # 描画するテキスト
    font_path="meiryo.ttc",          # フォントファイルのパス
    font_size=30,                    # フォントサイズ
    color=(255, 255, 255)            # テキストの色(RGB)
)
このプログラムを実行すると、画像の右下にテキストを描画することができます。

Javaで画像にテキストを描画する
今度は、Javaで画像にテキストを描画するプログラムを作成します。
Javaでは標準ライブラリの Graphics2D クラスを使用します。
package imageAddText;

import java.awt.Color;
import java.awt.Font;
import java.awt.Graphics2D;
import java.awt.RenderingHints;
import java.awt.font.FontRenderContext;
import java.awt.geom.Rectangle2D;
import java.awt.image.BufferedImage;
import java.io.File;
import javax.imageio.ImageIO;

public class DrawTextMain {
    public static void main(String[] args) {
        try {
            // 画像を読み込む
            BufferedImage image = ImageIO.read(new File("input.png"));
            Graphics2D g2d = image.createGraphics();

            // アンチエイリアスの有効化
            g2d.setRenderingHint(RenderingHints.KEY_TEXT_ANTIALIASING,
                                 RenderingHints.VALUE_TEXT_ANTIALIAS_ON);

            // フォント設定
            Font font = new Font("Meiryo", Font.PLAIN, 30);
            g2d.setFont(font);
            g2d.setColor(Color.WHITE);

            // 描画するテキスト
            String text = "Hello World !";

            // テキストのサイズ計算
            FontRenderContext frc = g2d.getFontRenderContext();
            Rectangle2D textBounds = font.getStringBounds(text, frc);
            int textWidth = (int) textBounds.getWidth();

            // 右下に配置(yはベースラインなので調整不要)
            int margin = 20;
            int x = image.getWidth() - textWidth - margin;
            int y = image.getHeight() - margin;

            // 描画
            g2d.drawString(text, x, y);

            // リソースの解放
            g2d.dispose();

            // 画像を保存
            ImageIO.write(image, "png", new File("output.png"));

        } catch (Exception e) {
            e.printStackTrace();
        }
    }
}
このプログラムでも、画像の右下にテキストを描画することができます。

Discussion