BlueskyでシンプルなBotを作る
TwitterからBlueskyに軸足を移して1週間ほど経った。ようやくBlueskyの使い方にも慣れてきたのでここらでBotを作ってみることにした。
BlueskyのBotを作るには、
- Blueskyのアカウント
- Botを動かすサーバー
の2つがあれば良い。現状はアクセスキーやトークンなどはなく、アカウントのIDとパスワードを使って投稿したりするシンプルな仕組みになっている。
アカウントの作成に関しては招待コードが必要になる。これに関しては身の回りの誰かに貰うなどしてなんとかしてもらうしかない(ちなみに登録から2週間ほどたたないと招待コードが付与されないので自分もまだ持ってない...)。
以下アカウントを持っている前提で進める。
仕様
まずBotの仕様だがこれは下記の通り。
- 1時間おきに呟く
- 投稿時点での東京の気温を投稿する(ソースはtekin.jp
- 投稿内容はテキスト+リンク+OGP画像
今回は定時に呟くためにcronのような仕組みが必要になるが、可能な限り無料でBotを動かしたいのでFirebase Functionsを使う。Blazeプラン(クレカ登録あり)にする必要はあるが今回の用途であれば無料範囲内で利用可能。
FirebaseやBot開発の準備
Firebaseへの登録
Firebaseへの登録はこちらから済ませておくこと。Blazeプランにしておく必要がある。
Node.js
Botの中でfetchを気軽に使えるようにNode.jsのversionは18を入れておく(Node.js 18 is now available!)。
$ nodenv install 18.13.0
自分はnodenvを使っているが、nvmを使ってる人はそれでも良い。
Java
Firebase Emulator(Firebaseをローカル環境でエミュレートしてFunctionsを実行させたりFirestoreを使ったりするためのツール)を使うために必要。現時点ではJavaのバージョンは11以上が必須。
Firebase CLI
次にローカルでFirebaseの設定をするためにFirebase CLIが必要になるので入れる。
$ npm install -g firebase-tools
Firebaseの認証を行う。
$ npx firebase login
プロジェクト作成
Firebase CLIが手に入ったらFirebaseのプロジェクトを作成する。今回はプロジェクト名はbsky-tenki-botとしておく(好きな名前で良いがProject IDは後から変更でいないので注意)。
$ mkdir bsky-tenki-bot
$ cd bsky-tenki-bot/
$ npx firebase projects:create
Please specify a unique project id
() bsky-tenki-bot
What would you like to call your project? (defaults to your project ID)
() bsky-tenki-bot
✔ Creating Google Cloud Platform project
✔ Adding Firebase resources to Google Cloud Platform project

🎉🎉🎉 Your Firebase project is ready! 🎉🎉🎉

Project information:
   - Project ID: bsky-tenki-bot
   - Project Name: bsky-tenki-bot

Firebase console is available at
https://console.firebase.google.com/project/bsky-tenki-bot/overview
プロジェクトが作成できたら上記のFirebase console is available atで指定されたURLへアクセスする。とりあえず、プロジェクトの概要 > プロジェクトの設定 > デフォルトのGCPリソースロケーションでasia-northeastと指定しておく。今回はこの設定がなくても問題ないが後々FirestoreやStorageを使う時にエラーが発生するので早いうちにやっておくとハマりにくい。
雛形ファイルの作成
Firebase FunctionsとEmulatorsのための雛形ファイルを作成する。ルートディレクトリでpackageを管理したいのでnpm installはしないようにしておく。
Functions
$ npx firebase init functions
=== Project Setup

First, let's associate this project directory with a Firebase project.
You can create multiple project aliases by running firebase use --add,
but for now we'll just set up a default project.

? Please select an option: Use an existing project
? Select a default Firebase project for this directory: bsky-tenki-bot (bsky-tenki-bot)
i  Using project bsky-tenki-bot (bsky-tenki-bot)

=== Functions Setup
Let's create a new codebase for your functions.
A directory corresponding to the codebase will be created in your project
with sample code pre-configured.

See https://firebase.google.com/docs/functions/organize-functions for
more information on organizing your functions using codebases.

Functions can be deployed with firebase deploy.

? What language would you like to use to write Cloud Functions? TypeScript
? Do you want to use ESLint to catch probable bugs and enforce style? Yes
✔  Wrote functions/package.json
✔  Wrote functions/.eslintrc.js
✔  Wrote functions/tsconfig.json
✔  Wrote functions/tsconfig.dev.json
✔  Wrote functions/src/index.ts
✔  Wrote functions/.gitignore
? Do you want to install dependencies with npm now? n
Emulator
$ npx firebase init emulators
=== Project Setup

First, let's associate this project directory with a Firebase project.
You can create multiple project aliases by running firebase use --add,
but for now we'll just set up a default project.

i  Using project bsky-tenki-bot (bsky-tenki-bot)

=== Emulators Setup
? Which Firebase emulators do you want to set up? Press Space to select emulators, then Enter to confirm your choices. Functions
Emulator
? Which port do you want to use for the functions emulator? 5001
? Would you like to enable the Emulator UI? Yes
? Which port do you want to use for the Emulator UI (leave empty to use any available port)?
? Would you like to download the emulators now? Yes

i  Writing configuration info to firebase.json...
i  Writing project information to .firebaserc...

✔  Firebase initialization complete!
Workspace
後々、Firestoreやその他の機能も追加することも考えてnpm workspaceを設定しておく。プロジェクトのルートディレクトリ(./functionsの一つ上)にpackage.jsonを作成し下記のような感じで書いておく。dotenvはあとで使うので入れておく。
{
  "name": "bsky-tenki-bot",
  "version": "1.0.0",
  "description": "",
  "main": "index.js",
  "workspaces": [
    "functions"
  ],
  "scripts": {},
  "dependencies": {
    "dotenv": "^16.3.1"
  }
}
install
npmの依存関係をインストールする。
$ npm i
必要なパッケージのインストール
Blueskyにつぶやくために必要なパッケージや必要な情報をスクレイピングしてくるためのツールを入れていく。
$ cd functions/
$ npm i @atproto/api node-html-parser
$ npm i -D prettier
Functionsを実行する
それではコードを書いていく。まずはfunctions/src/index.tsに適当な関数を書いて、ローカルで実行してみる。ローカルで実行するには先ほどインストールしたEmulatorが必要になる。
とりあえずfunctions/src/index.tsには下記のコードを書く。内容は毎時5分にHello Worldをlogに吐くコード。
import * as functions from "firebase-functions";

export const postJob = functions.pubsub.schedule("05 */1 * * *").onRun((_) => {
  console.log("Hello World!");
});
エミュレータを起動する(もしPORTがすでに使われている場合はfirebase.jsonのportを5001から別の番号に変えるとok)。
$ cd functions/
$ npm run serve
あとは別のterminalのタブを開いて作成した関数を実行するだけ。
$ npm run shell
firebase > postJob()
Hello World!
実装
ここまで準備が整ってしまえばあとはBotの実装を進めるだけ。
Blueskyへログインする
Blueskyへ投稿するためにはまずアカウントへログインしないといけない。コードとしては下記のような感じ。
const agent = new BskyAgent({ service: "https://bsky.social" });
await agent.login({
  identifier: defineString("BSKY_ID").value(),
  password: defineString("BSKY_PASSWORD").value(),
});
ちなみにログインIDとパスワードはfunctions/.envを作成しBSKY_IDとBSKY_PASSWORDとして準備しておく。defineStringというのはFunctionsから環境変数へアクセスするための公式インターフェース。このインターフェースを使って環境変数を扱っていれば、もし.envへの設定が漏れていた場合などにCLIでデプロイ中にエラーになるようになっている。
天気情報を取得
tenki.jpから東京の天気情報のページへアクセスし「タイトル」「気温」「OGP画像」「OGP文章」を取得する。fetchしてnode-html-parserでHTMLから情報を引っこ抜くだけ。
const resp = await fetch(tenkiURL);
const html = parse(await resp.text());
const temp = html
    .querySelectorAll(".amedas-current-list li")[0]
    .innerText?.replace(/ /, "");
const title = html.querySelector("title")?.innerText;
const ogpText = html
    .querySelector("meta[name='description']")
    ?.getAttribute("content");
const ogpImg = html
    .querySelector("meta[property='og:image']")
    ?.getAttribute("content");
リンクの作成
Blueskyでは投稿したURLテキストをアプリ側勝手に良い感じにリンクにしてくれない。投稿する際にテキスト内のどこからどこまでがリンク部分なのかを明示的に指定する必要がある。これにはリッチテキストという仕様を使う。
具体的なコードとしては下記のような感じになる。
const encoder = new TextEncoder();
const plainText = `東京の気温: ${temp} `.slice(0, 299);
const linkStart = encoder.encode(plainText).byteLength;
const linkEnd = byteStart + encoder.encode(tenkiURL).byteLength;
const textParams = `${plainText}${tenkiURL}`;
const facetsParams: AppBskyRichtextFacet.Main[] = [
  {
    index: {
      byteStart: linkStart,
      byteEnd: linkEnd,
    },
    features: [{ $type: "app.bsky.richtext.facet#link", uri: tenkiURL }],
  },
];
埋め込み画像の作成
リンクを投稿したらTwitterのようにOGP画像が表示されるようにしたい。これには埋め込み機能を使う。
埋め込みに指定する画像はIPFSへアップロードされていないとダメなので先ほど取得したOGP画像をIPFSへアップロードし、そこで取得したCIDを使って埋め込みの仕様を満たすようにパラメータを作成する。
具体的には下記のようなコードになる。
const blob = await fetch(`${ogpImg}`);
const buffer = await blob.arrayBuffer();
const response = await agent.uploadBlob(new Uint8Array(buffer), {
  encoding: "image/jpeg",
});
const embedParams: AppBskyFeedPost.Record["embed"] = {
  $type: "app.bsky.embed.external",
  external: {
    uri: tenkiURL,
    thumb: {
      $type: "blob",
      ref: {
        $link: response.data.blob.ref.toString(),
      },
      mimeType: response.data.blob.mimeType,
      size: response.data.blob.size,
    },
    title: title,
    description: ogpText,
  },
};
Blueskyへ投稿
ここまで作成してきたデータを元にBlueskyへ投稿する。
textにはプレーンテキストを指定する。facetsにはリッチテキストを指定し、embedには埋め込み画像とリンクの情報を指定する。
const postParams: AppBskyFeedPost.Record = {
  $type: "app.bsky.feed.post",
  text: textParams,
  facets: facetsParams,
  embed: embedParams,
  createdAt: new Date().toISOString(),
};
await agent.post(postParams);
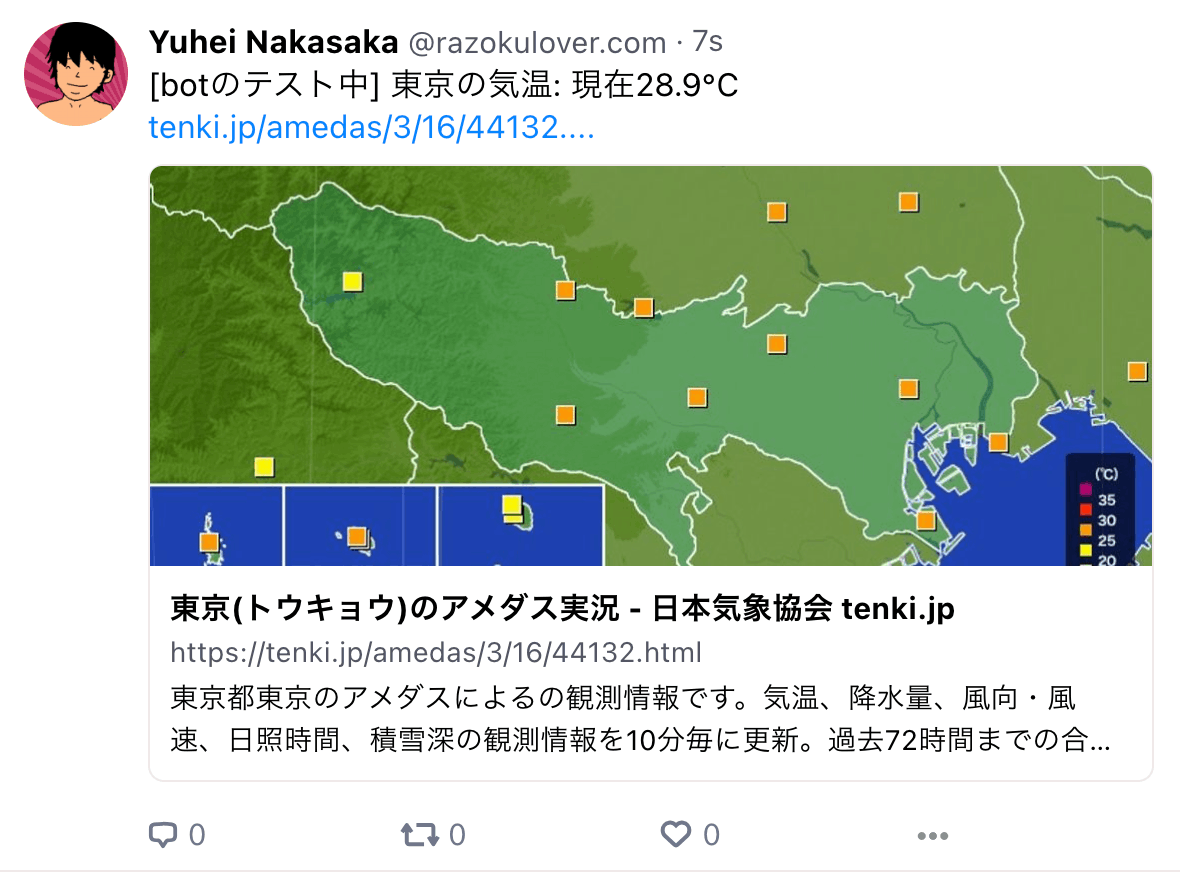
うまくいくと下記のように投稿されるはず。
デプロイ
あとは本番にデプロイするだけ。eslintのエラーが出るかもしれないが、その場合は逐一修正していけばOK。
$ npm run deploy
ここまでのコード全体
import { AppBskyFeedPost, AppBskyRichtextFacet, BskyAgent } from "@atproto/api";
import * as functions from "firebase-functions";
import { defineString } from "firebase-functions/params";
import parse from "node-html-parser";

const bskyService = "https://bsky.social";
const tenkiURL = "https://tenki.jp/amedas/3/16/44132.html";

export const postJob = functions.pubsub
  .schedule("05 */1 * * *")
  .onRun(async (_) => {
    // Blueskyへログイン
    const agent = new BskyAgent({ service: bskyService });
    await agent.login({
      identifier: defineString("BSKY_ID").value(),
      password: defineString("BSKY_PASSWORD").value(),
    });

    // 天気情報を取得
    const resp = await fetch(tenkiURL);
    const html = parse(await resp.text());
    const temp = html
      .querySelectorAll(".amedas-current-list li")[0]
      .innerText?.replace(/ /, "");
    const title = html.querySelector("title")?.innerText;
    const ogpText = html
      .querySelector("meta[name='description']")
      ?.getAttribute("content");
    const ogpImg = html
      .querySelector("meta[property='og:image']")
      ?.getAttribute("content");

    // リッチテキストの作成
    // Lexicon: https://atproto.com/lexicons/app-bsky-richtext#appbskyrichtextfacet
    // 投稿例) 東京の気温:29.5℃ https://tenki.jp/amedas/3/16/44132.html
    const encoder = new TextEncoder();
    const plainText = `[botのテスト中] 東京の気温: ${temp} `.slice(0, 299);
    const byteStart = encoder.encode(plainText).byteLength;
    const byteEnd = byteStart + encoder.encode(tenkiURL).byteLength;
    const textParams = `${plainText}${tenkiURL}`;
    const facetsParams: AppBskyRichtextFacet.Main[] = [
      {
        index: {
          byteStart,
          byteEnd,
        },
        features: [{ $type: "app.bsky.richtext.facet#link", uri: tenkiURL }],
      },
    ];

    // 投稿に埋め込むOGP画像の作成
    // Lexicon: https://atproto.com/lexicons/app-bsky-embed#appbskyembedexternal
    const blob = await fetch(`${ogpImg}`);
    const buffer = await blob.arrayBuffer();
    const response = await agent.uploadBlob(new Uint8Array(buffer), {
      encoding: "image/jpeg",
    });
    const embedParams: AppBskyFeedPost.Record["embed"] = {
      $type: "app.bsky.embed.external",
      external: {
        uri: tenkiURL,
        thumb: {
          $type: "blob",
          ref: {
            $link: response.data.blob.ref.toString(),
          },
          mimeType: response.data.blob.mimeType,
          size: response.data.blob.size,
        },
        title: title,
        description: ogpText,
      },
    };

    // Blueskyへ投稿
    // Lexicon: https://atproto.com/lexicons/app-bsky-feed#appbskyfeedpost
    const postParams: AppBskyFeedPost.Record = {
      $type: "app.bsky.feed.post",
      text: textParams,
      facets: facetsParams,
      embed: embedParams,
      createdAt: new Date().toISOString(),
    };
    await agent.post(postParams);

    return null;
  });
まとめ
Blueskyで簡単なBotを作ってみた。Blueskyへ投稿すること自体は簡単だが、Botとして定期実行するためにFirebaseを準備する部分がやや面倒ではあった。
料金的には破格の安さなので最初の準備は我慢してほしい。
BlueskyのAT Protocolのドキュメントは下記。
まずはProtocol Overviewを読んで全体像を理解して、投稿などで使われるスキーマのLexiconに目を通しておくと良い。
いきなりドキュメントだとピンとこない人はmattnさんのgihyoの解説もわかりやすくてよかった。
ScrapboxにBlueskyの日本語コミュニティみたいなものがあるのでここを覗くのも色々と参考になる。
最後に今回のBotのコードはここに置いてあるので参考なれば。
Firestoreも組み合わせて自分のはてぶを投稿させるBotも作ったのでそちらも合わせてどうぞ。
Discussion