【macOS】UTM で Ubuntu Desktop 24.04 LTS の仮想マシン環境を構築する
仮想マシン環境の構築を VirtualBox on Rosetta 2 から UTM へ移行する
トップ画面が Windows XP 起動してるのおもろい

環境
- OS: macOS 14.1 Sonoma
- Processor: Apple M3 Max (ARMv8/aarch64、16 cores)
UTM のインストール
brew install --cask utm
バージョンは v4.5.4

さりげなく utmctl という CLI がインストールされてた
which utmctl
# /opt/homebrew/bin/utmctl
CLI のバージョンが取れない
utmctl --version
# Error: Unknown option '--version'
# Usage: utmctl <subcommand>
#   See 'utmctl --help' for more information.

utmctl -V
# Error: Unknown option '-V'
# Usage: utmctl <subcommand>
#   See 'utmctl --help' for more information.
ヘルプ表示してみる。一通りの VM の操作が行える。Vagrant の CLI と似たような雰囲気。
utmctl --help
OVERVIEW: CLI tool for controlling UTM virtual machines.

USAGE: utmctl <subcommand>

OPTIONS:
  -h, --help              Show help information.

SUBCOMMANDS:
  list                    Enumerate all registered virtual machines.
  status                  Query the status of a virtual machine.
  start                   Start a virtual machine or resume a suspended virtual machine.
  suspend                 Suspend running a virtual machine to memory.
  stop                    Shuts down a running virtual machine.
  attach                  Redirect the serial input/output to this terminal.
  file                    Guest agent file operations.
  exec                    Execute an application on the guest.
  ip-address              List all IP addresses associated with network interfaces on the guest.
  clone                   Clone an existing virtual machine.
  delete                  Delete a virtual machine (there is no confirmation).
  usb                     USB device handling.

  See 'utmctl help <subcommand>' for detailed help.
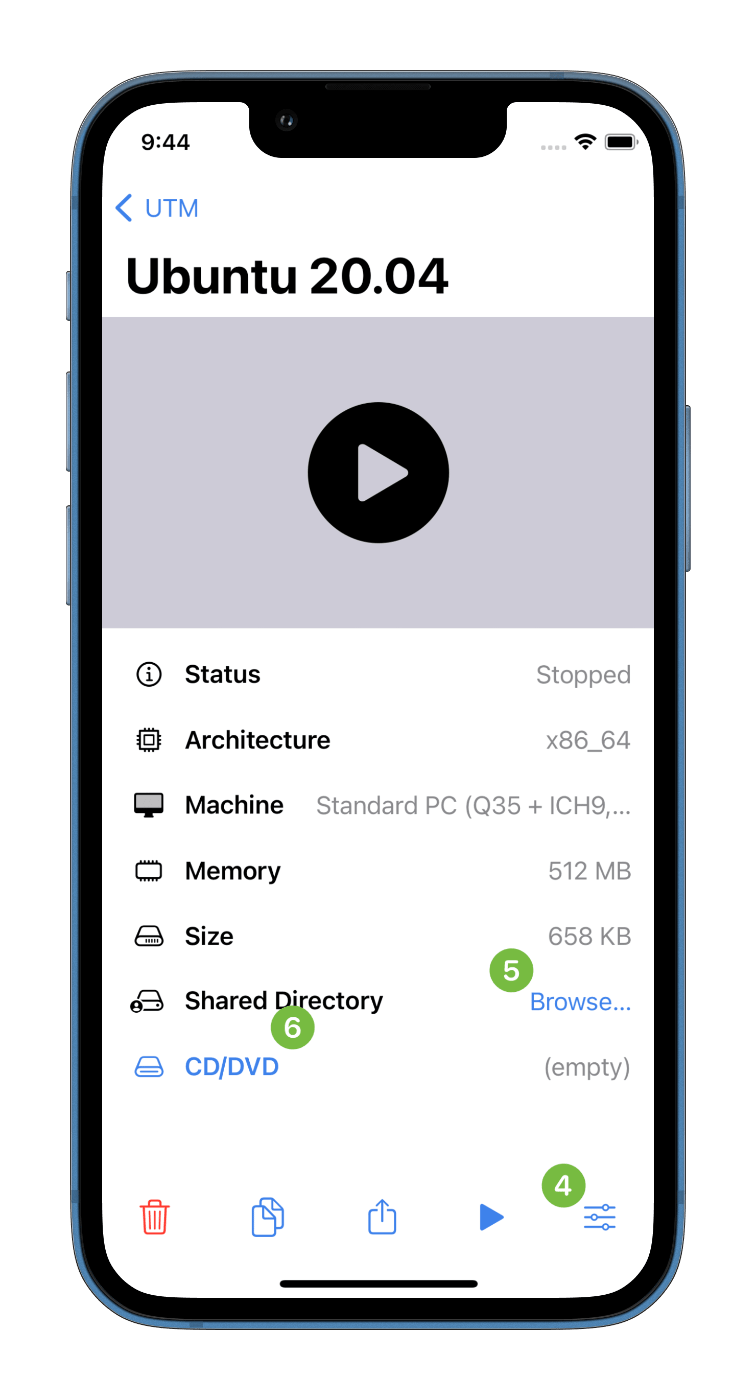
iOS 版の UTM もあるらしい
Ubuntu Desktop 24.04 LTS の ISO イメージをダウンロード。サイズは 3.1 GB。自宅環境だと 20 分程度かかった。
aarch64 版の Ubuntu Desktop 24.04 LTS は以下のリンクからダウンロードできる。
↓のリンクは AMD64 版がダウンロードされるので、aarch64 版が欲しい人は注意。
てっきりダウンロードサイト側でクライアントが aarch64 であることを認識してダウンロードリンクを変えてくれるかと思い込んでたけどそんなことはなかった。さりげなく「Download 24.04.1 LTS」のボタンのダウンロードリンクを見ると architecture=amd64 のクエリパラメータが渡されてた、、

ダウンロードリンク。ちなみに architecture クエリパラメータに arm64 や aarch64 を渡しても 404 Not Found になる。

UTM 起動。起動時の画面は以下のような感じ。

Create a New Virtual Machine を選択し、Virtualize を選択。いまのところ他の CPU アーキテクチャのエミュレートは必要ない。

OS は Linux を選択。

仮想化バックエンドには Apple Virtualization(Apple が開発している仮想化フレームワーク)を使用する。QEMU よりも高速だけどサポートするゲスト OS、アーキテクチャが限定される。
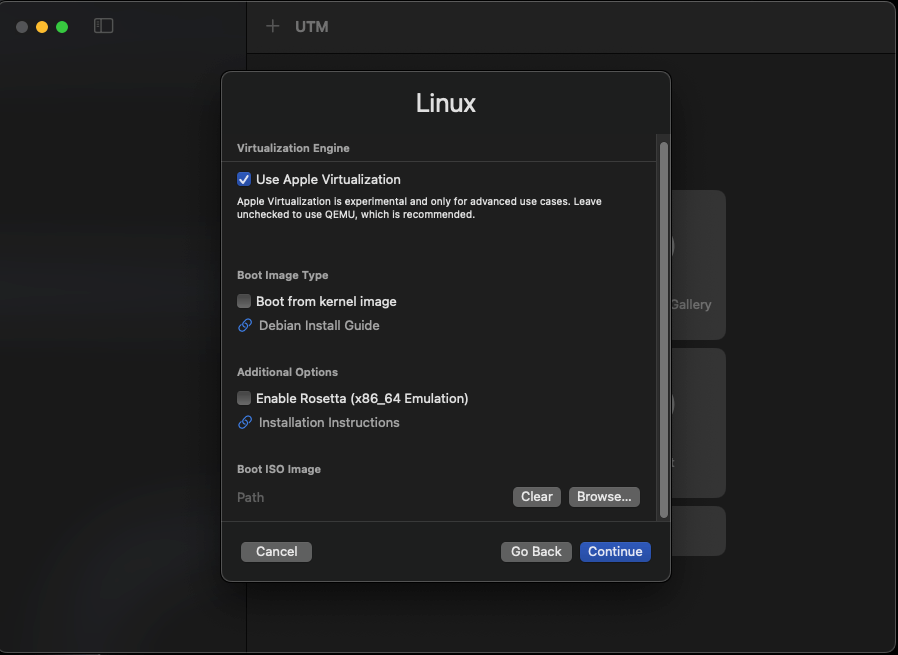
The default backend for UTM is QEMU. QEMU supports both virtualization and emulation (running code designed for different system architectures). QEMU cannot run macOS virtualized on Apple Silicon.
Apple Virtualization backend supports only virtualization and is less mature than QEMU. It is the only way to run macOS virtualized on Apple Silicon.
Boot ISO image を選択する。先程ダウンロードした Ubuntu Desktop 24.04 LTS の ISO イメージを選択する。

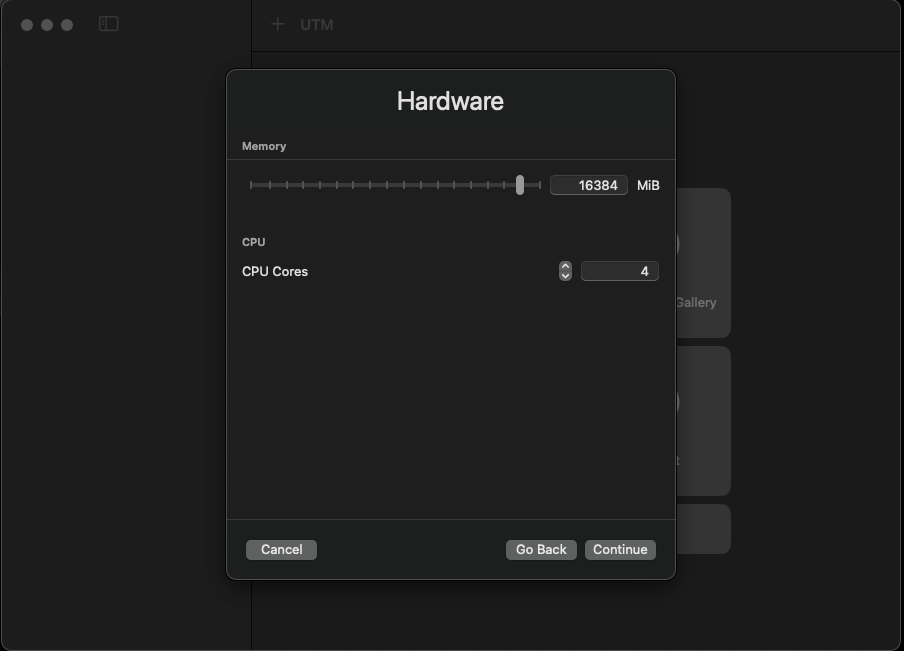
メモリは約 16 GB、CPU は 4 コアを割り当てる。
ストレージは 64 GiB を割り当てる。

共有ディレクトリの設定。ひとまずホームディレクトリ配下に VM との共有ディレクトリ用のディレクトリを作成した。
mkdir -p ~/VMShared/ubuntu-240401-lts-arm64_20240915
共有ディレクトリを選択。
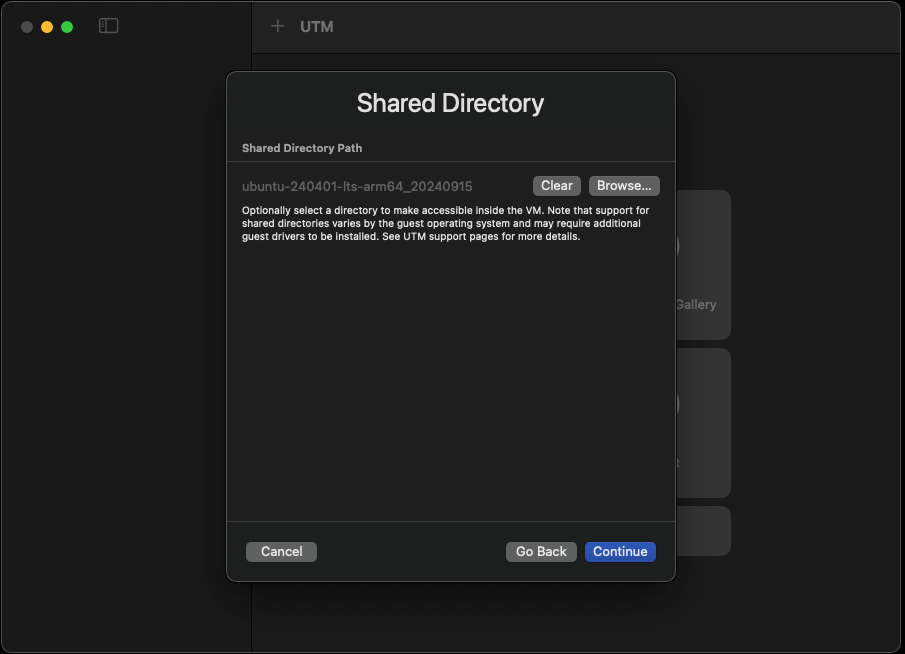
Directory sharing allows a host directory to be shared with the guest.
ちなむと Clipboard、Directory、USB デバイスの共有ができるみたい。

起動
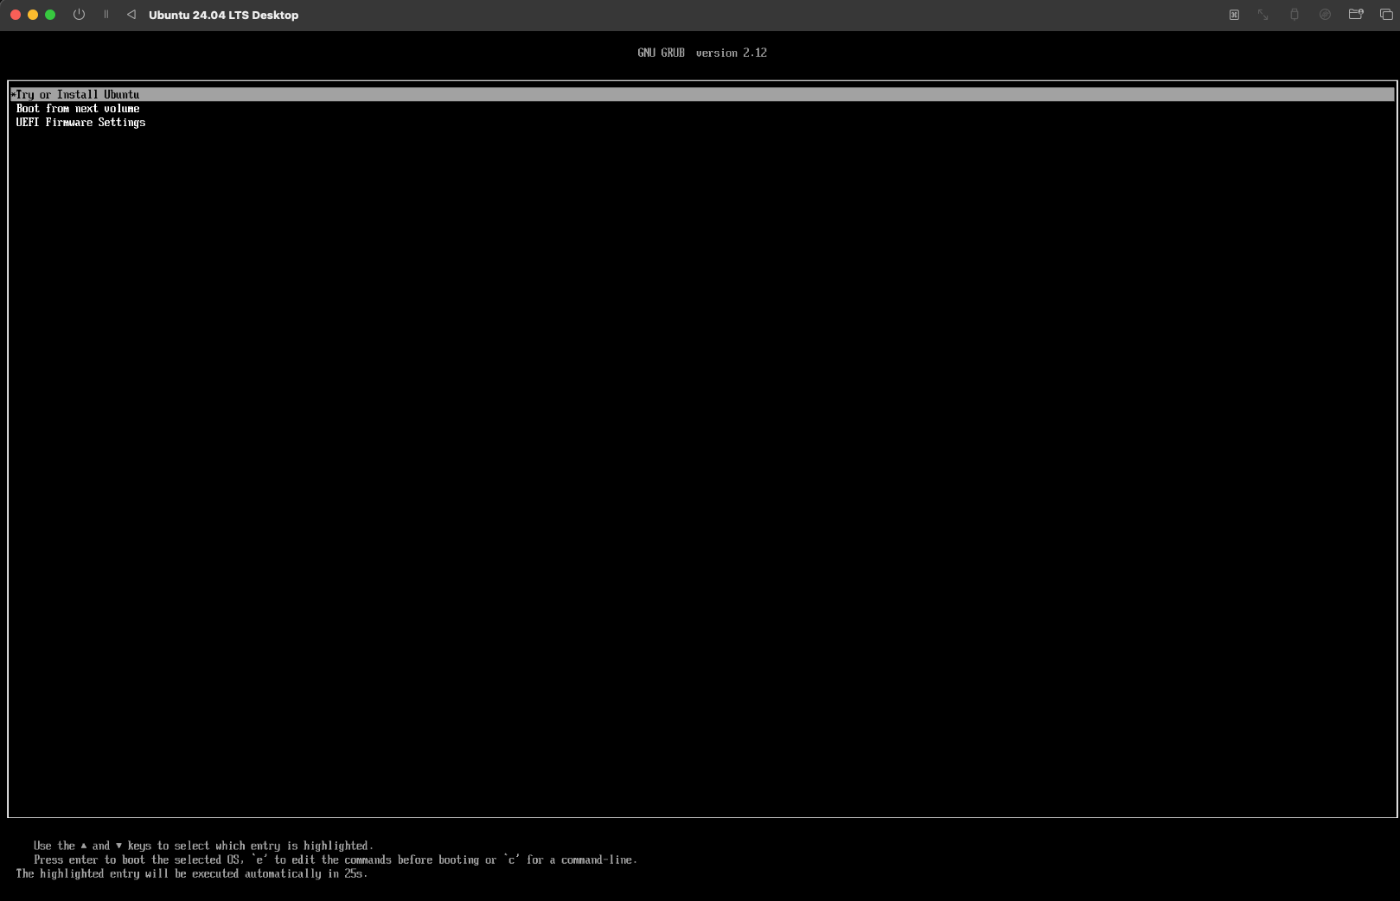
起動ボタンを押すとまず GRUB(ブートローダ)の画面が表示される。画面にフォーカスを当てるとキー入力が有効になっているので、Try or Install Ubuntu を選択して Enter。
ここからは初期設定ウィザードなので端折る。
- Choose your language: English
- Accessibility in Ubuntu: 一旦全てのオフ
- Select your keyboard layout: English (US)
- HHKB Professional 2 という USB キーボードを Mac に接続していたが、レイアウトはバグることなく認識されていた
- Connect to the internet: Use wired connection
- An update is available for the installer: Skip
- What do you want to do with Ubuntu?: Install Ubuntu
- How would you like to install Ubuntu?: Interactive installation - Just the essentials, web browser and basic utilities
- What apps would you like to install to start with?: Default selection
- Install recommended proprietary software?: チェックつけず
- How do you want to install Ubuntu?: Erase disk and install Ubuntu
- Create your account: 名前とかコンピュータ名とかパスワードとか入力
- Select your timezone:
- Location: Tokyo (Tokyo, Japan)
- Timezone: Asia/Tokyo
- Review your choices: ディスクのセットアップの概要が表示される
ウィザードの最後に Install ボタンを押すと以下のようにインストールが始まる。

右下のターミナルのマークを押すとインストールのログが見れる。
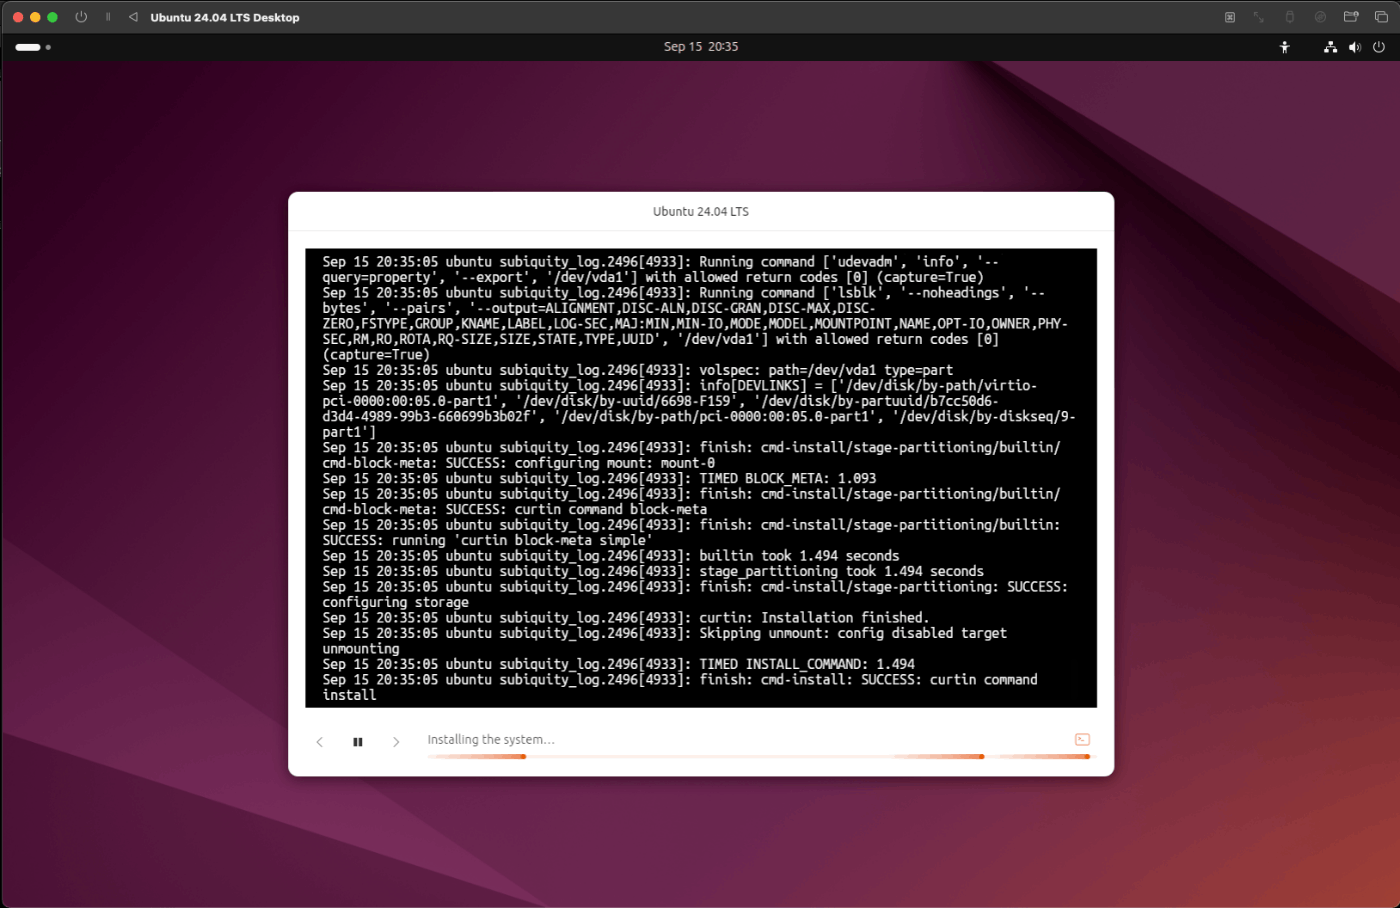
インストールが終わったら Restart now を押して再起動。

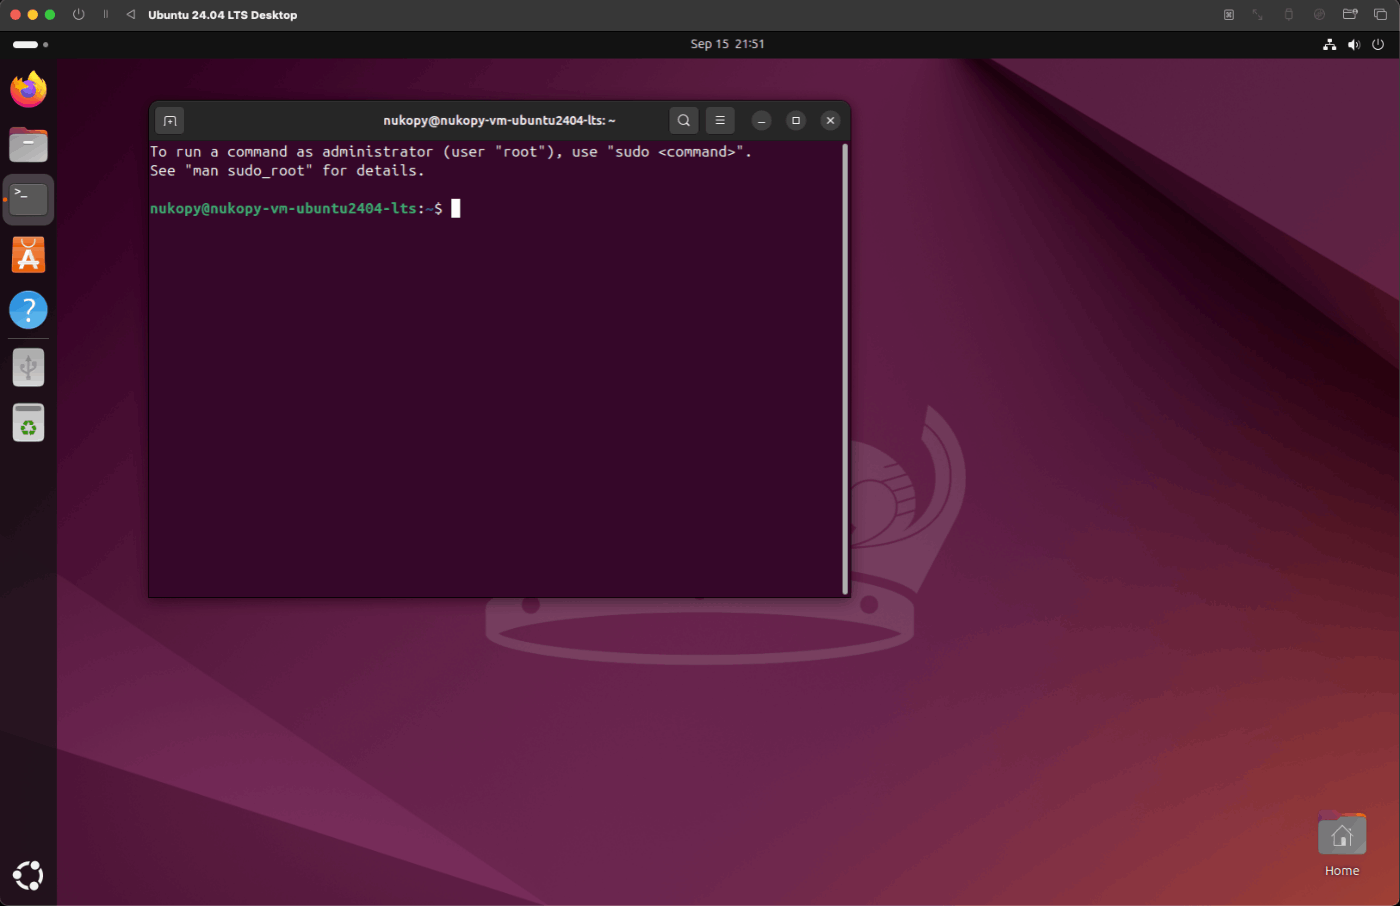
ログインすると無事デスクトップが表示される。

ポップアップはデータ共有だけオフにしたらあとは無視して OK。
初期設定
Clipboard Sharing を使用したいので、SPICE Agent という guest tool をインストールする。
sudo apt update
sudo apt install spice-vdagent
再起動する。
reboot
Love from China💗 Thanks to your post, which successfully helped me run Ubuntu desktop on my UTM, and also opened my eyes to a technical discussion forum in Japan, where the technical content looks really good!
