Next.js BFFとかExpress記事

Next.jsにExpressを使うという記事を見かけて???となったので調べた。
まずこの記事をコピペしてやってみた。
Next.jsはデフォルトではパスと一致するpagesディレクトリ配下の各ファイルにルーティングされます。 このルーティングに独自実装を組み込みたい場合にカスタムサーバを利用します。 例えば、特定のパスの場合のCookie操作やリダイレクト処理の実装などが挙げられます。
参考: https://nextjs-ja-translation-docs.vercel.app/docs/advanced-features/custom-server
ルーティングに独自実装を組み込みたいときにカスタムサーバーを利用するらしい。
Next.jsでカスタムサーバーを調べてみる。
Next.jsはWebServer機能を標準で内蔵していますが、マルチプロセスや特殊なセッション処理などを組み込む場合には、カスタムサーバという形でWebServer部分を自分で実装する必要があります。
公式にサンプルはある物の、以外に日本語の情報が少ない、それどころかマルチプロセスやfastifyでの実装記事は皆無だったので、書いていきたいと思います。
Node環境でのWebServerフレームワークとして、Expressがあるので、「Next.jsのカスタムサーバーとしてExpressを使った」系の記事が書かれているようだ。
というわけで、この段階で公式サイトを見る。
By default, Next.js includes its own server with next start. If you have an existing backend, you can still use it with Next.js (this is not a custom server). A custom Next.js server allows you to start a server 100% programmatically in order to use custom server patterns. Most of the time, you will not need this – but it's available for complete customization.
Next.jsはnext startで起動するサーバーを内蔵しているが、カスタマイズしたくなったら、custom serverを使うことになる。
さらにこのように書かれている。
Before deciding to use a custom server, please keep in mind that it should only be used when the integrated router of Next.js can't meet your app requirements. A custom server will remove important performance optimizations, like serverless functions and Automatic Static Optimization.
custom serverを使うときにはいくつか念頭に置いておく必要があって、「パフォーマンス最適化」の一部機能が失われるらしい。
Next.jsのAPIサーバー機能
Web APIフレームワークではないので、機能的に貧弱
あくまでReactを用いることが前提のフレームワークなので、APIルーティングはおまけ程度
リクエストメソッドのフィルタリングやバリデーションなども自前で用意する必要がある
本格的なWeb APIサーバーを開発する場合は、Node.jsに特化したフレームワークの「NestJS」や、Next.jsを拡張した「Blitz.js」を利用するのが良い
自分で動かす
Next.jsでカスタムサーバーを導入してMongoDBへのアクセスを試みる。
-
カスタムサーバーではmongodbへのデータ取得をする(APIサーバー機能)
-
クライアントサイド側ではカスタムサーバーのAPIエンドポイントへアクセスする。
-
Macでmongodbを用意。
Next.jsからmongodbへアクセス。
Mongoについてはこの辺を真似る。
brew tap mongodb/brew
brew install mongodb-community
mongo
show dbs;
use mydb; // 新しくつくられる
db.createCollection("members");
db.members.insert({name: "hoge",age: 30});
テストデータを入れる。
db.members.find({name: "hoge"});
{ "_id" : ObjectId("612c6eef88eb3015a94d48d2"), "name" : "hoge", "age" : 30 }
入ったデータの確認は以下。
db.members.find()
適当に、mongodbpackageからアクセスしてみて、node app.jsが動くか確認。
app.js
const MongoClient = require("mongodb").MongoClient;
const url = "mongodb://localhost:27017/mydb";

MongoClient.connect(url, (err, db) => {
  if (err) throw err;
  const dbName = db.db("mydb");
  dbName
    .collection("members")
    .find()
    .toArray(function (err, res) {
      if (err) throw err;
      console.log(res);
      db.close();
    });
});
responseは
[
  {
    _id: new ObjectId("612c6eef88eb3015a94d48d2"),
    name: 'hoge',
    age: 30
  }
]
参考: https://kennejs.com/entry/nodejs-mongodb
Next.jsからアクセス。
以下のプロジェクトの立ち上げ方をそのまま真似する。
next.jsでtypescriptを使えるようにする感じ。
_app.tsx
import "../styles/globals.css";

import { AppProps } from "next/app";

const MyApp = ({ Component, pageProps }: AppProps) => {
  return <Component {...pageProps} />;
};
export default MyApp;
custom serverのコード
next.jsのプロジェクトで以下のようにファイルを作成。
今回はmongooseを使うので、
npm install mongoose
をする。
ローカル環境での環境は立ち上げてある。
mongodbのdb名は、mydb
collection名は、members
server/index.ts
import express, { Request, Response } from "express";
import next from "next";

const dev = process.env.NODE_ENV !== "production";
const app = next({ dev });
const handle = app.getRequestHandler();

const url = "mongodb://localhost:27017/mydb";

const mongoose = require("mongoose");
const connectOption = {
  useUnifiedTopology: true,
  useNewUrlParser: true,
};
mongoose.connect(url, connectOption);

const db = mongoose.connection;
db.on("error", console.error.bind(console, "DB connection error:"));
db.once("open", () => console.log("DB connection successful"));
const memberSchema = new mongoose.Schema({
  name: {
    type: String,
  },
  content: {
    type: Number,
  },
});
const Member = mongoose.model("members", memberSchema);

app.prepare().then(() => {
  const server = express();

  server.use(express.json());

  server.get("/member/get", async (req, res) => {
    const members = await Member.find({});
    res.json(members);
  });

  server.get("*", (req, res) => {
    return handle(req, res);
  });

  server.all("*", (req: Request, res: Response) => {
    return handle(req, res);
  });

  server.listen(3000, (err?: any) => {
    if (err) throw err;
    console.log("> Ready on http://localhost:3000");
  });
});
startコマンド
  "scripts": {
    "start": "NODE_ENV=production node dist/index.js
    },
client sideのコード
SSRでカスタムサーバーにアクセスするので、getServerSidePropsを利用する。
index.ts
import Head from "next/head";
import Image from "next/image";
import styles from "../styles/Home.module.css";

export default function Home(props) {
  return (
    <div className={styles.container}>
      <Head>
        <title>Create Next App</title>
        <meta name="description" content="Generated by create next app" />
        <link rel="icon" href="/favicon.ico" />
      </Head>

      <main className={styles.main}>
        <h1 className={styles.title}>
          Welcome to <a href="https://nextjs.org">Next.js!</a>
        </h1>
        hogehogehogeo
        <ul>
          {props.members.map((member) => (
            <li key={member.id}>
              name: {member.name}, age: {member.age}
            </li>
          ))}
        </ul>
      </main>

      <footer className={styles.footer}>
        <a
          href="https://vercel.com?utm_source=create-next-app&utm_medium=default-template&utm_campaign=create-next-app"
          target="_blank"
          rel="noopener noreferrer"
        >
          Powered by{" "}
          <span className={styles.logo}>
            <Image src="/vercel.svg" alt="Vercel Logo" width={72} height={16} />
          </span>
        </a>
      </footer>
    </div>
  );
}

export async function getServerSideProps(context) {
  console.log("getServerSideProps");
  const res = await fetch("http://127.0.0.1:3000/member/get");
  const members = await res.json();
  return {
    props: { members },
  };
}
以上をして、
npm dev runすると確かにアクセスできている。
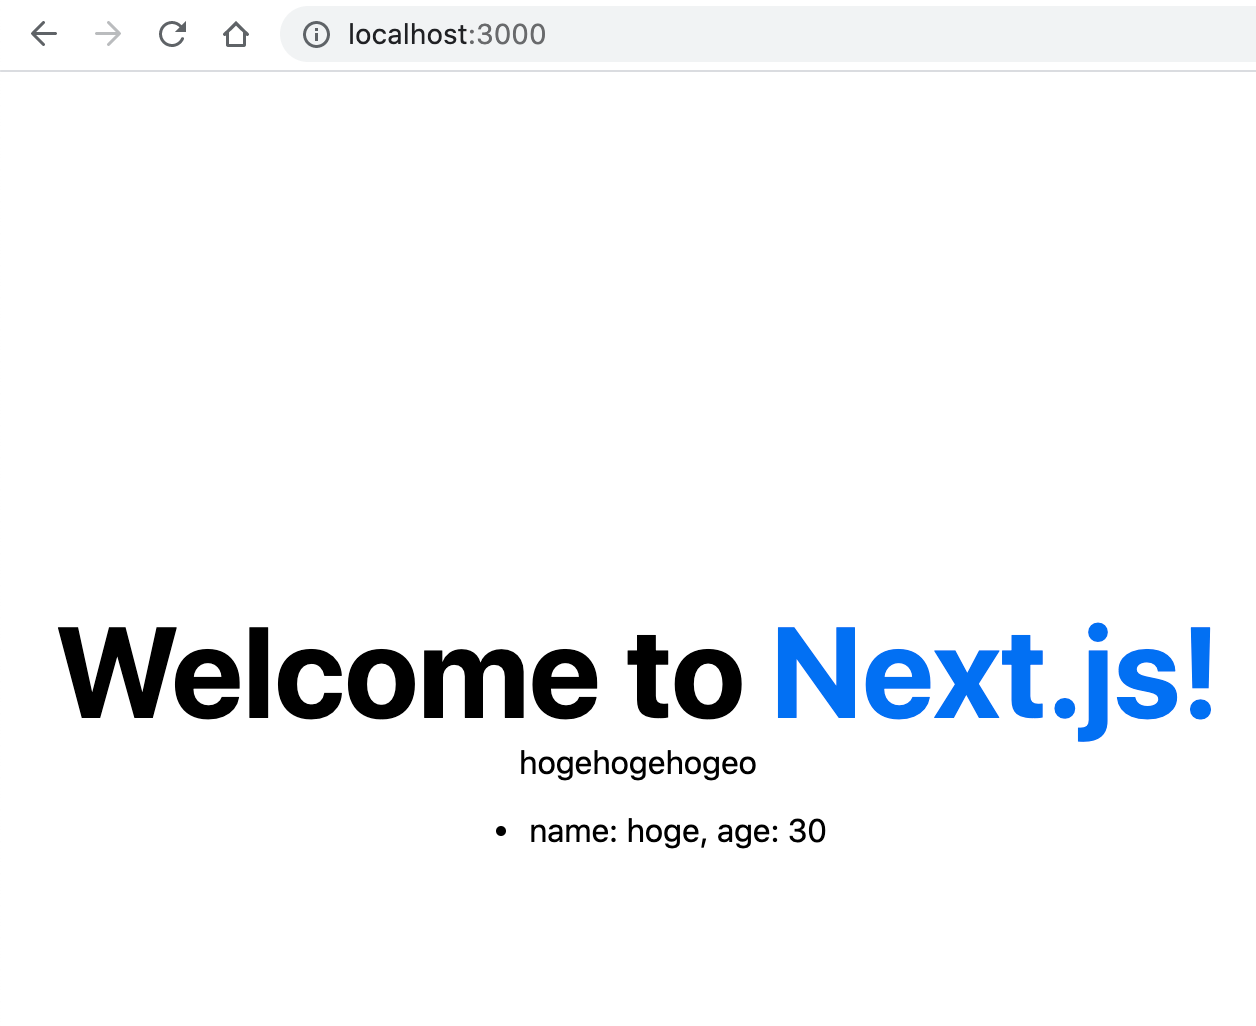
このhttp://localhost:3000/member/getというエンドポイントにアクセスすると確かに以下が表示され、なるほどカスタムサーバーのエンドポイントが機能していることが確認できる。
[{"_id":"612c6eef88eb3015a94d48d2","name":"hoge","age":30}]
memberコレクションのlistをとるので、http://localhost:3000/members/getというURLにしたほうがよかった。
この辺を参考にした。
なおtypescriptでやる場合はこちらの記事が参考になる。
参考
Discussion