dexidp/dex と AuthProxy Connector を試す
TL;DR
- Dex の AuthProxy connector を使うと、basic 認証を用いて ID token を発行することができる
- AuthProxy を使うには nginx や apache などのリバースプロキシが必要
- /dex/callback/:id に来たリクエストについて検証して、正しいなら
X-Remote-Userヘッダを追加する
- /dex/callback/:id に来たリクエストについて検証して、正しいなら
はじめに
dexidp/dex の connector を見ていたら、AuthProxy を使うことで Basic認証に通ったユーザに ID token を発行することができそうだと思いました。
ドキュメントには具体的なフローが書いておらず、手元で試すまで時間がかかったので再現するための詳しい手順を書いておきます。
前半は Getting Started の説明になっているので、AuthProxy の話が見たい人は後半から読んでください。
dex の使い方
dexidp.io の Getting Started をもとに説明します。
準備
$ git clone https://github.com/dexidp/dex.git
$ cd dex/
$ make build # dex 本体がビルドされ ./bin/dex に配置されます。
また、検証用に用意されているアプリケーションもビルドしておきます。
$ make examples # example-app がビルドされ ./bin/example-app に配置されます
検証用の example-app を試すためには、用意されている config ファイルを dex に与えて起動する必要があります。
$ ./bin/dex serve examples/config-dev.yaml
また、別のコンソールで example-app を起動しましょう。
$ ./bin/example-app
トークン取得
次の手順で dex を用いて ID トークンを取得する流れを体験することができます。
- http://localhost:5555 で待ち受けている example-app にアクセスする
-
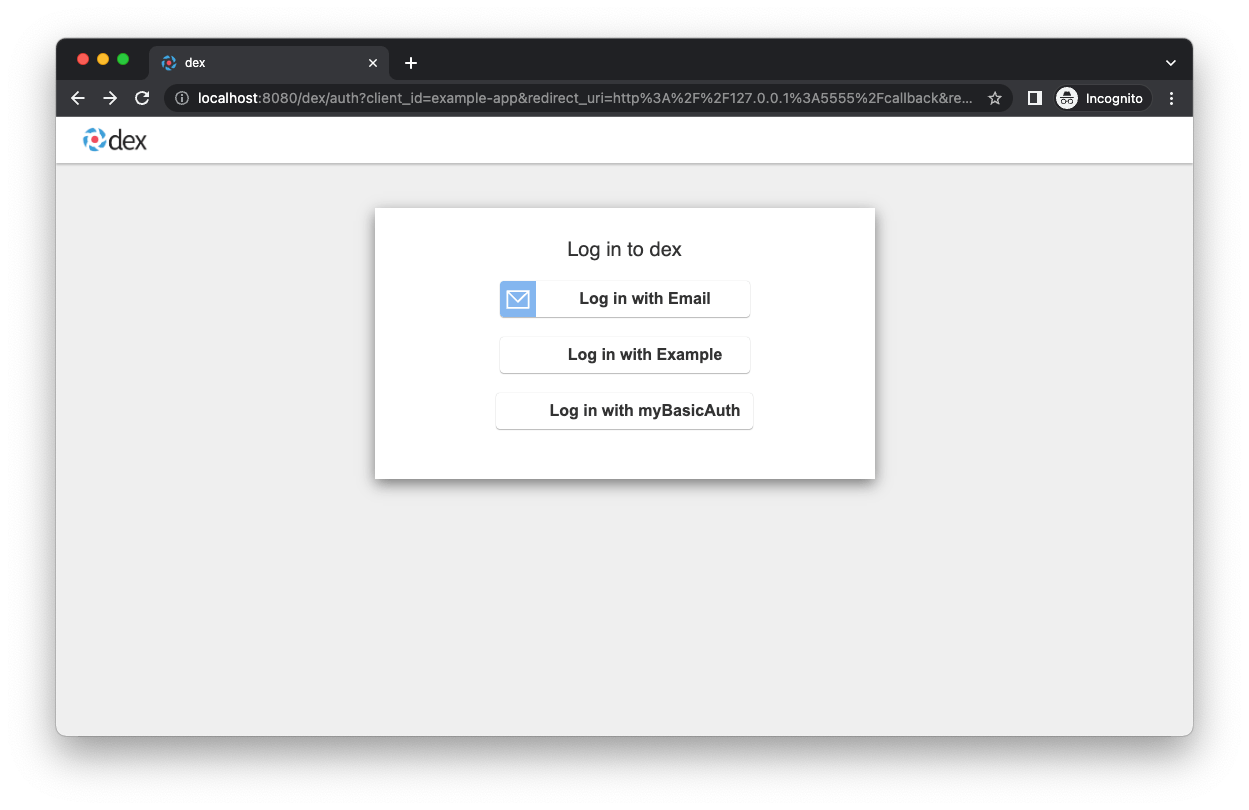
loginを押すと、 dex にリダイレクトされる - dex の画面で認証方法が選べる
-
Log in with Email-
admin@example.com,passwordをそれぞれ入力する- examples/config-dev.yaml に認証情報が書かれている
-
-
Log in With Example- 内部でモックされたユーザーデータを利用する
-
-
Grant Accessをクリックして、アクセスの承認を行う - example-app に取得した ID トークンが表示される
次に実際のアクセスをベースにしたフローを示します。
AuthProxy の設定の仕方
今回は、認証方法に AuthProxy を用いて Basic 認証を追加してみます。
AuthProxy のドキュメント
先にフローを示すと次のようになります。
ここで、AuthProxy を使うためには X-Remote-User ヘッダの指定が必要であることがわかります。
そのため、/dex/callback/basicauth にきたリクエストに対して basic認証の検証を行い、その結果によって X-Remote-User ヘッダをセットするプロキシが必要になります。
プロキシの設定
ドキュメントには Apache2 の例が示されているのですが、今回は Nginx で構成してみます。
nginx をリバースプロキシとして利用するために必要な設定を以下に示します。
$ htpasswd -c -b htpasswd test password
Adding password for user test

$ ls
nginx.conf htpasswd

$ cat nginx.conf
user nginx;
    worker_processes  3;
    error_log  /var/log/nginx/error.log;
    events {
      worker_connections  10240;
    }

    http {
      access_log    /dev/stdout;
      error_log     /dev/stderr  warn;

      server {
        listen 80;
        location /dex/callback/myBasicAuth {
          auth_basic "basic auth";
          auth_basic_user_file /etc/nginx/htpasswd;
          set $user "foo@example.com";

          proxy_set_header X-Forwarded-Host $host:$server_port;
          proxy_set_header X-Forwarded-Server $host;
          proxy_set_header X-Forwarded-For $proxy_add_x_forwarded_for;
          proxy_set_header X-Remote-User $user;
          proxy_pass "http://$HOST_IP:5556/dex/callback/myBasicAuth";
        }

        location /dex/ {
          proxy_set_header X-Forwarded-Host $host:$server_port;
          proxy_set_header X-Forwarded-Server $host;
          proxy_set_header X-Forwarded-For $proxy_add_x_forwarded_for;
          proxy_pass "http://$HOST_IP:5556/dex/";
        }
      }
    }
docker を使って起動します。
$ docker run -it --rm --name nginx -v $(pwd)/nginx.conf:/etc/nginx/nginx.conf -v $(pwd)/htpasswd:/etc/nginx/htpasswd -p 8080:80 nginx
dex の config も変更する必要があります。
変更点は二箇所です。
- issuer を
localhost:8080/dexに変更 - connectors に AuthProxy を追加
- id は何でも良いのですが、nginx で指定した /dex/callback/:id と合わせる必要があります。
$ git diff examples/config-dev.yaml
diff --git a/examples/config-dev.yaml b/examples/config-dev.yaml
index 6cae823c..5441c587 100644
--- a/examples/config-dev.yaml
+++ b/examples/config-dev.yaml
@@ -4,8 +4,9 @@
 # The base path of dex and the external name of the OpenID Connect service.
 # This is the canonical URL that all clients MUST use to refer to dex. If a
 # path is provided, dex's HTTP service will listen at a non-root URL.
-issuer: http://127.0.0.1:5556/dex
+#issuer: http://127.0.0.1:5556/dex
+issuer: http://localhost:8080/dex
 # The storage configuration determines where dex stores its state. Supported
 # options include SQL flavors and Kubernetes third party resources.
 #
@@ -120,6 +121,9 @@ connectors:
 - type: mockCallback
   id: mock
   name: Example
+- type: authproxy
+  id: myBasicAuth
+  name: myBasicAuth
 # - type: google
 #   id: google
Basic認証を通じてトークンを取得してみる
設定が終わったら、 dex と nginx をそれぞれ別のコンソールで起動します。
$ docker run -it --rm --name nginx -v $(pwd)/nginx.conf:/etc/nginx/nginx.conf -v $(pwd)/htpasswd:/etc/nginx/htpasswd -p 8080:80 nginx
/docker-entrypoint.sh: /docker-entrypoint.d/ is not empty, will attempt to perform configuration
/docker-entrypoint.sh: Looking for shell scripts in /docker-entrypoint.d/
/docker-entrypoint.sh: Launching /docker-entrypoint.d/10-listen-on-ipv6-by-default.sh
10-listen-on-ipv6-by-default.sh: info: Getting the checksum of /etc/nginx/conf.d/default.conf
10-listen-on-ipv6-by-default.sh: info: Enabled listen on IPv6 in /etc/nginx/conf.d/default.conf
/docker-entrypoint.sh: Launching /docker-entrypoint.d/20-envsubst-on-templates.sh
/docker-entrypoint.sh: Launching /docker-entrypoint.d/30-tune-worker-processes.sh
/docker-entrypoint.sh: Configuration complete; ready for start up
$ ./bin/dex serve examples/config-dev.yaml
time="2022-04-27T03:12:07Z" level=info msg="Dex Version: fd15dd2248900a16849af9513d9a70c0a0e5103f-dirty, Go Version: go1.17.7, Go OS/ARCH: darwin arm64"
time="2022-04-27T03:12:07Z" level=info msg="config issuer: http://localhost:8080/dex"
time="2022-04-27T03:12:07Z" level=info msg="config storage: sqlite3"
time="2022-04-27T03:12:07Z" level=info msg="config static client: Example App"
time="2022-04-27T03:12:07Z" level=info msg="config connector: mock"
time="2022-04-27T03:12:07Z" level=info msg="config connector: myBasicAuth"
time="2022-04-27T03:12:07Z" level=info msg="config connector: local passwords enabled"
time="2022-04-27T03:12:07Z" level=info msg="config refresh tokens rotation enabled: true"
time="2022-04-27T03:12:07Z" level=info msg="listening (telemetry) on 0.0.0.0:5558"
time="2022-04-27T03:12:07Z" level=info msg="listening (http) on 0.0.0.0:5556"
また、example-app も issuer をオプションで指定して起動します。
$ ./bin/example-app --issuer http://localhost:8080/dex
2022/04/27 12:26:00 listening on http://127.0.0.1:5555
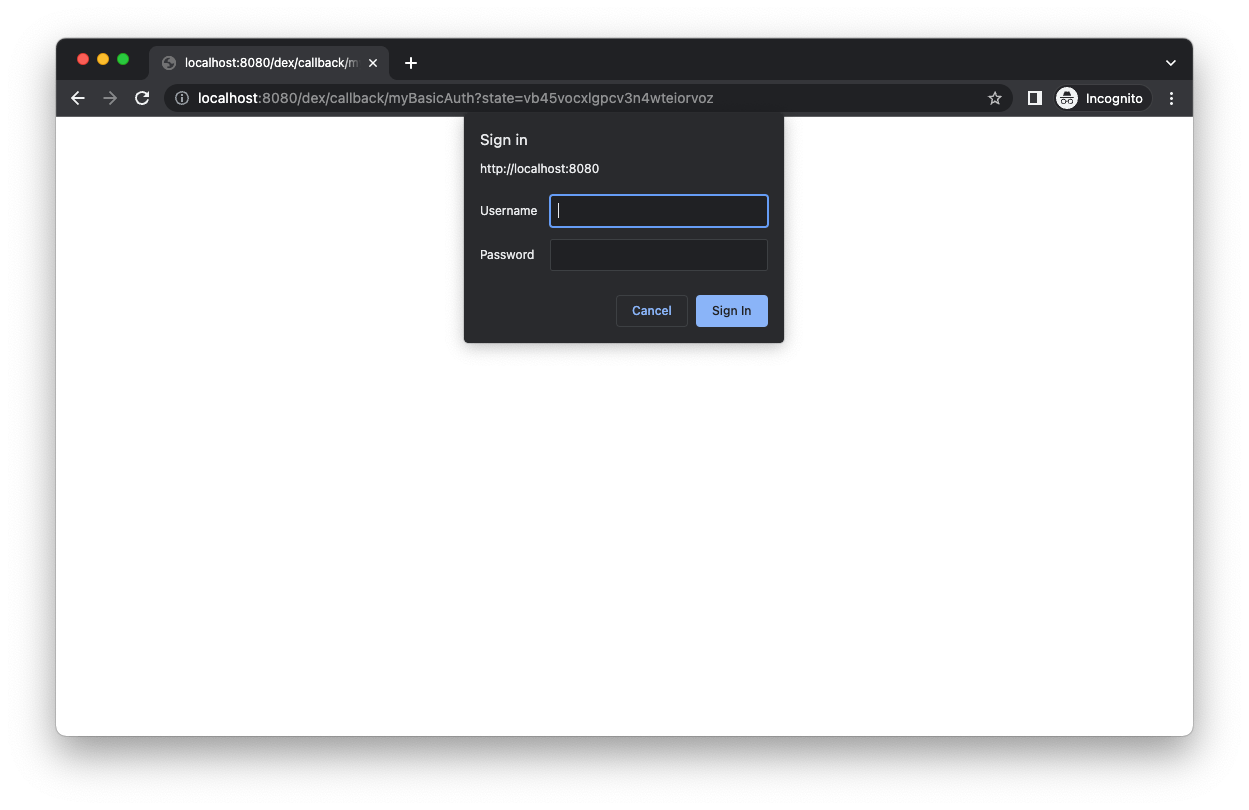
この状態で localhost:5555 にアクセスし、Login -> Log in with myBasicAuth をクリックすると basic 認証が要求されます。


test:password を入力して、認証画面を進み、ID token が表示されたら成功です 🎉
備考
dex の設定で skipApprovalScreen というものがあります。
skipApprovalScreen: true にすることで、先のフローにあった承認画面をスキップでき、認証コードをそのまま取得できます。
この方法を使うと、curl などのCLIアクセスでも 認証コードを取得することができるようになります。
connector のおかげで、ブラウザからはSSO、CLIアクセスは basic auth を使ってそれぞれ id token を取得する、といった構成も考えられるかと思います。
Discussion