nginx入門メモ
nginxの学習記録。
最終的には、Amazon Linux2 + nginx + small_lightでリサイズサーバーを立てたい。
EC2インスタンスにnginxをインストール
EC2に接続
EC2の「接続」パネルに接続方法がある。
# pemキーの権限を変更する
$ chmod 400 pemキー

# EC2に接続
$ ssh -i pemキーのパス ec2-user@パブリックIPアドレス
nginxをインストール
$ sudo yum install yum-utils

# nginx.repoファイルを作成し、以下の内容をコピペ
$ sudo vi /etc/yum.repos.d/nginx.repo
[nginx-stable]
name=nginx stable repo
baseurl=http://nginx.org/packages/amzn2/$releasever/$basearch/
gpgcheck=1
enabled=1
gpgkey=https://nginx.org/keys/nginx_signing.key
module_hotfixes=true

[nginx-mainline]
name=nginx mainline repo
baseurl=http://nginx.org/packages/mainline/amzn2/$releasever/$basearch/
gpgcheck=1
enabled=0
gpgkey=https://nginx.org/keys/nginx_signing.key
module_hotfixes=true

# nginxをインストール
$ sudo yum install nginx
nginxを起動して、http接続してみる
# 起動
$ sudo systemctl start nginx
# ステータス確認
$sudo systemctl status nginx
ステータスの出力内容。
Active: active (running)とあるので、成功!
● nginx.service - nginx - high performance web server
   Loaded: loaded (/usr/lib/systemd/system/nginx.service; disabled; vendor preset: disabled)
   Active: active (running) since 木 2021-07-22 10:44:40 UTC; 9min ago
     Docs: http://nginx.org/en/docs/
  Process: 2358 ExecReload=/bin/sh -c /bin/kill -s HUP $(/bin/cat /var/run/nginx.pid) (code=exited, status=0/SUCCESS)
 ・・・以下省略・・・
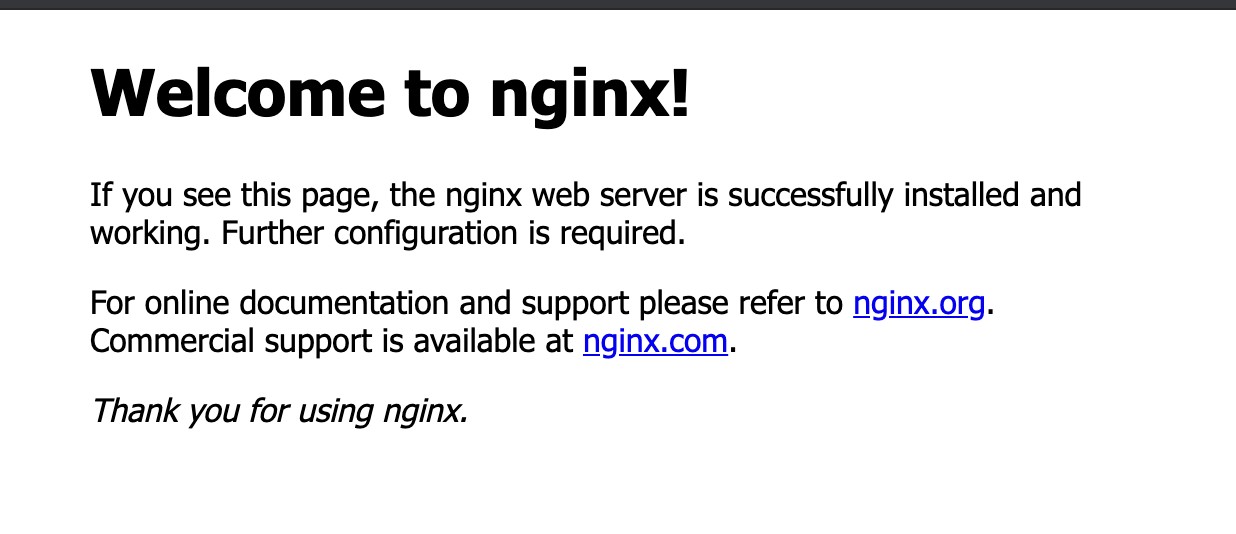
EC2のパブリックIPまたはDNSにhttpアクセスすると、以下の画面が表示される。やったね!
ngx_small_lightモジュールをnginxに追加しようとした時、手順にあるconfigureファイルがnginxディレクトリになくて、「???」になった。(amazon-linux-extrasと、yumでのインストールした後)
こういうことらしい↓
To clarify. In order to add 3rd party modules, you need to compile nginx from the source. (download it with wget). The pre-built package doesn't allow you to do it.
https://stackoverflow.com/questions/40858679/configure-no-such-file-or-directory-build-nginx-rtmp-module-on-mac-os-x
バイナリでインストールする。
As binaries you compile from source. This way is more flexible: you can add particular modules, including third‑party modules, or apply the latest security patches. See Compiling and Installing from Source for details.
https://docs.nginx.com/nginx/admin-guide/installing-nginx/installing-nginx-open-source/
バイナリでインストール
Dependenciesをインストール
PCRE – Supports regular expressions. Required by the NGINX Core and Rewrite modules.
$ sudo yum -y install gcc
$ sudo yum install -y pcre pcre-devel
$ sudo yum install -y zlib zlib-devel
nginxをインストール
以下のページでStableバージョンを調べる。
# nginxをインストール
$ sudo wget https://nginx.org/download/nginx-1.20.1.tar.gz
# ファイルを解凍
$ tar zxf nginx-1.20.1.tar.gz
#
$ cd nginx-1.20.1.tar.gz
$ ./configure --prefix=/usr/local/nginx --user=nginx --group=nginx
# 成功すると、さまりが表示される。
Configuration summary
  + using system PCRE library
  + OpenSSL library is not used
  + using system zlib library

  nginx path prefix: "/usr/local/nginx"
  nginx binary file: "/usr/local/nginx/sbin/nginx"
  nginx modules path: "/usr/local/nginx/modules"
  nginx configuration prefix: "/usr/local/nginx/conf"
  nginx configuration file: "/usr/local/nginx/conf/nginx.conf"
  nginx pid file: "/usr/local/nginx/logs/nginx.pid"
  nginx error log file: "/usr/local/nginx/logs/error.log"
  nginx http access log file: "/usr/local/nginx/logs/access.log"
  nginx http client request body temporary files: "client_body_temp"
  nginx http proxy temporary files: "proxy_temp"
  nginx http fastcgi temporary files: "fastcgi_temp"
  nginx http uwsgi temporary files: "uwsgi_temp"
  nginx http scgi temporary files: "scgi_temp"

# コンパイル
$ make
# インストール
# sudo make install
init scriptを作成
/etc/init.d/nginxファイルを新規作成し、以下のページのコードをコピペする。
環境に合わせてファイルを書き換える。
-nginx="/usr/sbin/nginx"
+nginx="/usr/local/nginx/sbin/nginx"

-NGINX_CONF_FILE="/etc/nginx/nginx.conf"
+NGINX_CONF_FILE="/usr/local/nginx/conf/nginx.conf"
ファイルに実行権限を付与する。
$ sudo chmod +x /etc/init.d/nginx
nginxを起動する
$ sudo service nginx start
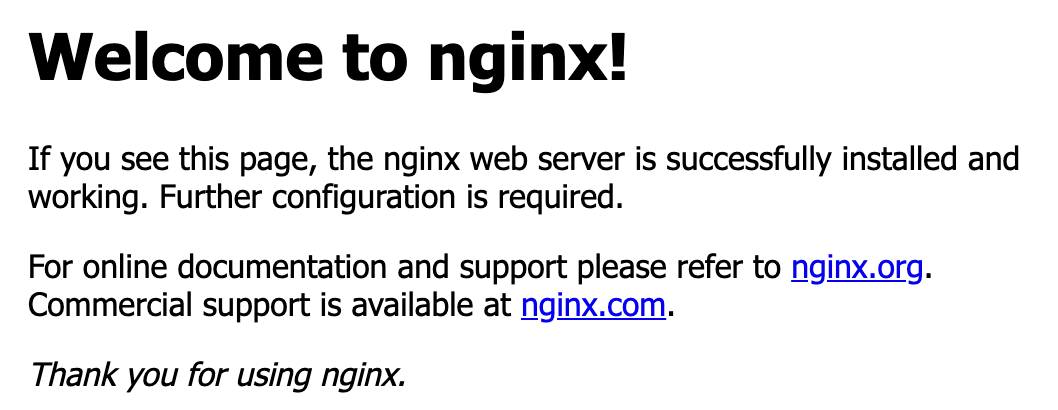
EC2のパブリックIP/DNSにhttpでアクセスすると、ブラウザに表示される。
nginxパッケージの主なファイルとディレクトリ
インストールされたパッケージに含まれる、主なファイル/ディレクトリ。
$ rpm -ql nginx

# ログのローテーションの設定ファイル
/etc/logrotate.d/nginx
# nginxの設定ファイルが置かれるディレクトリ
/etc/nginx
# systemedの設定ファイルで、起動スクリプト
/usr/lib/systemd/system/nginx.service
# 追加モジュールを配置するディレクトリ
/usr/lib64/nginx/modules
# nginxのドキュメントが置かれるディレクトリ
/usr/share/doc/nginx-バージョン
# デフォルトのドキュメントルートとなるディレクトリ
/usr/share/nginx/html
# ログファイルが書き出されるディレクトリ
/var/log/nginx
/etc/nginx/ディレクトリ内のファイル。
# 最初に読み込まれる設定ファイル
nginx.conf
# nginx.confのサブディレクトリ。nginx.confから、includeディレクティブで読み込んで利用
conf.d
# ファイルの拡張子とContent-Typeのマッピングテーブル
mimte.types
# ポート番号やドキュメントルートの設定など、Webサーバーの基本的な設定ファイル
conf.d/default.conf
# conf.d/default.confのサブディレクトリ
default.d
# FastCGIのパラメーターとnginxの変数やテキストのマッピングテーブル
fastcgi.conf.default
fastcgi.params
# SCGIのパラメーターとnginxの変数やテキストのマッピングテーブル
scgi_params
# ロシア文字の変換テーブル
koi-utf
koi-win
win-utf
サブディレクトリやファイルの読み込み方
nginx.confが、最初に読み込まれる。
nginx.conf内でincludeディレクティブを使うことで、他のファイルを読み込むことができる。
他のファイルを読み込む:
include /etc/nginx/mime.types;
サブディレクトリ(/etc/nginx/conf.d) に配置した設定ファイルを全て読み込む:
include /etc/nginx/conf.d/*.conf;
nginx.confのファイルの中身
nginx.conf にある、events { ... } や http { ... } は、ディレクティブと呼ばれる、基本的な構成要素。 include hoge; の用にセミコロンを使った構文もディレクティブ。
ブロックディレクティブは、その範囲がスコープとなり、範囲のことをコンテキストという。ディレクティブによってどのコンテキストが使えるかが決まっている。
どのブロックにも囲まれていない部分は、mainコンテキストとして扱われる。
mainコンテキスト
# nginxの実行ユーザーをnginxとする
user nginx;

# ワーカーのプロセス数。
worker_processes auto;

# errorファイルの場所とログレベルの指定。ログレベル指定なしの場合は、error以上を出力する。
error_log /var/log/nginx/error.log error;

# マスタープロセるのPIDを出力する、PIDファイルのパスを指定。
pid /run/nginx.pid;

# Load dynamic modules. See /usr/share/doc/nginx/README.dynamic.
include /usr/share/nginx/modules/*.conf;
eventsコンテキスト
events {
    # 1つのワーカーが処理できるコネクション数を指定する。
    worker_connections 1024;
}
httpコンテキスト
http {
    # ログファイルの書式を指定し、その書式に名前をつける。
    # ここでは main という書式を作成している。
    log_format  main  '$remote_addr - $remote_user [$time_local] "$request" '
                                   '$status $body_bytes_sent "$http_referer" '
                                   '"$http_user_agent" "$http_x_forwarded_for"';

    # アクセスログのパスと、その書式を指定する。書式の指定には、log_formatして定義したものを使用する。
    access_log  /var/log/nginx/access.log  main;

    # ---------------------------------------------
    # 以下高速化のためのオプション。問題ない限りonで良い。

    # 内部的にsendfile()システムコールを用いるかどうかを指定する。
    sendfile            on;
    # sendfileディレクティブ友好時に、TCP_NOPUSHオプションを有効にするかどうか指定する。
    # 有効にすると、もっとも大きなパケットサイズで送信する。
    tcp_nopush          on;
    # TCP_NODELAYオプションを有効にするかどうか指定する。
    # 有効にすると、小さなパケットを待たずに送信する。
    tcp_nodelay         on;
    # ---------------------------------------------

    # クライアントと常時接続する時間を指定する。
    keepalive_timeout   65;

    # ??
    types_hash_max_size 4096;

    # MIMEタイプの関連付けリストをinclude
    include             /etc/nginx/mime.types;

    # MIMEタイプが不明の場合に用いられる
    default_type        application/octet-stream;

    # Load modular configuration files from the /etc/nginx/conf.d directory.
    # See http://nginx.org/en/docs/ngx_core_module.html#include
    # for more information.
    include /etc/nginx/conf.d/*.conf;
}
serverコンテキスト
serverコンテキストは、httpコンテキスト内にしか配置できない。複数配置は可能。
    server {
        # 使用するIPアドレス、ポートを指定。
        # default_serverオプションを付けると、それがデフォルトサーバーとして扱われる。
        listen       80;   # IPv4
        listen       [::]:80;  #IPv6

        # ホスト名
        server_name  _;

        # ドキュメントルートを指定。
        root         /usr/share/nginx/html;

        # Load configuration files for the default server block.
        include /etc/nginx/default.d/*.conf;

        # 任意のURI毎に異なる設定をするためのもの
        location / {
        }

        # エラーが存在しない時に表示されるページを指定。
        error_page 404 /404.html;
        location = /404.html {
        }

        error_page 500 502 503 504 /50x.html;
        location = /50x.html {
        }
    }
wip HTTPS対応
HTTPS通信には、サーバー証明書が必要。サーバー証明書は、CA(認証局:Certification Authority)が発行する。
作成の流れは次の通り:
- 秘密鍵を作成する
- CSR(Certificate Signing Request)を作成する
- CAにCSRを提出する
- CAが審査を行い、Webサーバーの設定に必要な証明書を発行する
- Webサーバに証明書を設置する
Let’s Encrypt
Let’s Encryptとは、SSL/TSL証明書を提供する認証局。
DV(Domain Validation)証明書の発行のみ可能。他のOV/EV証明書は取り扱っていない。
非営利団体のため、証明書の発行は無料で行ってくれる。
証明書の有効期限は、90日間。
Let’s Encrypt による証明書の発行・更新のために、80,443ポートを開放する必要がある。
参考:https://oji-cloud.net/2020/09/29/post-5570/
DV証明書とは、ドメインが所有されていることを証明する証明書。対象となるドメインを所有していないユーザーが証明書を購入できないように確認した上で発行される。
NGINX入門 P.115
epel-releaseとcertbotをインストール
epel-releaseとは、
certbotとは、
EC2にログイン後、コマンドを実行。
# 取得可能なパッケージを確認
amazon-linux-extras
# epel-releaseをインストール
sudo amazon-linux-extras install epel

# certbotをインストール
sudo yum install certbot

# 証明書を発行
certbot certonly –webroot -w /var/www/html -d [SSLをかけたいドメイン・URL] –email [メールアドレス] -n –agree-tos
参考:
S3にリバースプロキシ
EC2のパブリック IPv4 DNSドメイン/images/{S3パス}にアクセスした時、{S3パス}の画像を表示する。
server {
    listen       80;
    listen       [::]:80;
    server_name  {EC2のパブリック IPv4 DNSドメイン};
    root         /usr/share/nginx/html;

   # /images/**にアクセスした時に処理
    location ~ /images/(.+)$ {
  #
        resolver       8.8.8.8 valid=5s;
        # 変数指定
        set $s3_host    "s3.ap-northeast-1.amazonaws.com";
        set $s3_bucket  "バケット名";
        # $1には、(.+)部分が入る
  set $url_full   $1;
        # 転送先
        proxy_pass    http://$s3_host/$s3_bucket/$url_full
   }
}
https://s3.ap-northeast-1.amazonaws.com/bucket/0001/cat.jpgに画像が保存されている場合、
ブラウザで↓にアクセスすると、S3にリバースプロキシされて、cat.jpgが表示される。
http://EC2のパブリック IPv4 DNSドメイン/images/0001/cat.jpg
Basic認証をかける
/private.htmlへのアクセス時に、BASIC認証を有効にする。
手順:
- private.htmlファイルを作成する
- nginx.confに設定を書く
- .httpasswdファイルを作成する
- Basic認証がかかっているか確認する
1. private.htmlファイルを作成する
# private.htmlファイルを作成、編集
# Wecome to private page !を記載
$ sudo vi /usr/share/nginx/html/private.html
2. nginx.confに設定を書く
locationディレクティブを追加し、/private.htmlにアクセス時にBasic認証のダイアログを表示させる。
    server {
        listen       80;
        listen       [::]:80;
        server_name  _;
        root         /usr/share/nginx/html;
        # --- [追記] --------------------------------------
        location /private.html {
            index private.html;     # 表示するファイル

            auth_basic "enter password";   # ブラウザによっては、パスワード入力画面に表示される文字
            auth_basic_user_file /etc/nginx/.htpasswd;  # パスワードファイル
        }
        # --- [追記] --------------------------------------
    }
3. .httpasswdファイルを作成する
.httpasswdファイルの作成に利用するhtpasswdコマンドを使えるようにするために、httpd-toolsをインストールする。
その後、ユーザー名、パスワード、ファイル名を指定して、パスワードファイルを作成する。
# httpd-toolsをインストール
$ sudo yum install httpd-tools

# ユーザー名とパスワードを指定して、.httpasswdファイルを作成する
$ sudo htpasswd -c -b /etc/nginx/.htpasswd {username} {password}
Adding password for user username
4. Basic認証がかかっているか確認する
# nginxをリスタート
$ sudo systemctl restart nginx
ブラウザで、http://example.com/private.htmlにアクセス。
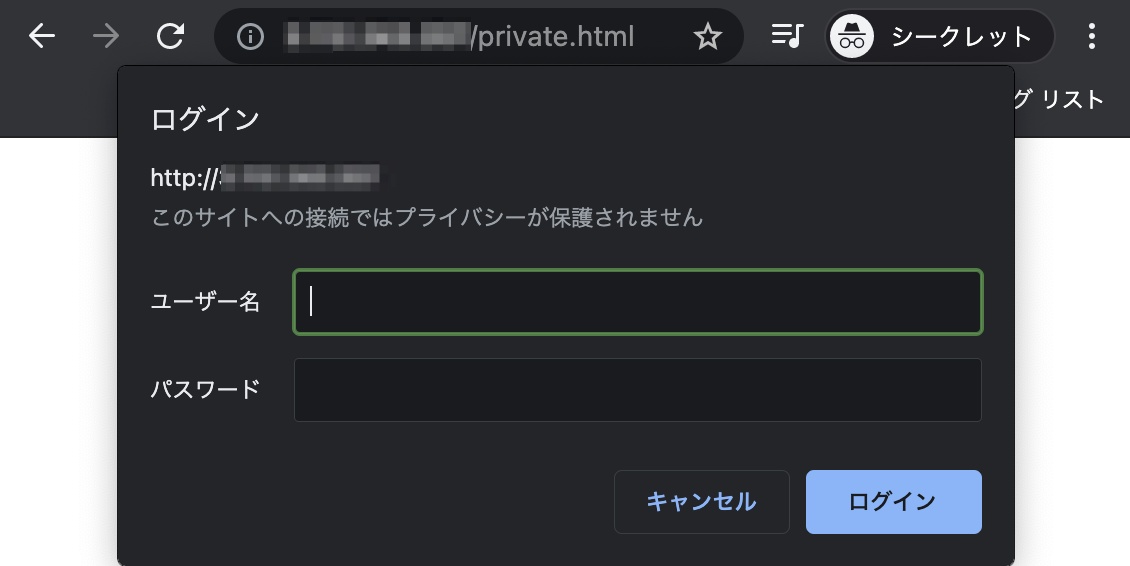
ユーザー名とパスワードを入力すると、private.htmlが表示される。
