🎯
Python 動物検知!
PythonでのAI開発
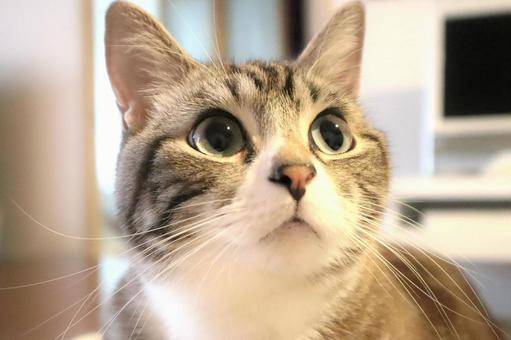
うまくいているやつ:


間違えちゃったやつ:


ソース
.
├── 78.63170373102054.png
├── Main.py
└── input_image.jpg

1 directory, 3 files
ダウンロード!
pip install numpy
pip install pandas
pip install matplotlib
pip install opencv-python
pip install scikit-learn
main.py
import numpy as np
import pandas as pd
import matplotlib.pyplot as plt
import cv2
import random

from sklearn import datasets
from sklearn.neural_network import MLPClassifier
from sklearn.model_selection import train_test_split

# Load the Iris dataset
iris = datasets.load_iris()

# Load data into a pandas DataFrame
df_iris = pd.DataFrame(data=iris.data, columns=iris.feature_names)

# Add the target column
df_iris['target'] = iris.target

# Display dataset statistics
print("Dataset Summary:")
print(df_iris.describe())

# Split the dataset into training and testing sets
data_train, data_test, target_train, target_test = train_test_split(
    iris.data, iris.target, test_size=0.2, random_state=0
)

# Define the neural network model
clf = MLPClassifier(
    hidden_layer_sizes=(10,),  # Single hidden layer with 10 neurons
    activation='relu',         # Activation function
    solver='adam',             # Optimization algorithm
    max_iter=1000              # Maximum number of iterations
)

# Fit the model to the training data
clf.fit(data_train, target_train)

# Calculate and display the training accuracy
train_accuracy = clf.score(data_train, target_train)
print(f"Training Accuracy: {train_accuracy:.2f}")

# Predict and display the test set results
test_predictions = clf.predict(data_test)
print("Test Predictions:")
print(test_predictions)

# Display the loss curve
plt.plot(clf.loss_curve_)
plt.title("Loss Curve")
plt.xlabel("Iteration")
plt.ylabel("Loss")
plt.grid(True)
plt.show()

# Function to detect various animals and objects and draw contours on a PNG image
def detect_objects(image_path, output_path):
    # Load pre-trained models for different objects and animals
    object_cascades = {
        'cat': cv2.CascadeClassifier(cv2.data.haarcascades + 'haarcascade_frontalcatface.xml'),
        'dog': cv2.CascadeClassifier(cv2.data.haarcascades + 'haarcascade_frontalface_default.xml'),
        'human': cv2.CascadeClassifier(cv2.data.haarcascades + 'haarcascade_fullbody.xml'),
        'eye': cv2.CascadeClassifier(cv2.data.haarcascades + 'haarcascade_eye.xml'),
        'person': cv2.CascadeClassifier(cv2.data.haarcascades + 'haarcascade_upperbody.xml'),
    }

    # Load the image
    image = cv2.imread(image_path)
    if image is None:
        print("Error: Image not found or could not be read.")
        return

    # Convert to grayscale
    gray = cv2.cvtColor(image, cv2.COLOR_BGR2GRAY)

    # Detect each object/animal and draw rectangles
    for label, cascade in object_cascades.items():
        detected_objects = cascade.detectMultiScale(gray, scaleFactor=1.1, minNeighbors=5, minSize=(50, 50))

        for (x, y, w, h) in detected_objects:
            # Adjust rectangle position with offsets
            x_offset, y_offset = 5, 5
            cv2.rectangle(image, (x + x_offset, y + y_offset), (x + w + x_offset, y + h + y_offset), (0, 255, 0), 2)

            # Adjust text position near the rectangle
            label_position = (x + w + 10, y + int(h / 2))
            cv2.putText(image, label, label_position, cv2.FONT_HERSHEY_SIMPLEX, 0.9, (255, 0, 0), 2)

    # Save the output image
    if not cv2.imwrite(output_path, image):
        print("Error: Could not save the output image.")
    else:
        print(f"Image with detected objects and animals saved to {output_path}")


# Example usage for PNG image
image = str(random.uniform(0, 100)) + ".png"
detect_objects('input_image.jpg', image)
Discussion